
Bright spring greens, nutty quinoa, creamy hummus and avocado — all in one bowl that feels fancy but cooks in 20 minutes. Sounds good? Let’s make a Vegan Spring Greens & Quinoa Power Bowl that’s perfect for weeknight dinners and meal-prep lunches.
I make this bowl when I want something fresh, fast, and full of texture. It packs greens, plant protein, healthy fats, and a little hummus magic so I actually look forward to leftovers. Ready? Here’s everything you need — recipe, equipment, calories, and my top tips to keep it crisp and delicious.
Recipe Info
- Prep time: 5 minutes
- Cook time: 15 minutes
- Total time: 20 minutes
- Yield: 4 servings (one power bowl per person)
- Estimated calories per serving: ~350 kcal (approx; see breakdown below)
Why this bowl works
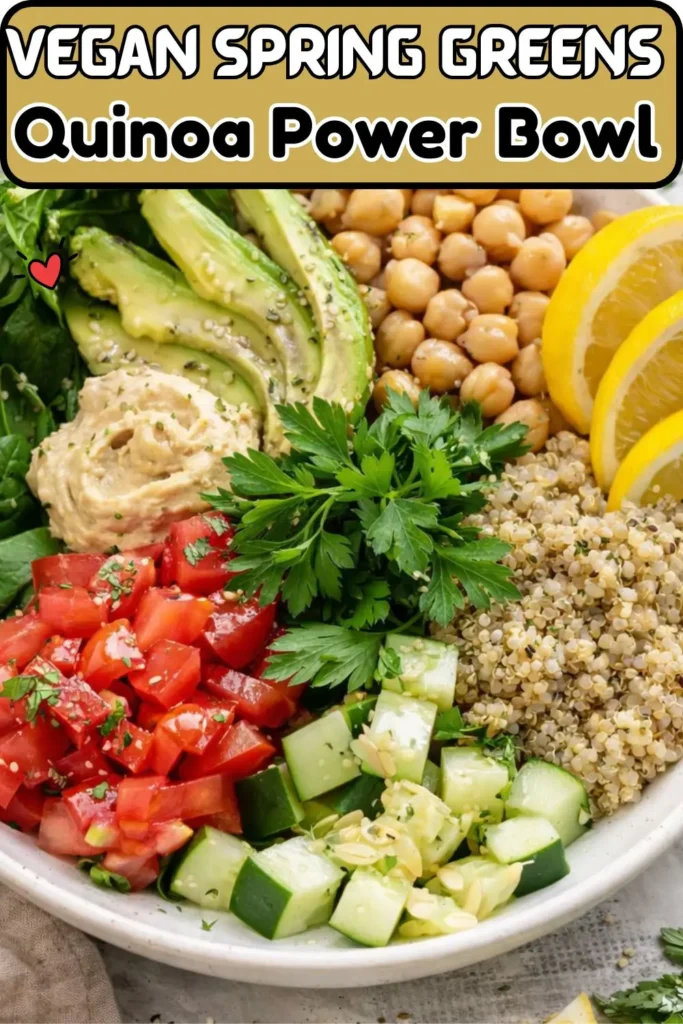
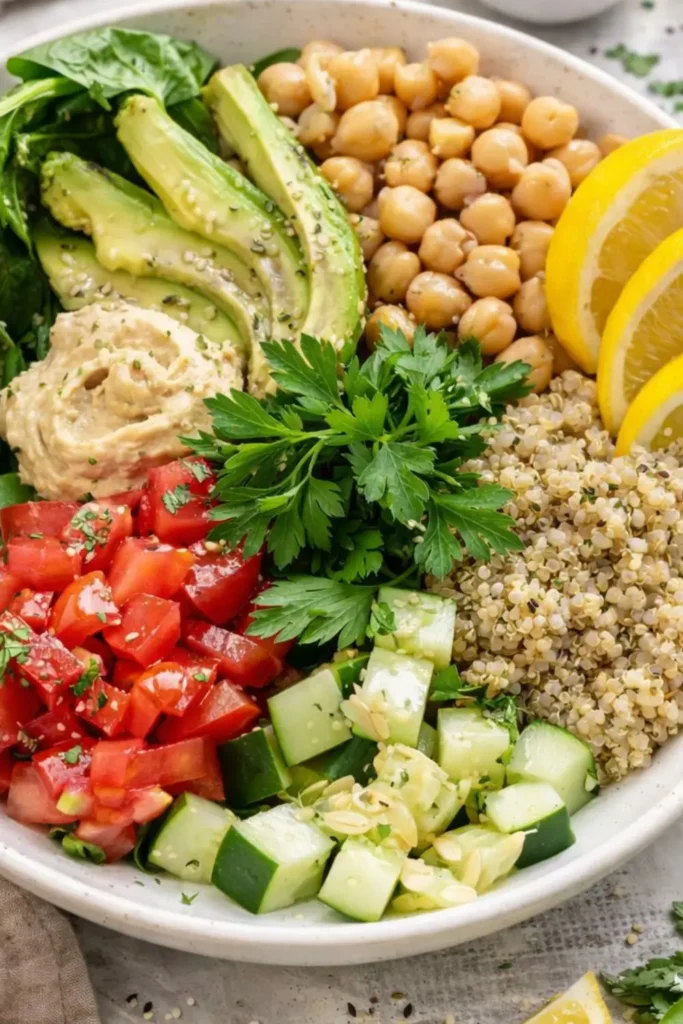
This bowl balances fresh spring greens, fluffy quinoa, roasted or tossed chickpeas (your protein friend), creamy avocado, and hummus for richness. The result tastes fresh but satifies like a full meal. Ever tried a bowl that felt both light and filling? That’s this one. IMO, quinoa + chickpeas = magic.
Ingredients (for 4 bowls)
- ½ cup dry quinoa
- 1 cup water
- 4 cups fresh spinach (or mixed spring greens)
- 1½ cups cooked chickpeas (or 1 15-oz can, drained & rinsed)
- 1 tomato, chopped
- 1 cup cucumber, chopped
- ½ cup parsley, finely chopped
- 1 avocado, thinly sliced
- ½ cup hummus
- ¼ cup hemp seeds (or pumpkin seeds)
- 1 lemon, cut into wedges
- Salt and pepper, to taste
Bold tip: Use cooked quinoa hot or cold — it plays nicely with greens either way.
Equipment for Vegan Spring Greens & Quinoa Power Bowl
- Medium pot with lid (for quinoa)
- Fine mesh strainer (optional)
- Mixing bowls and spoons
- Chef’s knife and cutting board
- Measuring cups and spoons
No fancy gear. You don’t need an air fryer or spiralizer for this one. FYI, the simplicity makes it a great meal-prep staple.
Step-by-step instructions for Vegan Spring Greens & Quinoa Power Bowl
1. Cook the quinoa
- Rinse ½ cup dry quinoa under cold water briefly. I always rinse to remove the bitter coating.
- Combine quinoa and 1 cup water in a medium pot. Bring to a boil over high heat, then cover and reduce to a simmer. Cook 13–15 minutes, until fluffy.
- Fluff with a fork and let the quinoa rest 2 minutes while you prep the rest.
2. Prep the salad components
- While quinoa cooks, chop tomato, cucumber, and parsley. Slice the avocado and drain the chickpeas if using canned.
- Toss chickpeas with a pinch of salt and a little olive oil (optional) for flavor. You can roast them at 400°F for 15–20 minutes if you want them crispy, but plain works too.
3. Assemble the bowls
- Divide 4 cups of spinach across four bowls (about 1 cup per bowl).
- Add ¼ of the quinoa, ¼ of the chickpeas, ¼ tomato, ¼ cup cucumber, 2 tbsp parsley, and ¼ avocado to each bowl.
- Top each bowl with 2 tbsp hummus, 1 tbsp hemp seeds, and a squeeze of lemon. Season with salt and pepper. Toss gently and eat.
Pro tip: Keep the hummus dollop on top for a pretty finish and let people mix it through.
Calories & nutrition (approximate)
I keep nutrition simple so you can plan meals:
- Total for recipe: ~1,408 kcal (all ingredients combined)
- Per serving (1 of 4): ~350 kcal
Why this matters: You get a balanced combo of carbs (quinoa), protein & fiber (chickpeas & hemp seeds), and healthy fats (avocado & hummus). That combo keeps you full and focused without a mid-afternoon crash.
Meal-prep & storage tips
- Make-ahead: Cook quinoa and prep veggies up to 3 days ahead. Keep salad leaves separate to avoid soggy bowls.
- Storing bowls: Store grains and chickpeas in one container, greens + cucumber/tomato in another, and hummus in a small jar. Assemble fresh each day.
- Reheating: Warm quinoa and chickpeas in the microwave for 30–60 seconds, then assemble with cold greens.
- Shelf life: Fully assembled bowls last 1–2 days in the fridge; they taste best the same day.
Quick hack: If you plan to eat the bowl cold at work, carry lemon wedges and hummus separately — your salad stays crisp.
Variations & swaps (make it yours)
- Greens swap: Use arugula, kale (massage it), or baby chard.
- Grain swap: Substitute brown rice, farro, or bulgur for quinoa.
- Protein: Add tempeh cubes or baked tofu if you want more protein.
- Dressings: Replace lemon with tahini-lemon dressing, or add a drizzle of balsamic for a sweeter note.
- Crunch: Toasted almonds or roasted pumpkin seeds add texture.
Want a smokier vibe? Toss chickpeas with smoked paprika. Want a Mediterranean bowl? Add olives and sun-dried tomatoes. See — super flexible.
Comparison: power bowl vs salad vs Buddha bowl
- Power bowl: Built for balance — grains + protein + greens + fats (this recipe).
- Simple salad: Mostly greens + veg; lighter and quicker.
- Buddha bowl: Often warm grain base with lots of toppings, usually vegetarian/vegan friendly.
Short verdict: The Vegan Spring Greens & Quinoa Power Bowl sits squarely in the “power bowl” category — more filling than a salad, but fresher than a heavy Buddha bowl. It gives you the best of both worlds.
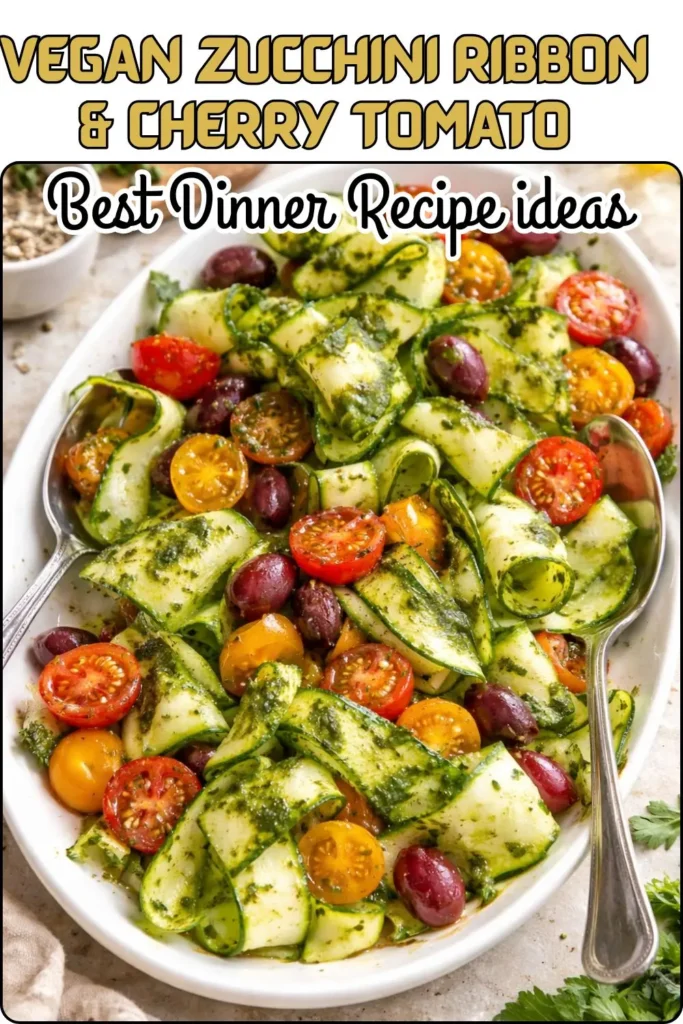
Still Hungry, Try It Next recipe :-
Vegan Zucchini Ribbon & Cherry Tomato
Some kitchen Problem
- Greens wilt? Cool hot quinoa before adding to greens. Heat shocks leaves.
- Bowl tastes bland? Add lemon, salt, or an extra dollop of hummus. Acid wakes flavors up.
- Quinoa clumpy? Fluff with a fork and add a splash of lemon or olive oil to separate grains.
Ever over-salted something? Me too. I save lemon juice for emergencies — it fixes a lot.
Pro tips from my kitchen
- Rinse quinoa to avoid a slightly bitter finish.
- Massage kale with lemon if you use it — it softens and tastes less “leafy.”
- Hemp seeds add creaminess and plant-based omega fats; don’t skip them if you can.
- Make a big batch of quinoa on Sunday — it becomes your week’s secret weapon.
If you prepare four servings on Sunday, you’ll thank yourself midweek. Seriously, in the future you will send a gratitude text.
Final thoughts: Why make this bowl tonight?
The Vegan Spring Greens & Quinoa Power Bowl gives you freshness, satiety, and easy meal-prep in one tidy package. You get leafy greens, whole grains, plant protein, and creamy hummus — all vegan and ready in 20 minutes. It fits busy schedules, supports wellness goals, and tastes like you spent more effort than you did. Sounds like a win-win, right?
So, are you ready to toss together something healthy and actually exciting? Grab that quinoa, chop a cucumber, and let this bowl save dinner — or lunch — for the week.
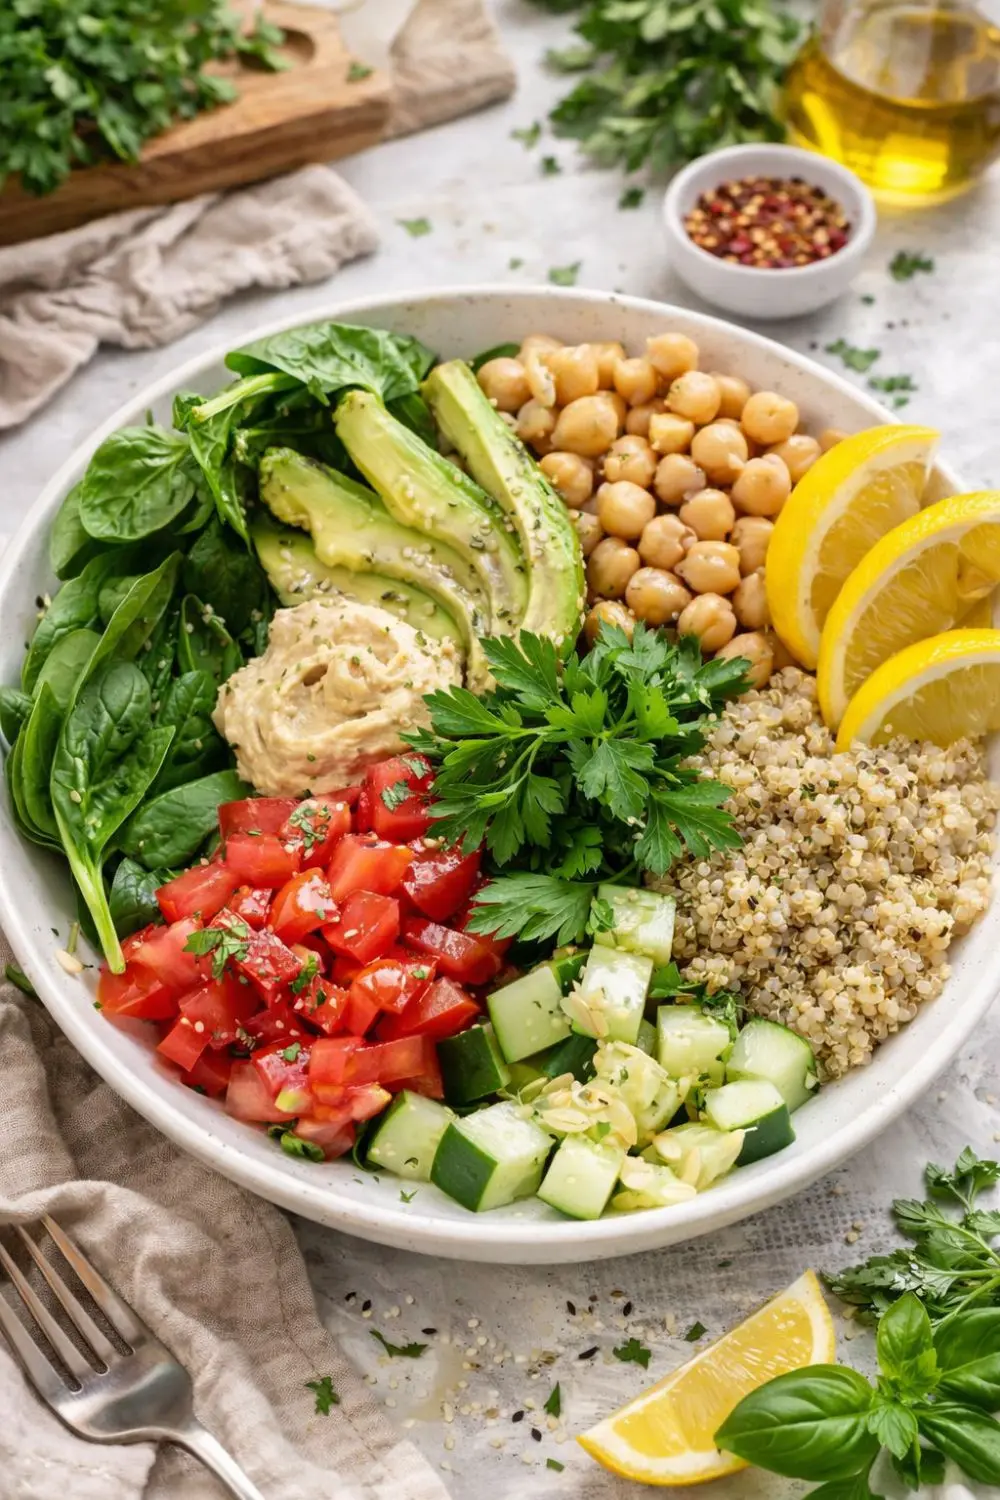
Vegan Spring Greens & Quinoa Power Bowl (Vegan, Meal-Prep)
Ingredients
Equipment
Method
- Cook the quinoa
- Rinse ½ cup dry quinoa under cold water briefly. I always rinse to remove the bitter coating.
- Combine quinoa and 1 cup water in a medium pot. Bring to a boil over high heat, then cover and reduce to a simmer. Cook 13–15 minutes, until fluffy.
- Fluff with a fork and let the quinoa rest 2 minutes while you prep the rest.
- Prep the salad components
- While quinoa cooks, chop tomato, cucumber, and parsley. Slice the avocado and drain the chickpeas if using canned.
- Toss chickpeas with a pinch of salt and a little olive oil (optional) for flavor. You can roast them at 400°F for 15–20 minutes if you want them crispy, but plain works too.
- Assemble the bowls
- Divide 4 cups of spinach across four bowls (about 1 cup per bowl).
- Add ¼ of the quinoa, ¼ of the chickpeas, ¼ tomato, ¼ cup cucumber, 2 tbsp parsley, and ¼ avocado to each bowl.
- Top each bowl with 2 tbsp hummus, 1 tbsp hemp seeds, and a squeeze of lemon. Season with salt and pepper. Toss gently and eat.
- Pro tip: Keep the hummus dollop on top for a pretty finish and let people mix it through.
Notes
Calories & nutrition (approximate)
I keep nutrition simple so you can plan meals:- Total for recipe: ~1,408 kcal (all ingredients combined)
- Per serving (1 of 4): ~350 kcal

Hi — I’m Rachel. I’m a wife, a mom, and a home cook who believes that food should bring comfort, joy, and compassion to the table. I live with my family — two hungry little foodies who are my most honest recipe testers — and together we’ve built a kitchen culture that’s all about good food that happens to be 100% vegan. I started this blog because I wanted a place to share the recipes that keep our days moving, the dishes that make weeknights feel a little easier, and the meals that become our little family traditions.