
Servings: 17 balls
Prep Time: 10 minutes
Total Time: 10 minutes
Calories: 69 kcal per ball
Ten minutes. No oven. No stove. Seventeen little bites of citrusy, coconutty, completely addictive goodness that’s what these Easy Vegan Lemon Coconut Energy Bites deliver. They taste bright, they look gorgeous rolled in coconut flakes, and they sit quietly in your fridge all week just waiting to make your mornings easier. If that sounds too good to be true, I promise it isn’t.
I started making these on Sunday afternoons when I needed something small and energizing to grab before morning workouts. One batch, ten minutes of effort, and breakfast (or a snack, or honestly dessert) is sorted for the week. These little guys have been a staple ever since. Let me walk you through why they work so well and how to make them perfectly.
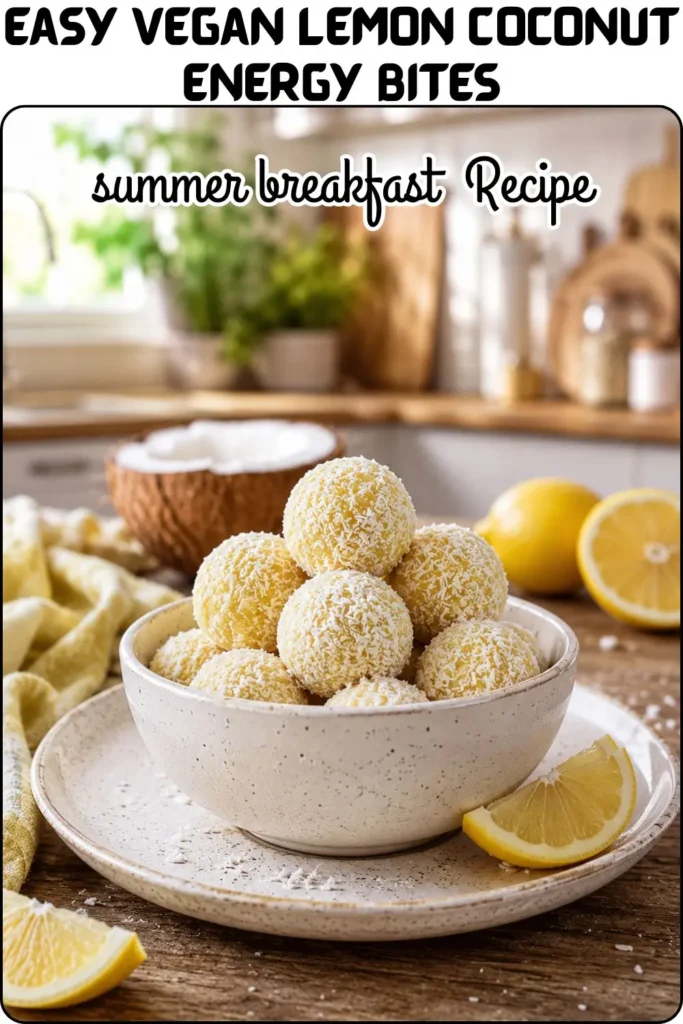
What Makes These Lemon Coconut Energy Bites So Good?
The flavor combination here is genuinely special. Fresh lemon juice brings that sharp, zesty brightness that wakes up your palate immediately, and the triple coconut hit desiccated coconut flakes, coconut flour, and coconut milk creates a rich, tropical depth that balances it perfectly. The result tastes like a lemon coconut truffle, not a health food compromise.
The turmeric powder plays a supporting role most people don’t expect. It contributes almost nothing to the flavor in this quantity, but it gives the bites that gorgeous golden-yellow color that makes them look intentional and beautiful. You’re essentially hacking the visual appeal with a quarter teaspoon of spice. Honestly clever.
What you won’t find here: refined sugar, dairy, eggs, artificial anything. Just whole plant-based ingredients doing their job well.
Ingredients You’ll Need For
Every ingredient in this recipe earns its place:
- ½ cup raw, unsalted cashews – the base; they blend into a smooth, neutral meal that binds everything
- ½ cup unsweetened desiccated coconut flakes– plus about ⅓ cup extra for coating each ball
- ¼ cup coconut flour – absorbs moisture and gives the dough its rollable consistency
- 2 tablespoons fresh lemon juice – always freshly squeezed; bottled lemon juice tastes flat and slightly off in raw recipes like this
- ¼ cup coconut milk – adds creaminess and helps the mixture bind
- 3 tablespoons maple syrup – the natural sweetener; adjust to your taste preference
- 1 tablespoon coconut oil, softened – adds richness and helps the balls hold their shape when chilled
- ½ teaspoon pure vanilla extract – rounds out the flavor and adds warmth
- ¼–½ teaspoon turmeric powder – purely for that golden color; start with ¼ teaspoon and add more if you want a deeper hue
FYI these bites lean citrusy and lightly sweet rather than candy-sweet. If you prefer more sweetness, bump the maple syrup to 4 tablespoons. Taste the mixture before rolling and adjus the recipe genuinely rewards a quick taste test before you commit to 17 balls.
Equipment You’ll Need For
This is about as minimal as equipment lists get:
- Food processor or high-speed blender -the essential tool here; a food processor gives you the most control over the cashew texture
- Mixing spoon or spatula – for scraping down the sides and checking the consistency
- Measuring cups and spoons – accurate measurements matter more in no-bake recipes than people think
- Citrus juicer – for squeezing fresh lemon juice easily (a fork works in a pinch)
- A flat plate or shallow bowl – for the coconut coating
- Airtight storage container – for keeping the finished bites fresh in the fridge
That’s the entire setup. No oven to preheat, no pans to wash, no timers to watch. A food processor and ten minutes of your day, and you’re done.
Servings & Who This Recipe Is For
This recipe makes 17 energy balls, which is a genuinely useful batch size. Here’s how that plays out in real life:
- Solo meal prep – 2–3 balls per day covers nearly a full week of grab-and-go breakfasts or snacks
- Couples or pairs – a batch lasts 4–5 days when two people are eating them
- Pre-workout fuel – 2 balls (138 kcal) before a morning workout gives a light, clean energy boost without heaviness
- Kid-friendly snacking -the mild sweetness and bite-size format works well for children’s lunchboxes
At 69 calories per ball, these are light enough to eat 2–3 without any guilt, and substantial enough to take the edge off hunger. They’re not a meal replacement on their own pair them with a smoothie or piece of fruit for a complete summer breakfast.
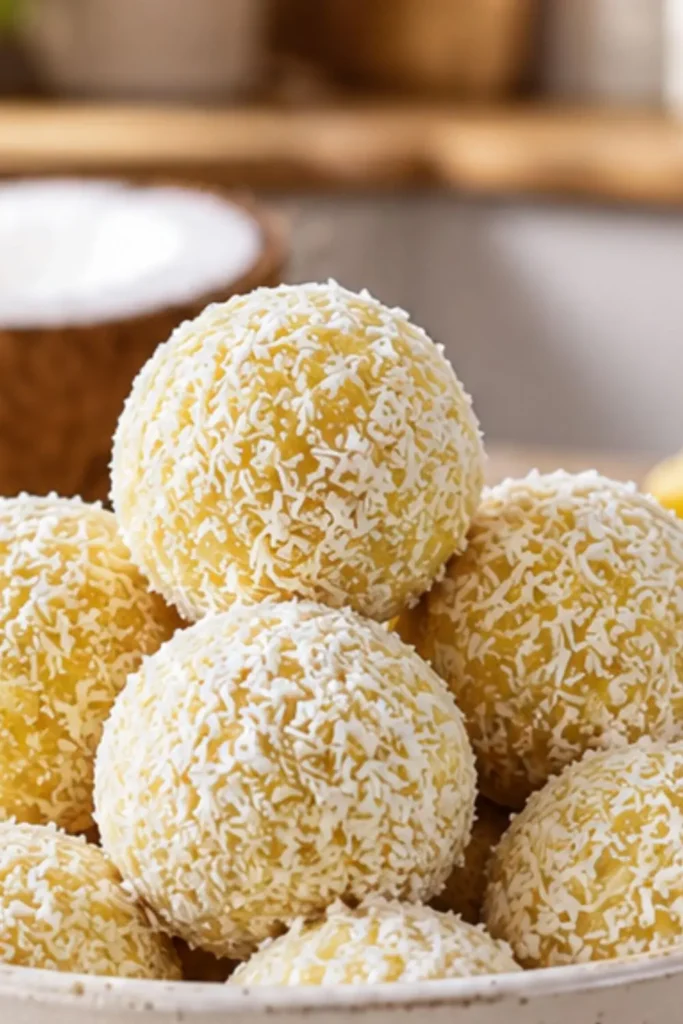
Caloric & Nutritional Info (Per Ball)
| Nutrient | Amount |
| Calories | 69 kcal |
| Carbohydrates | 5g |
| Protein | 1g |
| Fat | 5g |
| Saturated Fat | 3g |
| Fiber | 1g |
| Sugar | 3g |
| Potassium | 57mg |
| Calcium | 7mg |
| Iron | 1mg |
| Vitamin C | 1mg |
| Sodium | 6mg |
The fat content comes almost entirely from cashews, coconut, and coconut oil all plant-based sources with a different metabolic profile than animal saturated fat. The low sugar count (3g per ball) makes these a genuinely low-sugar snack option, especially compared to most store-bought energy balls that often pack 8–12g of sugar per serving. IMO, homemade always wins that comparison.
Step-by-Step Instructions
Step 1- Process the Cashews (2 Minutes)
Add the raw unsalted cashews to your food processor and pulse several times until they break down into a fine, sandy meal. Stop before the mixture turns paste-like you want cashew meal, not cashew butter. Over-processing at this stage releases too much oil and makes the final mixture greasy and hard to roll. About 8–10 short pulses should get you to the right texture.
Why raw cashews specifically? They process more evenly than roasted ones, and their neutral flavor lets the lemon and coconut lead the way. Roasted cashews add a toasty note that clashes slightly with the citrus brightness.
Step 2- Add Everything Else and Blend (3 Minutes)
Add the desiccated coconut flakes, coconut flour, coconut milk, coconut oil, maple syrup, lemon juice, vanilla extract, and turmeric powder to the food processor. Blend until you get a soft, slightly sticky dough that holds together when pressed. It should look like pale golden cookie dough tacky enough to roll but not wet or sloppy.
If the mixture looks too dry and crumbles when you press it, add one additional tablespoon of coconut milk and blend again. Too wet? Add a teaspoon of coconut flour and pulse a few more times. The dough adjusts easily with small additions, so don’t panic if it needs a tweak.
Step 3- Taste and Adjust Sweetness
Before you roll a single ball, taste the mixture. This is the best part of a no-bake recipe you can actually do this without any risk. If you want more sweetness, add another half tablespoon of maple syrup and blend briefly. More citrus kick? Add a tiny squeeze of extra lemon juice. The mixture should taste bright, coconutty, and pleasantly sweet not cloying, not bland.
Getting the flavor right at this stage means all 17 balls taste exactly how you want them. Five seconds of tasting saves you from a batch of underwhelming energy bites.
Step 4- Roll into Balls (5 Minutes)
With clean hands, scoop out approximately one tablespoon of mixture per ball and roll between your palms until smooth and round. If the mixture sticks to your hands, dampen them slightly with water this makes rolling much easier and keeps the balls tidy.
Roll each ball immediately in the desiccated coconut coating before setting it down. The coconut adheres best when the ball is freshly rolled and slightly warm from your hands. If you roll all the balls first and coat them afterward, the surface dries out slightly and the coconut doesn’t stick as well.
Step 5- Refrigerate Until Firm
Place the coated balls in an airtight container in a single layer and refrigerate for at least 30 minutes before eating. The chill time firms them up, sets the coconut coating, and lets the flavors fully come together. They’re technically edible right away, but the texture and flavor improve noticeably after that fridge time.
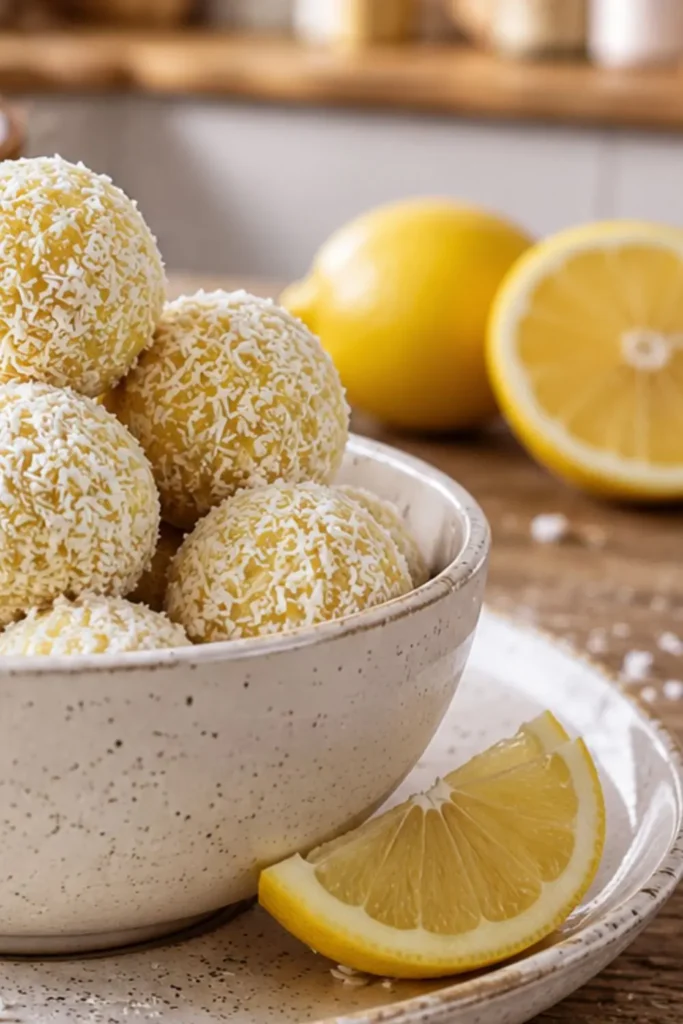
Tips for Perfect Lemon Coconut Energy Bites
Always Use Fresh Lemon Juice
This might be the single most important tip in the whole article. Bottled lemon juice tastes flat, slightly metallic, and lacks the bright volatile oils that make fresh lemon so vibrant in raw recipes. Fresh lemon juice makes these bites genuinely sing. Two tablespoons comes from about half a medium lemon a 10-second squeeze that makes a real difference.
Getting the Dough Consistency Right
The ideal dough consistency for rolling:
- Too dry- Crumbles when pressed; add coconut milk one tablespoon at a time
- Too wet- Sticks heavily to hands; add coconut flour one teaspoon at a time
- Just right- Soft, slightly tacky, holds a ball shape without cracking
Temperature also matters if your kitchen is warm and the coconut oil softens too much, refrigerate the dough for 10 minutes before rolling. Cold dough rolls significantly more easily.
Customizing the Turmeric Color
The recipe calls for ¼ to ½ teaspoon of turmeric, and the range is intentional. A quarter teaspoon gives a soft, warm golden tint. Half a teaspoon gives a deeper, more vivid yellow that looks stunning against the white coconut coating. Neither amount affects the flavor meaningfully. Start with a quarter teaspoon and add more if you want more color impact.
Try It Next recipe
High-Protein Vegan Blueberry Protein Muffins

Ingredient Substitutions That Actually Work
This recipe is flexible- here’s what you can swap without losing quality:
Flour Alternatives
- Oat flour – slightly lighter texture; works beautifully
- Almond flour – adds a nutty richness; slightly denser result
- Coconut flour has no 1:1 substitute – use one of the above if needed but don’t try plain all-purpose flour; it absorbs moisture completely differently
Sweetener Alternatives
- Agave nectar – neutral flavor, slightly sweeter than maple syrup; use the same amount
- Brown rice syrup – less sweet, slightly sticky; adds a mild caramel note
- Date syrup – works but adds a darker color and a more complex sweetness
Nut Alternatives
- Roasted hazelnuts – richer, nuttier; pairs surprisingly well with lemon
- Almonds – slightly coarser texture; process a little longer to get a fine meal
- Sunflower seeds (nut-free option) – the flavor shifts noticeably; add an extra teaspoon of vanilla to compensate
Milk Alternatives
- Almond milk – lighter, thinner; you may need slightly more coconut flour to compensate
- Oat milk – mild, creamy; a great all-round substitute
- Cashew milk – very neutral and creamy; probably the closest to coconut milk in texture
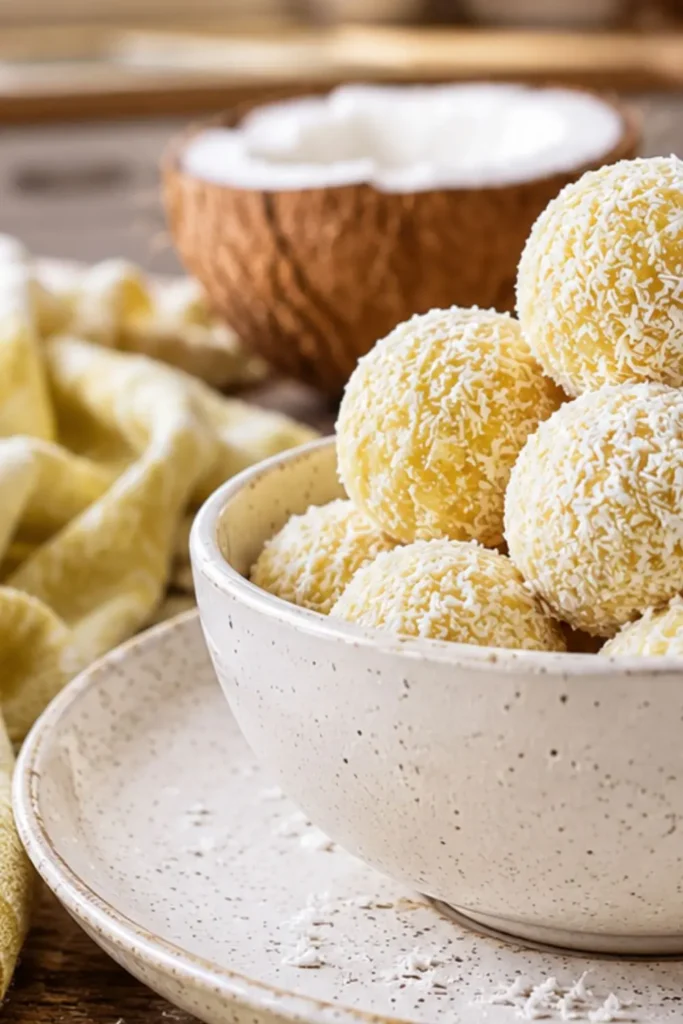
Storage & Make-Ahead Guide
These vegan lemon coconut energy bites were basically designed for meal prep:
- Fridge- Store in a single layer in an airtight container for up to 7 days
- Freezer- Freeze in a single layer first, then transfer to a freezer-safe container for up to 3 months
- Thawing- Pull from the freezer and refrigerate overnight, or let sit at room temperature for 15–20 minutes
Making a double batch and freezing half means you always have a stash ready. Pull a few out the night before and they’re perfect by morning no effort, zero excuses for skipping breakfast.
Frequently Asked Questions
Why are my energy balls not holding together? The mixture is too dry. Add coconut milk one tablespoon at a time and blend until it just comes together. Also make sure your coconut oil is softened, not solid cold coconut oil doesn’t incorporate properly and leads to crumbly dough.
Can I skip the turmeric? Absolutely. The turmeric adds color only no meaningful flavor impact at this quantity. Skip it and the bites will taste identical, just paler in color.
Can I make these nut-free? Yes replace cashews with sunflower seeds. The flavor profile shifts (sunflower seeds have a more savory undertone), so bump the vanilla extract to a full teaspoon and add an extra tablespoon of maple syrup to compensate.
Do I need a food processor or can I use a blender? A food processor gives better control over the cashew texture. A high-speed blender works but tends to over-process the cashews faster use short bursts and check frequently.
My Final Thoughts
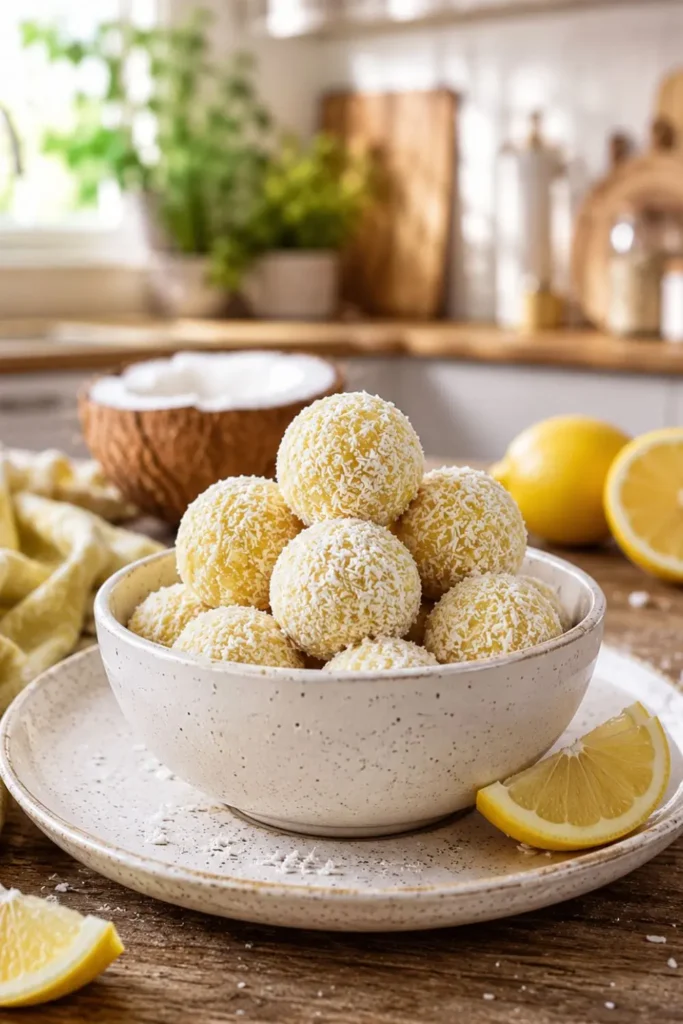
These Easy Vegan Lemon Coconut Energy Bites are proof that the best breakfast sometimes comes in a ten-minute, no-cook package. Bright citrus, rich coconut, golden turmeric color, and just the right amount of sweetness every element works together beautifully.
Seventeen balls from one batch, just 69 calories each, ready in the time it takes to make a cup of coffee. Keep them in the fridge for the week, stash some in the freezer for next week, and watch how much easier mornings become when breakfast is already handled.
Make a batch this weekend. Then try to stop at three.
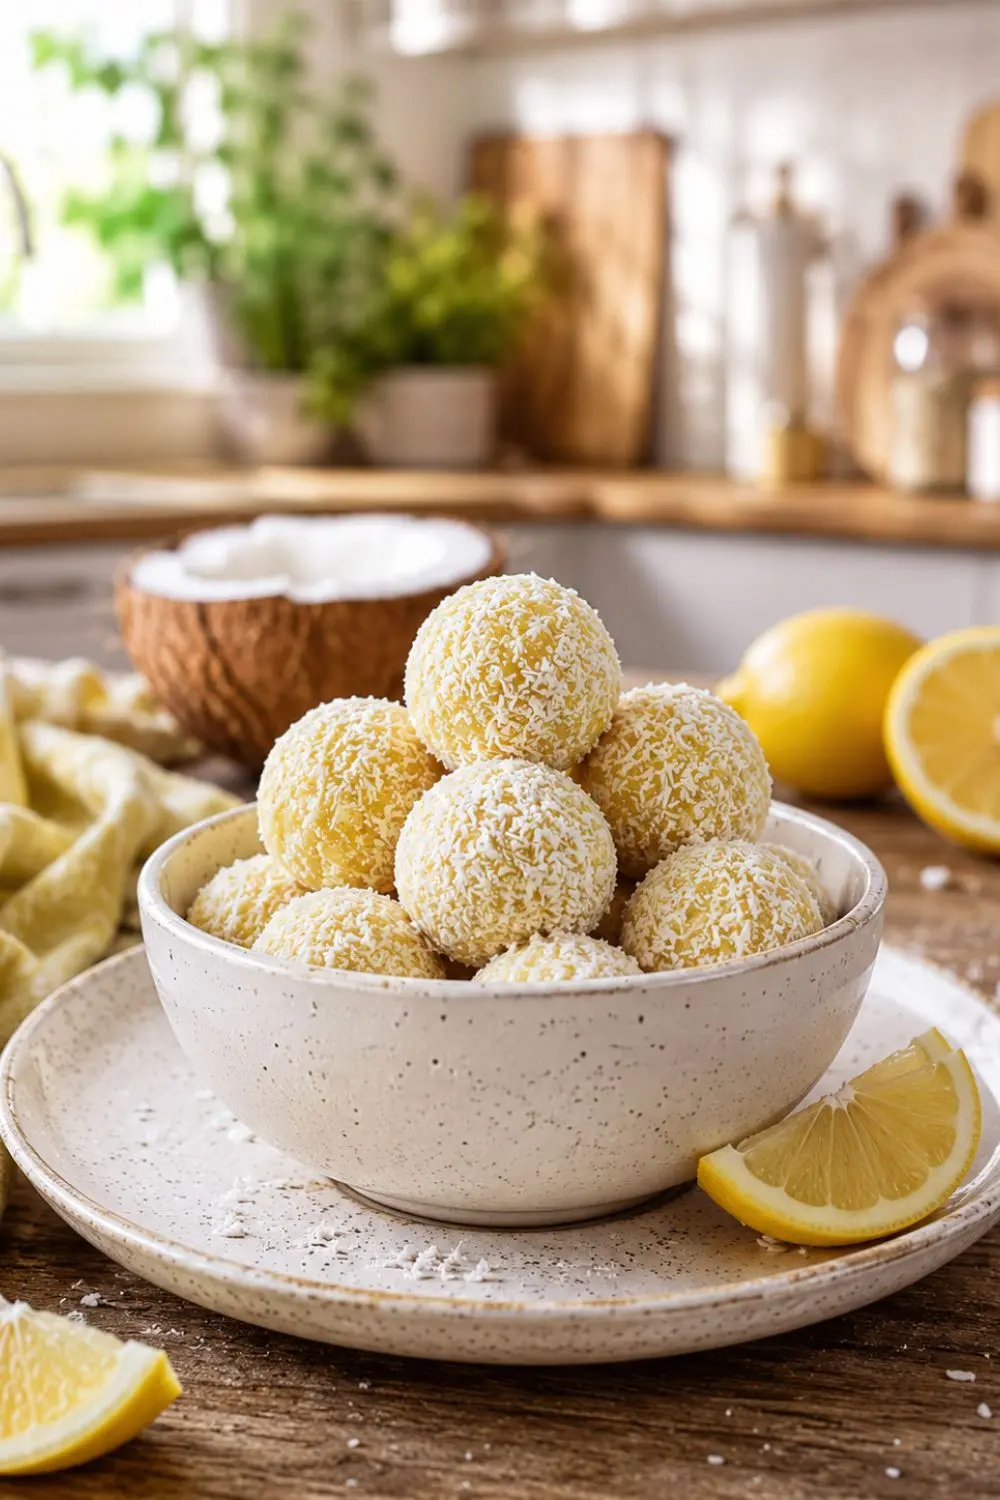
Easy Vegan Lemon Coconut Energy Bites
Ingredients
Equipment
Method
- Step 1- Process the Cashews (2 Minutes)
- Add the raw unsalted cashews to your food processor and pulse several times until they break down into a fine, sandy meal. Stop before the mixture turns paste-like you want cashew meal, not cashew butter. Over-processing at this stage releases too much oil and makes the final mixture greasy and hard to roll. About 8–10 short pulses should get you to the right texture.
- Why raw cashews specifically? They process more evenly than roasted ones, and their neutral flavor lets the lemon and coconut lead the way. Roasted cashews add a toasty note that clashes slightly with the citrus brightness.
- Step 2- Add Everything Else and Blend (3 Minutes)
- Add the desiccated coconut flakes, coconut flour, coconut milk, coconut oil, maple syrup, lemon juice, vanilla extract, and turmeric powder to the food processor. Blend until you get a soft, slightly sticky dough that holds together when pressed. It should look like pale golden cookie dough tacky enough to roll but not wet or sloppy.
- If the mixture looks too dry and crumbles when you press it, add one additional tablespoon of coconut milk and blend again. Too wet? Add a teaspoon of coconut flour and pulse a few more times. The dough adjusts easily with small additions, so don’t panic if it needs a tweak.
- Step 3- Taste and Adjust Sweetness
- Before you roll a single ball, taste the mixture. This is the best part of a no-bake recipe you can actually do this without any risk. If you want more sweetness, add another half tablespoon of maple syrup and blend briefly. More citrus kick? Add a tiny squeeze of extra lemon juice. The mixture should taste bright, coconutty, and pleasantly sweet not cloying, not bland.
- Getting the flavor right at this stage means all 17 balls taste exactly how you want them. Five seconds of tasting saves you from a batch of underwhelming energy bites.
- Step 4- Roll into Balls (5 Minutes)
- With clean hands, scoop out approximately one tablespoon of mixture per ball and roll between your palms until smooth and round. If the mixture sticks to your hands, dampen them slightly with water this makes rolling much easier and keeps the balls tidy.
- Roll each ball immediately in the desiccated coconut coating before setting it down. The coconut adheres best when the ball is freshly rolled and slightly warm from your hands. If you roll all the balls first and coat them afterward, the surface dries out slightly and the coconut doesn’t stick as well.
- Step 5- Refrigerate Until Firm
- Place the coated balls in an airtight container in a single layer and refrigerate for at least 30 minutes before eating. The chill time firms them up, sets the coconut coating, and lets the flavors fully come together. They’re technically edible right away, but the texture and flavor improve noticeably after that fridge time.
Notes
Caloric & Nutritional Info (Per Ball)
| Nutrient | Amount |
| Calories | 69 kcal |
| Carbohydrates | 5g |
| Protein | 1g |
| Fat | 5g |
| Saturated Fat | 3g |
| Fiber | 1g |
| Sugar | 3g |
| Potassium | 57mg |
| Calcium | 7mg |
| Iron | 1mg |
| Vitamin C | 1mg |
| Sodium | 6mg |

Hi — I’m Rachel. I’m a wife, a mom, and a home cook who believes that food should bring comfort, joy, and compassion to the table. I live with my family — two hungry little foodies who are my most honest recipe testers — and together we’ve built a kitchen culture that’s all about good food that happens to be 100% vegan. I started this blog because I wanted a place to share the recipes that keep our days moving, the dishes that make weeknights feel a little easier, and the meals that become our little family traditions.