

Most roasted potatoes come out of the oven looking promising and tasting disappointing golden on the outside, slightly soft underneath, and missing the genuine crunch that makes great roasted potatoes worth making. Crispy roasted potatoes vegan done properly with the boil-then-toss-then-roast-on-a-preheated-pan technique produces potatoes with a shatteringly crispy exterior and a fluffy, creamy interior that genuinely lives up to every roasted potato promise. This recipe uses two potato varieties, a deliberate starchy coating technique, 450°F heat, and a preheated roasting pan to achieve results that most home cooks have been trying to get for years. Six servings, 298 calories each, 1 hour 15 minutes from start to plate.
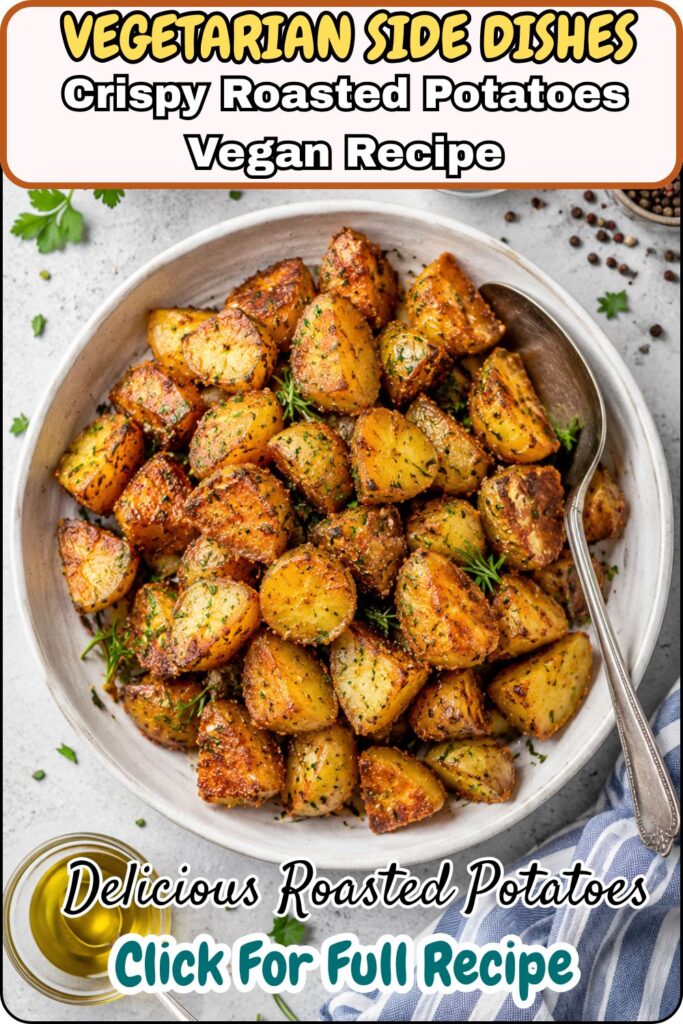
I spent embarrassing amounts of time trying to figure out why my roasted potatoes never crisped the way restaurant versions did and the answer turned out to be three specific technique steps that most recipes don’t include: boiling in heavily salted water first, creating a starchy exterior coating by tossing vigorously after draining, and adding the potatoes to a preheated pan rather than a cold one. Once I understood why each step mattered, the results changed completely. These are the potato side dishes I make when I want something that genuinely impresses.
My Recipe Timing and Serving Details
| Detail | Info |
| Prep Time | 10 minutes |
| Boiling Time | ~8 minutes |
| Pan Preheat Time | 10-15 minutes |
| Roasting Time | ~47 minutes total |
| Total Time | 1 hour 15 minutes |
| Servings | 6 |
| Calories Per Serving | 298 kcal |
| Course | Side Dish |
| Diet | 100% Vegan |
These crispy roasted potatoes serve 6 people as a substantial side dish. At 298 calories per serving with 5 grams of protein, 5 grams of fiber, 48mg of Vitamin C, and an impressive 1033mg of potassium, this is a nutritionally genuine potato side dish that earns its place on any plate.
The Science Behind the Crunch Why This Recipe Works
Have you ever wondered why following a “crispy roasted potato” recipe produces potatoes that are merely golden rather than genuinely crispy? The answer is usually that one or more of three specific techniques is missing:
The boiling step partially cooks the potatoes and, critically, begins breaking down the outer starch layer. This is the foundation of everything that follows raw potatoes don’t develop the same exterior texture as pre-boiled ones because the outer starch hasn’t been activated.
The vigorous tossing after draining creates the starchy coating that is specifically what becomes the crust in the oven. This is the most counterintuitive step for most home cooks it looks like you’re roughing up the potatoes and creating a mess, which is exactly what you’re doing, and exactly what needs to happen.
The preheated pan creates immediate, aggressive high-heat contact from the moment the potato surface touches the metal. Cold pan + potato = gradual heating + steaming before crisping. Hot pan + potato = immediate caramelization = genuine crunch.
All three techniques are necessary. Skipping any one produces a noticeably inferior result.
Why Two Potato Varieties The Dual-Potato Strategy
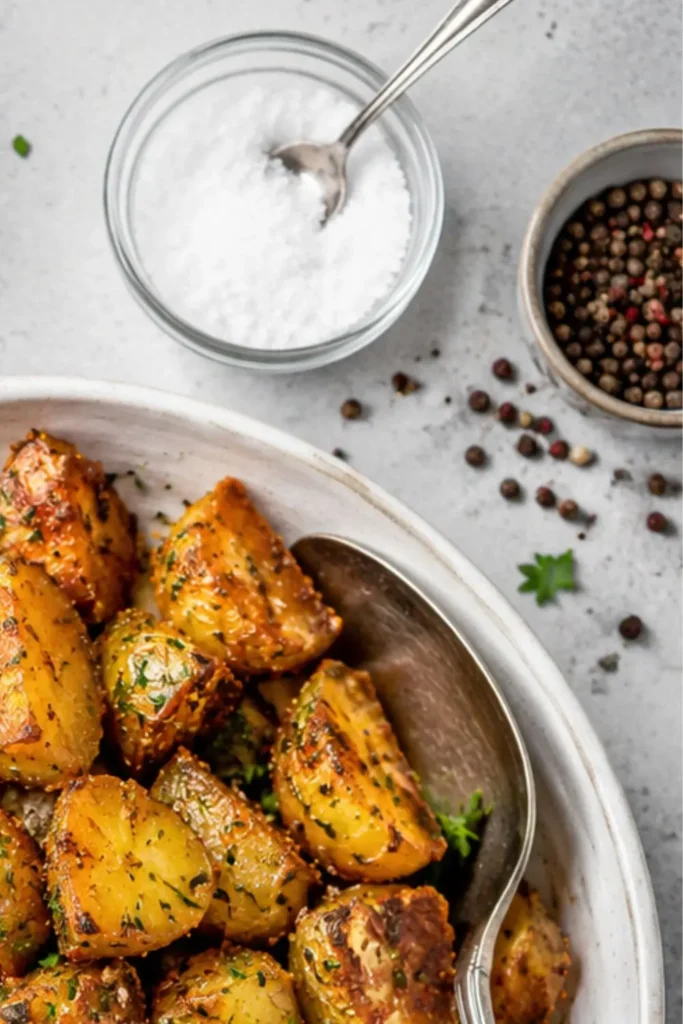
This recipe uses both Yukon Gold potatoes and one large Russet potato, and this combination is deliberate and specifically important:
Yukon Gold potatoes (2½ pounds) – the primary potato. Their medium starch content and naturally buttery flavor create the main body of the roasted potatoes. They hold their shape after boiling, produce good crunch, and have a creamy interior that contrasts beautifully with the crispy exterior.
The Russet potato (1 large, 12 oz) – the secret weapon. The Russet’s very high starch content creates the thick, mashed-potato-like coating when it’s tossed vigorously after boiling. The recipe specifically notes that the Russet should be “very soft and almost falling apart” when drained — this is intentional. The falling-apart Russet gets mashed into the other potatoes during the tossing stage, creating the thick, starchy slurry that coats the Yukon Golds and becomes the crust in the oven.
What happens without the Russet- You get adequately crispy potatoes. With the Russet, you get genuinely extraordinary potatoes with a thick, irregular, ultra-crispy exterior surface. The difference is clearly perceptible.
FYI the Russet potato is specifically being used as a coating ingredient rather than a whole roasted potato in this recipe. Its pieces that remain whole won’t look as perfect as the Yukon Gold pieces, and that’s completely fine they contribute primarily through their starch content.
Full Ingredient List
A focused, purposeful list:
- 2½ pounds (1.1 kg) medium-sized Yukon Gold potatoes
- 1 large (12 oz / 340g) Russet potato
- Diamond Crystal kosher salt (for boiling water see note below)
- Freshly cracked black pepper
- ¼ cup + 2 tablespoons (84g) extra virgin olive oil plus extra for rosemary paste
- 1 heaping tablespoon (6g) fresh rosemary, finely chopped (optional)
- Fine sea salt for finishing (as needed)
The Diamond Crystal Kosher Salt Specificity
The recipe names Diamond Crystal kosher salt specifically, and this deserves explanation. Diamond Crystal has a significantly different salt grain structure than Morton Kosher Salt or fine sea salt — its flake structure means it’s less dense by volume, so 2 tablespoons of Diamond Crystal contains less actual sodium than 2 tablespoons of Morton.
If using Morton Kosher Salt- Use approximately 1½ tablespoons where the recipe calls for 2 tablespoons Morton’s denser grains contain more salt per volume measurement.
If using fine sea salt or table salt- Use approximately 1 tablespoon these are even denser.
The salt quantity genuinely matters for properly seasoned boiling water, which is the first stage of seasoning the potato interior from within.
Equipment You’ll Need For Crispy Roasted Potatoes Vegan Recipe
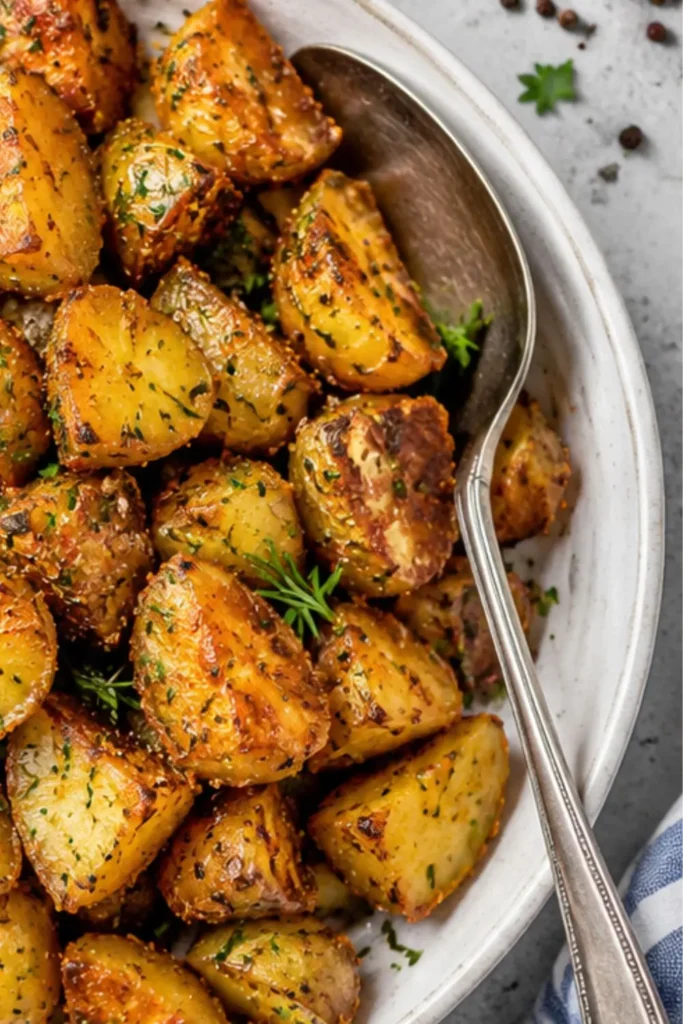
Primary Equipment
- Large saucepan or Dutch oven – needs to hold 2 quarts (2L) of water plus the potatoes. A 5-6 quart Dutch oven works perfectly.
- Medium roasting pan (11″x15″ or 12″x16″) – the specific size matters because potatoes crowded into a too-small pan steam each other rather than roasting. The potatoes need to spread in a single layer with minimal touching. A rimmed sheet pan works as an alternative if you don’t own a roasting pan.
- Oven at 450°F with bottom rack position – the temperature and rack position are both specifically important. 450°F is the minimum temperature for proper crisping; lower temperatures produce softer exteriors. The bottom rack position provides the closest heat contact with the pan, which is where the crisping happens.
Mixing and Handling Equipment
- Large bowl – for the post-boil tossing stage. Needs to be large enough to toss the full potato quantity vigorously without loss.
- Fork or potato masher– for mashing the Russet pieces during the tossing stage
- Silicone spatula – for tossing with the olive oil and for spreading mashed potato coating from the bowl onto the roasting potatoes
- Tongs -for flipping the potatoes at the 20-minute mark
- Oven mitts – specifically noted in the recipe for removing the preheated pan preheated pans at 450°F are genuinely extremely hot
- Colander – for draining the boiled potatoes
Step-by-Step Instructions Every Detail Matters
Stage 1 – Preparation (Simultaneous)
Preheat the oven to 450°F with a rack on the bottom position.
Bring 2 quarts of water to a boil in your large pot.
Peel and cut the potatoes while the water heats:
Yukon Gold cutting method- Slice each potato crosswise (through the middle), then cut each half lengthwise so you have quarters. Each piece should be approximately 1½ inches no larger than 2 inches. Uniform sizing ensures even cooking.
Russet cutting method- Slice lengthwise into quarters, then cut crosswise as thinly as you can. The thinly-cut Russet slices cook faster and fall apart more completely during boiling, which is specifically what you want for the starchy coating.
Stage 2 – Boiling (8 minutes)
Add 2 tablespoons of Diamond Crystal kosher salt to the boiling water, then add all the potatoes. Cover briefly to bring back to a boil quickly, then uncover and reduce to a gentle simmer.
Simmer for approximately 8 minutes. The Yukon Golds should be cooked through but still offer some resistance when pierced they shouldn’t be falling apart. The Russet pieces should be very soft and starting to break apart.
While the potatoes simmer, Transfer the roasting pan to the bottom rack and let it preheat for 10-15 minutes. The pan must be fully preheated before the potatoes go in.
Stage 3 – Draining and the Starchy Coating
Drain the potatoes in your colander. Return them to the hot pot for 2-3 minutes to steam-dry excess surface moisture is the enemy of crispiness.
Transfer all the potatoes to your large bowl. Now toss vigorously for about 1 minute really vigorously, not gently. Use the fork to mash any Russet pieces that haven’t completely fallen apart. The goal is a thick, rough, starchy coating on all the Yukon Gold pieces. The bowl should look like a mess of rough, slightly broken potato surfaces with Russet smeared throughout. This is exactly right.
Add the olive oil (¼ cup + 2 tablespoons), 1¾ teaspoons of kosher salt, and generous black pepper. Use the silicone spatula to toss repeatedly until the starchy coating becomes even thicker the recipe describes it as “almost like mashed potatoes.” This coating is your crust.
Stage 4 – The Critical Pan Transfer
Using oven mitts, remove the preheated pan from the oven.
Add the potatoes one by one to the pan the recipe specifically recommends this rather than dumping them all in at once. Adding them one by one maintains more surface area in contact with the hot pan and prevents the potatoes from steaming each other during the initial contact stage.
Use the spatula to spread any remaining mashed potato coating from the bowl onto the potatoes’ surfaces not onto the pan itself, which can burn. Spread potatoes in a single layer with minimal touching.
Stage 5 – The Three-Phase Roast
Phase 1 – 20 minutes- Roast undisturbed. Resist the urge to check or move the potatoes during this phase they need consistent heat contact to begin developing the crust.
Phase 2 – Flip and 20 more minutes- Use tongs to flip each potato, exposing the uncooked side to the pan. Roast for another 20 minutes until nicely golden brown.
If using rosemary- During this second 20-minute phase, mix the finely chopped rosemary with just enough olive oil to create a thick, spoonable paste in a small bowl. Set aside.
Phase 3 – Final 7 minutes:
Without rosemary, Return to the oven for 7 minutes until deeply golden and crisp.
With rosemary, Push the potatoes close together, spoon the rosemary paste over them, spread it as evenly as possible with a small spatula or spoon, then spread the potatoes back out and roast for 7 minutes.
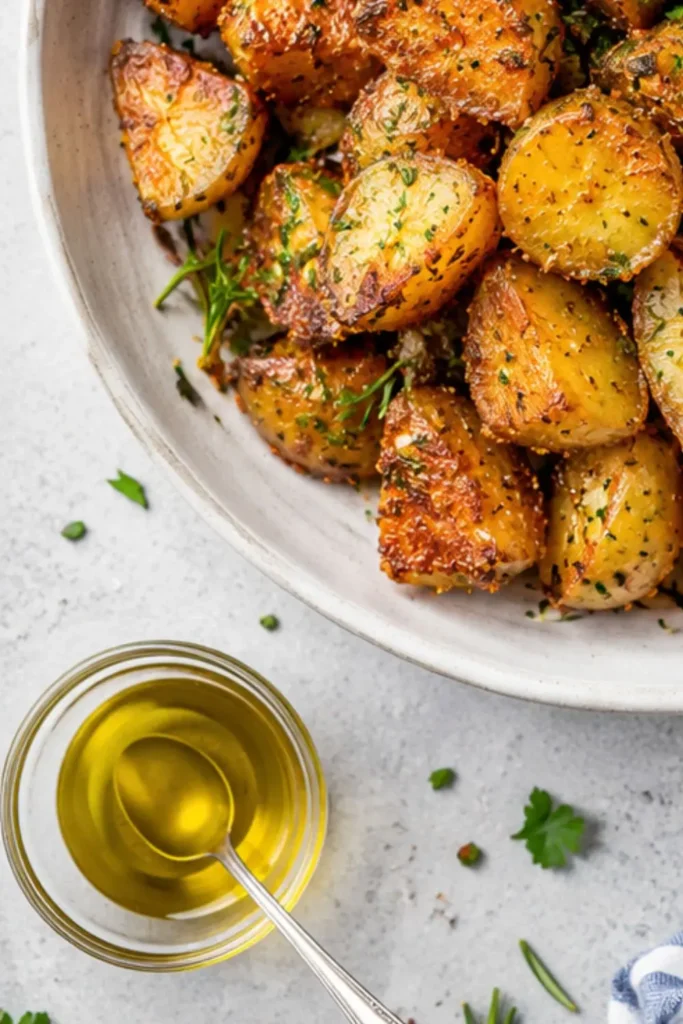
Total roasting time: approximately 47 minutes. The finished potatoes should be deeply golden brown not pale golden, but genuinely rich amber-brown on all surfaces.
The Preheated Pan The Most Important Equipment Decision
Why does preheating the pan matter so specifically? The physics explanation:
A cold pan placed in a hot oven heats gradually. The potatoes placed on a cold pan lose heat to the pan surface initially, creating a temperature equalization period where the potato surface steam rather than sear. Steaming creates softness, not crunch.
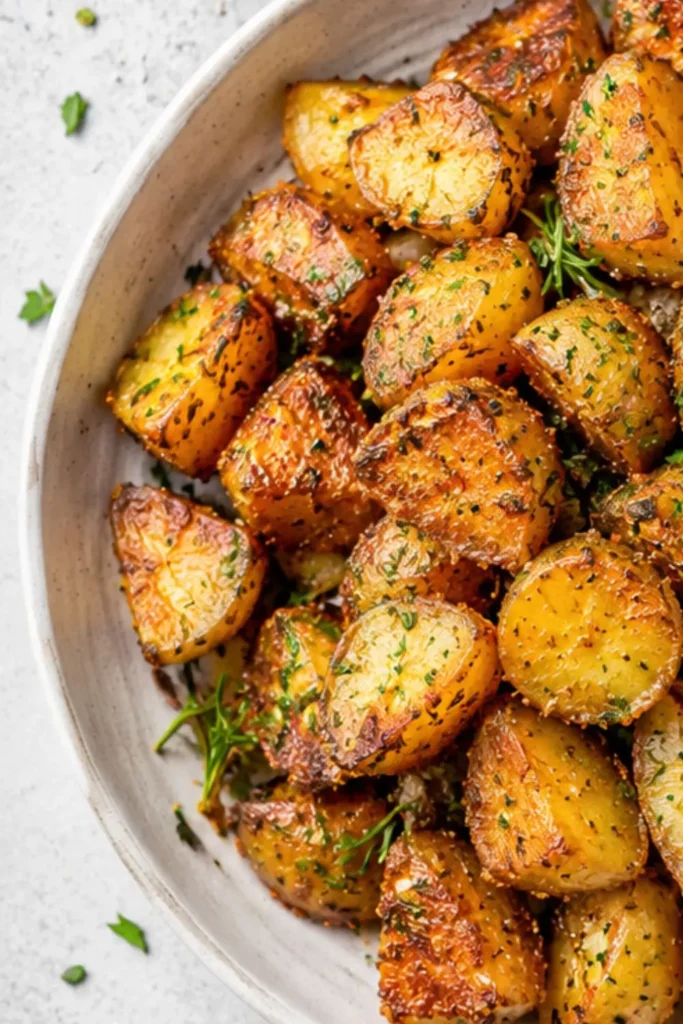
A preheated pan at 450°F contacts the potato surface immediately at full temperature. The immediate high-heat contact creates instantaneous caramelization of the starchy outer coating the same thing that happens when you sear a protein in a very hot pan. This immediate caramelization is what creates genuine crunch rather than merely golden softness.
The sound test- When you add the potatoes to the preheated pan, you should hear a distinct sizzle. No sizzle means the pan isn’t hot enough and you’ll get softly roasted rather than genuinely crispy potatoes.
The Olive Oil Quantity Why This Much Fat Is Specifically Right
At 84 grams (¼ cup + 2 tablespoons) of olive oil for 6 servings, this recipe uses more fat than many roasted potato recipes. Here’s why that quantity is specifically correct rather than excessive:
The starchy coating needs fat to crisp. The mashed potato coating created in the tossing stage is predominantly starch. Starch needs fat contact to undergo proper Maillard browning without adequate fat, the starchy coating becomes gummy rather than crispy.
The fat distributes heat. Oil conducts heat more efficiently than air, which means fat-coated potato surfaces heat more evenly and completely than minimally-oiled surfaces.
The finished calorie count accounts for it. At 298 calories per serving with 13 grams of fat, this is a genuinely satisfying, substantial side dish not a diet food, but a proper potato side dish calibrated for real enjoyment.
Extra virgin olive oil specifically contributes flavor that neutral oils don’t. The olive oil’s slight fruitiness and richness complement potato’s natural flavor in a way that vegetable or canola oil doesn’t.
The Rosemary Option Worth Making
The optional rosemary addition finely chopped fresh rosemary mixed with olive oil to form a paste that goes on in the final 7 minutes is worth taking the extra step. Here’s why the paste method specifically works better than simply sprinkling chopped rosemary:
Chopped rosemary scattered directly onto potatoes burns at 450°F over the full roasting time. Burned rosemary is bitter and unpleasant this is why so many rosemary roasted potato recipes end up with acrid herb flavor.
Rosemary paste added in the final 7 minutes only contacts the oven heat briefly. 7 minutes at 450°F is enough to bloom the rosemary’s aromatic compounds into the olive oil and onto the potato surfaces without burning them. The result is fragrant, genuinely herby potatoes rather than bitter-herb potatoes.
You may also like Next recipe
Nutrition Information Per Serving
At 298 calories per serving for 6 servings:
| Nutrient | Per Serving |
| Calories | 298 kcal |
| Carbohydrates | 43g |
| Protein | 5g |
| Fat | 13g |
| Fiber | 5g |
| Vitamin C | 48mg |
| Potassium | 1033mg |
| Sodium | 528mg |
| Iron | 2mg |
1033mg of potassium per serving approximately 22% of the daily recommended intake from the potato itself. 48mg of Vitamin C approximately 53% of the daily recommended intake. 5 grams of fiber per serving from the potato skin and flesh.
Serving Suggestions
As a standalone side- These potatoes work alongside virtually any main course roasted vegetables, grilled tofu, vegan Wellington, or any plant-based protein.
With dipping sauces- Vegan aioli (blended cashews, lemon, garlic), vegan sour cream, or a simple herb-infused olive oil all pair beautifully.
As part of a roast dinner- These are specifically the potatoes that belong on a Sunday roast plate alongside roasted root vegetables and vegan gravy.
Storage and Reheating
- Refrigerator- Store for up to 4 days they lose significant crispiness but taste excellent
- Reheating- The only method that restores crunch is oven or air fryer reheating at 400°F for 8-10 minutes microwaving reheated potatoes produces softness, not crunch
- Make-ahead- Boil and coat the potatoes up to 4 hours ahead; store at room temperature and proceed with the hot-pan roasting stage when ready
My Final Thoughts
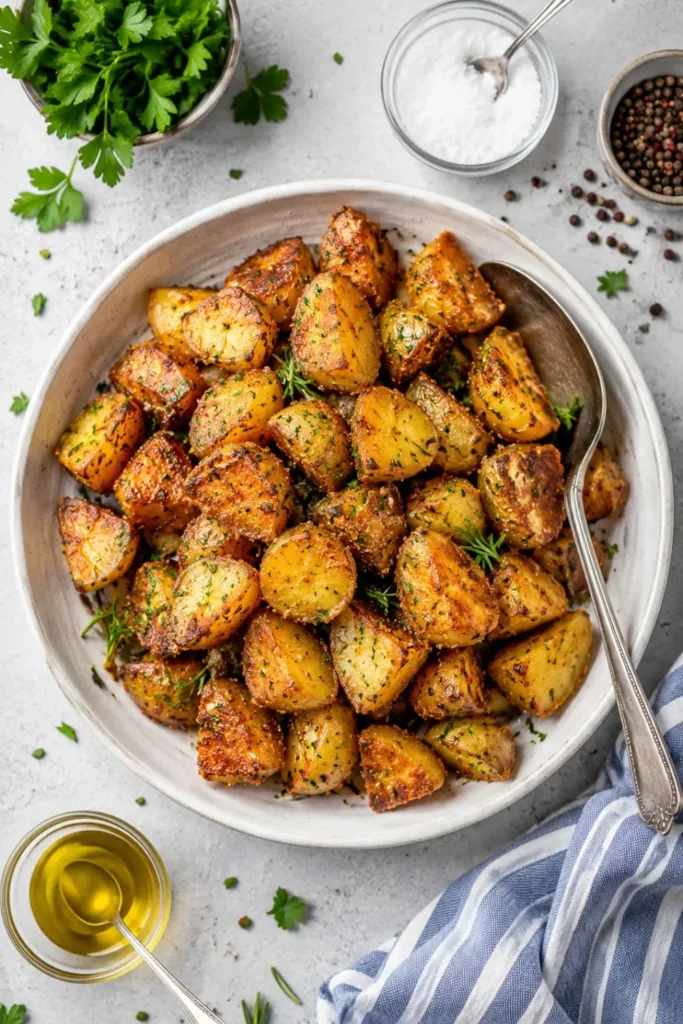
Crispy roasted potatoes vegan done with the dual potato technique, vigorous starchy coating, and preheated pan method produces results that most roasted potato recipes simply don’t achieve. 298 calories per serving, 6 people fed, genuinely crispy exterior, genuinely fluffy interior.
Preheat the pan. Add the Russet. Toss vigorously enough to feel slightly ridiculous. Add the potatoes one by one to the screaming hot pan.

Hi — I’m Rachel. I’m a wife, a mom, and a home cook who believes that food should bring comfort, joy, and compassion to the table. I live with my family — two hungry little foodies who are my most honest recipe testers — and together we’ve built a kitchen culture that’s all about good food that happens to be 100% vegan. I started this blog because I wanted a place to share the recipes that keep our days moving, the dishes that make weeknights feel a little easier, and the meals that become our little family traditions.