

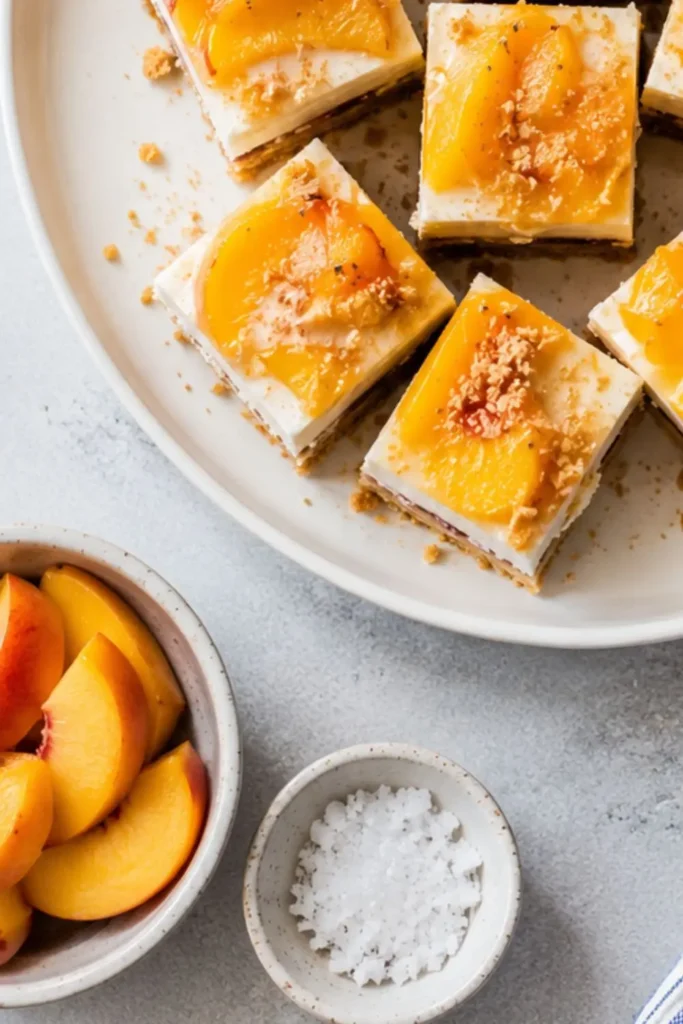
Peach season hits different when your oven stays off and your kitchen stays cool. That’s the whole pitch behind these No-Bake Creamy Vegan Peach Layered Dessert Bars, and honestly, once you slice into that first bar, you’ll get why I keep making batch after batch. Three layers, zero baking, and a peachy cream filling that tastes like summer decided to show up in dessert form.

I started making these last July when my oven broke mid-heatwave (peak comedy timing, right?). What began as a “guess I have to improvise” moment turned into my most-requested easy dessert recipe all summer long. Sweet, buttery crust on the bottom, a jammy peach layer in the middle, and a thick, creamy vegan filling on top. No fancy equipment, no baking, no stress.
Why These No-Bake Vegan Peach Bars Actually Work
Ever wondered why no-bake desserts taste even better in summer? It’s simple: your kitchen doesn’t turn into a sauna, and the fridge does all the heavy lifting. These bars set up cold and creamy, which means the peach flavor stays bright instead of getting muted by an oven.
Here’s what makes this recipe stand out from your average bar recipe:
- No oven required – your kitchen stays cool, you stay sane
- Fully vegan – cashew cream and coconut do the creamy work, no dairy needed
- Make-ahead friendly – these taste better the next day, IMO
- Naturally sweetened – real peaches and maple syrup, not a sugar bomb
- Crowd-pleaser – I’ve served these at three potlucks and they vanish every single time
I’m not going to pretend these bars are “healthy” in the kale-smoothie sense. But they’re built from real, honest ingredients, and that counts for something.
Equipment You’ll Need For Creamy Vegan Peach Layered Dessert Bars
You don’t need a fancy setup for this one, which is half the appeal. Grab these basics and you’re good to go:
- 8×8 inch baking dish or casserole dish (lined with parchment paper)
- Food processor or high-speed blender (for the crust and cream layer)
- Medium bowl (for mixing the peach layer)
- Large bowl (for the cashew cream)
- Rubber spatula (for smoothing layers trust me, it matters)
- Sharp knife (for slicing bars once chilled)
That’s it. No stand mixer, no piping bags, no drama.
Recipe Overview: Servings, Time, and Calories
Quick rundown before we get into the details, because I know you’re scrolling for this part:
- Prep Time- 30 minutes
- Chill Time- 4 hours (or overnight for best results)
- Total Time- 4 hours 30 minutes
- Servings- 9 bars
- Calories- approximately 265kcal per bar
Yes, there’s a wait involved. No, it’s not active waiting you just pop it in the fridge and go live your life. Patience pays off here, I promise.
Ingredients Breakdown
Let’s break this down layer by layer, because that’s really what makes these bars special.
For the No-Bake Crust
- 200g rolled oats
- 100g raw almonds
- 12 medjool dates, pitted
- 2 tablespoons melted vegan butter
- Pinch of sea salt
For the Peach Layer
- 500g fresh peaches, peeled and diced (or 2x 400g cans of peaches, drained)
- 2 tablespoons maple syrup
- 1 tablespoon lemon juice
- 1 tablespoon cornstarch
- Pinch of ground cinnamon
For the Creamy Vegan Filling
- 300g raw cashews, soaked in hot water for 1 hour, then drained
- 120ml full-fat coconut cream
- 60ml maple syrup
- 1 teaspoon vanilla extract
- 1 tablespoon lemon juice
- Pinch of sea salt
Simple ingredients, big payoff. Bold flavor doesn’t need a long ingredient list, and this recipe proves it.
How to Make No-Bake Creamy Vegan Peach Layered Dessert Bars
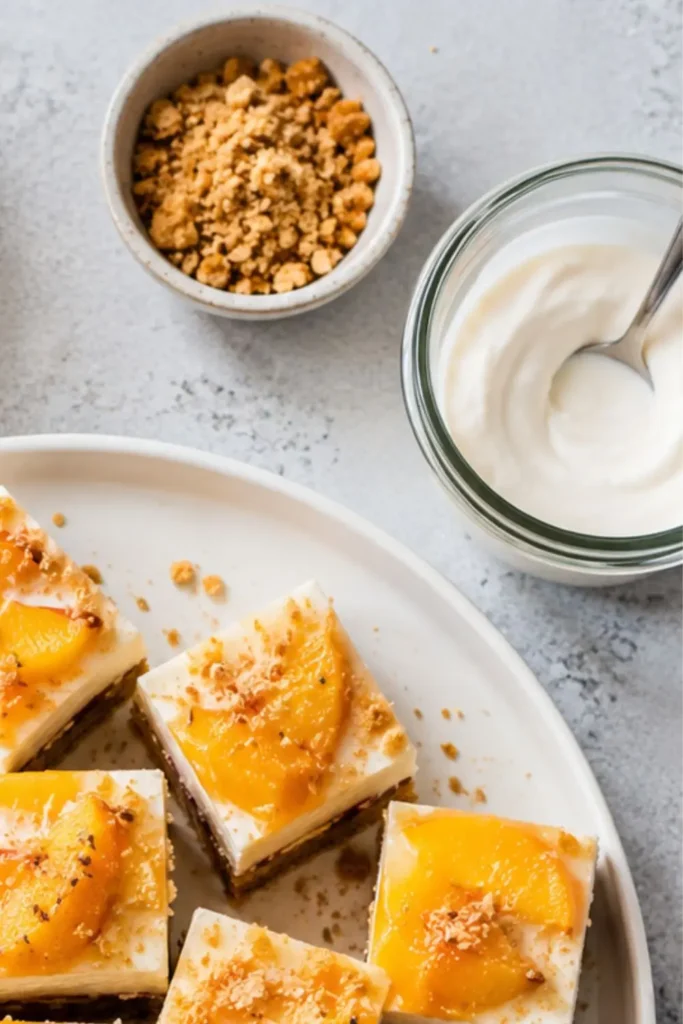
Okay, let’s actually make these things. I’ll walk you through it step-by-step so nothing feels intimidating.
Step 1- Build the Crust
Add the oats, almonds, dates, melted vegan butter, and sea salt to your food processor. Pulse until the mixture looks like wet sand and sticks together when you pinch it. Press the mixture firmly into your lined baking dish, using the back of a spoon to pack it down evenly. Pop it in the freezer while you make the next layer this keeps the crust from getting soggy.
Step 2- Cook the Peach Layer
Combine the diced peaches, maple syrup, lemon juice, cornstarch, and cinnamon in a saucepan over medium heat. Stir occasionally and let the mixture simmer for about 8 minutes, until it thickens into a jammy consistency. Remove from heat and let it cool for 10 minutes you don’t want to pour hot peach jam onto your crust. Once cooled, spread the peach layer evenly over the chilled crust.
Step 3- Whip Up the Creamy Filling
Add the soaked and drained cashews, coconut cream, maple syrup, vanilla extract, lemon juice, and sea salt to a high-speed blender. Blend until completely smooth this can take a few minutes, so don’t rush it. The mixture should be thick, glossy, and pourable, not watery. Pour the cream layer over the peach layer and smooth it out with a spatula.
Step 4- Chill and Set
Cover the baking dish and refrigerate for at least 4 hours, though overnight works even better. This is the hardest part of the whole recipe: waiting. Once fully set, lift the bars out using the parchment paper and slice into 9 even squares.
Grab the Complete Recipe Details

Tips for Perfect Layers
A few things I learned the hard way, so you don’t have to:
- Chill the crust before adding the peach layer. Skip this step and you’ll end up with a mushy mess instead of clean layers.
- Cool the peach layer completely before adding the cream on top, or the cream layer will slide right off.
- Soak your cashews properly. A quick 10-minute soak won’t cut it go for a full hour in hot water, or overnight in cold water if you’re planning ahead.
- Use a sharp knife and wipe it clean between cuts for those bakery-style, picture-perfect slices.
IMO, the chilling step is non-negotiable. I tried rushing it once with only 2 hours in the freezer, and the layers slid apart the second I lifted a bar out. Lesson learned.
Storage and Make-Ahead Tips
These bars store beautifully, which makes them one of the best easy dessert recipes for meal prepping ahead of a party or a lazy weekend.
- Refrigerator- Store bars in an airtight container for up to 5 days.
- Freezer- Wrap individual bars in parchment paper and freeze for up to 1 month. Thaw in the fridge for a few hours before serving.
- Make-ahead tip- Make the full batch a day before your event the layers actually hold together better after a full 24 hours in the fridge.
My Final Thoughts
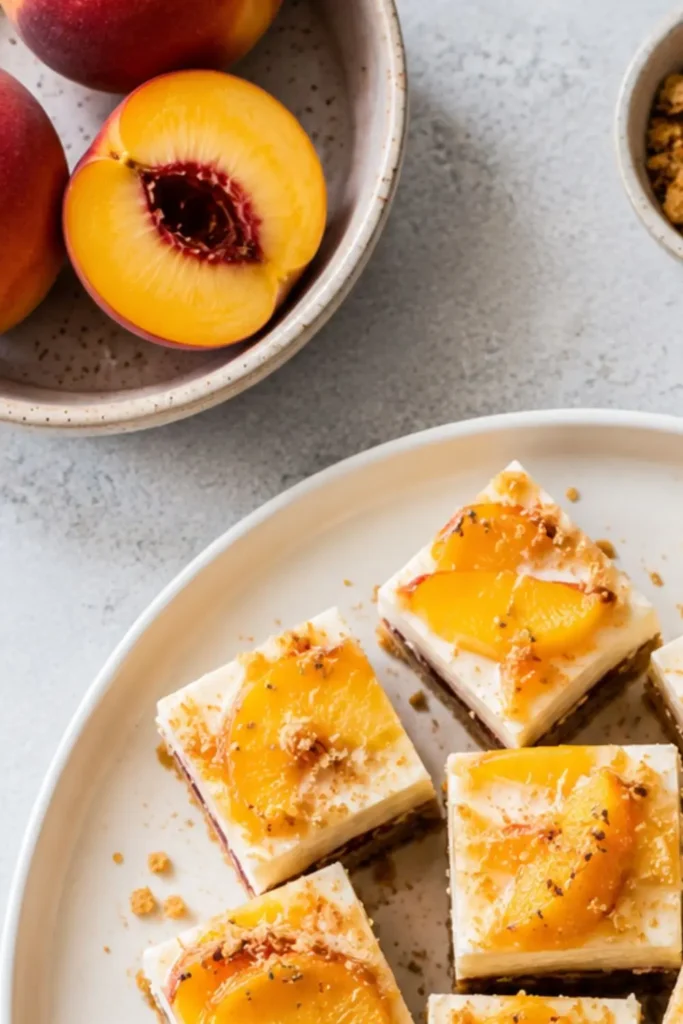
There you have it No-Bake Creamy Vegan Peach Layered Dessert Bars that taste like summer, require zero oven time, and disappear fast whenever I bring them anywhere. The crunchy crust, jammy peach middle, and silky cashew cream on top make this one of those recipes that looks way more impressive than the effort it actually takes.
So, next time your kitchen turns into an oven itself, skip the baking and make these instead. Your future self, sitting on the porch with a cold bar in hand, will thank you. Now go grab some peaches this recipe isn’t going to make itself.
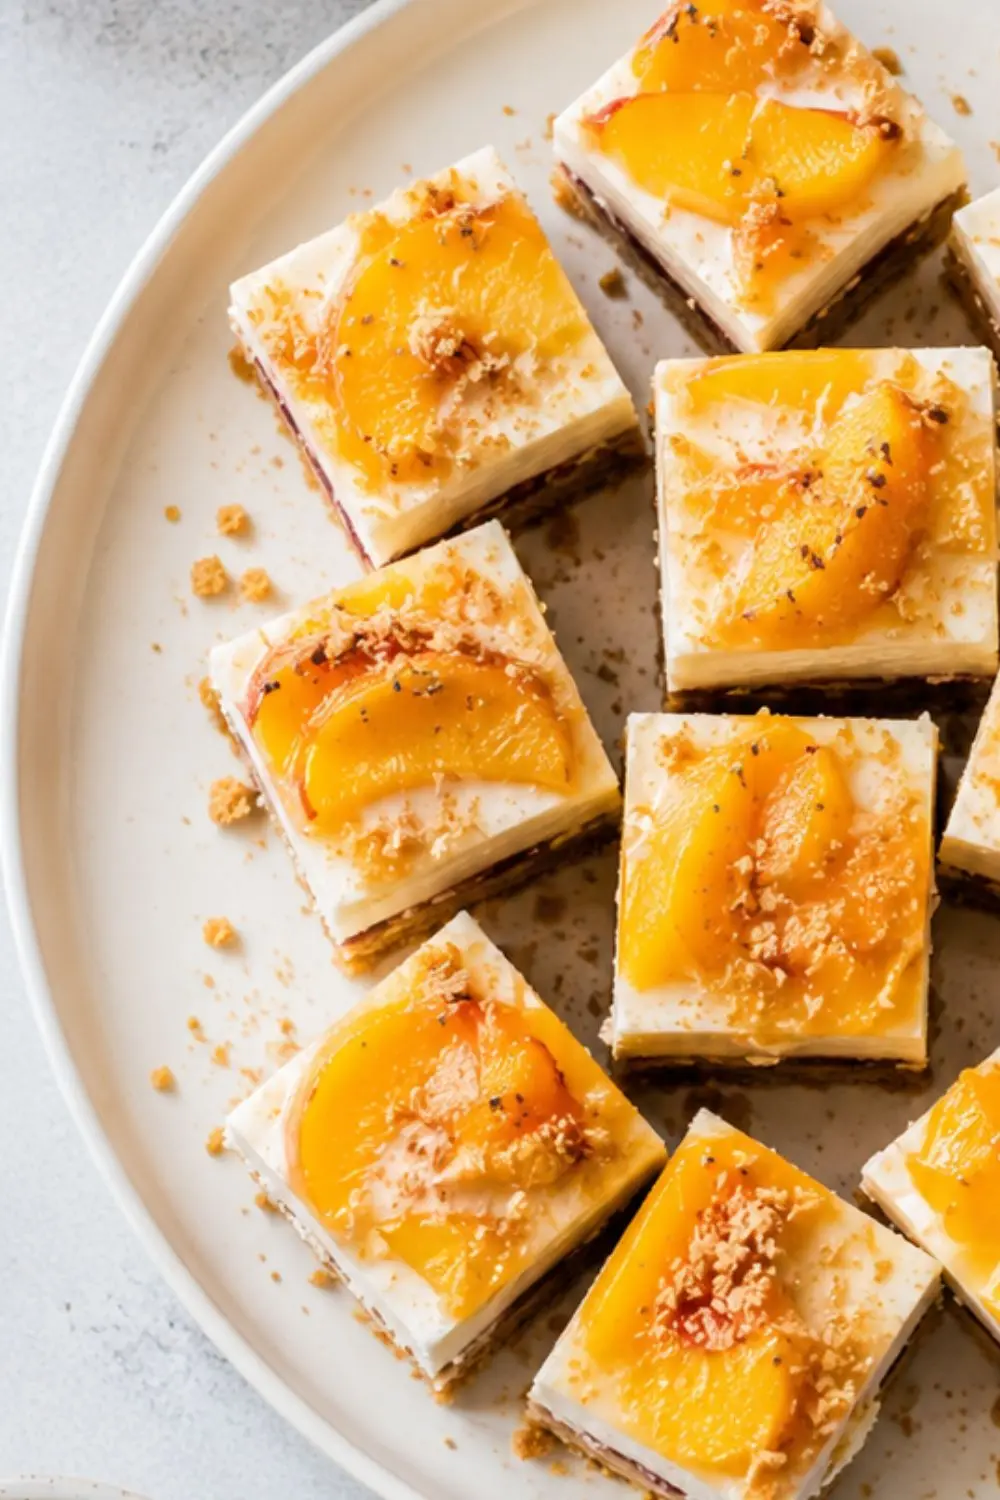
No-Bake Creamy Vegan Peach Layered Dessert Bars
Ingredients
Equipment
Method
- Step 1- Build the Crust
- Add the oats, almonds, dates, melted vegan butter, and sea salt to your food processor. Pulse until the mixture looks like wet sand and sticks together when you pinch it. Press the mixture firmly into your lined baking dish, using the back of a spoon to pack it down evenly. Pop it in the freezer while you make the next layer this keeps the crust from getting soggy.
- Step 2- Cook the Peach Layer
- Combine the diced peaches, maple syrup, lemon juice, cornstarch, and cinnamon in a saucepan over medium heat. Stir occasionally and let the mixture simmer for about 8 minutes, until it thickens into a jammy consistency. Remove from heat and let it cool for 10 minutes you don’t want to pour hot peach jam onto your crust. Once cooled, spread the peach layer evenly over the chilled crust.
- Step 3- Whip Up the Creamy Filling
- Add the soaked and drained cashews, coconut cream, maple syrup, vanilla extract, lemon juice, and sea salt to a high-speed blender. Blend until completely smooth this can take a few minutes, so don’t rush it. The mixture should be thick, glossy, and pourable, not watery. Pour the cream layer over the peach layer and smooth it out with a spatula.
- Step 4- Chill and Set
- Cover the baking dish and refrigerate for at least 4 hours, though overnight works even better. This is the hardest part of the whole recipe: waiting. Once fully set, lift the bars out using the parchment paper and slice into 9 even squares.
Notes
Tips for Perfect Layers
A few things I learned the hard way, so you don’t have to:- Chill the crust before adding the peach layer. Skip this step and you’ll end up with a mushy mess instead of clean layers.
- Cool the peach layer completely before adding the cream on top, or the cream layer will slide right off.
- Soak your cashews properly. A quick 10-minute soak won’t cut it go for a full hour in hot water, or overnight in cold water if you’re planning ahead.
- Use a sharp knife and wipe it clean between cuts for those bakery-style, picture-perfect slices.

Hi — I’m Rachel. I’m a wife, a mom, and a home cook who believes that food should bring comfort, joy, and compassion to the table. I live with my family — two hungry little foodies who are my most honest recipe testers — and together we’ve built a kitchen culture that’s all about good food that happens to be 100% vegan. I started this blog because I wanted a place to share the recipes that keep our days moving, the dishes that make weeknights feel a little easier, and the meals that become our little family traditions.