
Want swirled salted caramel ice cream without any dairy, eggs, or complicated custard base? These Salted Caramel Coconut Ice Cream Bars deliver rich, creamy coconut ice cream ribboned with homemade caramel, and they slice into neat bars for easy serving.
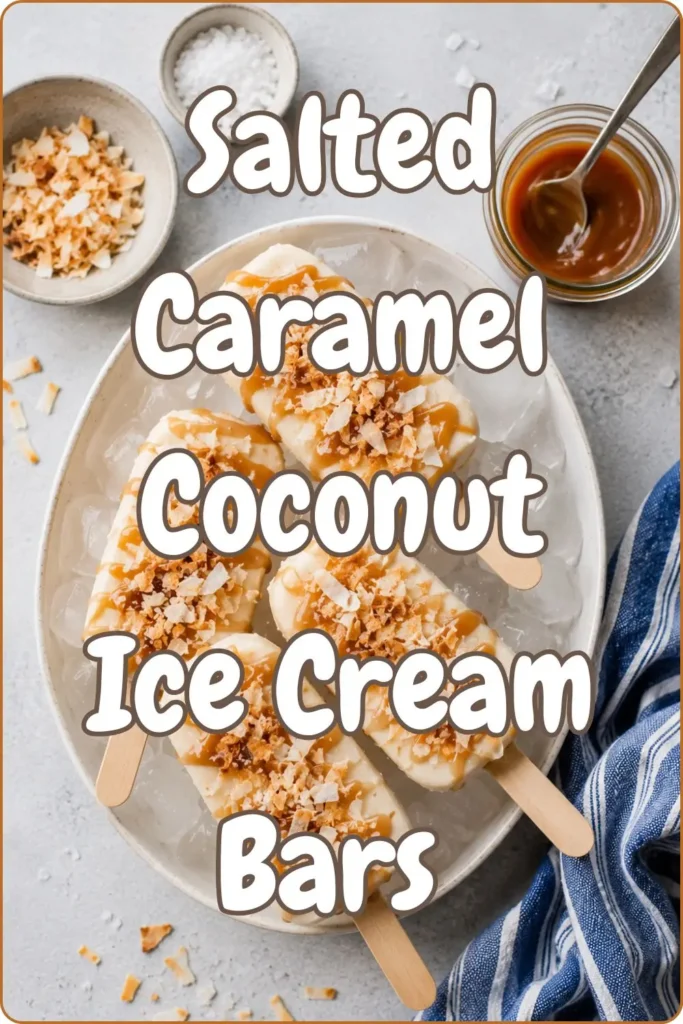
I started making these after getting hooked on the combination of salty and sweet in a good caramel sauce. Swirling homemade caramel through a coconut cream base turned out to be genuinely easier than I expected, and the payoff tastes like something from a fancy ice cream shop. Now this is my go-to whenever I want a frozen dessert that feels a little more special than a basic scoop.
This isn’t a complicated frozen dessert project requiring an ice cream degree. It’s a straightforward blend-and-freeze process with one genuinely worthwhile extra step: making your own caramel sauce. Let’s break down exactly how to build these.
Why These Salted Caramel Ice Cream Bars Deserve a Spot in Your Freezer
Dessert recipes don’t need dairy or eggs to deliver rich, creamy results, and these salted caramel coconut ice cream bars prove that completely. Coconut cream, homemade caramel, and a touch of sea salt combine for genuinely indulgent easy dessert recipes that taste far more elevated than the effort suggests.
Here’s what makes this recipe worth the freezer commitment:
- Genuinely creamy texture-coconut cream delivers real richness without dairy
- Homemade caramel sauce-no store-bought shortcuts needed, though you can use one if pressed for time
- That perfect salty-sweet balance-flaky sea salt cuts through the caramel beautifully
- Slices into neat bars-easier portioning than scooping straight from a tub
- Feeds a crowd-12 servings means plenty to share
Ever had a homemade dessert that tasted better than something you’d order at a fancy ice cream shop? That’s this one. IMO, the swirled caramel ribbons are what really elevate this beyond a basic coconut ice cream.
Your Recipe Timing and Serving Details
Here’s the quick breakdown before you start blending:
- Prep Time- 15 minutes
- Chill Time- At least 4 hours (overnight works even better)
- Total Time- About 4 hours 15 minutes, plus time for the caramel sauce
- Servings- 12 servings
- Calories- 268 kcal per serving
Most of that chill time is hands-off freezer work, not active effort this recipe makes 12 servings, perfect for a gathering or portioning out a treat over a couple of weeks. Double the batch if you’re feeding a bigger crowd; the process scales up easily.
Equipment You’ll Need For Salted Caramel Coconut Ice Cream Bars
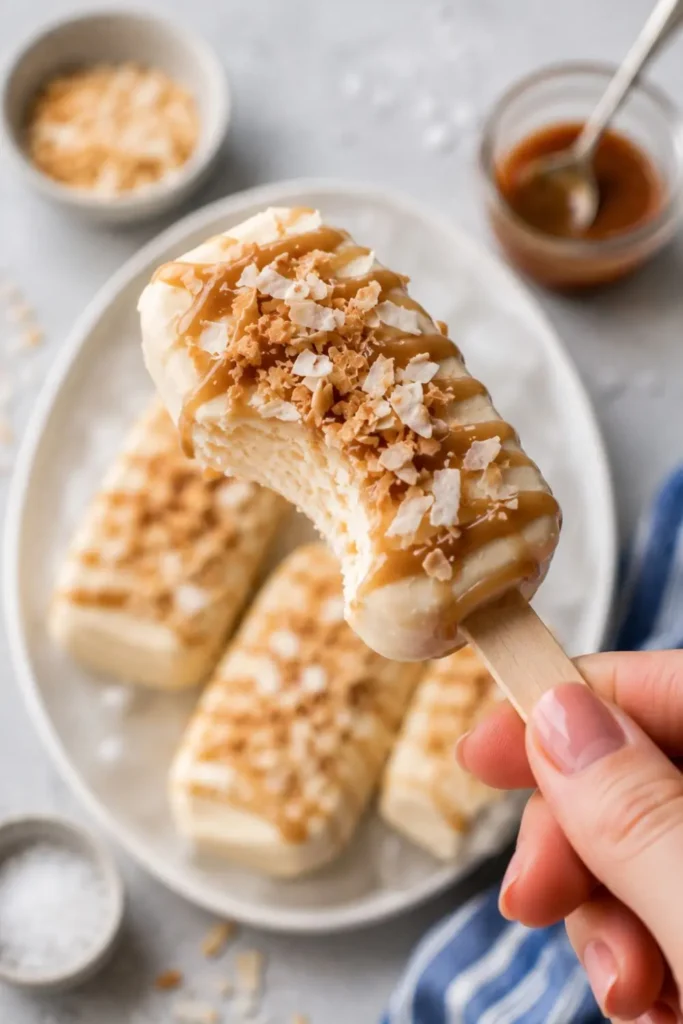
This recipe uses a bit more gear than a basic no-churn dessert, mainly because of the homemade caramel. Here’s what to have ready:
- High-speed blender or Vitamix (for blending the ice cream base)
- Ice cream maker (optional, though it speeds up the freezing process)
- Ice cube trays (if skipping the ice cream maker)
- Medium saucepan (for making the caramel sauce)
- 9×5 loaf pan or 2-quart container (for layering and freezing)
- Sharp knife (for swirling the caramel and later slicing into bars)
An ice cream maker isn’t required here, though it does speed things up considerably. The ice cube tray method works just as well if you don’t own one.
Ingredients Breakdown
This recipe comes together in two parts: the coconut ice cream base, and a homemade caramel sauce that gets swirled throughout.
For the Ice Cream
- 1.5 cups coconut cream (or spoon out the thick part from chilled full-fat coconut milk)
- 2 (14-ounce) cans full-fat coconut milk, chilled
- 1/4 cup creamy cashew butter (or any other nut butter)
- 1/2 cup maple syrup (or any liquid sweetener of choice)
- 2 teaspoons pure vanilla extract
- 1/2 cup homemade caramel sauce (recipe below, or use your favorite store-bought vegan brand)
- 1/2 cup sliced almonds, optional
- Crushed grain-free chocolate cookies, optional, for topping
For the Homemade Caramel Sauce
- 1/2 cup full-fat canned coconut milk
- 1/4 cup coconut sugar
- 2 teaspoons coconut oil (use refined if you’re not a fan of coconut flavor)
- 1 teaspoon high-quality pure vanilla extract
- 1/8 teaspoon flaky sea salt
Making your own caramel genuinely elevates this recipe, though a good store-bought vegan caramel works fine if you’re short on time.
How to Make Salted Caramel Coconut Ice Cream Bars
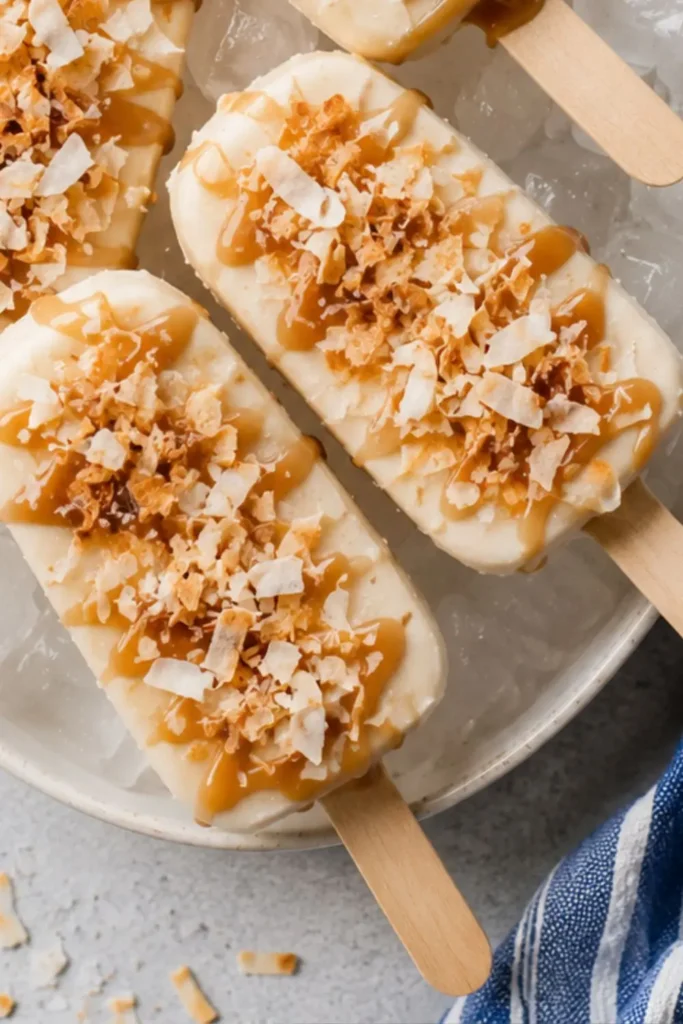
Ready to build this? Here’s exactly how it comes together.
Step 1- Make the Caramel Sauce
Bring the coconut milk and coconut sugar to a light boil in a medium saucepan over medium heat, stirring constantly. Once boiling, reduce the heat to low and let it simmer for about 25 minutes, stirring continuously so it doesn’t burn. Once thickened into a darker syrup, remove from heat and stir in the coconut oil and vanilla. Set aside to cool.
Step 2- Blend the Ice Cream Base
Place the coconut cream, coconut milk, nut butter, sweetener, and vanilla into a high-speed blender. Blend on high for 30 seconds, or until smooth and fully combined.
Step 3- Freeze With or Without a Machine
If using an ice cream maker, pour the blended mixture directly in while it’s running and churn for 20 to 25 minutes until firm. Without a machine, pour the mixture into ice cube trays and freeze for 2 hours, then blend the frozen cubes in a high-speed blender until smooth.
Step 4- Layer and Swirl
Spoon half the ice cream mixture into your loaf pan or container. Pour half the caramel sauce on top and gently swirl with a knife to create ribbons. Sprinkle in half the almonds if using. Repeat with the remaining ice cream, caramel, and almonds, then top with crushed cookies if desired.
Step 5- Freeze Until Firm
Cover the pan and freeze for at least 4 hours, or overnight for the firmest texture.
Step 6- Serve
When ready to serve, let the ice cream stand at room temperature for at least 20 minutes to soften slightly. Once softened enough, slice into bars using a sharp knife for that clean, bar-style presentation.
Serving Ideas for These Bars
These rich, swirled ice cream bars work well in a variety of settings. Here’s how I like to serve them:
- Classic bar slices– cut into rectangles for a neat, portioned presentation
- Topped with extra caramel– drizzle more sauce on top right before serving
- Ice cream sandwich– use a bar between two cookies for extra indulgence
- Dinner party dessert– slice and plate individually for an elegant finish
- Paired with fresh fruit– serve alongside berries to cut through the richness
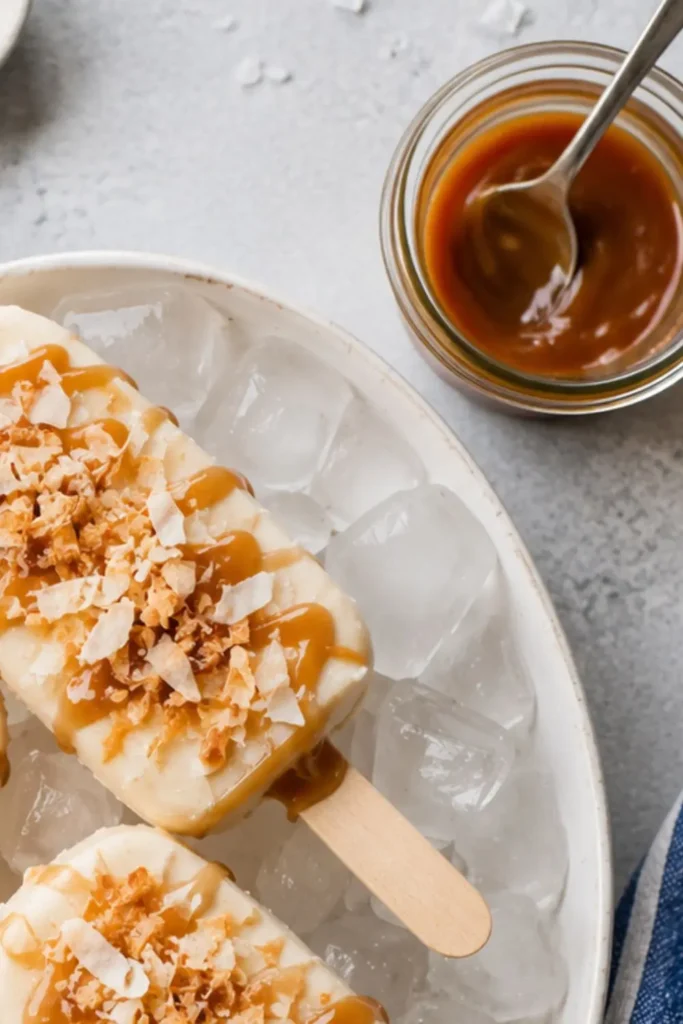
Ever wondered why swirling the caramel instead of mixing it in matters so much? Distinct ribbons of caramel create pockets of concentrated sweet-salty flavor throughout each bite, rather than diluting that flavor evenly across the whole batch.
Tips for Getting These Bars Right
A few things I’ve picked up from making this more times than I can count:
- Stir the caramel constantly while it simmers. This prevents burning and ensures even thickening.
- Chill your coconut milk cans beforehand. This helps the cream separate more cleanly for a smoother base.
- Don’t over-swirl the caramel. A few gentle passes with a knife create ribbons; too much mixing blends it in completely.
- Let the ice cream soften before slicing. This prevents cracking and gives you cleaner bar-shaped pieces.
I once rushed the caramel sauce and pulled it off the heat too early. It ended up thinner than I wanted, and the swirls didn’t hold their shape as well once frozen :/ That full 25-minute simmer genuinely matters for getting the right caramel consistency.
Nutrition Breakdown (Per Serving)
Here’s exactly what you’re getting per serving, based on 12 total servings from this recipe:
- Calories- 268 kcal
- Fat- 28g
- Carbohydrates- 25g
- Fiber- 1g
- Sugar- 8g
- Protein- 4g
This is a genuinely rich dessert given the coconut cream base, so treat it as an occasional indulgence. The natural fats from coconut provide sustained energy, though the calorie count still means portion control matters here.
Still Hungry, Try It Next recipe
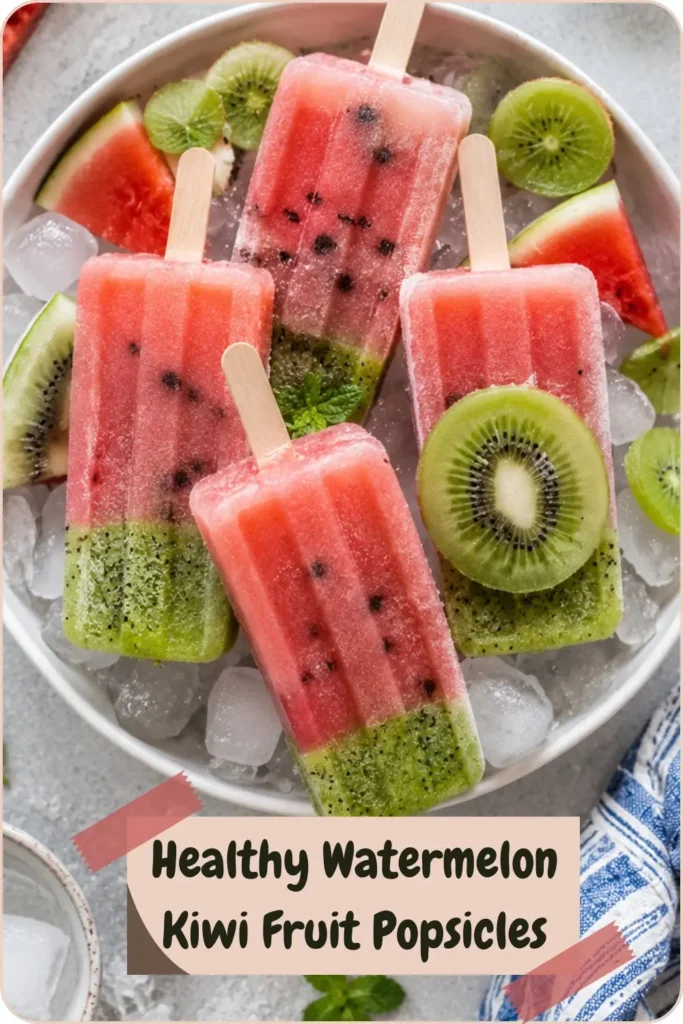
Healthy Watermelon Kiwi Fruit Popsicles
Storage and Make-Ahead Tips
These ice cream bars keep well in the freezer for up to 2 weeks, tightly covered to prevent ice crystals from forming. The homemade caramel sauce also keeps separately in an airtight jar in the fridge for about a week if you want to make extra ahead of time.
Since this recipe requires several hours of freezing anyway, it’s naturally a make-ahead dessert. Prep it a day or two before a gathering for the best convenience.
Common Questions About These Bars
Can I use store-bought vegan caramel instead of homemade? Yes, a good quality store-bought vegan caramel works fine if you’re short on time, though homemade gives you more control over the salt level.
Do I need an ice cream maker for this recipe? No, the ice cube tray method works well as an alternative if you don’t own one.
Can I skip the almonds and cookies? Absolutely, both are optional. The ice cream and caramel swirl still taste great without any additional mix-ins.
Why does my caramel taste like coconut? Regular coconut oil brings a noticeable coconut flavor. Swap in refined coconut oil if you prefer a more neutral taste.
My Final Thoughts
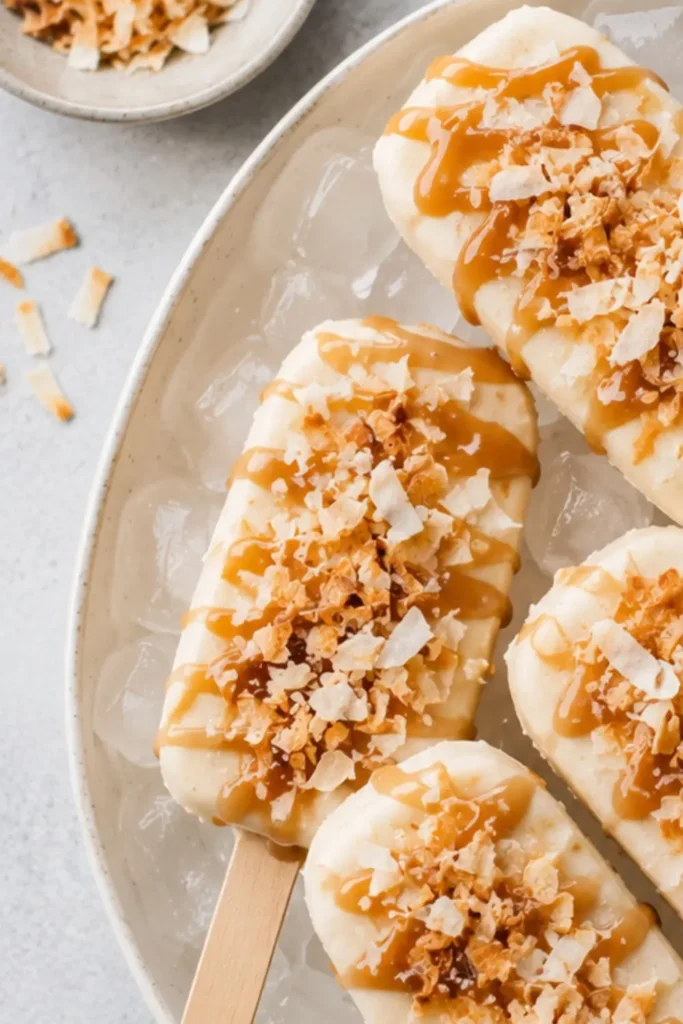
These Salted Caramel Coconut Ice Cream Bars prove that dairy-free ice cream can absolutely rival anything from a fancy ice cream shop. Rich coconut cream, homemade caramel swirls, and a touch of sea salt come together for genuinely one of the more impressive easy dessert recipes you’ll make this summer.
Make a batch once, and it’s likely earning a permanent spot in your freezer rotation. Whether you slice it into neat bars or scoop it straight from the container, this dessert delivers real, indulgent flavor every single time. Grab that coconut milk your next favorite frozen treat is just a few hours of chilling away.
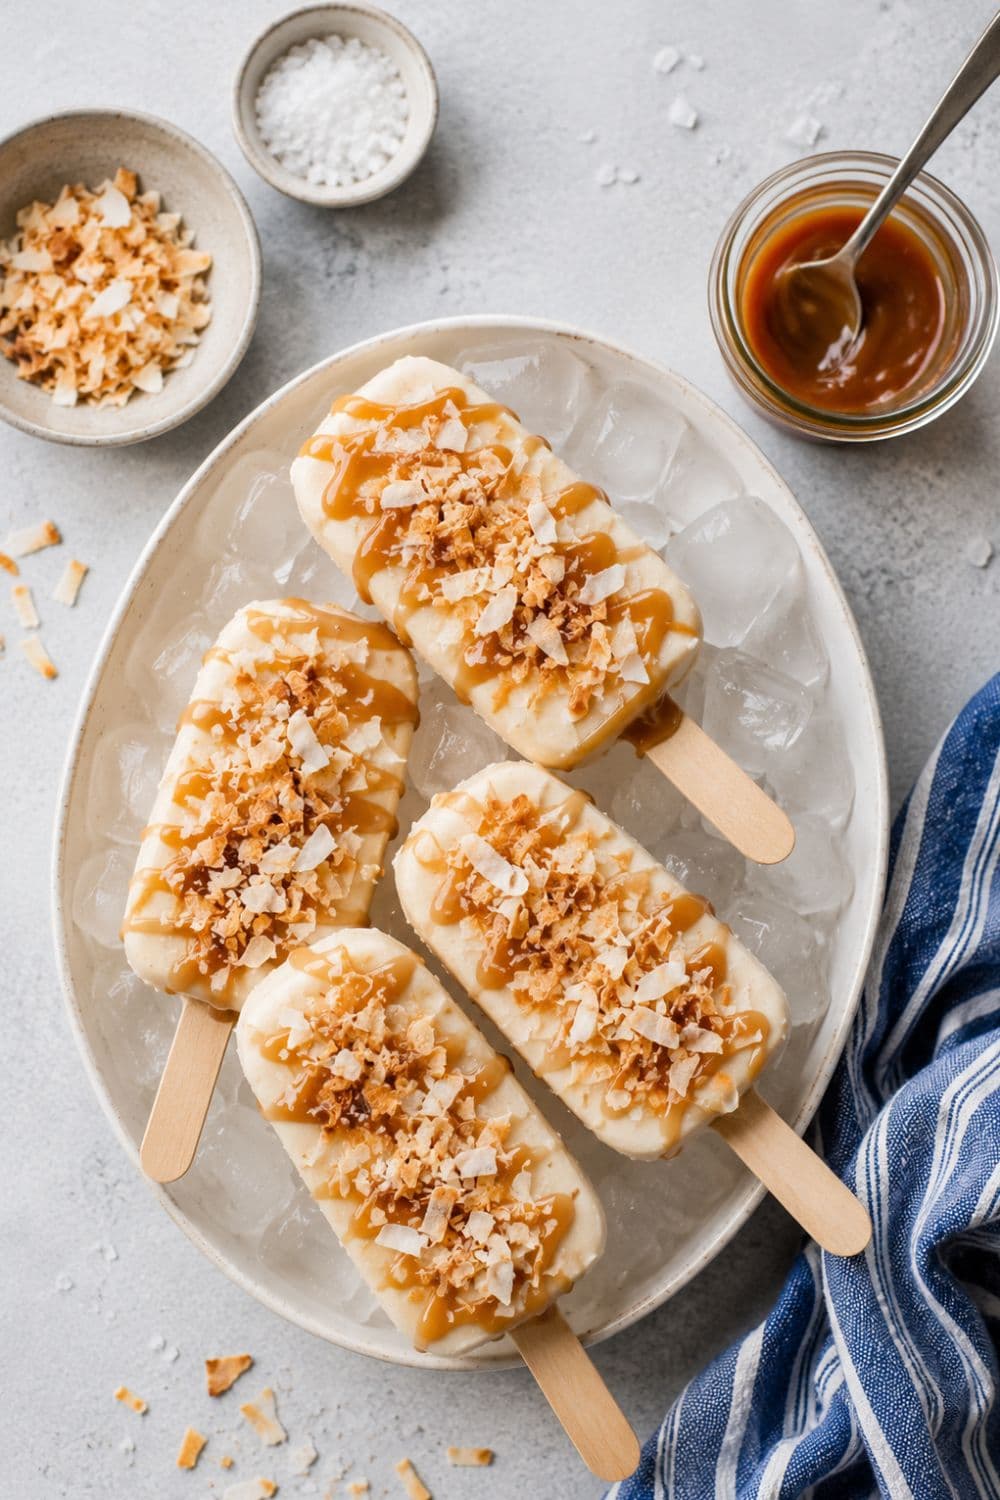
Salted Caramel Coconut Ice Cream Bars Easy Dessert Recipes
Ingredients
Equipment
Method
- Step 1- Make the Caramel Sauce
- Bring the coconut milk and coconut sugar to a light boil in a medium saucepan over medium heat, stirring constantly. Once boiling, reduce the heat to low and let it simmer for about 25 minutes, stirring continuously so it doesn’t burn. Once thickened into a darker syrup, remove from heat and stir in the coconut oil and vanilla. Set aside to cool.
- Step 2- Blend the Ice Cream Base
- Place the coconut cream, coconut milk, nut butter, sweetener, and vanilla into a high-speed blender. Blend on high for 30 seconds, or until smooth and fully combined.
- Step 3- Freeze With or Without a Machine
- If using an ice cream maker, pour the blended mixture directly in while it’s running and churn for 20 to 25 minutes until firm. Without a machine, pour the mixture into ice cube trays and freeze for 2 hours, then blend the frozen cubes in a high-speed blender until smooth.
- Step 4- Layer and Swirl
- Spoon half the ice cream mixture into your loaf pan or container. Pour half the caramel sauce on top and gently swirl with a knife to create ribbons. Sprinkle in half the almonds if using. Repeat with the remaining ice cream, caramel, and almonds, then top with crushed cookies if desired.
- Step 5- Freeze Until Firm
- Cover the pan and freeze for at least 4 hours, or overnight for the firmest texture.
- Step 6- Serve
- When ready to serve, let the ice cream stand at room temperature for at least 20 minutes to soften slightly. Once softened enough, slice into bars using a sharp knife for that clean, bar-style presentation.
Notes
Nutrition Breakdown (Per Serving)
Here’s exactly what you’re getting per serving, based on 12 total servings from this recipe:- Calories- 268 kcal
- Fat- 28g
- Carbohydrates- 25g
- Fiber- 1g
- Sugar- 8g
- Protein- 4g

Hi — I’m Rachel. I’m a wife, a mom, and a home cook who believes that food should bring comfort, joy, and compassion to the table. I live with my family — two hungry little foodies who are my most honest recipe testers — and together we’ve built a kitchen culture that’s all about good food that happens to be 100% vegan. I started this blog because I wanted a place to share the recipes that keep our days moving, the dishes that make weeknights feel a little easier, and the meals that become our little family traditions.