
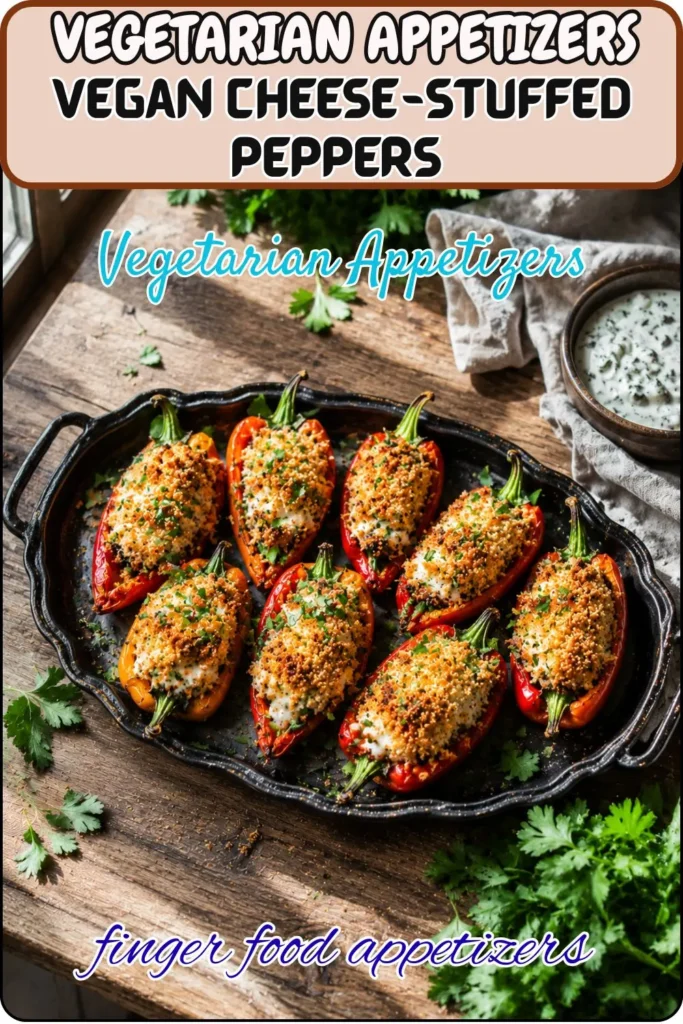
Picture this: a platter of colorful mini peppers, each one filled with a creamy, herby, slightly spicy vegan cream cheese filling and topped with a golden, crunchy panko crust. They look like you spent an afternoon in the kitchen. They actually took 30 minutes including cleanup. These Vegan Cheese-Stuffed Peppers are the kind of appetizer that earns you compliments you absolutely do not deserve relative to the effort involved, and I mean that in the best possible way.
Whether you’re hosting a dinner party, showing up to a potluck, or making a weeknight snack that feels a little special, this recipe delivers every single time. Let’s get into it.
Why Vegan Cheese-Stuffed Peppers Belong on Every Appetizer Table
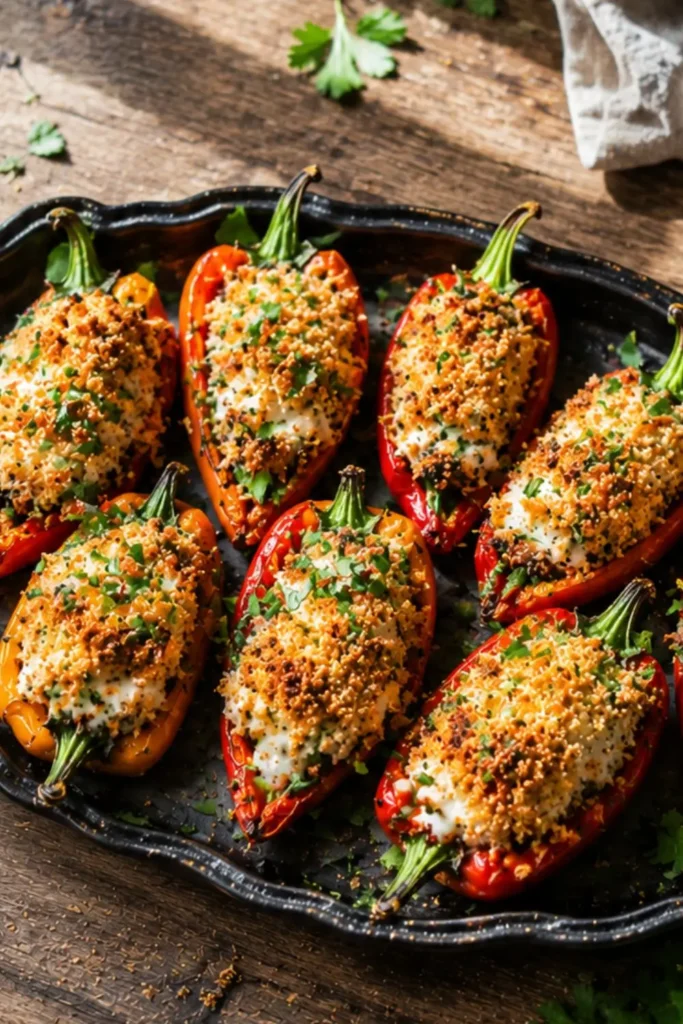
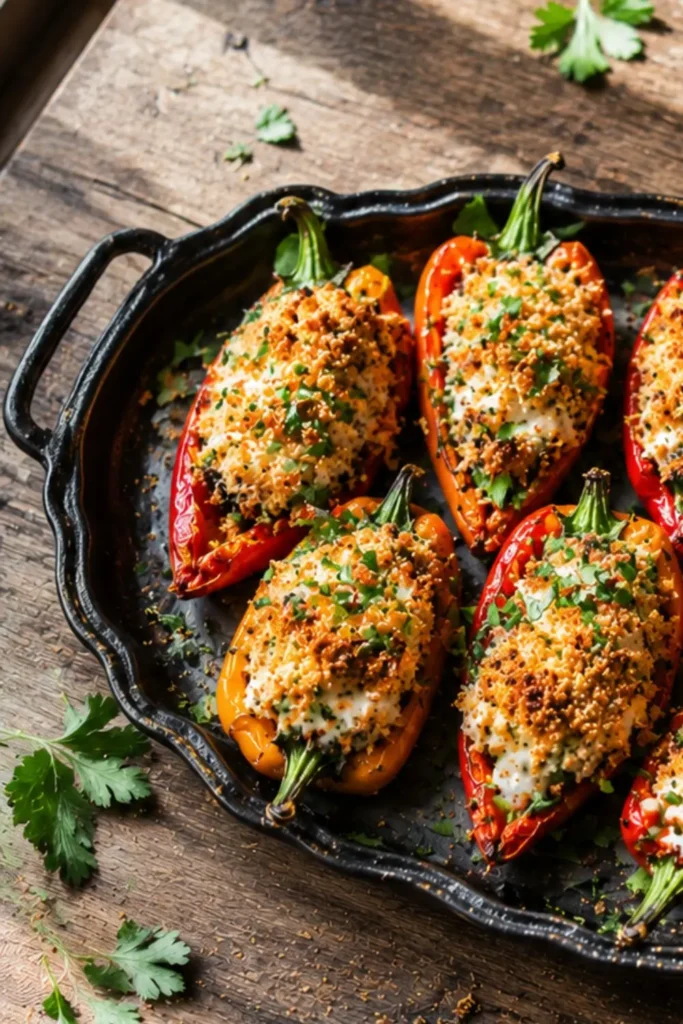
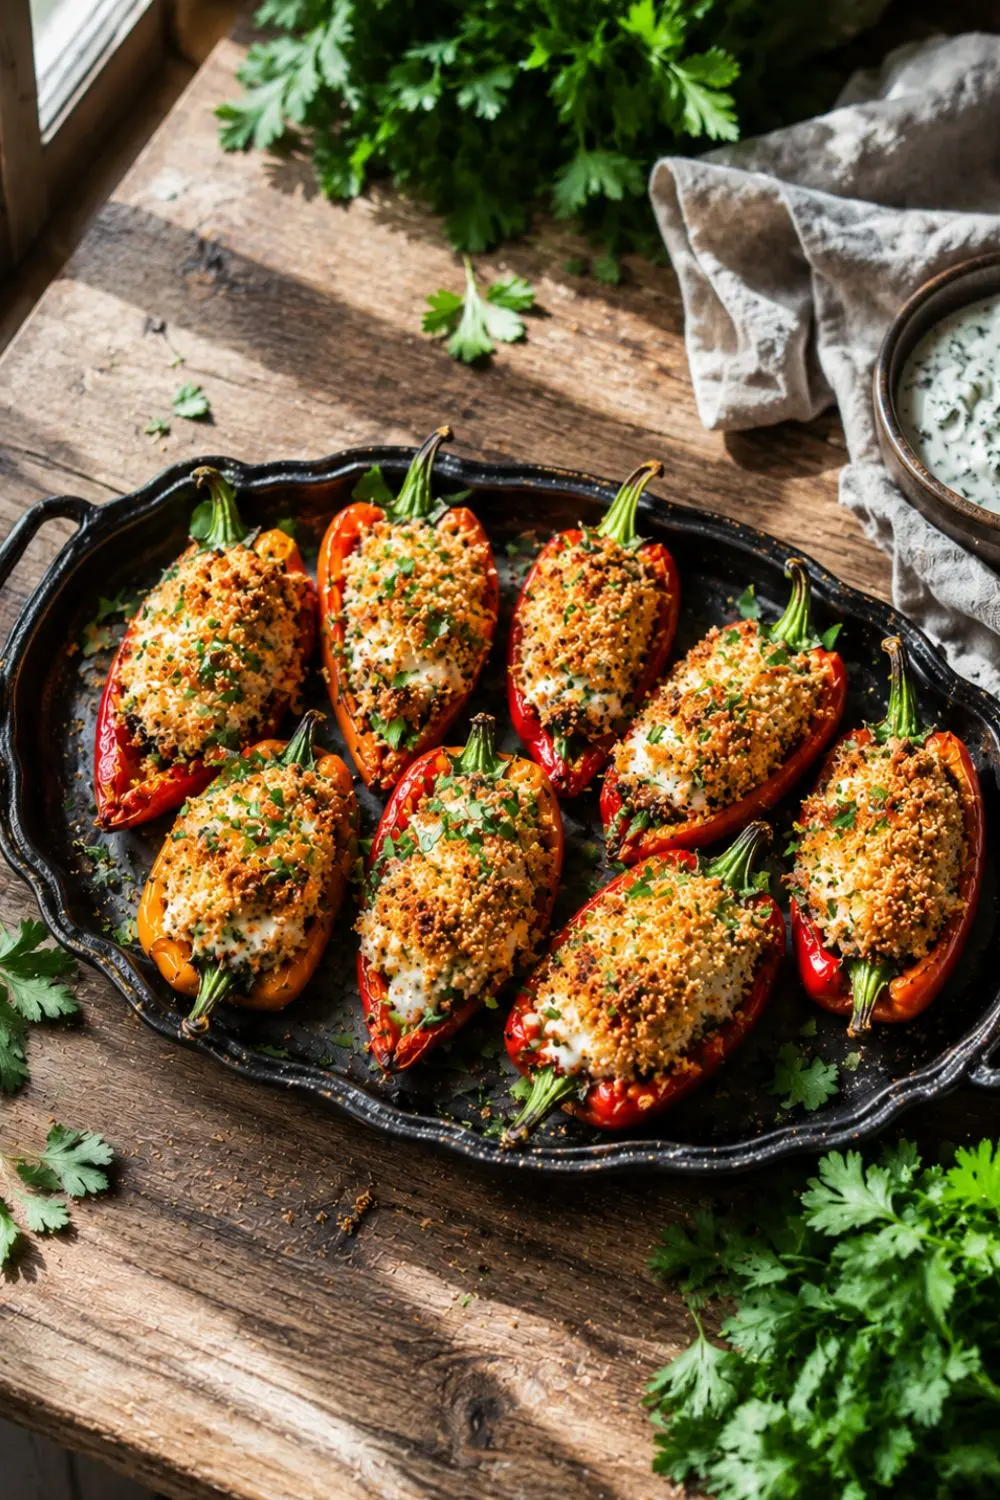
Mini sweet bell peppers are the perfect vessel for a stuffed appetizer. They’re naturally cup-shaped, sturdy enough to hold a generous filling without collapsing, sweet enough to balance savory or spicy fillings, and small enough to eat in two bites. Use mini sweet peppers, fill with vegan cream cheese, sprinkle with panko breadcrumbs and seasoning, then bake until golden and you have something that genuinely looks beautiful on a platter with almost no effort.
What I love most about this recipe is how versatile it is. The base filling is creamy and mildly spiced, which means it plays well with a wide range of garnishes, dipping sauces, and flavor variations. You can keep them mild for a mixed crowd or crank up the heat for people who want something with more fire.
My Recipe At a Glance
Here’s your full timing and serving snapshot before we start:
| Detail | Info |
| Prep Time | 15 minutes |
| Cook Time | 15 minutes |
| Total Time | 30 minutes |
| Servings | 4 people |
| Calories per Serving | 37 kcal |
| Course | Appetizer / Snack |
| Cuisine | American / Vegan |
At just 37 calories per serving, these are genuinely one of the lightest appetizers you can put on a table without sacrificing flavor or satisfaction. Each serving covers 3 filled pepper halves, which makes them ideal for a starter before a larger meal or as one element of a bigger appetizer spread.
Equipment You’ll Need For
Nothing fancy required. Here’s your full equipment list:
- Oven – preheated to 375°F (190°C). You want consistent, even heat to soften the peppers and crisp the panko topping simultaneously.
- Baking sheet – flat and rimmed, large enough to fit all 24 pepper halves (12 peppers sliced in half) in a single layer with space between them.
- Parchment paper or silicone baking mat -nes the baking sheet for easy cleanup and prevents the peppers from sticking or scorching on the bottom.
- Medium mixing bowl – for combining the dairy-free cream cheese with your spices. Medium size gives you room to mix properly without everything spilling over the edges.
- Small spoon or spreader – a small offset spatula, butter knife, or even a teaspoon works perfectly for filling each pepper half generously and neatly.
- Sharp knife and cutting board – for slicing the peppers in half lengthwise and removing the seeds cleanly without tearing them apart.
- Clean kitchen towel or paper towels – to pat the pepper halves dry after washing. Dry peppers hold the filling better and crisp up more evenly in the oven.
- Serving platter – arrange them beautifully for the table. These deserve a proper presentation.
That’s the full list. If you have a functional oven and basic kitchen tools, you’re set.
Ingredients (Serves 4)
Simple, accessible, and completely plant-based:
For the Peppers:
- 12 mini sweet bell peppers – look for firm, brightly colored ones with smooth skin. Red, yellow, and orange varieties all work and make the platter look vibrant and appealing.
For the Filling:
- 8 oz dairy-free cream cheese – Violife, Kite Hill, and Miyoko’s all make excellent options here. Kite Hill has a particularly clean, mild flavor that works beautifully with the spices. Let it sit at room temperature for 10 minutes before mixing it blends much more smoothly when it’s slightly softened.
- ¼ tsp onion powder
- ¼ tsp garlic powder
- ¼ tsp crushed red pepper flakes – this is where the gentle heat comes from. Increase to ½ tsp if you want a more noticeable kick.
- ½ tsp sea salt
For the Topping:
- ½ cup plain or Italian-seasoned panko breadcrumbs – panko gives you a significantly crunchier, airier topping than regular breadcrumbs. It’s the right call here and worth seeking out specifically.
For the Garnish:
- 3 tbsp chopped fresh cilantro, green onions, or chives -pick whichever appeals to you most. Green onions add a mild savory note, chives bring delicacy, and cilantro adds brightness and color contrast.
Alternative ingredients worth knowing:
- Cashew cream- works as a substitute for dairy-free cream cheese if you prefer a slightly nuttier, more natural flavor profile. Make it by blending soaked raw cashews with lemon juice, garlic, and salt.
- Gluten-free panko breadcrumbs -swap in perfectly if you need a gluten-free version the texture holds up identically in the oven.
- Dried herbs- work fine in place of fresh garnish if that’s what you have on hand. Use about a third of the quantity since dried herbs are more concentrated.
Step-by-Step Instructions For
Six straightforward steps. Here’s exactly how to make them.
Step 1 – Preheat and Prep the Peppers
Set your oven to 375°F (190°C) and line your baking sheet with parchment paper. While the oven heats, wash your mini bell peppers thoroughly under cold water. Slice each pepper in half lengthwise keep the tops on, they make the halves look neater and more finished on the platter. Carefully remove the seeds from each half using your fingers or a small spoon, then pat the pepper halves completely dry with a clean towel.
Dry peppers matter more than most people realize. Any excess moisture inside the pepper creates steam during baking that prevents the filling from setting properly and makes the panko topping go soft rather than crisp.
Step 2 – Mix the Filling
In your medium mixing bowl, combine the dairy-free cream cheese, onion powder, garlic powder, crushed red pepper flakes, and sea salt. Mix everything together until completely smooth and well blended. Taste it. Does it need more heat? Add extra red pepper flakes. More salt? Adjust now, before it goes into the peppers.
The filling should taste boldly seasoned slightly more so than you think it needs. The pepper’s sweetness and the plain breadcrumb topping will temper the flavor, so the filling needs to carry the whole thing.
Step 3 – Fill the Peppers
Using your small spoon or spreader, fill each pepper half generously with the cream cheese mixture. Don’t be shy with the amount a well-filled pepper looks abundant and appealing on the plate. A barely-filled pepper looks sad and makes people feel like they got the short end of the deal :/ Aim for a slightly mounded fill that sits above the rim of the pepper.
Step 4 -Arrange and Top with Panko
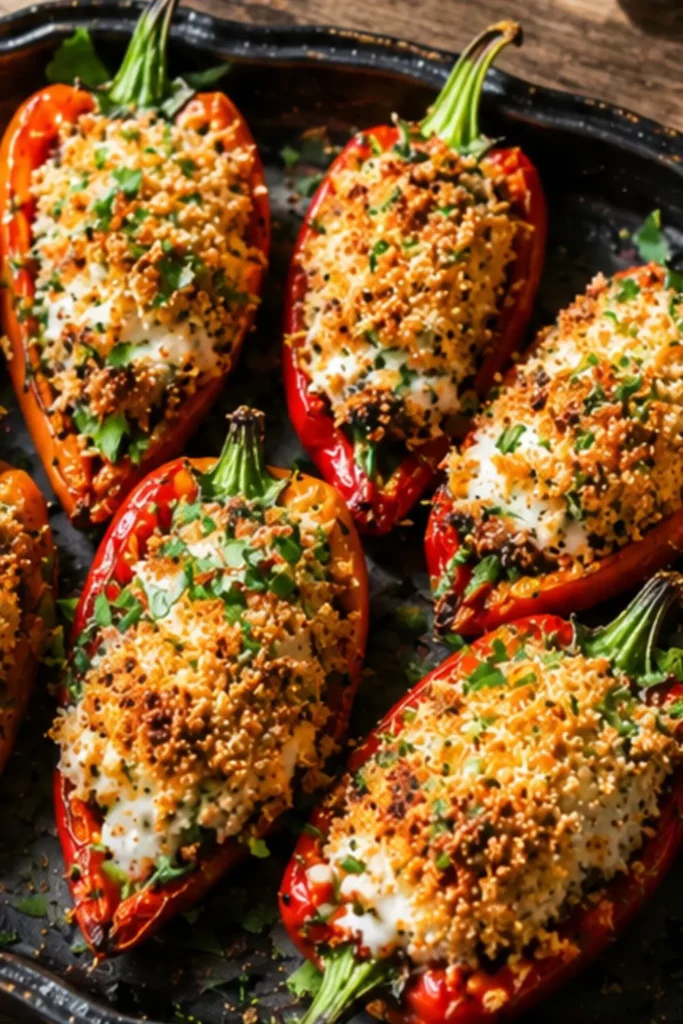
Arrange the stuffed peppers on your prepared baking sheet in a single layer with a little space between each one. Sprinkle the panko breadcrumbs evenly over the top of each pepper. You want a visible, even layer of crumbs on every pepper this is what becomes the crunchy golden topping that makes the whole thing come together visually and texturally.
FYI if you want a deeper golden crust, add a very light drizzle of olive oil over the panko before baking. It encourages browning and adds a subtle richness to the topping.
Step 5 -Bake Until Golden
Slide the baking sheet into your preheated oven and bake for 15–20 minutes, until the pepper skins look slightly wrinkled and softened and the panko topping turns golden brown and crisp. Keep an eye on them from the 15-minute mark oven temperatures vary, and panko can go from golden to burnt fairly quickly once it starts coloring.
The peppers should be tender but still hold their shape when you lift them. They shouldn’t be mushy or collapsing you want them to maintain enough structure to pick up and eat by hand.
Step 6 – Garnish and Serve
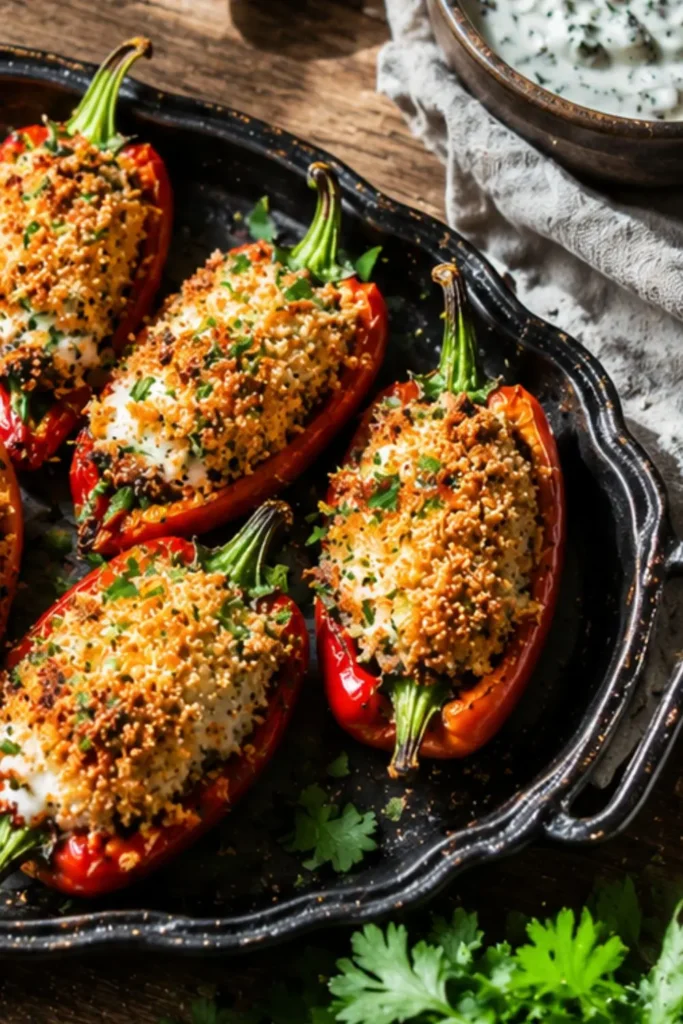
Transfer the baked peppers to your serving platter and immediately scatter your chosen garnish chopped fresh cilantro, green onions, or chives over the top. Serve hot alongside vegan ranch dressing or vegan tzatziki for dipping. The cool, creamy dip against the warm, slightly spicy pepper creates an excellent contrast.
Full Nutrition Breakdown (Per Serving)
| Nutrient | Amount |
| Calories | 37 kcal |
| Carbohydrates | 3g |
| Protein | 1g |
| Total Fat | 3g |
| Saturated Fat | 1g |
| Fiber | 1g |
| Sugar | 1g |
| Sodium | 102mg |
| Potassium | 7mg |
| Vitamin A | 62 IU |
| Vitamin C | 1mg |
| Calcium | 11mg |
| Iron | 1mg |
At 37 calories per serving with only 3g of fat and 3g of carbs, these are among the lightest appetizers you can genuinely enjoy without thinking twice. They’re naturally low in sugar and free from cholesterol which, for something that tastes this creamy and indulgent, is a genuinely pleasant surprise.
Tips for the Best Vegan Cheese-Stuffed Peppers Every Time
Want to nail these on your first attempt and every attempt after? Here’s what actually makes the difference:
- Dry your peppers thoroughly. Moisture is the enemy of a crispy panko topping and a set, creamy filling. Pat every half dry before filling don’t skip this step.
- Soften the cream cheese before mixing. Cold dairy-free cream cheese is stiff and doesn’t blend smoothly with the spices. Give it 10 minutes at room temperature and your filling will come together in seconds.
- Season boldly. The mini pepper’s natural sweetness and the mild panko will soften the filling’s flavor during baking. Season the filling more aggressively than you normally would.
- Don’t crowd the baking sheet. Peppers too close together trap steam and prevent the panko from crisping. Give them space and they’ll reward you with a proper golden crust.
- Watch the panko from 15 minutes. It goes from perfectly golden to overdone quickly. Check early and pull them when the crumbs are evenly browned.
- Serve hot. These are best straight from the oven when the filling is warm and creamy and the panko is at peak crunch. They soften as they sit, so time your baking to match when your guests are ready to eat.
Flavor Variations Worth Exploring
The base recipe is excellent as written, but Vegan Cheese-Stuffed Peppers respond brilliantly to customization. Here are variations that genuinely work:
Everything Bagel Version
Skip the individual spices in the filling and replace the panko topping with everything bagel seasoning mixed with panko. The sesame, garlic, onion, and poppy seed blend creates an incredible savory crust that makes these feel like a completely different recipe. Bake or serve fresh both work.
Smoky Chipotle Version
Add ½ teaspoon of chipotle powder and a teaspoon of smoked paprika to the cream cheese filling. Top with plain panko and serve with vegan sour cream for dipping. The smoky heat is genuinely addictive.
Mediterranean Version
Mix finely chopped sun-dried tomatoes, kalamata olives, and dried oregano into the cream cheese filling. Top with panko and garnish with fresh parsley. Serve with vegan tzatziki for a full Mediterranean flavor profile.
No-Bake Version
Skip the oven entirely. Fill the raw pepper halves with the seasoned cream cheese mixture, sprinkle with finely chopped nuts or seeds instead of panko, and serve immediately. The texture is completely different fresh, cool, and crunchy but it’s a great option for hot days or last-minute prep.
Try It Next recipe
Make-Ahead and Storage Tips
These work well for advance prep with a few simple strategies:
- Make the filling ahead- The cream cheese mixture keeps in the fridge in an airtight container for up to 3 days. Prep it the day before and the actual assembly takes under 10 minutes.
- Prep the peppers ahead- Slice, deseed, and dry the pepper halves up to 24 hours in advance. Store them covered in the fridge until you’re ready to fill and bake.
- Store leftovers- Keep baked stuffed peppers in an airtight container in the fridge for up to 3 days. They soften as they sit but still taste good cold or at room temperature.
- Reheat- Place leftover peppers on a baking sheet in a 375°F oven for 8–10 minutes to warm through and restore some crispness to the panko. IMO, the microwave makes them soggy and isn’t worth it.
How to Serve Vegan Cheese-Stuffed Peppers at a Gathering
These look stunning on a platter and pair brilliantly with other appetizers. Here are the best serving approaches:
- Arrange them color-sorted by pepper variety alternating red, yellow, and orange halves on a long white platter for a visually striking presentation
- Set out vegan ranch, tzatziki, or a chipotle aioli alongside for dipping
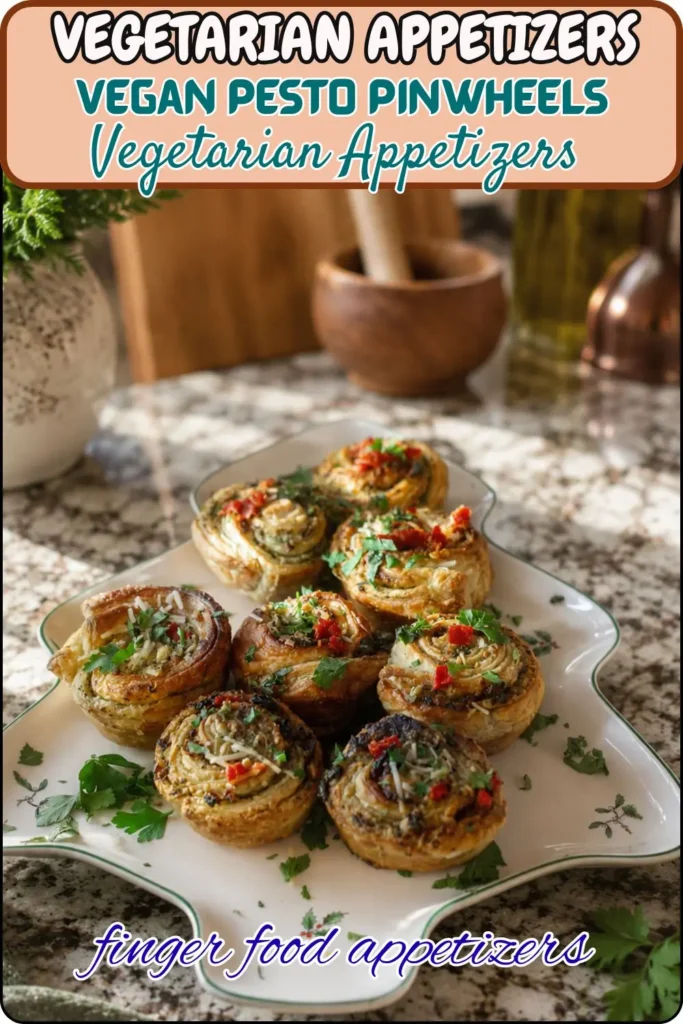
- Pair with pesto pinwheels, stuffed mushrooms, or a vegan charcuterie board for a full spread
- Serve alongside a crisp green salad and some crusty vegan bread for a light lunch
My Final Thoughts
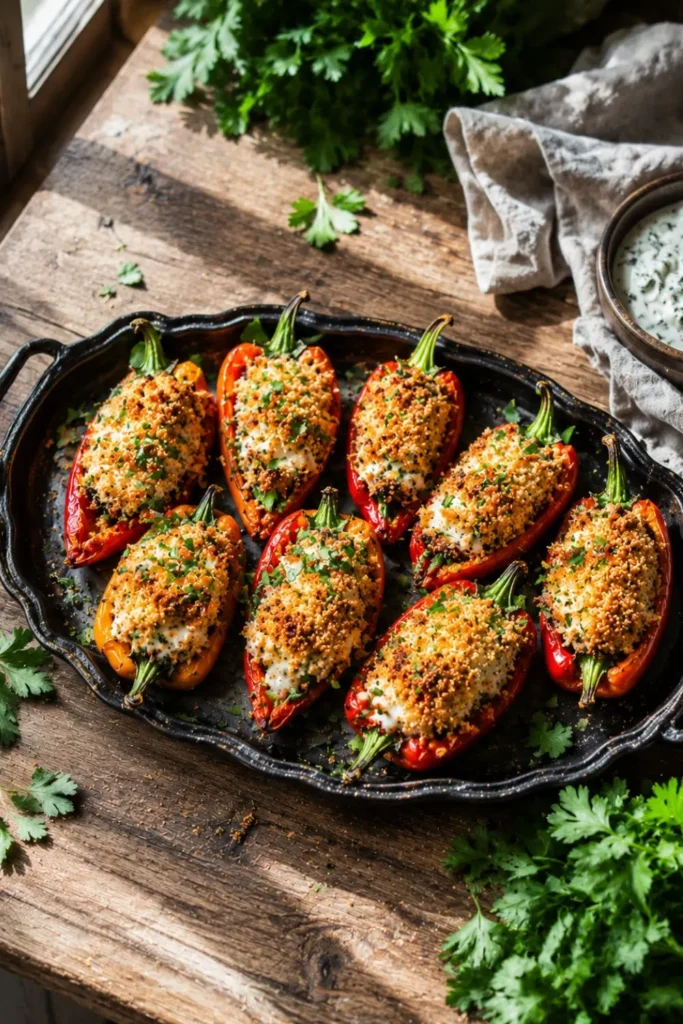
Vegan Cheese-Stuffed Peppers check every box a great appetizer needs to check fast to make, visually beautiful, crowd-pleasing, completely plant-based, and versatile enough to adapt to whatever flavors or dietary needs your guests bring to the table. Thirty minutes from fridge to platter, 37 calories per serving, and a result that genuinely impresses every time.
Make them once and you’ll add them to your permanent rotation. Make the filling the night before, fill and bake when you need them, and walk into any gathering carrying something that looks like you actually tried. Nobody needs to know how easy it was that’s your little secret.
Vegan Cheese-Stuffed Peppers
Ingredients
Equipment
Method
- Step 1 – Preheat and Prep the Peppers
- Set your oven to 375°F (190°C) and line your baking sheet with parchment paper. While the oven heats, wash your mini bell peppers thoroughly under cold water. Slice each pepper in half lengthwise keep the tops on, they make the halves look neater and more finished on the platter. Carefully remove the seeds from each half using your fingers or a small spoon, then pat the pepper halves completely dry with a clean towel.
- Dry peppers matter more than most people realize. Any excess moisture inside the pepper creates steam during baking that prevents the filling from setting properly and makes the panko topping go soft rather than crisp.
- Step 2 – Mix the Filling
- In your medium mixing bowl, combine the dairy-free cream cheese, onion powder, garlic powder, crushed red pepper flakes, and sea salt. Mix everything together until completely smooth and well blended. Taste it. Does it need more heat? Add extra red pepper flakes. More salt? Adjust now, before it goes into the peppers.
- The filling should taste boldly seasoned slightly more so than you think it needs. The pepper’s sweetness and the plain breadcrumb topping will temper the flavor, so the filling needs to carry the whole thing.
- Step 3 – Fill the Peppers
- Using your small spoon or spreader, fill each pepper half generously with the cream cheese mixture. Don’t be shy with the amount a well-filled pepper looks abundant and appealing on the plate. A barely-filled pepper looks sad and makes people feel like they got the short end of the deal :/ Aim for a slightly mounded fill that sits above the rim of the pepper.
- Step 4 -Arrange and Top with Panko
- Arrange the stuffed peppers on your prepared baking sheet in a single layer with a little space between each one. Sprinkle the panko breadcrumbs evenly over the top of each pepper. You want a visible, even layer of crumbs on every pepper this is what becomes the crunchy golden topping that makes the whole thing come together visually and texturally.
- FYI if you want a deeper golden crust, add a very light drizzle of olive oil over the panko before baking. It encourages browning and adds a subtle richness to the topping.
- Step 5 -Bake Until Golden
- Slide the baking sheet into your preheated oven and bake for 15–20 minutes, until the pepper skins look slightly wrinkled and softened and the panko topping turns golden brown and crisp. Keep an eye on them from the 15-minute mark oven temperatures vary, and panko can go from golden to burnt fairly quickly once it starts coloring.
- The peppers should be tender but still hold their shape when you lift them. They shouldn’t be mushy or collapsing you want them to maintain enough structure to pick up and eat by hand.
- Step 6 – Garnish and Serve
- Transfer the baked peppers to your serving platter and immediately scatter your chosen garnish chopped fresh cilantro, green onions, or chives over the top. Serve hot alongside vegan ranch dressing or vegan tzatziki for dipping. The cool, creamy dip against the warm, slightly spicy pepper creates an excellent contrast.
Notes
Full Nutrition Breakdown (Per Serving)
| Nutrient | Amount |
| Calories | 37 kcal |
| Carbohydrates | 3g |
| Protein | 1g |
| Total Fat | 3g |
| Saturated Fat | 1g |
| Fiber | 1g |
| Sugar | 1g |
| Sodium | 102mg |
| Potassium | 7mg |
| Vitamin A | 62 IU |
| Vitamin C | 1mg |
| Calcium | 11mg |
| Iron | 1mg |

Hi — I’m Rachel. I’m a wife, a mom, and a home cook who believes that food should bring comfort, joy, and compassion to the table. I live with my family — two hungry little foodies who are my most honest recipe testers — and together we’ve built a kitchen culture that’s all about good food that happens to be 100% vegan. I started this blog because I wanted a place to share the recipes that keep our days moving, the dishes that make weeknights feel a little easier, and the meals that become our little family traditions.