

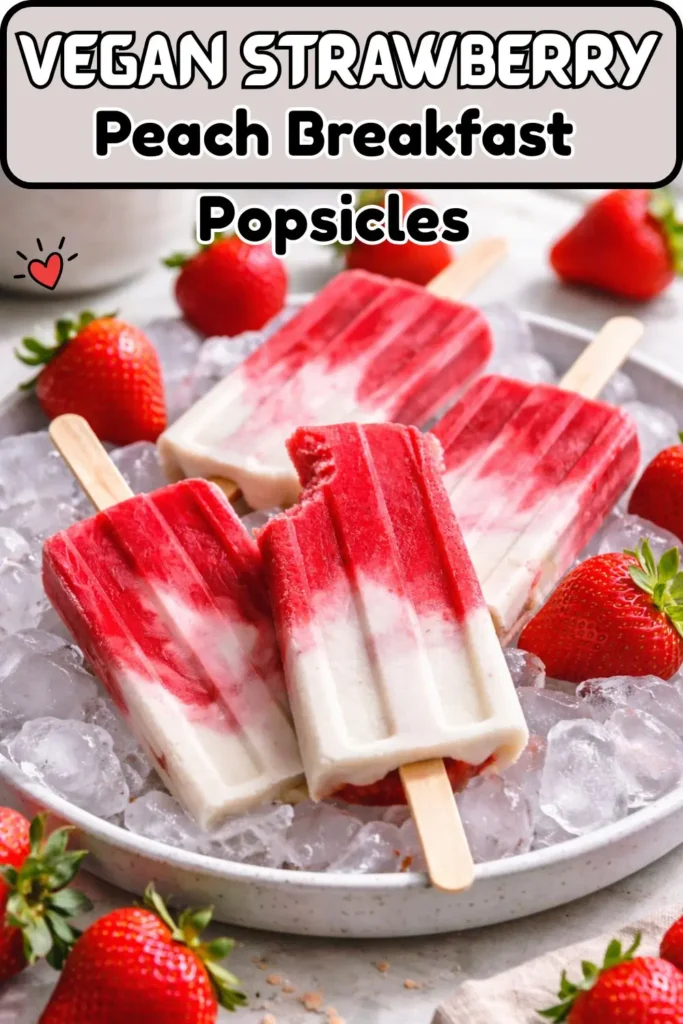
Breakfast popsicles. Let that sink in for a moment. You wake up, open your freezer, and pull out a beautifully layered popsicle made from fresh strawberries, coconut cream, and cashews — and that’s breakfast. Not a guilty treat, not a cheeky dessert-for-breakfast moment — an actual, genuinely nutritious, completely vegan breakfast that you prepared ahead of time and now requires zero morning effort whatsoever.
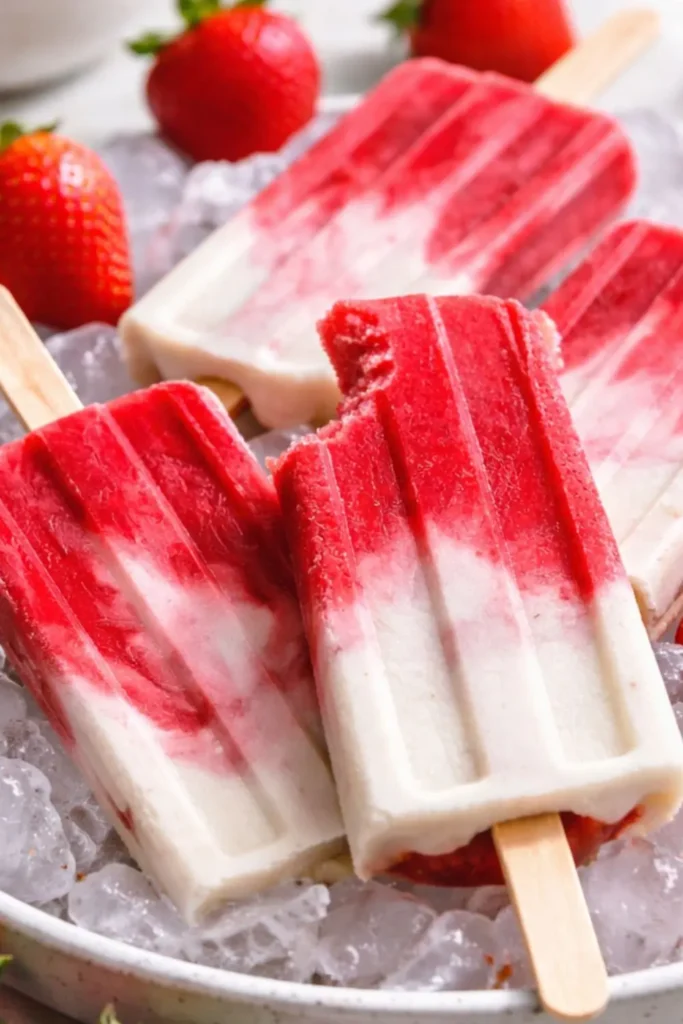
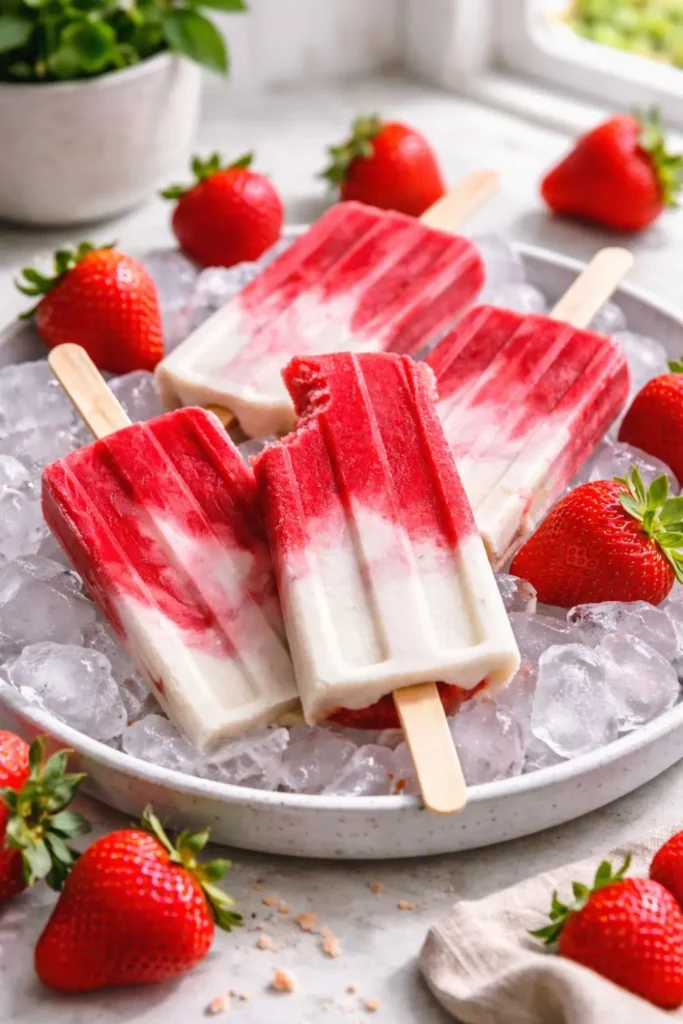
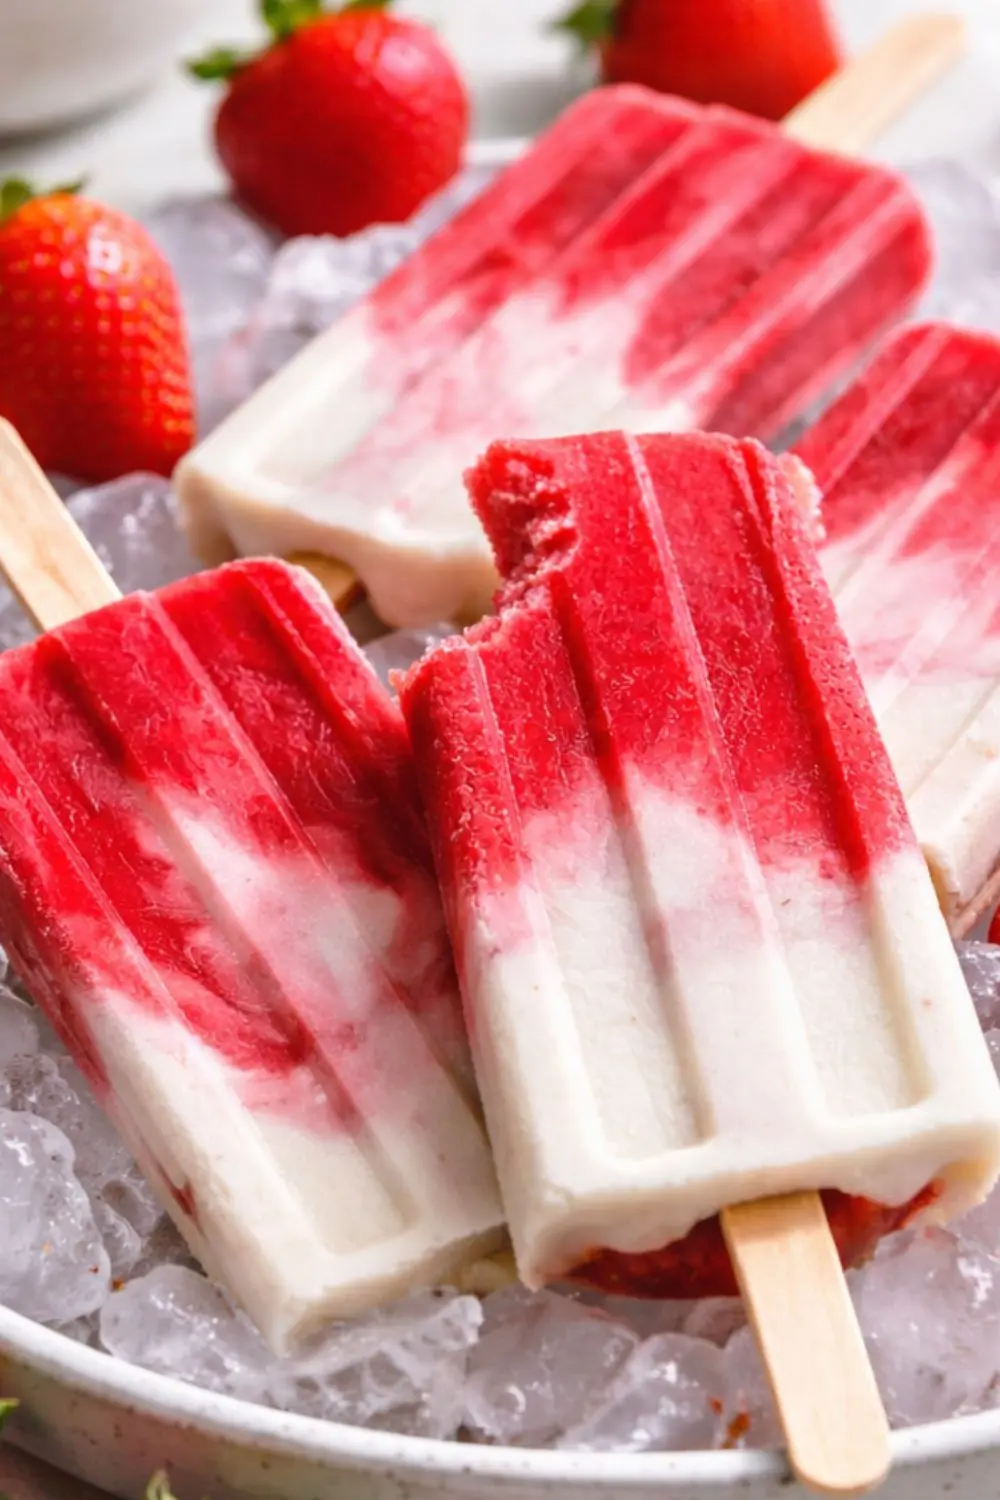
I started making these Vegan Strawberry Peach Breakfast Popsicles during a summer heatwave when the thought of eating anything that wasn’t cold felt physically unreasonable. The two-layer design — vivid red strawberry purée on one side and silky coconut cashew cream on the other — looks absolutely stunning and tastes even better than it looks. They take 15 minutes of active prep, a few hours in the freezer, and then they’re ready whenever you are. Ten popsicles per batch, 135 calories each. Let’s get into it.
Quick Stats
- Prep Time: 15 minutes
- Freeze Time: At least 5 hours (overnight is ideal)
- Total Time: 4 hours 15 minutes (plus soaking time for cashews)
- Servings: 10 popsicles
- Calories: 135 kcal per popsicle
- Diet: 100% Vegan
The Full Ingredient List
For the Coconut Cashew Layer:
- ½ cup raw cashews, soaked in water for at least 4 hours
- 1¼ cups canned coconut milk
- 3 tablespoons maple syrup
- 2 teaspoons vanilla bean paste or vanilla extract
- Pinch of salt
For the Strawberry Layer:
- 12 ounces (340g) fresh strawberries, washed and hulled
- ½ lemon, juiced
- 2 tablespoons maple syrup
- ½ teaspoon vanilla bean paste or vanilla extract
How to Make Them – Step by Step Vegan Strawberry Peach Breakfast Popsicles Summer Breakfast
Step 1 — The night before: Soak the raw cashews in a bowl of cold water for at least 4 hours. Overnight soaking is ideal — it softens them fully and gives you the smoothest possible cream layer. Drain and rinse them before using.
Step 2 — Make the strawberry layer: Add the hulled strawberries, lemon juice, maple syrup, and vanilla to a high-speed blender. Blend until completely smooth. If you want a completely seed-free texture, strain the purée through a fine mesh sieve — this is optional but produces a more refined result.
Step 3 — Fill the moulds: Pour the strawberry purée evenly into your popsicle moulds, filling each one roughly halfway.
Step 4 — Make the coconut cashew cream: Rinse out your blender. Add the soaked, drained cashews, canned coconut milk, maple syrup, vanilla, and pinch of salt. Blend until completely smooth and creamy — scrape the sides down as needed and keep blending until absolutely no cashew pieces remain.
Step 5 — Layer and swirl: Pour the coconut cashew cream on top of the strawberry layer in each mould. Use a wooden skewer or thin knife to gently swirl the two layers together — a few slow figure-eight movements creates beautiful marbling without fully mixing the colours.
Step 6 — Freeze: Place the lid on the moulds and insert the popsicle sticks. Freeze for at least 5 hours — overnight is better and gives you a fully solid popsicle that releases cleanly.
Step 7 — Unmould: Run the outside of the mould under warm water for 10–15 seconds to loosen the popsicles. Pull them out gently and eat immediately.
Equipment You’ll Need
- A high-speed blender — essential for both layers. The cashew cream layer in particular needs real blending power to become completely smooth. A Vitamix, NutriBullet Pro, or Ninja all work beautifully. A regular blender can work for the strawberry layer but often leaves tiny cashew fragments in the cream layer — not the end of the world, but not ideal.
- Popsicle moulds — the most important piece of kit specific to this recipe. Standard popsicle moulds hold 8–12 popsicles depending on size. Silicone moulds are easier to unmould than hard plastic ones. Look for moulds with slots for the sticks built into the lid — it keeps the sticks perfectly vertical while freezing.
- Popsicle sticks — most molds come with reusable plastic sticks. Wooden craft sticks also work and give a more rustic appearance.
- A fine mesh sieve — optional, for straining seeds from the strawberry purée
- A wooden skewer or thin knife — for creating the swirl pattern between the two layers
- Measuring cups and spoons
- A small bowl — for soaking the cashews overnight
The popsicle moulds are the investment here if you don’t already own them. A decent set costs very little and produces 8–12 popsicles per batch — which means once you have the moulds, the cost per popsicle is almost entirely just the ingredients.
Calorie & Nutrition Breakdown (Per Popsicle)
| Nutrient | Per Popsicle |
| Calories | 135 kcal |
| Carbohydrates | 13g |
| Protein | 2g |
| Total Fat | 9g |
| Saturated Fat | 6g |
| Fibre | 1g |
| Sugar | 8g |
| Sodium | 6mg |
At 135 calories per popsicle, these are a genuinely light breakfast option. The fat content comes almost entirely from the cashews and coconut milk — both plant-based sources of healthy fats that support brain function and satiety. The 8g of sugar comes entirely from the maple syrup and fresh strawberries — zero refined sugar anywhere in this recipe.
FYI: Fresh strawberries are one of the best dietary sources of vitamin C, and they also provide folate, manganese, and potassium. Cashews add magnesium, zinc, and copper. For a frozen treat on a stick, these popsicles are delivering a meaningful nutritional package.
If you want a more substantial breakfast, eat two popsicles (270 kcal) alongside a bowl of overnight oats or a handful of nuts and fruit. Or add a scoop of vegan protein powder to the coconut cashew layer to boost the protein content significantly.
Why These Breakfast Popsicles Are Actually Brilliant
Let’s address the obvious question first: is a popsicle really a breakfast? In summer, absolutely. Here’s why this works better than you might think.
The Coconut Cashew Cream Is Genuinely Substantial
This isn’t just frozen juice on a stick. The coconut cashew layer — made from soaked cashews blended with full-fat canned coconut milk — is rich, creamy, and satiating in a way that plain frozen fruit isn’t. The healthy fats and protein from the cashews provide sustained energy, not just a quick sugar spike. This layer is basically a frozen, portioned version of cashew cream, which is one of the most versatile and delicious ingredients in plant-based cooking.
The Strawberry Layer Is Pure Summer
Fresh strawberries, lemon juice, maple syrup, and vanilla blend into a purée that tastes intensely, vibrantly of summer strawberries — bright, slightly tangy, sweet, and fragrant. The lemon juice amplifies the strawberry flavour rather than making it taste citrusy, in the same way that a pinch of salt amplifies sweetness. The vanilla adds warmth and depth that stops the layer from tasting flat or one-dimensional.
They’re Ready When You Are
This is the meal-prep argument for breakfast popsicles. You make a batch of ten, freeze them, and then you have ten grab-and-go breakfasts ready in the freezer. No prep time in the morning, no decisions to make, no cleaning up. Open the freezer, pull out a popsicle, and you’re done. On a hot summer morning, that combination of zero effort and genuinely cold, refreshing breakfast is hard to beat.
Still Hungry, Try It Next recipe :-
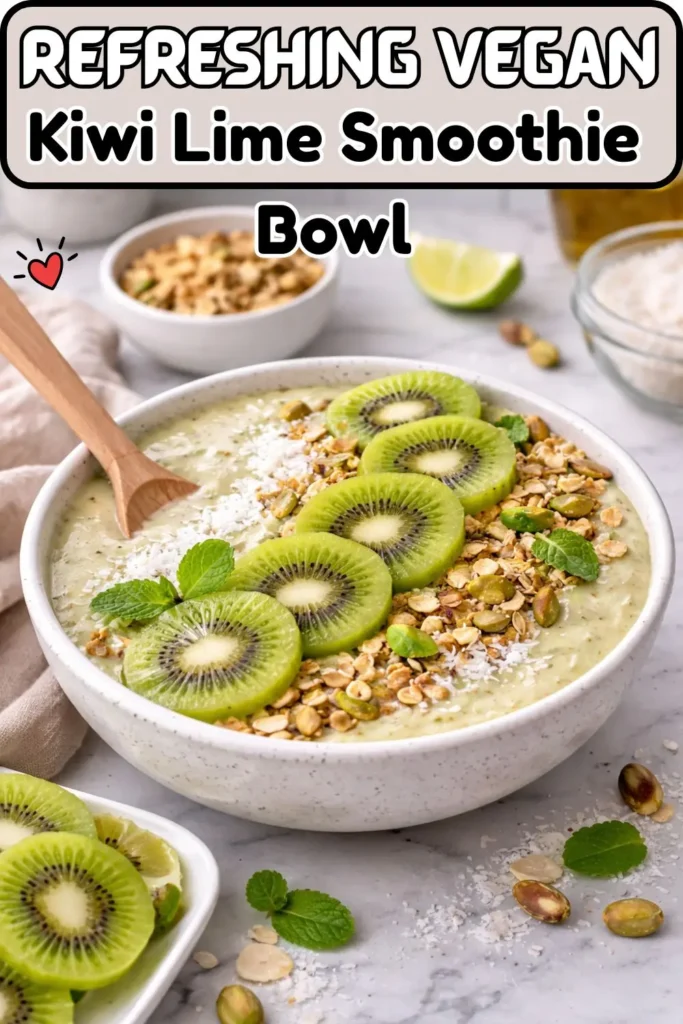
Refreshing Vegan Kiwi Lime Smoothie Bowl
The Cashew Soaking Step — Why It Matters and How to Do It Right
Soaking the cashews is the one step in this recipe that requires advance planning, and it’s not optional. Here’s why it matters.
What Soaking Does
Raw cashews are dense and relatively hard — if you blend them without soaking, even a high-speed blender struggles to create a completely smooth cream. You’ll get small granular particles that give the layer a slightly gritty texture. After soaking for 4–8 hours, the cashews absorb water and soften significantly, blending into a completely smooth, silky cream that’s almost indistinguishable from dairy cream in texture.
Quick-Soak Method
If you forget to soak overnight, pour boiling water over the cashews and let them sit for 1–2 hours. This softens them adequately, though overnight cold soaking gives a slightly smoother result. In a genuine emergency, 30 minutes in very hot water is better than nothing — but plan ahead when you can.
Draining and Rinsing
After soaking, drain the cashews completely and rinse them well under cold water before blending. The soaking water contains starches and compounds that can give the cream a slightly bitter aftertaste. Fresh rinse water = cleaner, better-tasting cream.
Canned Coconut Milk — Why It’s the Right Choice Here
The recipe specifically uses canned coconut milk for the cream layer — not carton coconut milk. This is a deliberate choice and the distinction matters significantly.
Canned coconut milk is thick, rich, and high in fat — it’s the kind used in curries and desserts. When combined with soaked cashews, it creates a cream layer that’s properly rich and holds its shape well during freezing. Carton coconut milk is too thin for this application — it would produce a watery, icy layer rather than a smooth, creamy one.
For the very best result, use full-fat canned coconut milk rather than reduced-fat. The fat content is what creates that silky, luxurious texture. Shake the can well before opening — sometimes the cream separates in the can, and you want everything incorporated before it goes into the blender.
The Swirl Technique — Making Your Popsicles Look Stunning
The two-layer design with the swirl is what makes these popsicles genuinely beautiful — and the technique is much simpler than it looks.
Getting the Swirl Right
After you’ve poured both layers into the mould, insert a wooden skewer or thin knife into one side of the mould and make slow, gentle figure-eight movements through both layers. You want to create marbling — areas where the strawberry red and the coconut cream white swirl together in ribbons — without fully mixing the two colours into a uniform pink.
Two or three passes is usually exactly right. More than that and you lose the distinct layers; less than that and the swirl is barely visible.
Don’t Worry About Perfection
Every popsicle will look slightly different, and that’s part of what makes them charming. The layers and swirls are naturally variable based on how you pour and how you swirl. IMO the imperfect ones often look the most beautiful — they have a handmade quality that a perfectly uniform product never quite achieves.
Tips for Making These Popsicles Absolutely Perfect
- Soak your cashews overnight. The longer they soak, the smoother your cream layer will be. Overnight soaking produces the silkiest, most refined result.
- Use ripe, sweet strawberries. The flavour of the strawberry layer depends entirely on the quality of the fruit. Peak-season strawberries produce an intensely flavoured purée. Out-of-season strawberries can taste watery and bland. If fresh strawberries aren’t good quality, frozen strawberries (thawed) are a better option.
- Fill the moulds carefully. Pour the strawberry layer in slowly to avoid air bubbles. Tapping the mould gently on the counter after filling helps release any trapped air.
- Don’t skip the lemon juice. It brightens the strawberry flavour dramatically and prevents the purée from tasting flat or overly sweet. Just half a lemon makes a noticeable difference.
- Freeze for a full 5 hours minimum — overnight is better. Under-frozen popsicles are too soft to hold their shape when unmoulded and often break apart.
- Run warm water over the mould to release. Hold the mould under warm running water for 10–15 seconds — not hot water, warm. Hot water starts melting the popsicle itself. Gentle warmth on the outside loosens the frozen popsicle cleanly from the mould.
- Eat immediately after unmoulding. These soften quickly at room temperature on a hot day. Have your hands and your appetite ready.
Variations to Try Once You’ve Made the Original
The base technique — fruit purée layer plus coconut cashew cream layer — works with almost any summer fruit combination. Here are the best alternatives:
Mango and Coconut
Replace the strawberry layer with fresh mango purée. Mango and coconut is one of the great flavour combinations of summer, and the vivid orange-yellow mango layer against the white coconut cream looks spectacular.
Raspberry and Vanilla Cream
Replace strawberries with fresh raspberries. The deeper red colour is stunning, and the raspberry’s tartness cuts through the richness of the coconut cashew cream even more effectively than strawberry does.
Blueberry Lemon
Replace strawberries with blueberries and add extra lemon juice and zest. The deep purple-blue layer against the cream is visually dramatic, and blueberry-lemon is a genuinely excellent flavour combination.
Peach and Cream
Replace the strawberry layer with fresh peach purée. Add ¼ teaspoon of ground cardamom to the peach layer for a warm spiced note that pairs beautifully with both peach and coconut cream. Peak summer peaches blended with a squeeze of lemon and maple syrup produce one of the best purées you can make.
Pineapple Coconut
Replace the strawberry layer with fresh pineapple purée and add a pinch of ginger. The pineapple and coconut combination is tropical and vibrant, and the golden-yellow layer against white cream looks like a summer sunset.
How to Store Your Breakfast Popsicles
In the Moulds
Once frozen solid, you can keep the popsicles in their moulds in the freezer for up to 6 weeks. The covered moulds protect them from absorbing freezer odours and from freezer burn.
Out of the Moulds
If you want to free up your moulds for another batch, unmould the popsicles and wrap each one individually in wax paper or cling film. Store them in a zip-lock freezer bag or airtight container. They keep well for 4–6 weeks this way.
Avoiding Freezer Burn
Make sure each popsicle is fully wrapped with no exposed surface touching air. Freezer burn is just surface dehydration — it doesn’t make the popsicle unsafe to eat, but it creates white, icy patches that affect the texture and taste. Proper wrapping prevents it entirely.
Making These for Kids vs Adults
These popsicles work brilliantly for both — but you might want to adjust them slightly depending on your audience.
For Kids
- Reduce or eliminate the lemon juice in the strawberry layer for a sweeter, less tart result
- Skip the vanilla bean paste (which has tiny visible seeds) and use plain vanilla extract for a completely smooth appearance
- Make them in smaller moulds if you have them — a smaller popsicle is easier for children to hold and eat
- Add some fresh fruit pieces directly into the strawberry layer before freezing — visible chunks of real fruit make them more interesting and fun
For Adults
- Add the zest of the lemon alongside the juice for a more sophisticated, aromatic citrus note
- Swap some of the coconut milk for a tablespoon of good-quality coconut cream for an even richer cream layer
- Add a pinch of flaky sea salt to the coconut cashew layer — the salt-sweet contrast is excellent and very grown-up
Why This Recipe Works as Meal Prep
Ten popsicles per batch. That’s ten breakfasts ready in the freezer for up to six weeks. The active prep time is 15 minutes. You do the maths — that’s roughly 90 seconds of work per popsicle breakfast.
The batch-cooking advantage is enormous here. Unlike most meal prep breakfasts that require daily attention or have a shelf life of only a few days, these popsicles freeze beautifully for weeks. Make two batches on a lazy Sunday afternoon — strawberry and mango, say — and you have twenty breakfast popsicles covering weeks of summer mornings without any further effort.
They’re also useful for anyone with a hectic summer schedule, anyone who finds morning meal planning stressful, or anyone who simply wants to hand a child a nutritious, cold, delicious breakfast that takes zero preparation. That’s a lot of people.
Still Hungry, Try It Next recipe :-
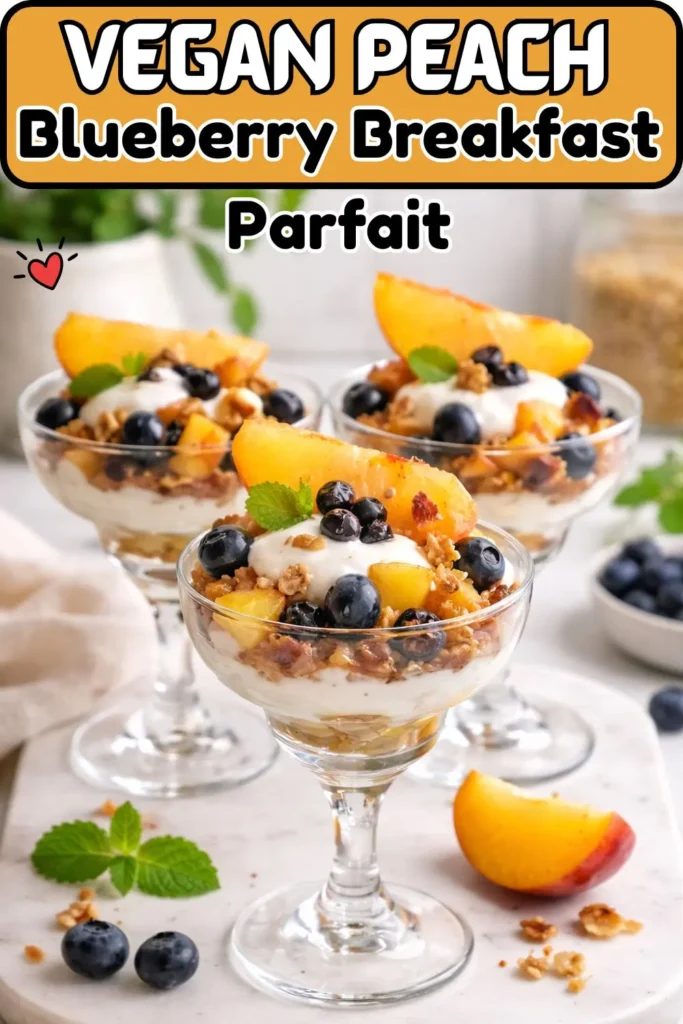
Vegan Peach and Blueberry Breakfast Parfait
Frequently Asked Questions
Can I use frozen strawberries instead of fresh? Yes — thaw them completely first and drain off any excess liquid before blending. Fresh strawberries produce a more vibrant flavour when they’re in season, but good quality frozen strawberries work well and are available year-round.
Do I have to soak the cashews? Can I skip this step? You really shouldn’t skip it. Unsoaked cashews produce a gritty cream layer that doesn’t blend fully smooth. If you’re short on time, use the quick-soak method — cover them in boiling water for 1–2 hours. That’s the absolute minimum.
What if I don’t have popsicle moulds? You can use small paper cups as moulds — fill them with the layers, cover with foil, and push a popsicle stick through the foil to keep it upright. Peel the paper cup off when ready to eat. It works surprisingly well and costs almost nothing.
Can I add protein powder to these? Yes — add a scoop of vanilla vegan protein powder to the coconut cashew layer. Blend it in thoroughly and taste before pouring to check the sweetness — some protein powders are quite sweet, so you may want to reduce the maple syrup slightly.
Why do my popsicles have ice crystals? This usually happens when there’s too much free water in the mixture. Make sure your cashews are well drained, your coconut milk is full fat, and you’re using ripe (not watery) fruit. Full-fat ingredients produce smoother, less icy popsicles.
How do I get the popsicles out cleanly? Run the outside of the mould under warm (not hot) water for 10–15 seconds, then pull the stick firmly. If it resists, give it another 5 seconds of warm water. Patience beats force every time here.
Start Your Batch Tonight
Here’s the full picture: 15 minutes of prep, a freezer, and the kind of forward planning that makes your future morning self genuinely grateful. Ten popsicles. Two gorgeous layers. Completely vegan, naturally sweetened, made from real fruit and cashew cream, and ready to eat for weeks.
Soak your cashews tonight. Blend and fill your moulds tomorrow morning. By tomorrow evening, you have ten summer breakfasts sitting in the freezer waiting for you — each one 135 calories of properly made, plant-based, cold, creamy, strawberry-coconut goodness.
Who says breakfast can’t be on a stick? Not me, and definitely not your freezer.
Vegan Strawberry Peach Breakfast Popsicles Summer Breakfast
Ingredients
Equipment
Method
- Step 1 — The night before: Soak the raw cashews in a bowl of cold water for at least 4 hours. Overnight soaking is ideal — it softens them fully and gives you the smoothest possible cream layer. Drain and rinse them before using.
- Step 2 — Make the strawberry layer: Add the hulled strawberries, lemon juice, maple syrup, and vanilla to a high-speed blender. Blend until completely smooth. If you want a completely seed-free texture, strain the purée through a fine mesh sieve — this is optional but produces a more refined result.
- Step 3 — Fill the moulds: Pour the strawberry purée evenly into your popsicle moulds, filling each one roughly halfway.
- Step 4 — Make the coconut cashew cream: Rinse out your blender. Add the soaked, drained cashews, canned coconut milk, maple syrup, vanilla, and pinch of salt. Blend until completely smooth and creamy — scrape the sides down as needed and keep blending until absolutely no cashew pieces remain.
- Step 5 — Layer and swirl: Pour the coconut cashew cream on top of the strawberry layer in each mould. Use a wooden skewer or thin knife to gently swirl the two layers together — a few slow figure-eight movements creates beautiful marbling without fully mixing the colours.
- Step 6 — Freeze: Place the lid on the moulds and insert the popsicle sticks. Freeze for at least 5 hours — overnight is better and gives you a fully solid popsicle that releases cleanly.
- Step 7 — Unmould: Run the outside of the mould under warm water for 10–15 seconds to loosen the popsicles. Pull them out gently and eat immediately.
Notes
Calorie & Nutrition Breakdown (Per Popsicle)
| Nutrient | Per Popsicle |
| Calories | 135 kcal |
| Carbohydrates | 13g |
| Protein | 2g |
| Total Fat | 9g |
| Saturated Fat | 6g |
| Fibre | 1g |
| Sugar | 8g |
| Sodium | 6mg |

Hi — I’m Rachel. I’m a wife, a mom, and a home cook who believes that food should bring comfort, joy, and compassion to the table. I live with my family — two hungry little foodies who are my most honest recipe testers — and together we’ve built a kitchen culture that’s all about good food that happens to be 100% vegan. I started this blog because I wanted a place to share the recipes that keep our days moving, the dishes that make weeknights feel a little easier, and the meals that become our little family traditions.