

“This post contains affiliate links. If you purchase through my links, I may earn a small commission at no extra cost to you.”
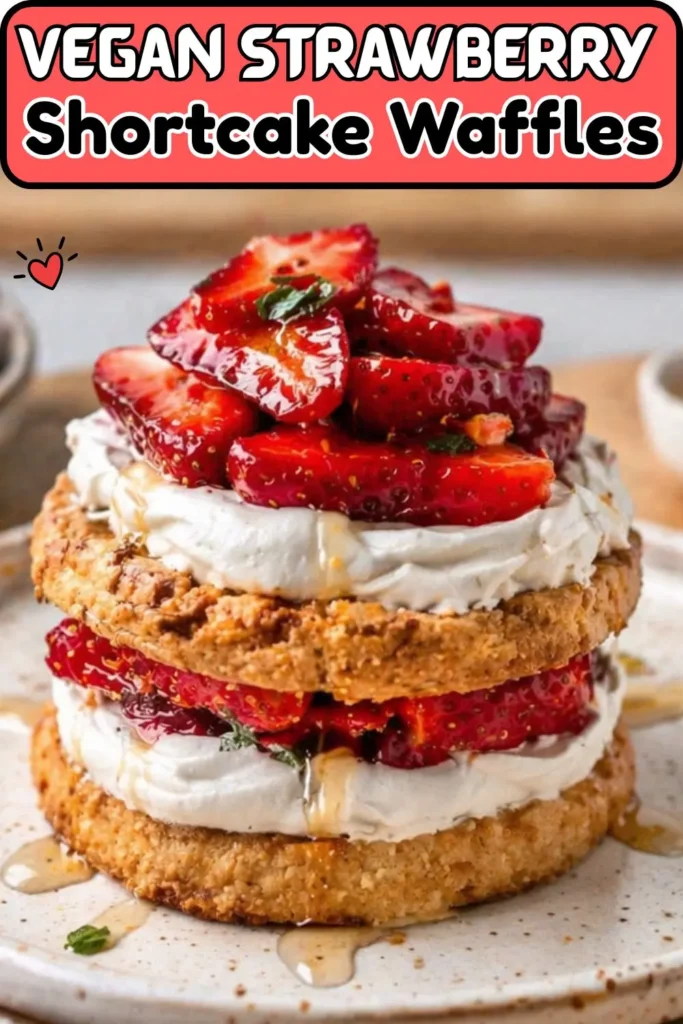
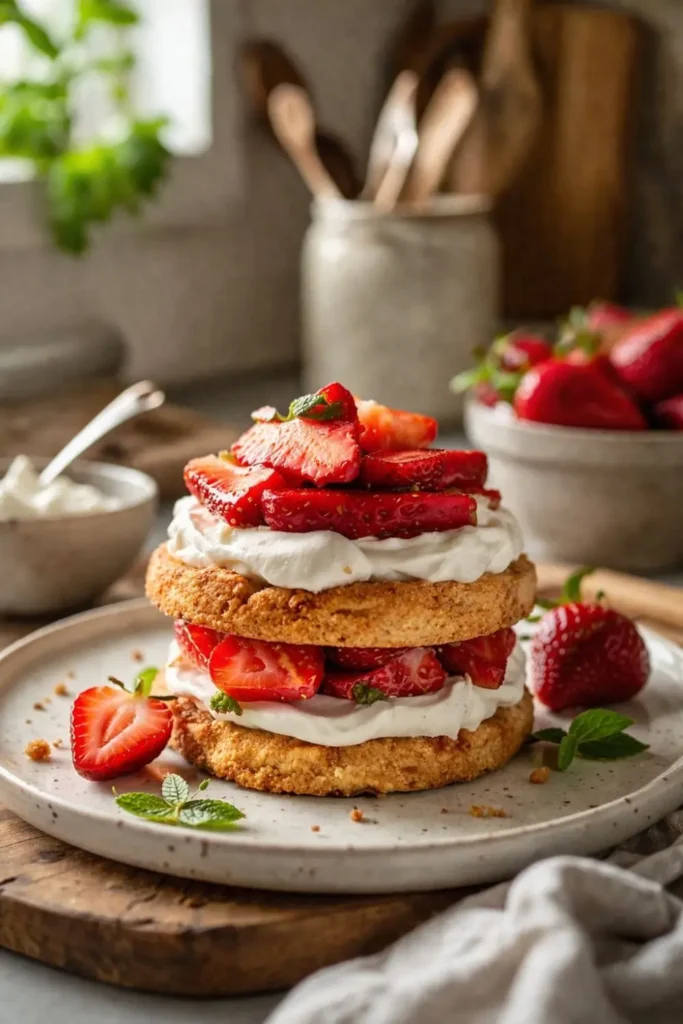
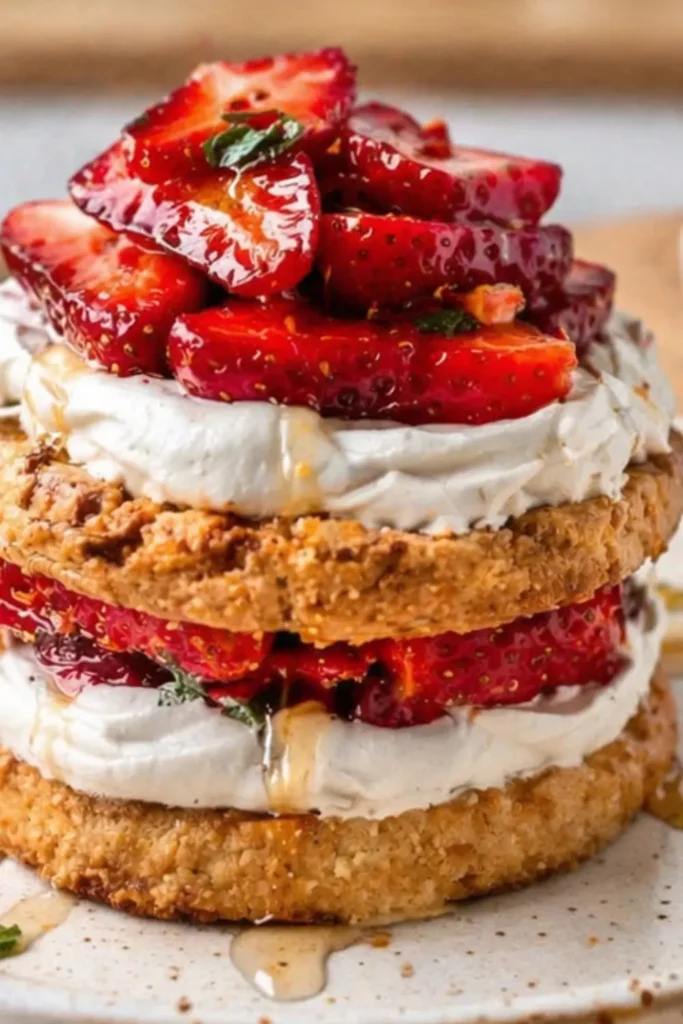
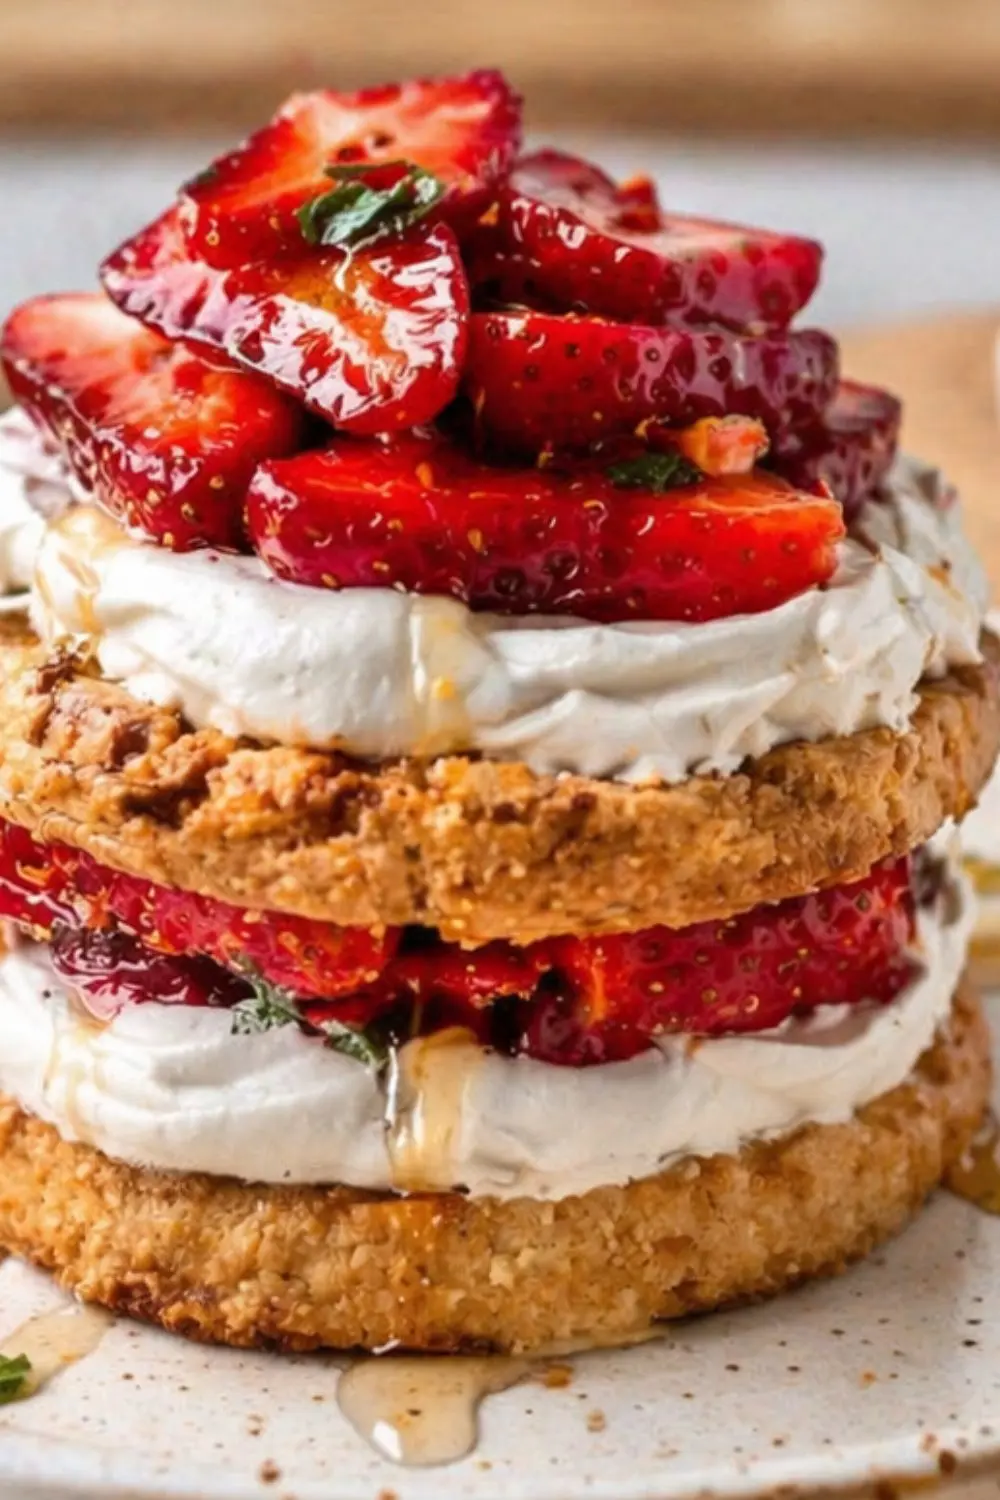
Some breakfasts are functional. And then there’s Vegan Strawberry Shortcake Waffles — golden, crispy shortcake biscuits made with almond flour and oat flour, topped with lemon-macerated fresh strawberries and billowy coconut whipped cream. This is the breakfast you make when you want to genuinely impress someone — including yourself. It looks like a patisserie creation, it tastes like the best possible version of summer on a plate, and it happens to be completely, unapologetically vegan.
Yes, this takes longer than a smoothie bowl. The shortcake dough needs chilling time and the biscuits need 20 minutes in the oven. But the result is one of the most extraordinary plant-based breakfasts you can put on a table, and once you’ve made it you’ll understand immediately why it belongs in this summer series. Let’s walk through every component.
Quick Stats
- Prep Time: 40 minutes (plus 1 hour chilling)
- Cook Time: 20 minutes
- Total Time: 1 hour active (plus chilling)
- Yield: 6–8 shortcakes
- Serves: 6–8 people
- Diet: 100% Vegan, Gluten-Free
- Category: Breakfast / Dessert
The Full Ingredient List
For the Shortcake Biscuits:
- 1¼ cups (120g) blanched almond flour
- ⅔ cup (80g) gluten-free oat flour, plus more for dusting
- 1 tablespoon baking powder
- 1 tablespoon coconut sugar
- ¼ teaspoon salt
- ½ cup (100g) refined coconut oil, solid (or plant-based butter — see notes)
- ⅓ cup full-fat canned coconut milk, plus more to brush on top
- 1 flax egg (1 tablespoon ground flax + 2½ tablespoons water)
- ½ teaspoon vanilla extract
- Raw turbinado sugar to sprinkle on top (optional)
For the Macerated Strawberries:
- 2 cups (1 pint) sliced fresh strawberries
- 1 tablespoon coconut sugar (plus more to taste)
- Zest of 1 lemon
- ½ teaspoon vanilla extract
- Leaves from 1 sprig of fresh mint, torn or finely chopped
For the Coconut Whipped Cream:
- 1 can (13.5 oz) coconut cream, refrigerated overnight
- 1 tablespoon grade A maple syrup
- 1 teaspoon vanilla extract
How to Make It – Step by Step by Vegan Strawberry Shortcake Waffles
The Night Before
Place your can of coconut cream in the fridge overnight. This step is non-negotiable — cold coconut cream separates from its liquid and whips into a proper cream. Room temperature coconut cream will not whip.
Making the Shortcake Dough
Step 1: Line a baking sheet with parchment paper and dust lightly with oat flour. Set aside.
Step 2: In a food processor or large mixing bowl, combine the almond flour, oat flour, baking powder, coconut sugar, and salt. Pulse or whisk together until combined.
Step 3: Add the solid coconut oil (or cold, chopped plant-based butter) to the dry ingredients. Pulse in the food processor, or use a pastry cutter or fork to work the fat into the flour mixture until only small, pea-sized chunks remain. Do not overmix. The texture should be mostly sandy with distinct fat pieces throughout — this is what creates flaky, layered shortcake.
Step 4: In a small bowl, whisk together the coconut milk, flax egg, and vanilla. Add to the dry ingredients and stir or pulse until the dough just comes together.
Step 5: Transfer the dough to the prepared parchment-lined baking sheet and press it into a rough square about 1 inch thick. Cover and refrigerate for at least 1 hour (or up to overnight).
Baking the Shortcakes
Step 6: Preheat the oven to 400°F (204°C).
Step 7: Remove the chilled dough from the fridge. On a lightly dusted surface (keeping it on the parchment), roll it out to approximately 9 inches square. Use a 3-inch round biscuit cutter to cut out 6–7 rounds. Gather scraps, re-roll, and cut additional rounds.
Step 8: Place the rounds on the parchment-lined baking sheet with space between them. Brush each top with a little coconut milk and sprinkle with turbinado sugar if using.
Step 9: Bake for 20–25 minutes until golden brown. Let them cool slightly before assembling.
Macerate the Strawberries
Step 10: While the shortcakes bake, combine the sliced strawberries, coconut sugar, lemon zest, vanilla, and mint in a bowl. Stir gently and set aside. The strawberries will release their juice and become beautifully syrupy as they sit.
Make the Coconut Whipped Cream
Step 11: Open the chilled coconut cream and drain off any liquid (save it for smoothies). Scoop the solidified cream into a mixing bowl. Whip with an electric mixer for about 30 seconds until smooth and fluffy. Add the maple syrup and vanilla and whip briefly to combine.
Assemble
Step 12: Place a shortcake on each plate. Top with a generous spoonful of coconut whipped cream and a heap of macerated strawberries and their juice. Serve immediately.
Equipment You’ll Need
This recipe has three components and each requires slightly different equipment:
For the shortcake dough:
- A food processor — the fastest and most reliable tool for cutting fat into flour. The pulsing action creates the ideal sandy, crumbly texture without overworking the dough. A large mixing bowl with a pastry cutter or fork works if you don’t have a food processor.
- A pastry cutter or two forks — if mixing by hand
- A rolling pin — for rolling the chilled dough to an even thickness
- A 3-inch round biscuit cutter — for cutting clean rounds. A sharp-edged glass or cup of the right diameter also works.
- A large rimmed baking sheet — lined with parchment
- A pastry brush — for applying the coconut milk wash to the tops. A clean finger works in a pinch.
For the coconut whipped cream:
- An electric hand mixer or stand mixer with a whisk attachment — coconut cream can be whisked by hand but takes considerably more effort and doesn’t get as fluffy. An electric mixer produces a much better result in about 30 seconds.
- A cold mixing bowl — chilling your bowl in the freezer for 10 minutes before whipping helps the cream stay cold and whip more effectively.
For assembly:
- 6–8 serving plates — wide and flat for the most attractive presentation
- A spoon or ladle for portioning the strawberries and their juice
The food processor is the one piece of equipment that makes a meaningful difference to the shortcake dough. The fat-cutting step is much more consistent and reliable in a food processor than by hand — but both methods produce excellent biscuits if you’re careful not to overmix.
Calorie & Nutrition Breakdown (Per Shortcake — Approximate, With Toppings)
| Component | Approximate Calories |
| Shortcake biscuit | ~280–320 kcal |
| Coconut whipped cream (2 tbsp) | ~80 kcal |
| Macerated strawberries (¼ cup) | ~35 kcal |
| Total per serving | ~395–435 kcal |
The majority of the calories come from the almond flour and coconut oil in the shortcake — both healthy plant-based fat sources. The strawberries add vitamin C, folate, and fibre. The coconut cream is rich in medium-chain triglycerides. This is a treat breakfast rather than a light one, and it earns that status completely.
FYI: The almond flour in these shortcakes provides vitamin E, magnesium, and calcium alongside the calories — so even the indulgent component of this breakfast has meaningful nutritional value. Not that you need nutritional justification for strawberry shortcake, but it’s nice to have it anyway.
Why These Are Worth the Effort
Let’s be honest — this recipe takes more time than anything else in this series. The chilling time, the cutting, the baking, the whipping. Is it worth it? Yes. Unambiguously yes. Here’s why.
Three Components That Each Stand Alone
The shortcake biscuit on its own is an excellent, rich, slightly crumbly gluten-free biscuit with a golden crust and a tender interior. The macerated strawberries on their own are already one of the best things you can do with peak-season strawberries. The coconut whipped cream on its own is a versatile, cloud-like topping you’ll want on everything. Together, the three components create something genuinely greater than their sum — a layered experience of texture, temperature, and flavour that you simply don’t get from any single-component breakfast.
The Maceration Step Transforms the Strawberries
This is the detail that turns “strawberries on shortcake” into something special. Maceration — tossing the strawberries with coconut sugar, lemon zest, vanilla, and mint and letting them sit — draws moisture from the berries through osmosis, creating a sweet, fragrant, lemon-bright syrup from their own juice. The berries soften slightly and absorb all those additional flavours, and the resulting syrup soaks into the shortcake as you eat. It takes about 2 minutes of effort and produces results that taste like they require much more.
The Flax Egg Works Perfectly Here
A flax egg (ground flax mixed with water and left to gel for 5 minutes) acts as the binder that holds the shortcake dough together without any animal product. In a recipe with this much fat from the coconut oil and almond flour, the flax egg has a well-supported structure to work within — it doesn’t need to do heavy lifting alone. The result is a dough that holds together cleanly, cuts well, and produces biscuits that don’t crumble apart on the plate.
The Cold Fat Technique — Why It’s the Secret to Flaky Shortcake
The single most important technique in this entire recipe is keeping the fat cold throughout the dough-making process. This is why the dough needs to be chilled and why you should work quickly when cutting the rounds.
How It Creates Flakiness
When cold, solid fat (coconut oil or vegan butter) gets cut into the flour mixture, it creates distinct pockets of fat throughout the dough. During baking, the water in the coconut milk and flax egg creates steam, which causes those fat pockets to expand and create distinct flaky layers in the biscuit. If the fat melts into the flour before baking, those pockets collapse and you get a dense, crumbly biscuit rather than a light, layered one.
Keeping the Fat Cold
- If using refined coconut oil, make sure it’s solid — not soft. If it’s warm and melty in your kitchen, refrigerate it briefly before using.
- If using plant-based butter, chop it into small pieces and freeze for 10 minutes before cutting into the flour.
- After making the dough, refrigerate for at least 1 hour before rolling and cutting. This re-solidifies any fat that softened during mixing.
- Work quickly when rolling and cutting — the warmth of your hands transfers to the dough. If it starts to feel soft and sticky, pop it back in the fridge for 15 minutes.
Refined vs Unrefined Coconut Oil — Why It Matters Here
The recipe specifically calls for refined coconut oil, not unrefined (virgin) coconut oil. This distinction matters for the flavour of the finished shortcake.
Unrefined (virgin) coconut oil has a strong coconut flavour and aroma. In a recipe where you’re trying to let the strawberry and lemon notes shine, that assertive coconut flavour competes and can overwhelm. Refined coconut oil has been processed to remove most of the coconut flavour — it contributes fat and behaves identically in the dough, but doesn’t add any competing taste. The shortcake ends up tasting of almond, vanilla, and oat rather than coconut.
If you want to lean into the coconut angle — and the coconut whipped cream is already present, after all — unrefined coconut oil is a deliberate choice you can make. But for the classic shortcake flavour profile, refined is correct.
The Coconut Whipped Cream — Getting It Right Every Time
Coconut whipped cream sounds simple but has a reputation for being temperamental. Here’s everything you need to know to make it work reliably.
The Overnight Chill Is Non-Negotiable
Coconut cream needs to be fully chilled for at least 8 hours before whipping. The cold causes the fat in the coconut cream to solidify and separate from the watery coconut liquid. When you open a properly chilled can, you’ll find a thick, solid layer of cream at the top and a thin liquid below. Scoop only the solid cream.
A can that hasn’t been chilled long enough will have cream that’s partially liquid — it won’t whip into a stable foam and will just stay loose and runny.
Choose the Right Brand
Not all coconut cream cans whip equally well. Full-fat coconut cream (not coconut milk, not light coconut milk) is the correct product. Brands vary in fat content — higher fat content means better whipping. Shake a can before buying: if you hear liquid sloshing around, it’s been shaken and the cream and liquid are mixed. A can that doesn’t slosh has separated properly in storage and will give you more cream.
The Whipping Technique
Drain the liquid from the can completely before scooping the cream into the bowl. Whip with an electric mixer starting on medium and working up to high. Don’t overwhip — stop as soon as it’s smooth, fluffy, and holds a soft peak. Overwhipped coconut cream can start to break and become grainy. Add the maple syrup and vanilla after it’s reached the right consistency.
The Macerated Strawberries — Making the Most of Summer Fruit
Maceration is one of those techniques that’s so simple it feels like cheating. Here’s how to get the most from it.
Sugar Draws Out the Juice
When you toss strawberries with sugar, osmosis pulls moisture from inside the berries out through the cell walls. This creates the syrup that pools at the bottom of the bowl — pure strawberry juice sweetened by the dissolving sugar. One tablespoon of coconut sugar is enough to start the process without making the strawberries too sweet.
Lemon Zest and Mint Complete the Flavour
The lemon zest adds brightness and a floral citrus note that makes the strawberries taste more intensely of themselves — the same principle as adding salt to sweet things. The mint adds a cool, herbal freshness that lifts the whole mixture. Tear the mint rather than chop it finely for a more rustic, fragrant result — torn mint releases its oils more gently.
How Long to Macerate
The strawberries need at least 15 minutes to release their juice — conveniently, this is roughly how long the shortcakes take to bake. Start them when the biscuits go in the oven and they’ll be perfectly macerated by serving time. Macerate for longer (up to a few hours in the fridge) for softer, more syrupy berries.
Still Hungry, Try It Next recipe :-
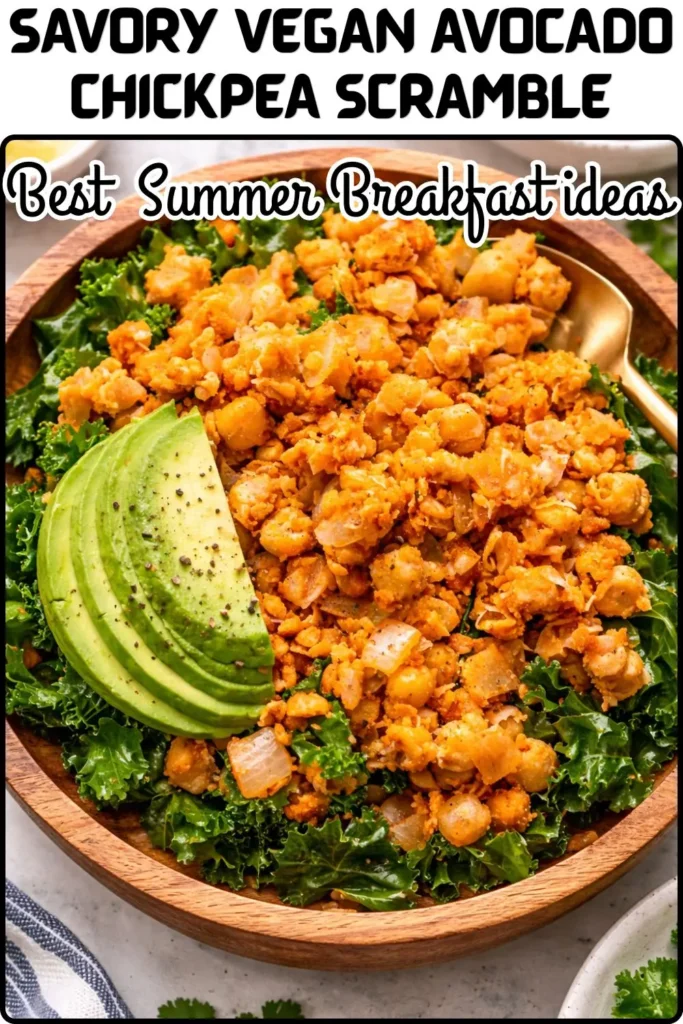
Savory Vegan Avocado Chickpea Scramble
Tips for Making This Recipe Go Smoothly
- Prep the night before. Chill the coconut cream can, make the flax egg, and even prepare the shortcake dough and refrigerate it overnight. Morning assembly then requires only the baking, maceration, and whipping — which takes about 35 minutes total.
- Use very cold equipment for the whipped cream. Put your mixing bowl in the freezer for 10 minutes before whipping the coconut cream. Cold equipment = better whip.
- Don’t twist the biscuit cutter. Press straight down and lift straight up. Twisting seals the edges of the dough and prevents the biscuits from rising properly.
- Brush the tops generously with coconut milk. The milk wash is what gives the biscuits their golden, slightly glossy top. Don’t be stingy with it.
- The turbinado sugar on top is optional but really isn’t optional. It creates a lightly crunchy, caramelised crust on top of the biscuit that adds texture and makes the shortcake look bakery-beautiful. Use it.
- Assemble right before serving. Once the macerated strawberries meet the shortcake, the juice soaks in within minutes. Assemble per plate as you serve rather than all at once to keep the biscuits from going soggy before they reach the table.
Storage — Components Kept Separately
The three components of this recipe store very differently, which is why storing them separately is essential.
The Shortcake Biscuits
Store in an airtight container at room temperature for up to 3 days. They’re best within 24 hours but stay good for the full 3 days. Refresh in the oven at 300°F for 5 minutes if they’ve softened. Freeze tightly wrapped for up to 1 month — thaw at room temperature or refresh in the oven.
The Macerated Strawberries
Store covered in the fridge for up to 3 days. The berries continue to soften and the syrup becomes more abundant over time. Day 2 and day 3 berries are softer than day 1 but still delicious — use the extra syrup as a sauce drizzled over the shortcake.
The Coconut Whipped Cream
Store covered in the fridge for up to 3 days. It may firm up in the fridge — just give it a quick whisk before using to restore the fluffy texture. Do not freeze.
Variations Worth Trying
Peach Shortcake Version
Replace the strawberries with sliced fresh peaches. Use the same maceration technique — peach with lemon, vanilla, and mint is extraordinary. This is peak summer stone fruit at its best.
Mixed Berry Version
Use a combination of strawberries, blueberries, and raspberries in the maceration. The mixed berry juice that forms is vibrant and deeply flavoured. The visual impact on the plate is spectacular.
Chocolate Strawberry Version
Add 2 tablespoons of raw cacao powder to the shortcake dry ingredients for a chocolate biscuit base. Top with the macerated strawberries and coconut cream as normal. Chocolate and strawberry shortcake is a genuinely excellent combination.
Lavender Shortcake
Add ½ teaspoon of food-grade dried lavender to the dry ingredients before mixing. The floral note pairs beautifully with strawberries and cream and makes these shortcakes feel genuinely elegant.
Citrus Version
Replace the strawberries with a combination of orange segments and fresh grapefruit. Macerate with a little honey, orange zest, and fresh thyme instead of mint. A completely different but very sophisticated direction.
Why This Is the Perfect Summer Showstopper Breakfast
This Vegan Strawberry Shortcake recipe works as a breakfast for several reasons that go beyond the fact that it’s extraordinary to eat. First, strawberries are at their absolute peak in summer — sweet, fragrant, and vibrant in a way that no other season matches. This recipe showcases them properly rather than burying them in competing flavours. Second, the coconut whipped cream is light enough that you don’t feel weighed down after eating — it’s not the same experience as eating heavy dairy cream at breakfast. Third, the shortcake itself, while rich, is made from whole, clean ingredients that nourish you properly.
This is also the recipe you make when breakfast is an occasion — a summer weekend, a birthday morning, a brunch with people you want to impress. The presentation is genuinely beautiful. Golden biscuits, deep red syrupy strawberries, white billowing cream. It looks like a lot of effort went into it. The secret is that most of the active work happens the day before, and the assembly is just layering three pre-made components onto a plate.
Frequently Asked Questions
Do I have to chill the dough for a full hour? The chilling time is important for the texture — it re-solidifies the fat and relaxes the dough, making it easier to roll and cut. You can extend the chill overnight, which actually improves the flavour. Don’t reduce it below an hour if possible.
What if my coconut cream doesn’t whip? It wasn’t cold enough. Put the cream (in its can) back in the fridge for another few hours and try again. If it still won’t whip, the brand has too low a fat content — try a different brand next time.
Can I use regular oat flour instead of making my own? Yes — pre-made oat flour works identically. If you want to make your own, blend rolled oats on high in a blender for 30–45 seconds until fine and fluffy.
Can I make these nut-free by removing the almond flour? The almond flour is important for both texture and richness in this recipe. Substituting it with more oat flour or a GF flour blend will produce drier, less tender biscuits. Sunflower seed flour is a possible alternative for nut-free baking — it behaves similarly to almond flour.
How do I know when the shortcakes are done? They should be a deep golden brown on top and the edges should look set. If you tap the top, it should feel firm rather than soft. A toothpick inserted in the centre should come out clean or with just a dry crumb.
Can I serve these as dessert instead of breakfast? Absolutely — this recipe is listed as both breakfast and dessert for exactly this reason. Serve them after dinner with extra macerated strawberries and a bigger dollop of cream and they work perfectly as a light, elegant summer pudding.
Still Hungry, Try It Next recipe :-
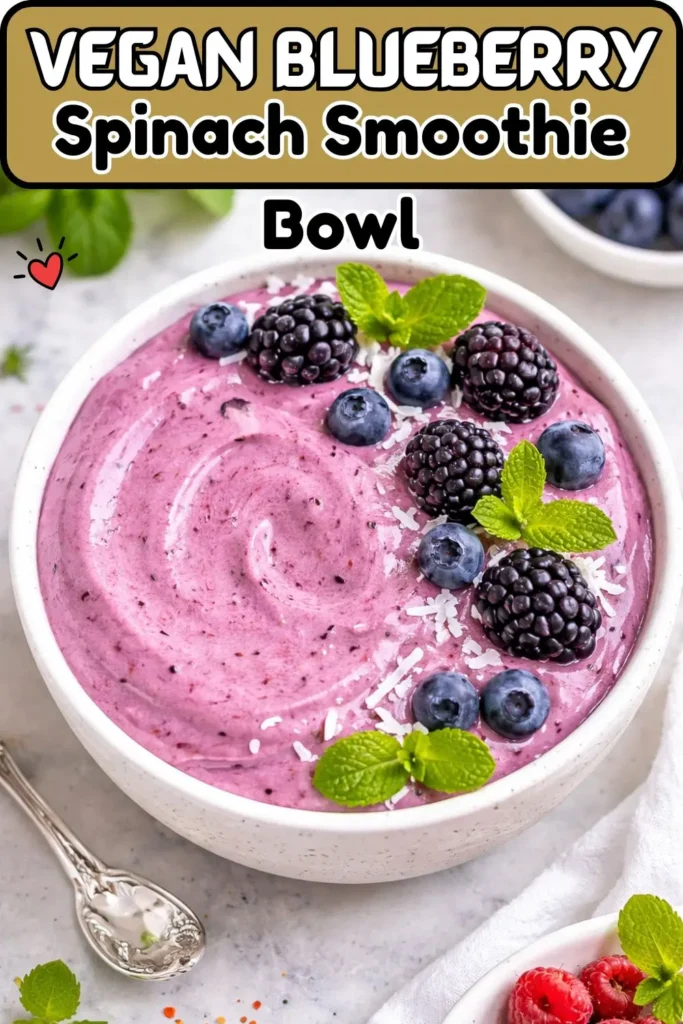
Vegan Blueberry Spinach Smoothie Bowl
Make These for Your Next Special Morning
Here’s the full picture: golden, flaky, almond-oat shortcake biscuits with macerated lemon-mint strawberries and billowy coconut whipped cream. Six to eight servings. One hour of active effort, mostly the night before. And a result that looks and tastes like something you’d find in a very good bakery — except yours is completely vegan, gluten-free, and made in your own kitchen.
This is the recipe for the mornings that deserve to be made special. A summer birthday. A weekend brunch that matters. A morning when you want to remind yourself and everyone around you that plant-based cooking can be genuinely, extraordinarily beautiful.
Chill the coconut cream tonight, make the dough tomorrow morning, and serve something at your table that stops people mid-conversation.
Vegan Strawberry Shortcake Waffles
Ingredients
Equipment
Method
- Step 1: Line a baking sheet with parchment paper and dust lightly with oat flour. Set aside.
- Step 2: In a food processor or large mixing bowl, combine the almond flour, oat flour, baking powder, coconut sugar, and salt. Pulse or whisk together until combined.
- Step 3: Add the solid coconut oil (or cold, chopped plant-based butter) to the dry ingredients. Pulse in the food processor, or use a pastry cutter or fork to work the fat into the flour mixture until only small, pea-sized chunks remain. Do not overmix. The texture should be mostly sandy with distinct fat pieces throughout — this is what creates flaky, layered shortcake.
- Step 4: In a small bowl, whisk together the coconut milk, flax egg, and vanilla. Add to the dry ingredients and stir or pulse until the dough just comes together.
- Step 5: Transfer the dough to the prepared parchment-lined baking sheet and press it into a rough square about 1 inch thick. Cover and refrigerate for at least 1 hour (or up to overnight).
- Baking the Shortcakes
- Step 6: Preheat the oven to 400°F (204°C).
- Step 7: Remove the chilled dough from the fridge. On a lightly dusted surface (keeping it on the parchment), roll it out to approximately 9 inches square. Use a 3-inch round biscuit cutter to cut out 6–7 rounds. Gather scraps, re-roll, and cut additional rounds.
- Step 8: Place the rounds on the parchment-lined baking sheet with space between them. Brush each top with a little coconut milk and sprinkle with turbinado sugar if using.
- Step 9: Bake for 20–25 minutes until golden brown. Let them cool slightly before assembling.
- Macerate the Strawberries
- Step 10: While the shortcakes bake, combine the sliced strawberries, coconut sugar, lemon zest, vanilla, and mint in a bowl. Stir gently and set aside. The strawberries will release their juice and become beautifully syrupy as they sit.
- Make the Coconut Whipped Cream
- Step 11: Open the chilled coconut cream and drain off any liquid (save it for smoothies). Scoop the solidified cream into a mixing bowl. Whip with an electric mixer for about 30 seconds until smooth and fluffy. Add the maple syrup and vanilla and whip briefly to combine.
- Assemble
- Step 12: Place a shortcake on each plate. Top with a generous spoonful of coconut whipped cream and a heap of macerated strawberries and their juice. Serve immediately.
Notes
Calorie & Nutrition Breakdown (Per Shortcake — Approximate, With Toppings)
| Component | Approximate Calories |
| Shortcake biscuit | ~280–320 kcal |
| Coconut whipped cream (2 tbsp) | ~80 kcal |
| Macerated strawberries (¼ cup) | ~35 kcal |
| Total per serving | ~395–435 kcal |

Hi — I’m Rachel. I’m a wife, a mom, and a home cook who believes that food should bring comfort, joy, and compassion to the table. I live with my family — two hungry little foodies who are my most honest recipe testers — and together we’ve built a kitchen culture that’s all about good food that happens to be 100% vegan. I started this blog because I wanted a place to share the recipes that keep our days moving, the dishes that make weeknights feel a little easier, and the meals that become our little family traditions.