
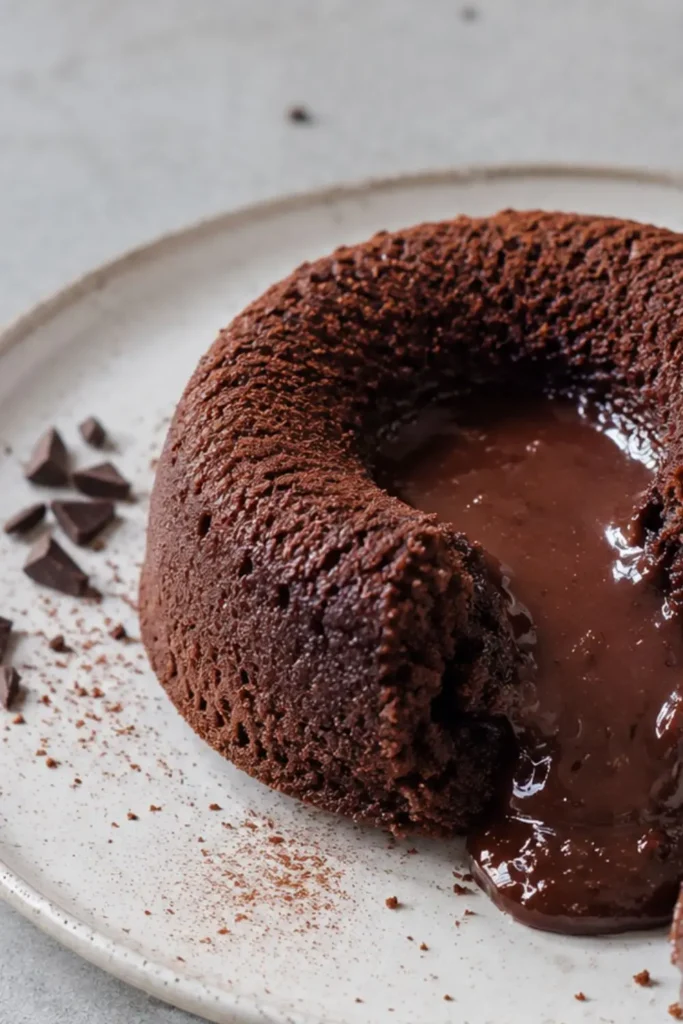
A breakfast bowl with a molten chocolate center sounds like something you’d order at a restaurant brunch and feel slightly guilty about. This Blended Chocolate Lava Cake Vegan Oatmeal Bowl is that exact indulgence, except it’s made from oats, almond flour, banana, and cocoa powder, blended together and baked into individual ramekins with a piece of dairy-free chocolate hidden in the center. When you crack into it, that chocolate has melted into a warm, gooey, molten pool. For breakfast. Genuinely.
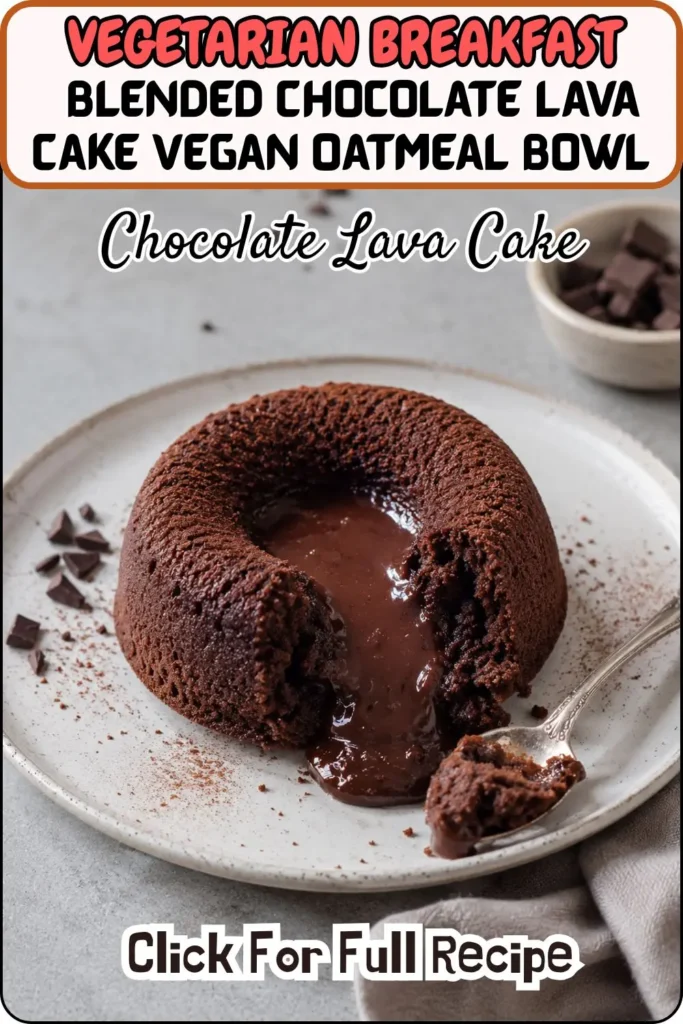
I started making this on weekend mornings when I wanted something that felt celebratory without requiring me to actually make dessert. The blender does almost all the work, the oven does the rest, and what comes out twenty minutes later looks and tastes like something far more impressive than the five minutes of active effort it actually required. Let me show you exactly how to make it.
My Recipe Details at a Glance
Everything you need before you preheat:
- Course- Breakfast or Brunch
- Primary Keyword- Blended Chocolate Lava Cake Vegan Oatmeal Bowl
- Prep Time- 10 minutes
- Cook Time- 20 minutes (15–18 minutes if using small molds)
- Total Time- 30 minutes
- Servings- 4
- Calories per Serving- 330 kcal
- Diet-100% Vegan, Gluten-Free adaptable
This recipe makes one large lava cake (serving 4) or four individual small ones, depending on your equipment and how communal you want breakfast to be.
Equipment You’ll Need For
Minimal gear for maximum payoff:
- A food processor or blender – This is what makes the entire recipe come together as a smooth, pourable batter rather than requiring multiple bowls and a whisk. You blend the dry ingredients first, add the wet ingredients, and blend again the whole batter takes about 2 minutes total to make. A standard blender works fine for this batter; you don’t need a high-speed model since there’s no soaking or grinding of tough ingredients involved.
- One large ramekin (5½ inches in diameter) OR four small ramekins/silicone muffin molds/aluminum muffin molds/mugs– Your equipment choice determines your serving format. One large ramekin gives you a shareable, dramatic lava cake that everyone digs into together genuinely fun for a weekend breakfast with company. Four small molds give you individual portions, each with its own molten chocolate center, which is more practical for portion control and for serving people who want their own dedicated breakfast lava cake (no judgment, I relate).
- A kitchen scale – The recipe notes specifically recommend gram measurements for the most accurate, consistent results. Oat flour and almond flour both vary in density depending on how they’re packed, so weighing rather than measuring by volume removes that variability entirely.
- Cooking spray or oil for greasing – Whatever mold you use needs a proper greasing to ensure the lava cake releases cleanly rather than sticking and tearing apart.
- A toothpick (optional) – While you’re not testing for full doneness the way you would a regular cake (the center is supposed to stay molten), a toothpick can help you check that the cake portion around the chocolate has set properly.
Why This Recipe Works The Blended Batter Approach
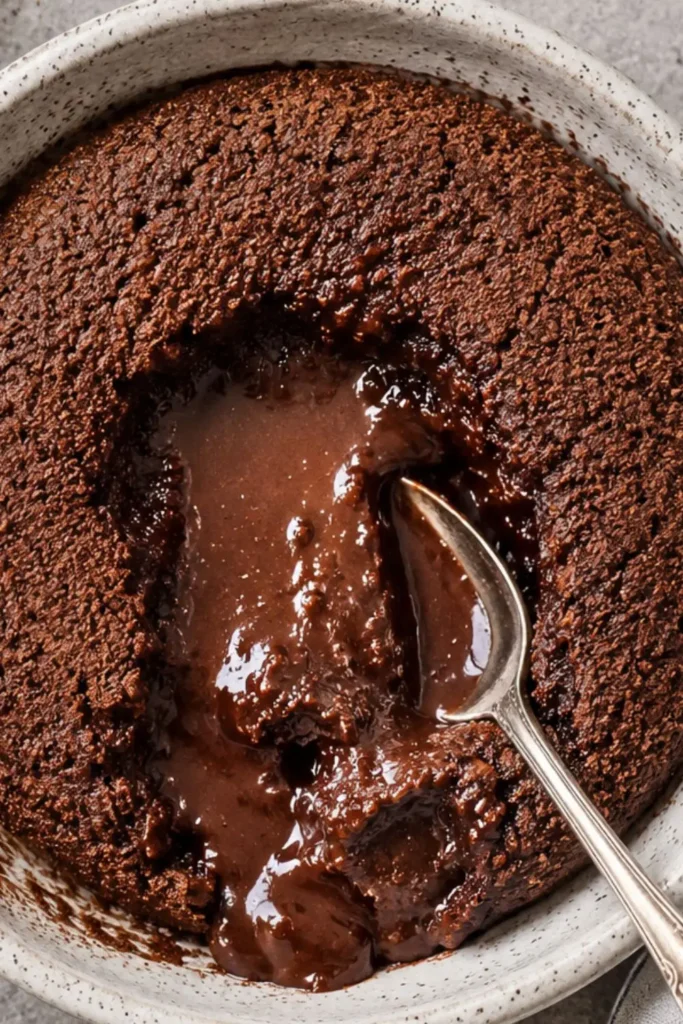
Most lava cake recipes require you to make a cake batter separately, melt chocolate separately, and carefully layer or fold them together. This recipe skips all of that. Everything except the chocolate filling goes into the blender together, and the chocolate chunk just sits in the center of the batter before baking, melting into a pool of molten chocolate as the surrounding cake-like oatmeal structure sets around it.
This is genuinely clever recipe engineering. The oat flour and almond flour create a base that’s more substantial and breakfast-appropriate than a traditional lava cake (which is essentially just chocolate and butter), while still delivering that exact same payoff when you break into the center: a warm, gooey, chocolate surprise.
Ingredients The Full Breakdown
The Dry Ingredients
- 1 slightly heaped cup (100g) oat flour – The primary flour base. Oat flour is naturally gluten-free (use certified gluten-free oats if that matters for you) and gives the finished lava cake a soft, slightly dense, oatmeal-like texture that ties this recipe to its “oatmeal bowl” identity. You can make your own oat flour by blending rolled oats in a blender until fine it’s significantly cheaper than buying pre-made oat flour and takes about 30 seconds.
- ½ scant cup (50g) almond flour – Adds richness, moisture, and a subtle nutty depth that complements the chocolate beautifully. Almond flour also contributes healthy fats and protein that make this breakfast more nutritionally substantial than a typical dessert lava cake. For a nut-free version, substitute with additional oat flour, though the texture will be slightly less rich.
- 5½ tablespoons (70g) coconut sugar – Coconut sugar adds a subtle caramel depth that pairs beautifully with chocolate, and it has a lower glycemic impact than refined white sugar. Any granulated sugar works as a substitute white sugar, brown sugar, or your preferred alternative sweetener.
- 3½ tablespoons (20g) cocoa powder – The chocolate flavor foundation of the entire cake portion, separate from the molten chocolate center. Use a good quality unsweetened cocoa powder Dutch-process gives you a darker color and smoother flavor, natural cocoa gives a slightly brighter, more acidic chocolate taste.
- 1 teaspoon baking powder – The primary leavening agent that gives the cake structure its lift.
- ¼ teaspoon baking soda – Works alongside the apple cider vinegar in the wet ingredients to create additional lift and a more tender texture.
- A pinch of salt – Essential for amplifying the chocolate flavor. Don’t skip it, even though it’s just a pinch.
The Wet Ingredients
- ⅔ cup (160ml) plant-based milk – Oat milk keeps the flavor profile cohesive with the oat flour base. Almond milk or soy milk both work equally well. Use unsweetened to control the overall sweetness of the cake.
- 1 small (80g) banana – The banana acts as a natural egg replacer here, providing binding, moisture, and a subtle sweetness. Use a ripe, spotty banana underripe banana doesn’t blend as smoothly and contributes less natural sweetness, which means you’d need more added sugar to compensate.
- ½ tablespoon apple cider vinegar or lemon juice – Reacts with the baking soda to create extra lift and a more tender crumb. This is a classic vegan baking technique that replaces the leavening function eggs typically provide.
- 1 teaspoon vanilla extract – Adds aromatic depth that rounds out the chocolate flavor and makes the finished cake taste more complete.
The Molten Center
- 1.5 oz (40g) dairy-free chocolate of your choice – This is the entire reason this recipe earns the word “lava” in its name. Use good quality dairy-free chocolate a chocolate bar broken into chunks, dairy-free chocolate chips, or even a few squares of a quality dark chocolate bar all work. The chocolate needs to be placed directly into the center of the batter before baking so it sits surrounded by batter and melts into that signature molten pool. Darker chocolate (60-70% cacao) gives you a more intensely chocolatey, slightly bitter contrast against the sweeter cake base. Milder semi-sweet chocolate gives a sweeter, more uniformly indulgent result.
How to Make Blended Chocolate Lava Cake Vegan Oatmeal Bowl
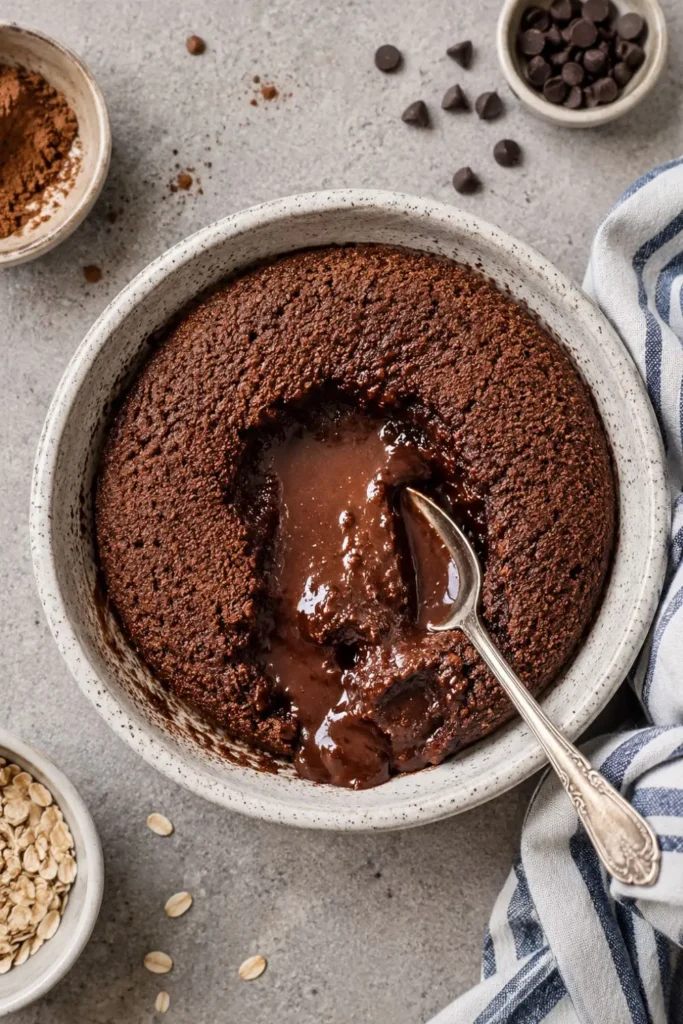
Step 1 – Preheat and Prepare Your Molds
Preheat your oven to 360°F (180°C). Grease your one large ramekin or four small ramekins/molds thoroughly with oil or cooking spray this prevents sticking and ensures clean release once the cake is baked and cooled slightly. Greasing thoroughly matters more in this recipe than in most cakes because the molten chocolate center can make the cake slightly more delicate to remove from the mold.
Step 2 – Process the Dry Ingredients
Add the oat flour, almond flour, coconut sugar, cocoa powder, baking powder, baking soda, and salt to your food processor or blender. Process until everything is fully combined and there are no lumps or pockets of any single dry ingredient.
Step 3 – Add the Wet Ingredients and Blend
Add the plant-based milk, banana, apple cider vinegar, and vanilla extract directly to the processor with the dry ingredients. Blend until you have a smooth, uniform batter with no visible banana chunks remaining. The batter should be pourable similar in consistency to a thick pancake batter. If it feels too thick, add a splash more plant milk.
Step 4 – Fill the Molds and Add the Chocolate
Pour the batter into your prepared ramekin(s), filling each about ¾ full. Place a piece of dairy-free chocolate directly into the center of each portion, pressing it gently down into the batter so it’s mostly submerged but not fully buried at the bottom. This positioning matters the chocolate needs to sit roughly in the middle of the batter depth so it melts into a proper molten center rather than sinking to the bottom and creating an uneven texture.
Step 5 – Bake
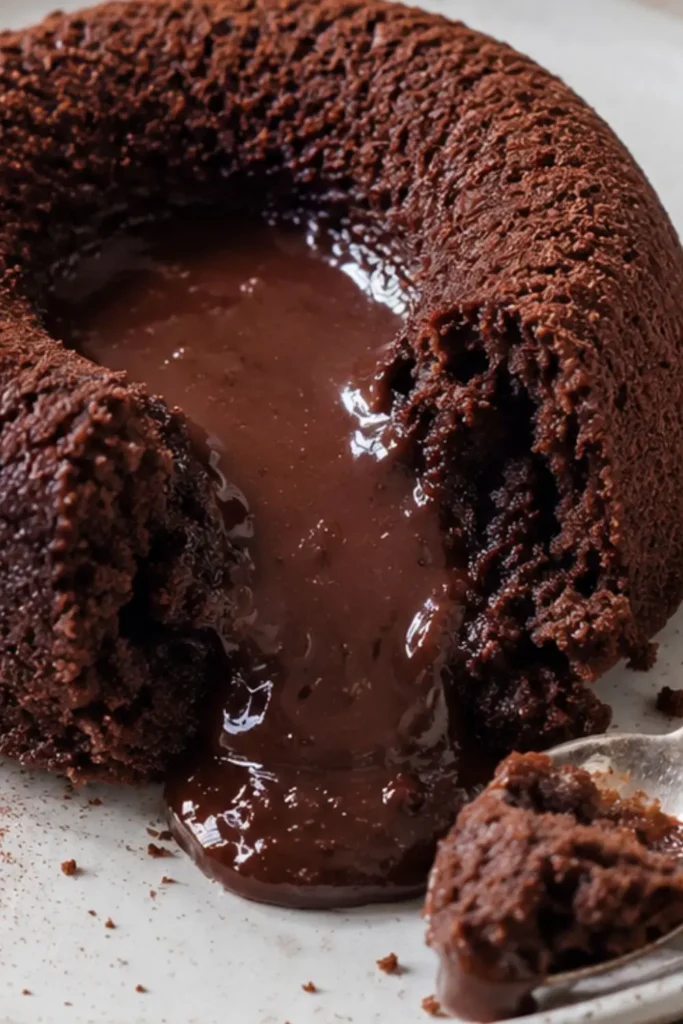
Bake the large ramekin for 20–22 minutes. If using small individual molds, reduce the baking time to 15–18 minutes smaller portions cook through faster. The cake should look set around the edges and slightly springy on top, while the center (where the chocolate is) stays soft. You’re not looking for the same doneness test as a regular cake a completely clean toothpick test means you’ve baked past the lava stage and the chocolate has likely fully absorbed into the surrounding cake rather than staying molten.
Step 6 – Cool Briefly Before Serving
Let the lava cake cool for about 10 minutes before removing it from the mold. This brief rest allows the structure to firm up just enough to hold its shape when unmolded, while the center stays warm and molten. Serve immediately this is not a dish that benefits from sitting around, the entire appeal is in that warm, gooey center.
Full Nutritional Breakdown (Per Serving 1 of 4)
| Nutrient | Amount |
| Calories | 330 kcal |
| Fat | 13g |
| Carbohydrates | 42g |
| Fiber | 8g |
| Sugar | 23g |
| Protein | 8g |
A few numbers worth highlighting:
- 8g of fiber per serving – Exceptional for a chocolate-forward breakfast. The oat flour and almond flour both contribute significantly here, making this nutritionally far more substantial than a traditional dessert lava cake.
- 8g of protein per serving – Coming from the almond flour and oats, giving this breakfast genuine staying power compared to a sugar-only treat.
- 330 calories – A complete, satisfying breakfast portion that balances its indulgent chocolate center with real nutritional substance.
You may also like Next recipe
Copycat Starbucks Vegan Eggless Bites

One Large Cake vs Four Small Ones Which Should You Choose?
Ever debated whether a shared dessert or an individual portion is the better experience? This recipe genuinely works both ways, and the choice comes down to the occasion:
One Large Ramekin (5½ inches)
- Best for- Weekend mornings with a partner or family, special occasion breakfasts, a more dramatic presentation where everyone digs in together
- Bake time- 20–22 minutes
- The experience- Cracking into one large lava cake together has genuine communal appeal it feels like an event rather than just breakfast
Four Small Molds
- Best for- Portion control, serving multiple people who each want their own dedicated cake, meal prepping individual breakfasts for the week
- Bake time- 15–18 minutes
- The experience- Each person gets their own molten center, no negotiating who gets the gooiest bite
IMO, the large version is more fun for an occasion, but the small version is more practical for regular rotation. I’ve made both more times than I can count and genuinely can’t pick a favorite.
Tips for the Perfect Molten Center Every Time
A few details that make the difference between a properly gooey lava cake and an overbaked one:
- Don’t overbake. This is the single most important tip. Check at the minimum time listed and watch closely from there every oven runs slightly differently, and overbaking by even 2-3 minutes can fully melt and absorb the chocolate into the surrounding batter rather than leaving it molten.
- Use a chocolate with a good melt. Quality dairy-free chocolate with cocoa butter (rather than chocolate that uses other fats as a substitute) melts more smoothly and creates a better lava texture.
- Position the chocolate correctly. Push it into the center of the batter depth, not just on top if it sits on the surface, it can scorch slightly before the cake structure sets around it.
- Serve immediately. The molten center firms up as it cools, and the longer it sits, the less “lava” and the more “regular cake with a chocolate center” it becomes. Eat it warm, right out of the oven.
Make-Ahead Tips
Lava cakes are genuinely a fresh-baked food, but here’s how to streamline your morning if you want this on a busy day:
- Prep the batter the night before. Mix everything except the baking soda reaction components and store covered in the fridge. In the morning, give it a quick stir, pour into your molds, add the chocolate, and bake fresh.
- Pre-measure dry ingredients. Combine the dry ingredients in a jar the night before so the morning routine is just adding wet ingredients and blending.
- Bake fresh, always. This isn’t a make-ahead-and-reheat situation the entire appeal depends on fresh-from-the-oven warmth and molten chocolate, both of which disappear with reheating.
My Final Bottom Line
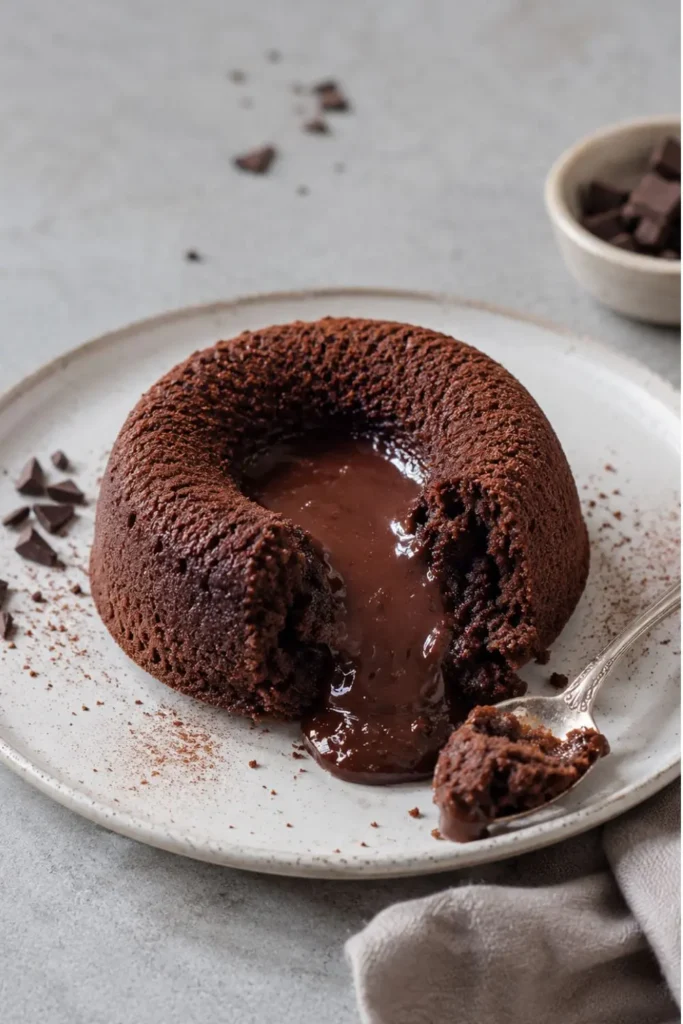
This Blended Chocolate Lava Cake Vegan Oatmeal Bowl proves that breakfast doesn’t have to choose between nutritious and genuinely exciting. Thirty minutes, one blender, a handful of pantry ingredients, and a result that delivers a warm, molten chocolate center alongside real fiber and protein from oats and almond flour. This is a vegan breakfast recipe that feels like dessert and functions like a real, substantial morning meal.
Make the large version for a slow weekend morning worth savoring, or the small version for a week of individually portioned breakfast indulgence. Either way, that first crack into the molten center is the moment that makes the whole recipe worth it every single time.
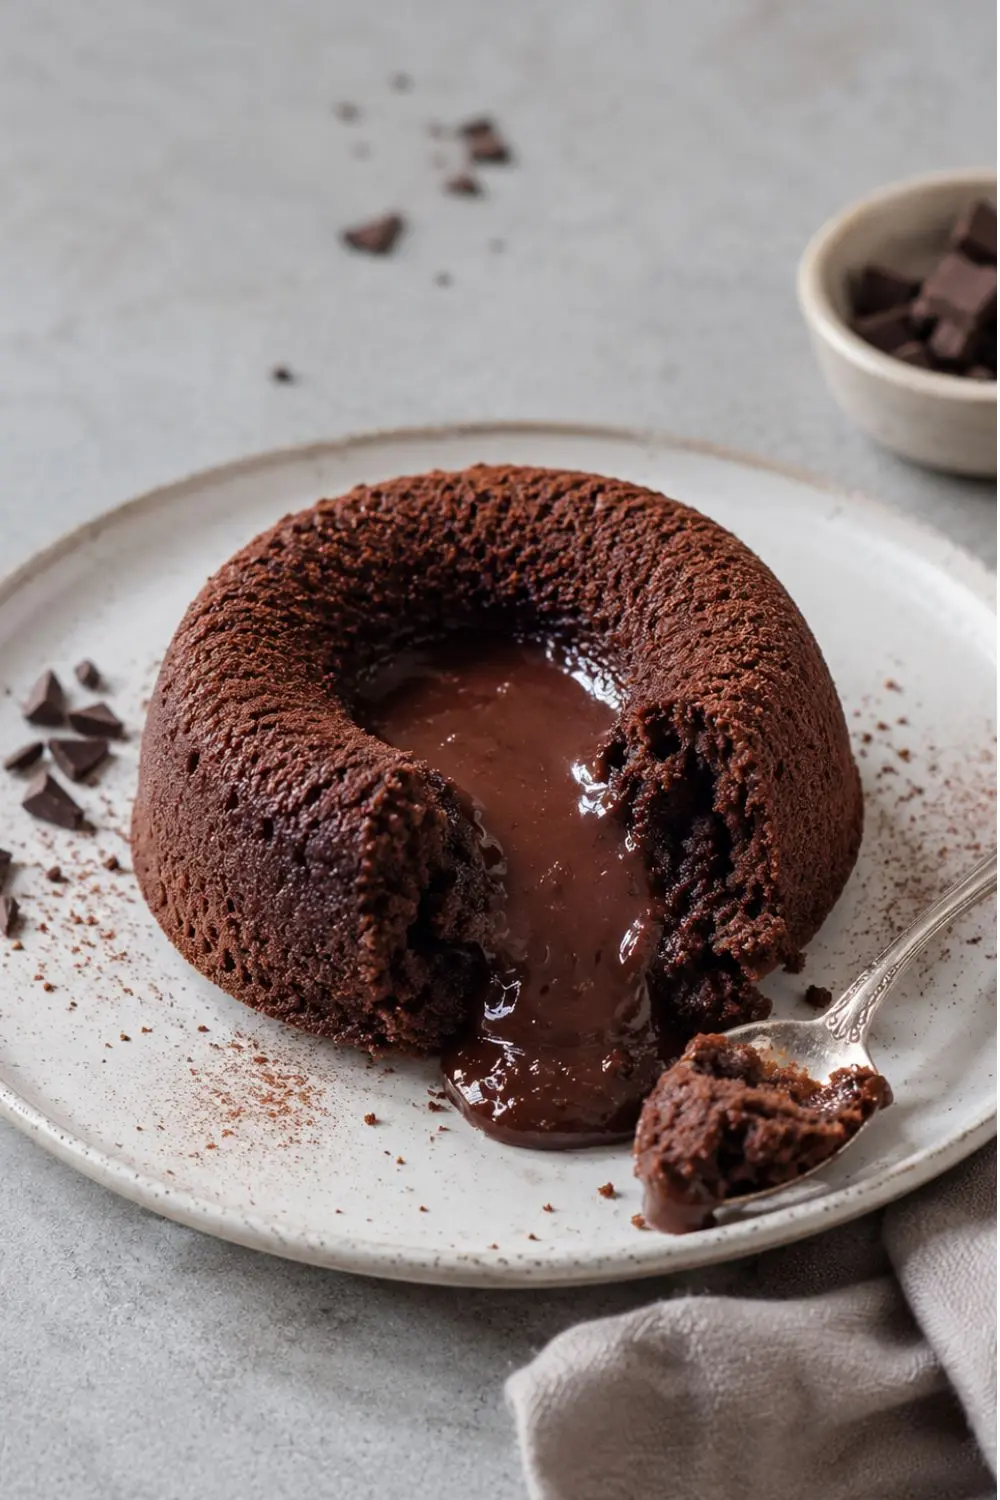
Blended Chocolate Lava Cake Vegan Oatmeal Bowl Breakfast
Ingredients
Equipment
Method
- Step 1 – Preheat and Prepare Your Molds
- Preheat your oven to 360°F (180°C). Grease your one large ramekin or four small ramekins/molds thoroughly with oil or cooking spray this prevents sticking and ensures clean release once the cake is baked and cooled slightly. Greasing thoroughly matters more in this recipe than in most cakes because the molten chocolate center can make the cake slightly more delicate to remove from the mold.
- Step 2 – Process the Dry Ingredients
- Add the oat flour, almond flour, coconut sugar, cocoa powder, baking powder, baking soda, and salt to your food processor or blender. Process until everything is fully combined and there are no lumps or pockets of any single dry ingredient.
- Step 3 – Add the Wet Ingredients and Blend
- Add the plant-based milk, banana, apple cider vinegar, and vanilla extract directly to the processor with the dry ingredients. Blend until you have a smooth, uniform batter with no visible banana chunks remaining. The batter should be pourable similar in consistency to a thick pancake batter. If it feels too thick, add a splash more plant milk.
- Step 4 – Fill the Molds and Add the Chocolate
- Pour the batter into your prepared ramekin(s), filling each about ¾ full. Place a piece of dairy-free chocolate directly into the center of each portion, pressing it gently down into the batter so it’s mostly submerged but not fully buried at the bottom. This positioning matters the chocolate needs to sit roughly in the middle of the batter depth so it melts into a proper molten center rather than sinking to the bottom and creating an uneven texture.
- Step 5 – Bake
- Bake the large ramekin for 20–22 minutes. If using small individual molds, reduce the baking time to 15–18 minutes smaller portions cook through faster. The cake should look set around the edges and slightly springy on top, while the center (where the chocolate is) stays soft. You’re not looking for the same doneness test as a regular cake a completely clean toothpick test means you’ve baked past the lava stage and the chocolate has likely fully absorbed into the surrounding cake rather than staying molten.
- Step 6 – Cool Briefly Before Serving
- Let the lava cake cool for about 10 minutes before removing it from the mold. This brief rest allows the structure to firm up just enough to hold its shape when unmolded, while the center stays warm and molten. Serve immediately this is not a dish that benefits from sitting around, the entire appeal is in that warm, gooey center.
Notes
Full Nutritional Breakdown (Per Serving 1 of 4)
| Nutrient | Amount |
| Calories | 330 kcal |
| Fat | 13g |
| Carbohydrates | 42g |
| Fiber | 8g |
| Sugar | 23g |
| Protein | 8g |

Hi — I’m Rachel. I’m a wife, a mom, and a home cook who believes that food should bring comfort, joy, and compassion to the table. I live with my family — two hungry little foodies who are my most honest recipe testers — and together we’ve built a kitchen culture that’s all about good food that happens to be 100% vegan. I started this blog because I wanted a place to share the recipes that keep our days moving, the dishes that make weeknights feel a little easier, and the meals that become our little family traditions.