Step 1 - Preheat and Prepare Your Molds
Preheat your oven to 360°F (180°C). Grease your one large ramekin or four small ramekins/molds thoroughly with oil or cooking spray this prevents sticking and ensures clean release once the cake is baked and cooled slightly. Greasing thoroughly matters more in this recipe than in most cakes because the molten chocolate center can make the cake slightly more delicate to remove from the mold.
Step 2 - Process the Dry Ingredients
Add the oat flour, almond flour, coconut sugar, cocoa powder, baking powder, baking soda, and salt to your food processor or blender. Process until everything is fully combined and there are no lumps or pockets of any single dry ingredient.
Step 3 - Add the Wet Ingredients and Blend
Add the plant-based milk, banana, apple cider vinegar, and vanilla extract directly to the processor with the dry ingredients. Blend until you have a smooth, uniform batter with no visible banana chunks remaining. The batter should be pourable similar in consistency to a thick pancake batter. If it feels too thick, add a splash more plant milk.
Step 4 - Fill the Molds and Add the Chocolate
Pour the batter into your prepared ramekin(s), filling each about ¾ full. Place a piece of dairy-free chocolate directly into the center of each portion, pressing it gently down into the batter so it's mostly submerged but not fully buried at the bottom. This positioning matters the chocolate needs to sit roughly in the middle of the batter depth so it melts into a proper molten center rather than sinking to the bottom and creating an uneven texture.
Step 5 - Bake
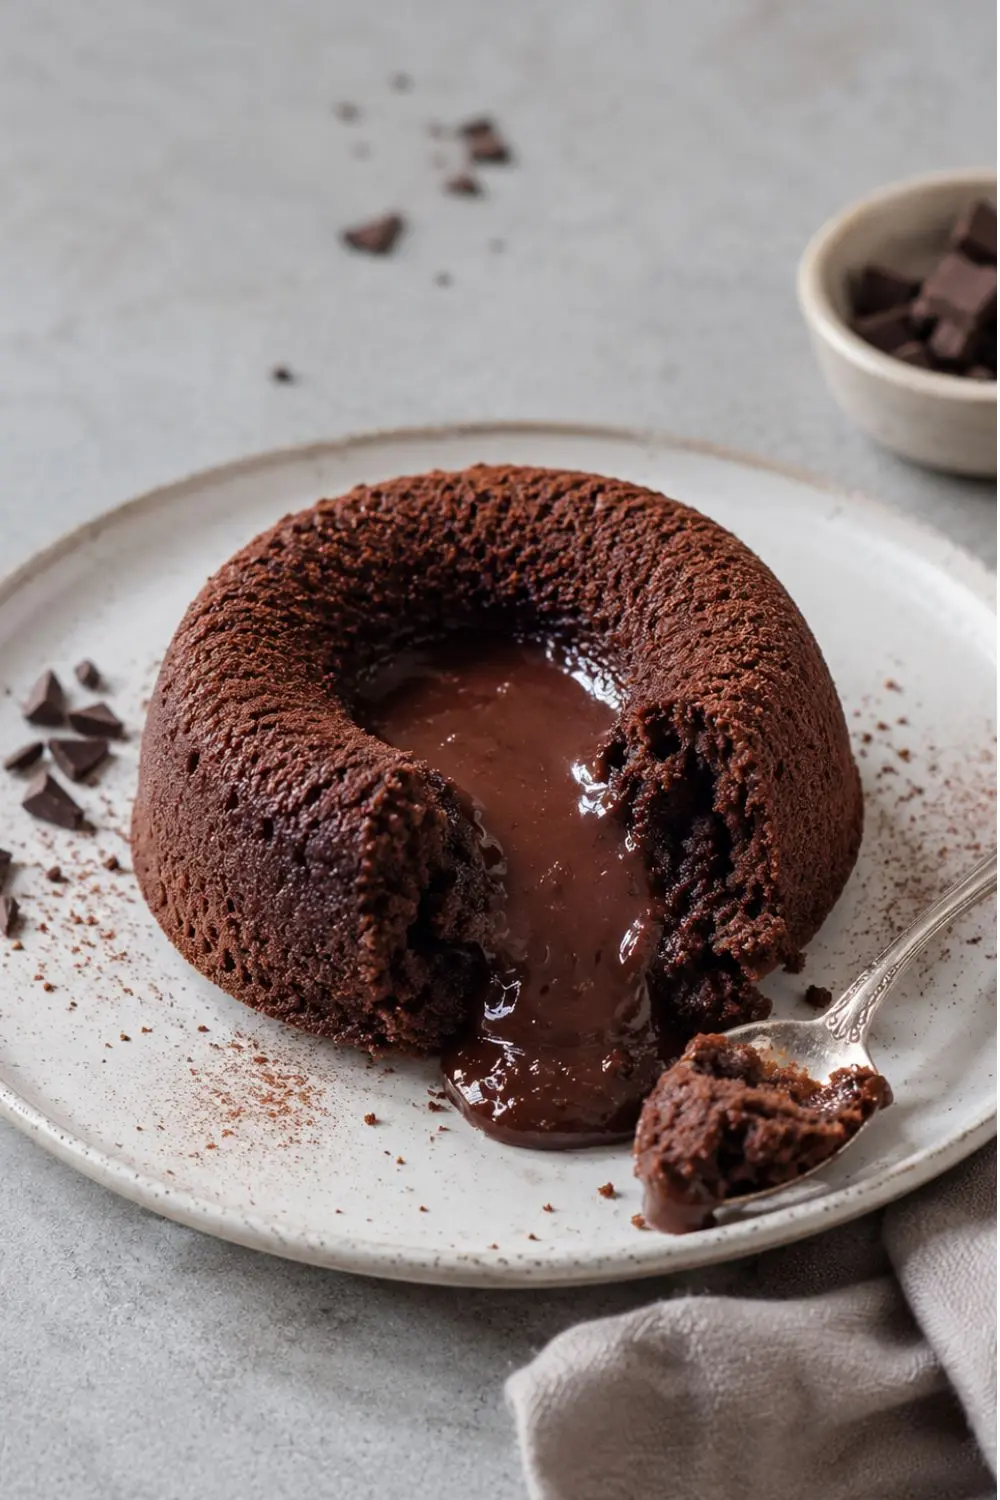
Bake the large ramekin for 20–22 minutes. If using small individual molds, reduce the baking time to 15–18 minutes smaller portions cook through faster. The cake should look set around the edges and slightly springy on top, while the center (where the chocolate is) stays soft. You're not looking for the same doneness test as a regular cake a completely clean toothpick test means you've baked past the lava stage and the chocolate has likely fully absorbed into the surrounding cake rather than staying molten.
Step 6 - Cool Briefly Before Serving
Let the lava cake cool for about 10 minutes before removing it from the mold. This brief rest allows the structure to firm up just enough to hold its shape when unmolded, while the center stays warm and molten. Serve immediately this is not a dish that benefits from sitting around, the entire appeal is in that warm, gooey center.