
Want restaurant-quality sushi rolls without the restaurant price tag? This Avocado Sushi Roll & Cucumber Bento Box delivers genuinely satisfying homemade sushi using a sushi bazooka, and the whole process is way more approachable than it looks.
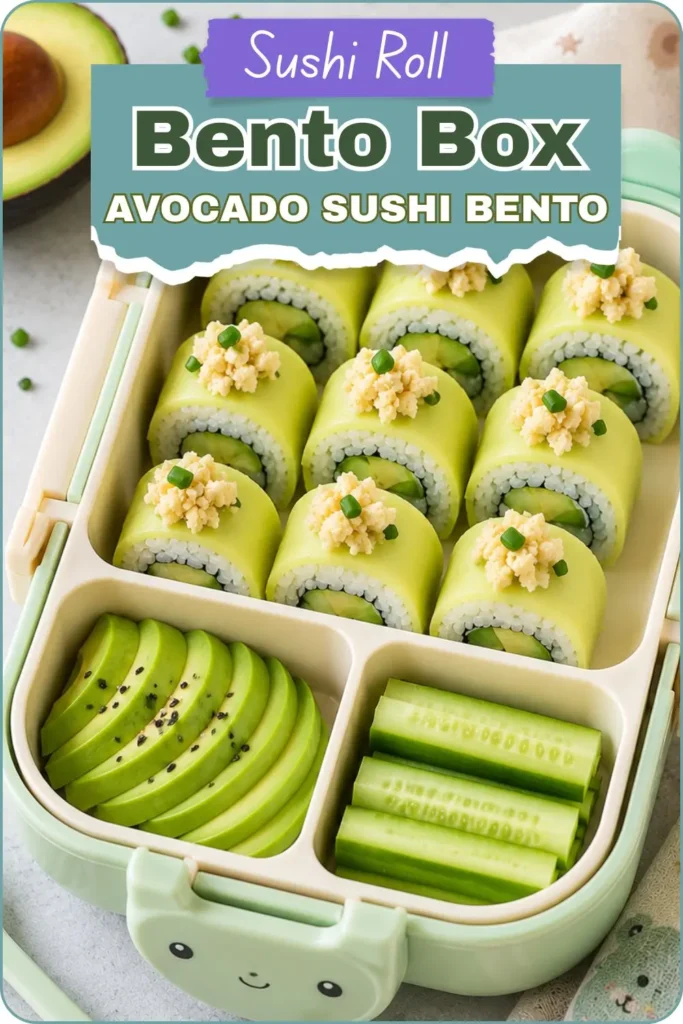
I started making sushi at home after realizing how much money I was spending on avocado rolls that were mostly rice. A sushi bazooka genuinely changed the whole experience, taking the guesswork out of rolling and compacting everything into a tight, presentable roll every time. Now this is my go-to whenever I want sushi without waiting for delivery or overpaying for something this simple to make.
This isn’t a sloppy, falling-apart homemade sushi attempt. With the right tool and a little patience, these rolls come out genuinely tight and clean-cut. Let’s break down exactly how to make them.
Why This Avocado Cucumber Sushi Deserves a Spot in Your Meal Rotation
Meal prep recipes don’t need to be complicated to feel genuinely impressive, and this avocado sushi roll and cucumber bento box proves that completely. Creamy avocado, crisp cucumber, and carrot matchsticks wrapped in perfectly compacted rice make for one of the more satisfying bento box meals you’ll make at home.
Here’s what makes this recipe worth trying:
- Genuinely approachable-a sushi bazooka takes the guesswork out of rolling
- Naturally vegan-every ingredient here is plant-based from the start
- Loaded with fiber-6g per serving from the brown rice and vegetables
- Customizable filling-swap in whatever vegetables you have on hand
- Genuinely portable-perfect for packing into a bento box for lunch
Ever wanted to make sushi at home but felt intimidated by the rolling technique? That’s exactly what a sushi bazooka solves. IMO, this tool is a genuine game-changer for anyone who’s struggled with a bamboo mat alone.
Your Recipe Timing and Serving Details
Here’s the quick breakdown before you start cooking rice:
- Prep Time- 15 minutes
- Cook Time- 15 minutes
- Chill Time- 30 minutes
- Total Time- 1 hour
- Servings- 4 rolls
- Calories- 414 kcal per roll
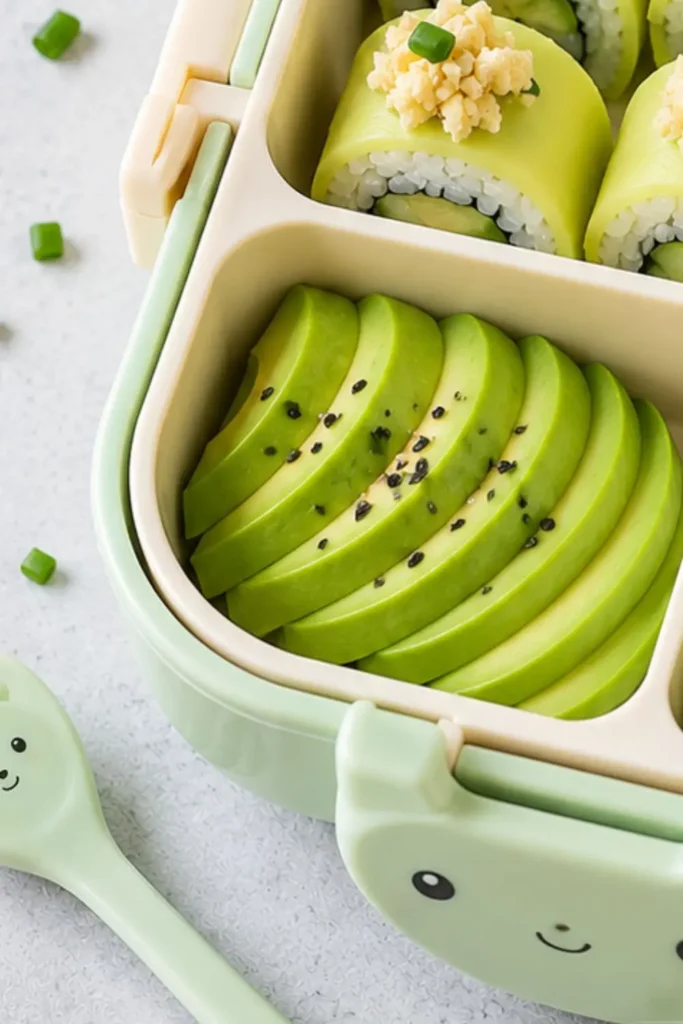
An hour total, with a good chunk of that being hands-off chilling time this recipe makes 4 rolls, perfect for a meal for one or two people, or portioned into a bento box for lunch throughout the week. Double the batch if you’re feeding more people; the rice and veggies scale up easily.
Equipment You’ll Need For Avocado Sushi Roll & Cucumber Bento Box
This recipe uses a bit of specialized gear that genuinely makes the process easier. Here’s what to have ready:
- Sushi bazooka (this tool makes rolling and compacting the sushi so much easier)
- Instant Pot (or a stovetop pot if you don’t have one)
- Bamboo sushi mat (for the final rolling step)
- Sharp sushi knife (for clean, even slices)
- Small bowl of water (for wetting your fingers and the knife)
A sushi bazooka genuinely isn’t required, but it makes achieving that tight, professional-looking roll significantly easier than using a bamboo mat alone.
Ingredients Breakdown
This recipe keeps the ingredient list focused, letting the rice and fresh vegetables do the work. Here’s exactly what you need.
For the Sushi Rolls
- 2 cups dry brown jasmine rice (jasmine matters here for the right stickiness)
- 2 to 4 cups water, plus extra for wetting your fingers
- 4 sushi nori wraps
- 3/4 medium avocado
- 1/2 cucumber
- 1 carrot
For Serving
- Low-sodium soy sauce, for dipping
- Pickled ginger
- Wasabi paste
- Toasted sesame seeds, for sprinkling
Brown jasmine rice specifically matters here regular brown rice doesn’t have the same natural stickiness needed to hold a sushi roll together properly.
How to Make Avocado Sushi Roll & Cucumber Bento Box
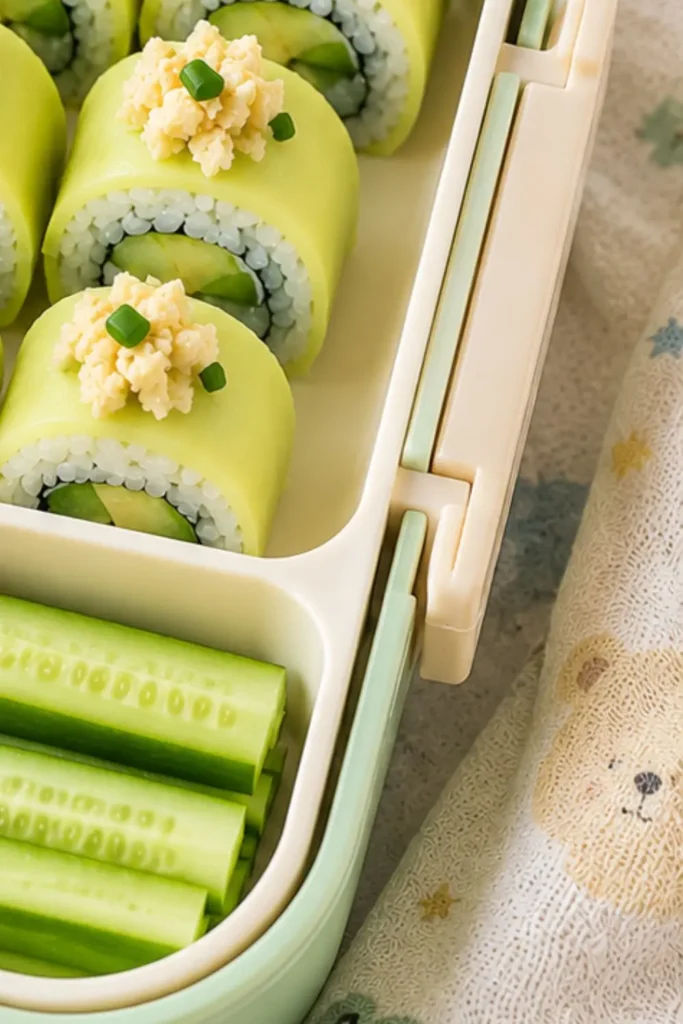
Ready to roll this together? Here’s exactly how it comes together.
Step 1- Cook the Brown Rice
Using an Instant Pot, cook the rice at a 1:1 ratio of rice to water on the rice setting, then do a quick release. No rice setting? Cook for 4 minutes on high pressure, then let it slow release for 10 minutes. On the stovetop, use a 1:2 ratio of rice to water, bring to a boil, cover, then simmer for 40 to 50 minutes.
Step 2- Chill the Rice
Let the cooked rice chill in the refrigerator for 30 minutes. This cooling step matters both for texture and so you don’t burn your fingers while assembling the rolls.
Step 3- Prep the Vegetables
While the rice chills, chop your vegetables into thin matchsticks. Peel the carrot, cut off the ends, halve it, then slice lengthwise and cut into thin matchsticks. Slice the cucumber the same way.
Step 4- Prep the Avocado
Slice thin lines into one half of the avocado, then carefully scoop it out with a spoon. Cut the avocado slices into thin strips, matching the size of your other vegetables.
Step 5- Fill the Sushi Bazooka
Wet your fingers slightly to prevent sticking. Open the sushi bazooka, remove the plunger rod, and fill both sides with cooked rice, about 1/2 to 1 cup per side, filling it level to the top for a tight compact roll.
Step 6- Add the Veggies
Use the plunger to make an indentation in the rice on both sides. Fill the indentations with your prepared vegetables carrot and avocado on the bottom, cucumber on top, about 2 strips thick.
Step 7- Compact the Roll
Insert the plunger rod, close the bazooka, and latch it. Place the end cap on and twist to close, then twist the plunger rod 5 times to compact everything tightly.
Step 8- Roll and Slice
Lay a sushi nori wrap on your bamboo mat. Remove the end cap and push the plunger to release the compacted roll onto the nori, about an inch from the edge. Use the bamboo mat to roll it up, wetting the nori edge to seal it closed.
Step 9- Cut and Repeat
Transfer the roll to a cutting board and slice into 1-inch pieces using a sharp sushi knife, wetting the blade between cuts for clean slices. Repeat the process 3 more times with the remaining rice and vegetables.
Step 10- Serve
Sprinkle with toasted sesame seeds and serve alongside low-sodium soy sauce, pickled ginger, and wasabi paste.
Serving Ideas for This Sushi Roll
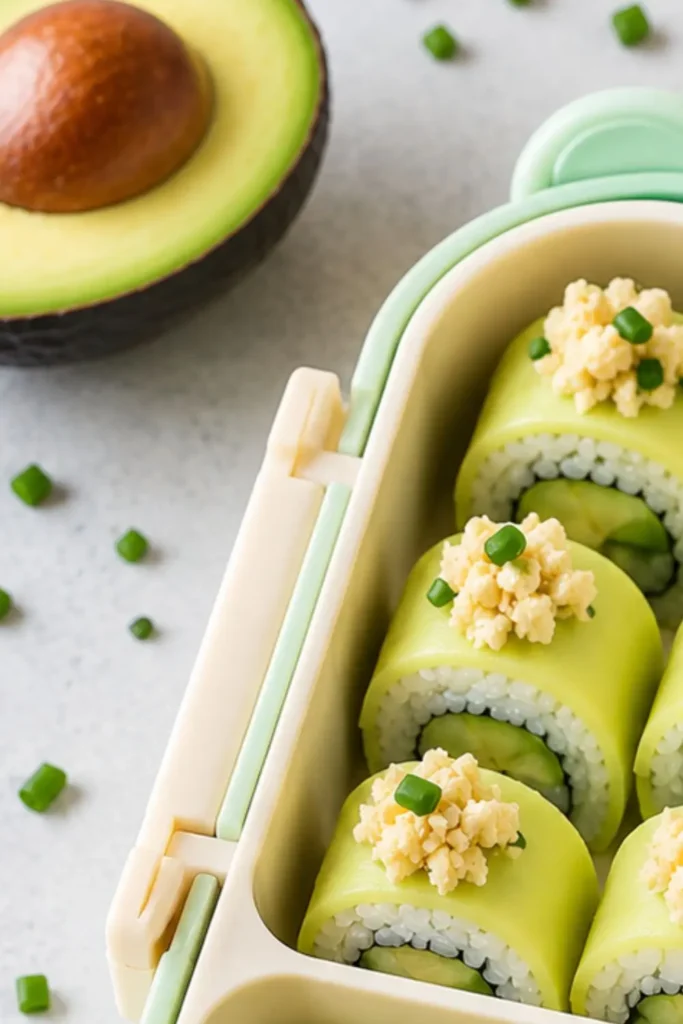
This avocado cucumber sushi works beautifully as the centerpiece of a full bento box meal. Here’s how I like to build it out:
- Full bento spread– pair the sliced rolls with edamame, a small salad, and fresh fruit for a complete meal
- Dipping station– set out soy sauce, wasabi, and pickled ginger for a genuine sushi restaurant feel
- Packed lunch– portion into a bento box with dividers for an easy, portable lunch
- Party appetizer– arrange sliced rolls on a platter for a crowd-pleasing starter
- Light dinner– serve alongside miso soup for a simple, satisfying evening meal
Ever wondered why brown jasmine rice works better than regular brown rice for sushi? Jasmine rice has a naturally higher starch content that creates that sticky texture essential for holding a roll together, something regular long-grain brown rice just doesn’t deliver as reliably.
Tips for Getting This Sushi Right
A few things I’ve picked up from making this more times than I can count:
- Don’t skip chilling the rice. Warm rice is both harder to work with and more likely to burn your fingers.
- Wet your fingers and knife regularly. This prevents sticking at every step of the process.
- Slice vegetables as thin as possible. Thick pieces make the roll harder to compact and slice cleanly.
- Fill the bazooka level to the top. Underfilling leads to a roll that falls apart more easily once sliced.
I once didn’t fill the bazooka with quite enough rice because I was trying to stretch the batch further, and the resulting rolls fell apart much more easily when sliced :/ Filling it properly genuinely makes a difference in how well the roll holds together.
Nutrition Breakdown (Per Roll)
Here’s exactly what you’re getting per roll, based on 4 total rolls from this recipe:
- Calories- 414 kcal
- Carbohydrates- 77g
- Protein- 9g
- Fat- 8g
- Saturated Fat- 1g
- Sodium- 28mg
- Potassium- 498mg
- Fiber- 6g
- Sugar- 2g
- Vitamin A- 2,760 IU
- Vitamin C- 7mg
- Calcium- 40mg
- Iron- 2mg
That 2,760 IU of Vitamin A comes largely from the carrots, making this roll more nutrient-dense than a typical restaurant avocado roll. The naturally low sodium count also means you have plenty of room to season with soy sauce to your own taste.
Still Hungry, Try It Next recipe
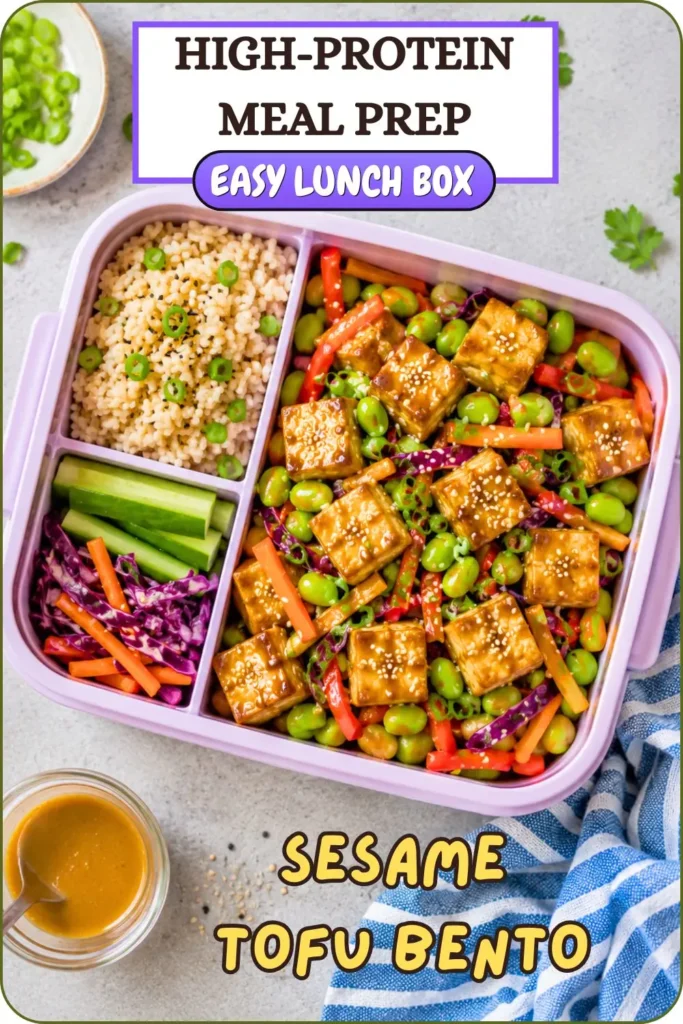
Sesame Tofu & Edamame Veggie Bento Box
Storage and Make-Ahead Tips
These sushi rolls are genuinely best eaten fresh, since the rice can harden and the nori can turn chewy after sitting in the fridge. If you need to store leftovers, keep them in an airtight container for up to 1 day, though the texture won’t be quite as good as fresh.
If you’re prepping ahead, cook the rice and chop the vegetables in advance, then assemble the rolls right before eating for the best texture and presentation.
Common Questions About This Sushi Roll
Can I make this without a sushi bazooka? Yes, a bamboo mat alone works, though it takes more practice to get a tight, evenly compacted roll.
Can I use white rice instead of brown jasmine rice? Yes, white sushi rice actually works well too, though you’ll lose some of the fiber benefit from brown rice.
What other vegetables can I add to this roll? Bell pepper strips, sprouts, or thinly sliced radish all work well as additional or alternative fillings.
Why does my rice keep falling apart when slicing? This usually means the roll wasn’t compacted tightly enough, or the rice wasn’t sticky enough to begin with.
My Final Thoughts
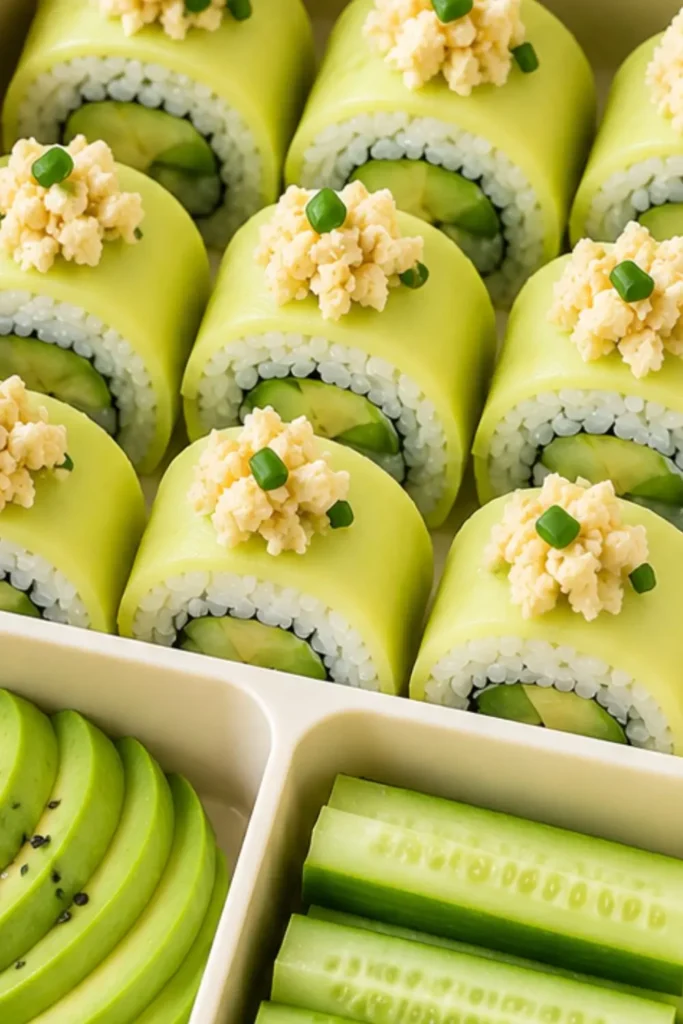
This Avocado Sushi Roll & Cucumber Bento Box proves that homemade sushi is genuinely achievable without culinary school training. Creamy avocado, crisp vegetables, and perfectly compacted rice come together for one of the more satisfying bento box meals you’ll make at home.
Make this once, and it’s likely earning a permanent spot in your meal rotation. Whether you serve it as a full bento box lunch or a simple appetizer, this sushi delivers real, fresh flavor every single time. Grab that sushi bazooka your next favorite homemade sushi roll is just an hour away.
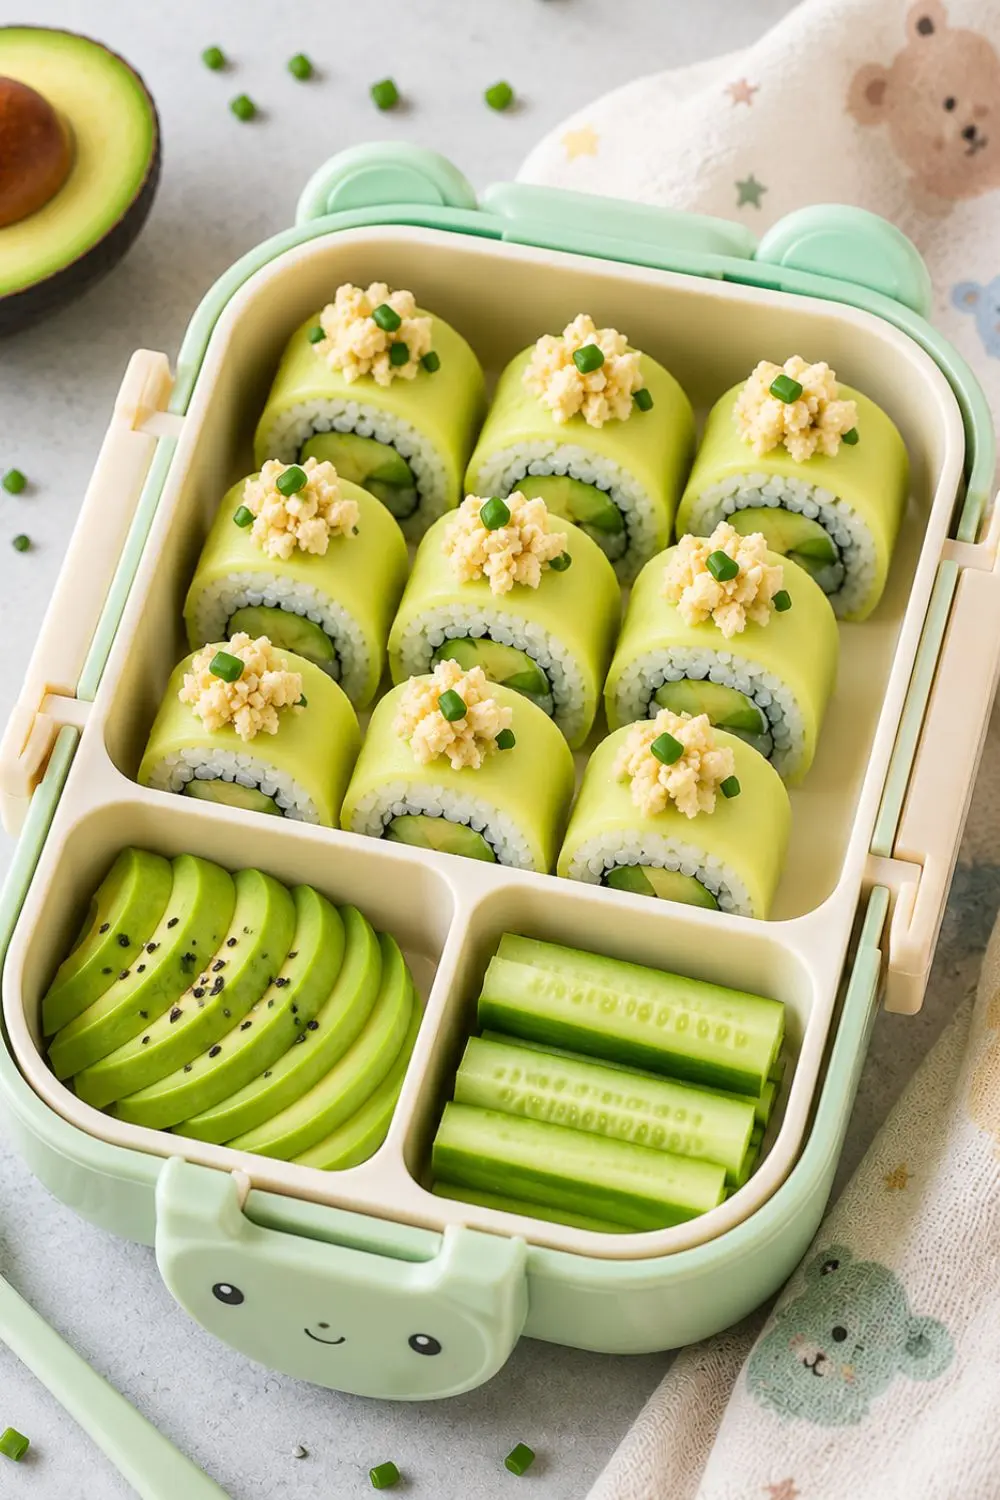
Avocado Sushi Roll & Cucumber Bento Box
Ingredients
Equipment
Method
- Step 1- Cook the Brown Rice
- Using an Instant Pot, cook the rice at a 1:1 ratio of rice to water on the rice setting, then do a quick release. No rice setting? Cook for 4 minutes on high pressure, then let it slow release for 10 minutes. On the stovetop, use a 1:2 ratio of rice to water, bring to a boil, cover, then simmer for 40 to 50 minutes.
- Step 2- Chill the Rice
- Let the cooked rice chill in the refrigerator for 30 minutes. This cooling step matters both for texture and so you don’t burn your fingers while assembling the rolls.
- Step 3- Prep the Vegetables
- While the rice chills, chop your vegetables into thin matchsticks. Peel the carrot, cut off the ends, halve it, then slice lengthwise and cut into thin matchsticks. Slice the cucumber the same way.
- Step 4- Prep the Avocado
- Slice thin lines into one half of the avocado, then carefully scoop it out with a spoon. Cut the avocado slices into thin strips, matching the size of your other vegetables.
- Step 5- Fill the Sushi Bazooka
- Wet your fingers slightly to prevent sticking. Open the sushi bazooka, remove the plunger rod, and fill both sides with cooked rice, about 1/2 to 1 cup per side, filling it level to the top for a tight compact roll.
- Step 6- Add the Veggies
- Use the plunger to make an indentation in the rice on both sides. Fill the indentations with your prepared vegetables carrot and avocado on the bottom, cucumber on top, about 2 strips thick.
- Step 7- Compact the Roll
- Insert the plunger rod, close the bazooka, and latch it. Place the end cap on and twist to close, then twist the plunger rod 5 times to compact everything tightly.
- Step 8- Roll and Slice
- Lay a sushi nori wrap on your bamboo mat. Remove the end cap and push the plunger to release the compacted roll onto the nori, about an inch from the edge. Use the bamboo mat to roll it up, wetting the nori edge to seal it closed.
- Step 9- Cut and Repeat
- Transfer the roll to a cutting board and slice into 1-inch pieces using a sharp sushi knife, wetting the blade between cuts for clean slices. Repeat the process 3 more times with the remaining rice and vegetables.
- Step 10- Serve
- Sprinkle with toasted sesame seeds and serve alongside low-sodium soy sauce, pickled ginger, and wasabi paste.
Notes
Nutrition Breakdown (Per Roll)
Here’s exactly what you’re getting per roll, based on 4 total rolls from this recipe:- Calories- 414 kcal
- Carbohydrates- 77g
- Protein- 9g
- Fat- 8g
- Saturated Fat- 1g
- Sodium- 28mg
- Potassium- 498mg
- Fiber- 6g
- Sugar- 2g
- Vitamin A- 2,760 IU
- Vitamin C- 7mg
- Calcium- 40mg
- Iron- 2mg

Hi — I’m Rachel. I’m a wife, a mom, and a home cook who believes that food should bring comfort, joy, and compassion to the table. I live with my family — two hungry little foodies who are my most honest recipe testers — and together we’ve built a kitchen culture that’s all about good food that happens to be 100% vegan. I started this blog because I wanted a place to share the recipes that keep our days moving, the dishes that make weeknights feel a little easier, and the meals that become our little family traditions.