
Stuffed mushrooms have always been the appetizer that disappears fastest at any party table. The problem? The classic version drowns them in cream cheese and parmesan. These Dairy Free Stuffed Mushrooms swap all of that out for a blended cashew and coconut cream filling that’s every bit as rich, creamy, and satisfying then tops everything with golden, buttery breadcrumbs that crunch on contact. Nobody will know they’re vegan. Nobody will care.
I first made these for a summer dinner party where the starter needed to impress without requiring three hours in the kitchen. I blended the filling while the cashews soaked, stuffed the mushrooms in ten minutes, and slid them into the oven. Forty-five minutes total, start to finish and they came out looking and tasting like something from a proper restaurant appetizer menu. That’s the kind of recipe that earns permanent status in your rotation immediately.
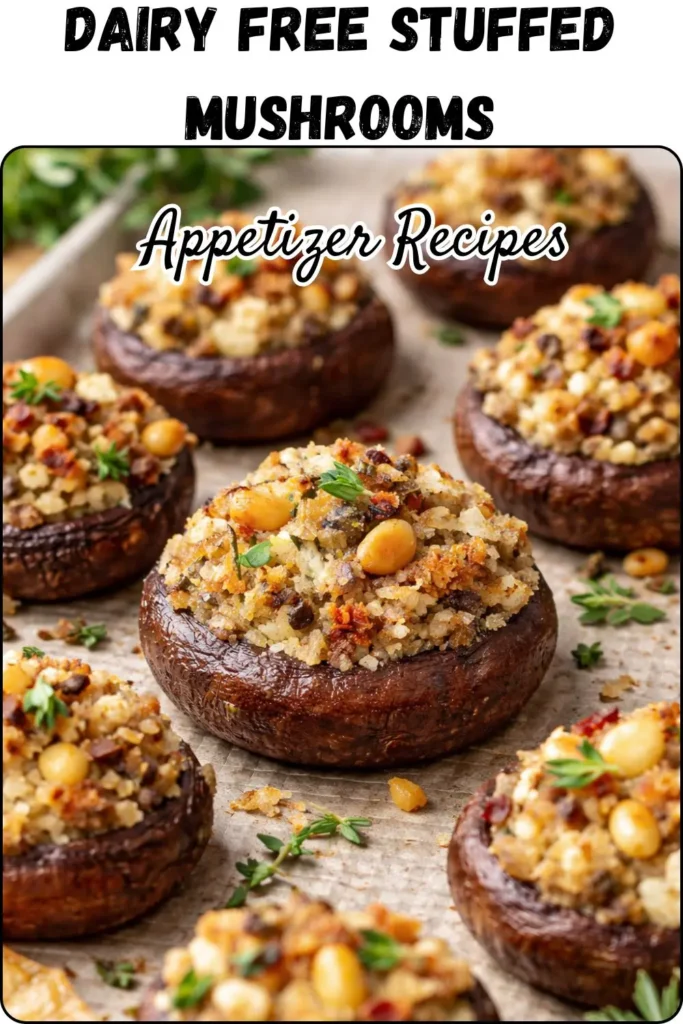
Why These Dairy Free Stuffed Mushrooms Belong at Every Summer Table
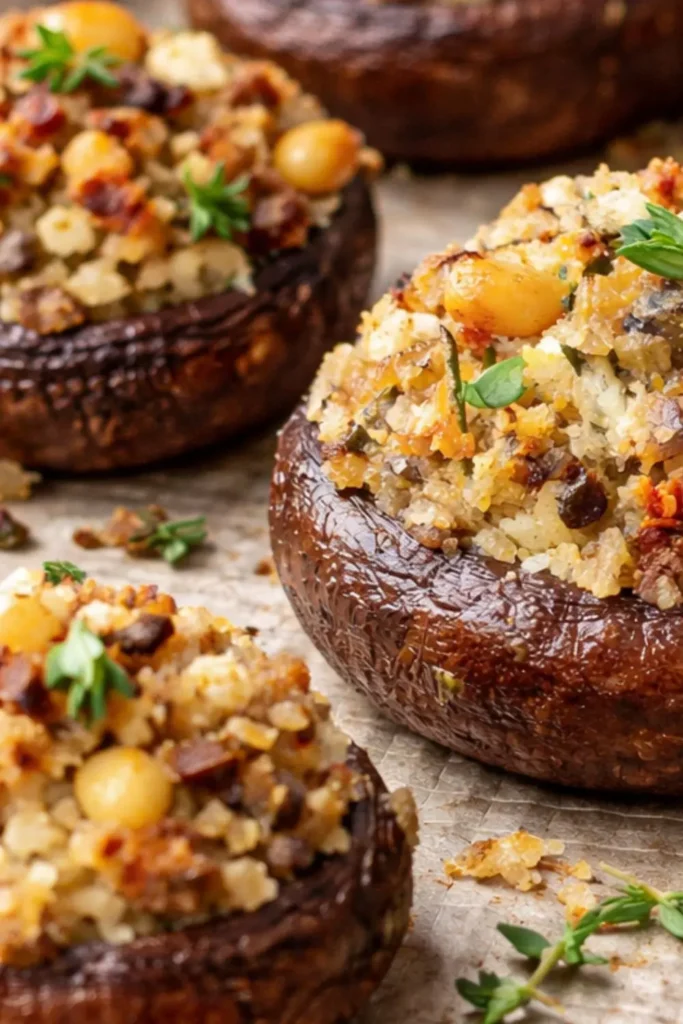
The stuffed mushroom gets underestimated constantly. People treat it like filler, when it’s actually one of the most naturally impressive appetizers you can make. A large mushroom cap is its own edible serving vessel earthy, meaty, and sturdy enough to hold a generous filling. Fill it with something genuinely delicious and you’ve got a showstopper that requires almost no effort to plate.
Here’s what makes this vegan version stand out from every other stuffed mushroom recipe out there:
- Cashew and coconut cream base – blends into a genuinely creamy, rich filling that mimics dairy cream cheese without any of the heaviness
- Mushroom stems blended into the filling -zero waste, and they add extra savory depth
- Fresh basil and green onion – folded in after blending for real texture and herbaceous brightness
- Crispy buttered breadcrumb topping -the textural contrast that takes the whole thing from good to great
- Baked, not fried – clean, straightforward, and easy to manage for a crowd
- Serves 12 – one mushroom per person as a starter, or two as a light main
IMO, these are the most impressive appetizers you can make in under an hour without a single drop of dairy.
My Recipe Timing & Servings
| Detail | Info |
| Cashew Soaking Time | 1 hour |
| Prep Time | 25 minutes |
| Cook Time | 20 minutes |
| Total Time | 45 minutes (after soaking) |
| Servings | 12 stuffed mushrooms |
| Calories per mushroom | 139 kcal |
This recipe makes 12 stuffed mushrooms one per person for a party of 12, or two per person for a smaller gathering of six. Planning a summer dinner party? These scale easily: double the filling and use 24 mushrooms, baking in two batches or on two trays simultaneously. The filling takes the same amount of blending time regardless of quantity.
Caloric & Nutritional Breakdown (Per Stuffed Mushroom)
At 139 calories per mushroom, these deliver real nutritional value for an appetizer that tastes genuinely indulgent. Here’s the complete breakdown:
| Nutrient | Per Serving (1 mushroom) |
| Calories | 139 kcal |
| Carbohydrates | 9g |
| Protein | 4g |
| Fat | 10g |
| Saturated Fat | 4g |
| Monounsaturated Fat | 4g |
| Fiber | 1g |
| Sugar | 2g |
| Sodium | 225mg |
| Potassium | 239mg |
| Vitamin A | 148 IU |
| Vitamin C | 8mg |
| Calcium | 18mg |
| Iron | 2mg |
The fat content is primarily healthy unsaturated fat from the cashews, with the saturated fat coming from coconut cream. The protein from cashews 4g per mushroom is a genuine bonus for a small-format appetizer. These are the kind of numbers that let you eat two without any guilt whatsoever.
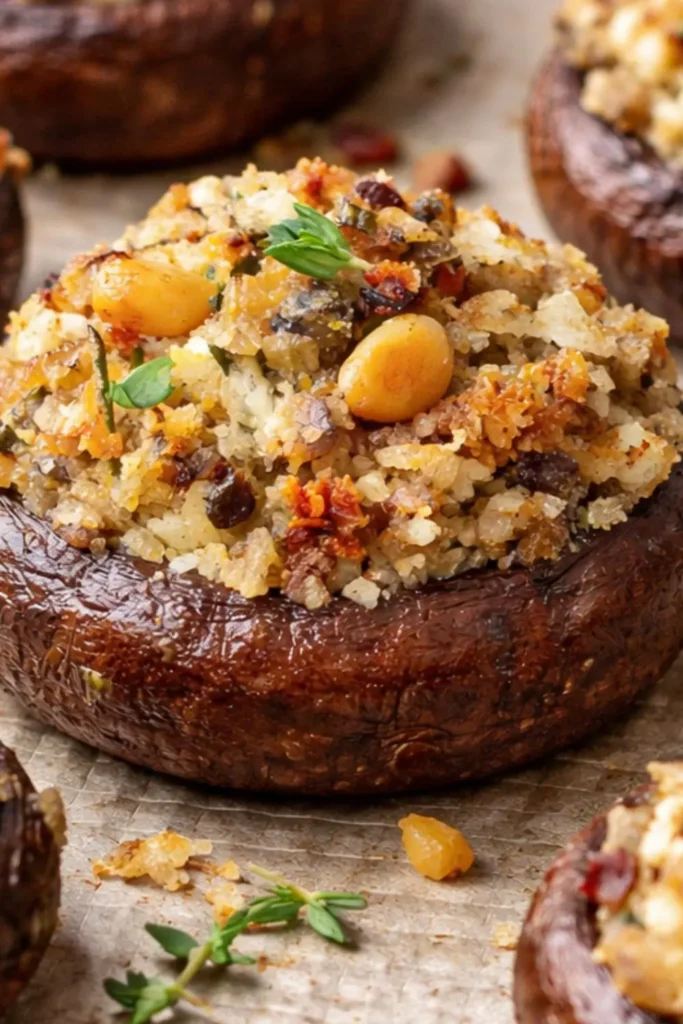
Equipment You’ll Need For
Straightforward kit for a recipe this good:
- Large mixing bowl – for soaking the cashews and mixing the breadcrumb topping
- High-speed blender or food processor -essential for blending the cashew filling smooth; a high-speed blender produces the creamiest result, but a food processor works well after a proper 1-hour soak
- Baking tray lined with parchment paper– for the mushrooms; parchment prevents sticking and makes cleanup effortless
- Sharp knife and cutting board – for removing mushroom stems, chopping green onions, and prepping the basil
- Small bowl – for tossing the breadcrumbs with melted butter
- Spoon or small cookie scoop – for filling each mushroom cap neatly and evenly
- Oven – preheated to 400°F (200°C)
That’s your complete list. Nothing specialist, nothing you don’t already own. The blender is the only piece that matters for texture, and most kitchens have one.
Ingredients
For the Stuffed Mushrooms
- 12 large mushrooms – stems removed and set aside
- 1½ cups (225g) raw cashews – soaked in hot water for 1 hour
- 2 tablespoons lemon juice
- ½ cup (120ml) canned coconut cream – unsweetened
- 1 teaspoon distilled white vinegar
- 4 cloves garlic – crushed
- 1 bird’s eye chili – seeded and chopped (adjust to your heat preference)
- ¼ teaspoon onion powder
- ¼ teaspoon garlic powder
- ¼ teaspoon smoked paprika
- 1 teaspoon salt
- ¼ cup green onions – chopped
- ¼ cup fresh basil – chopped
For the Breadcrumb Topping
- ½ cup vegan breadcrumbs
- 1 tablespoon vegan butter – melted
For Serving
- Ground black pepper
- Fresh chopped basil
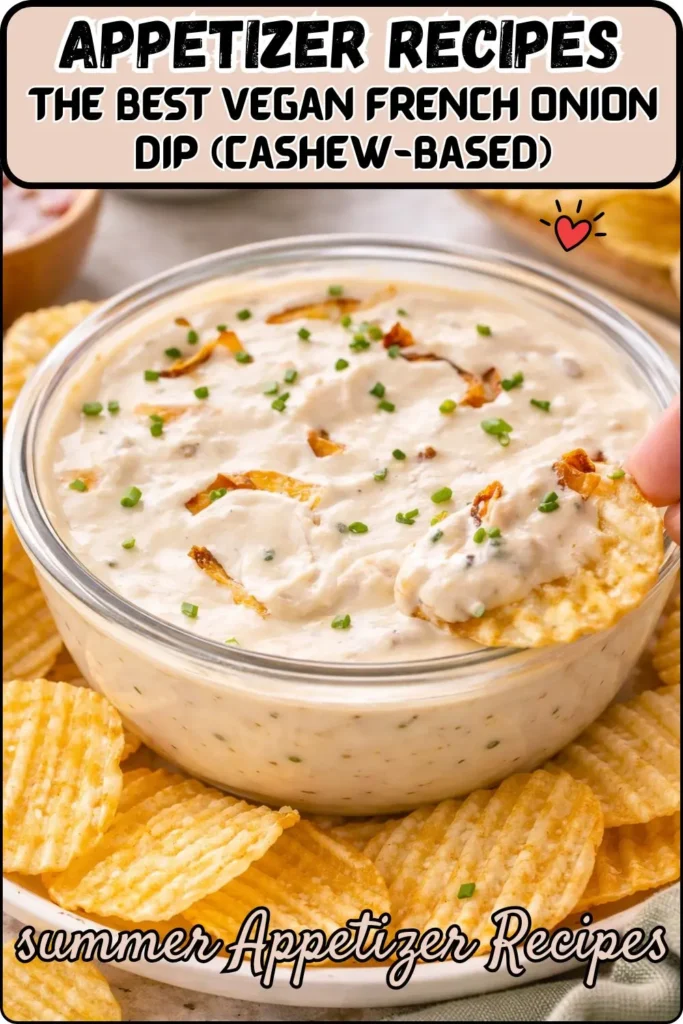
Try It Next recipe
The Best Vegan French Onion Dip (Cashew-Based)
Why Each Ingredient Earns Its Place
Cashews + Coconut Cream- The Dairy-Free Dream Team
These two ingredients together create a filling that genuinely rivals traditional cream cheese creamy, thick, slightly tangy, and rich enough to hold its shape inside the mushroom cap during baking. Raw cashews provide the neutral, fatty base that blends smooth, while coconut cream adds body and a subtle richness that makes the filling feel luxurious rather than thin.
The mushroom stems go into the blender too, which is a move most recipes overlook. Blending the stems into the filling adds savory, earthy depth and means you use every part of the ingredient you already bought. Zero waste, maximum flavor.
The Heat Element- Bird’s Eye Chili
One seeded bird’s eye chili adds a gentle, building heat to the filling that sits beautifully against the richness of the cashew base. Seeding it removes the most intense heat while keeping the flavor, so the finished mushrooms have warmth without being overwhelming. If you prefer no heat at all, leave it out entirely. If you like it spicy, keep a few seeds in.
Fresh Herbs- Add After Blending
The green onions and fresh basil go into the filling after blending, folded in by hand. This is intentional. Blending fresh herbs turns them dark, bitter, and visually unappetizing. Folding them in preserves their bright color, fresh flavor, and most importantly their texture little flecks of green herb throughout the creamy filling look beautiful and taste vibrant.
The Buttered Breadcrumb Crown
This topping separates a good stuffed mushroom from a truly great one. Tossing vegan breadcrumbs in melted vegan butter before sprinkling them over the filled mushrooms means every crumb gets coated in fat which is exactly what makes them turn golden, crispy, and irresistibly crunchy in the oven rather than just toasted and dry. It’s a 60-second step with a massive payoff.
Step-by-Step Instructions
Step 1- Soak the Cashews
Place your 1½ cups of raw cashews in a large bowl. Pour boiling water from the kettle directly over them until fully submerged. Leave them to soak for one full hour. Set a timer and walk away the soaking happens completely passively while you prep everything else.
After an hour, drain the cashews and rinse them under cold water. They should feel noticeably softer when you press one between your fingers. If you’re using a standard blender rather than a high-speed model, extend the soak to 2 hours for a smoother result.
Step 2- Prep the Mushrooms
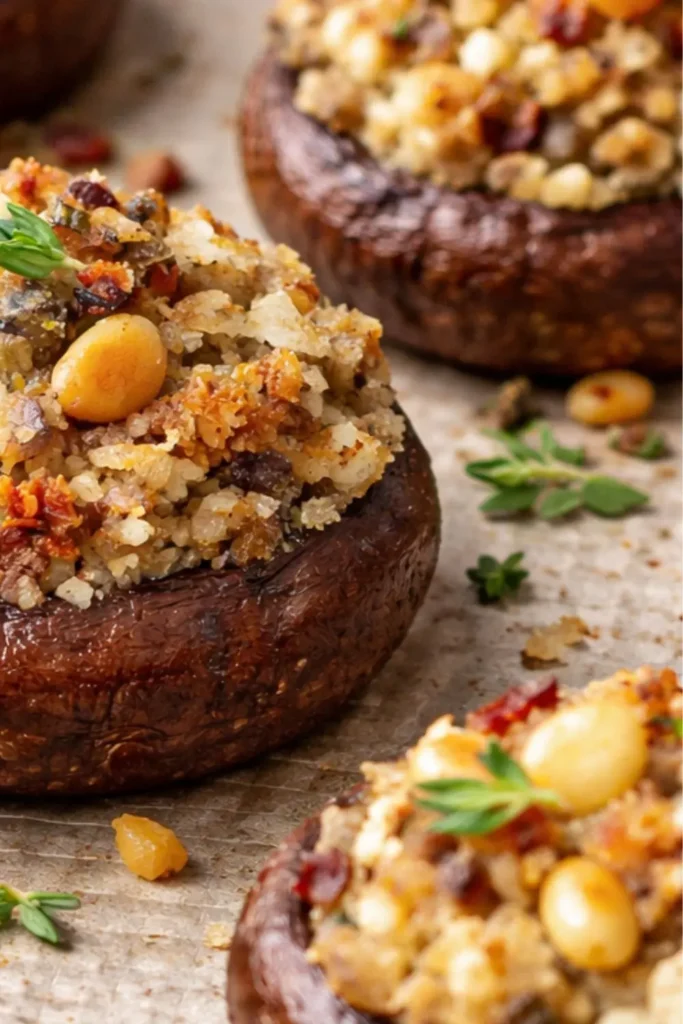
While the cashews soak, rinse all 12 large mushrooms under cold water and pat them dry. Twist or pull the stems out from each cap they should come out cleanly with a gentle tug. Keep the stems in a pile on your cutting board; they go straight into the filling. Place the empty mushroom caps on your parchment-lined baking tray, gill side up, ready for filling.
Step 3- Preheat the Oven
Set your oven to 400°F (200°C) and let it preheat fully while you make the filling. A fully preheated oven is important here sliding the mushrooms into an oven that’s still coming up to temperature means longer cooking and potentially uneven results.
Step 4- Blend the Filling
Add the soaked and drained cashews to your blender along with the mushroom stems, lemon juice, coconut cream, white vinegar, crushed garlic, chopped chili, onion powder, garlic powder, smoked paprika, and salt. Blend on high until completely smooth and creamy this usually takes 60–90 seconds in a high-speed blender.
Scrape down the sides once or twice to make sure everything fully incorporates. The finished filling should be thick, smooth, and creamy similar in consistency to soft cream cheese. If it feels too thick to blend properly, add water one tablespoon at a time until it moves freely.
Step 5- Fold in the Fresh Herbs
Transfer the blended filling to a bowl. Add the chopped green onions and chopped fresh basil and fold them in gently with a spoon or spatula. Work with light, deliberate movements to keep the herbs in distinct pieces rather than smashing them into the filling.
Taste the filling at this point. Adjust salt, lemon juice, or smoked paprika to your preference once it’s inside the mushrooms and baked, adjusting is much harder.
Step 6- Stuff the Mushrooms
Using a spoon or small cookie scoop, fill each mushroom cap generously with the cashew filling. Mound it slightly above the rim of the mushroom it will settle during baking. Work methodically across the tray so each mushroom gets a similar amount of filling.
Step 7- Make and Apply the Breadcrumb Topping
In your small bowl, combine the vegan breadcrumbs and melted vegan butter. Toss well until every breadcrumb is lightly coated. Sprinkle the mixture evenly over the top of each stuffed mushroom, pressing very gently so the crumbs sit on the filling rather than falling off the sides.
Step 8- Bake to Golden Perfection
Slide the tray into your preheated oven and bake for 15–20 minutes, until the breadcrumbs turn golden brown and crispy and the mushrooms are tender and slightly shrunken. Keep an eye on them from the 15-minute mark oven temperatures vary and you want golden, not burnt.
Remove from the oven and let them sit for 2–3 minutes before serving. The filling sets slightly as it cools, making the mushrooms easier to pick up and eat.
Step 9- Serve and Garnish
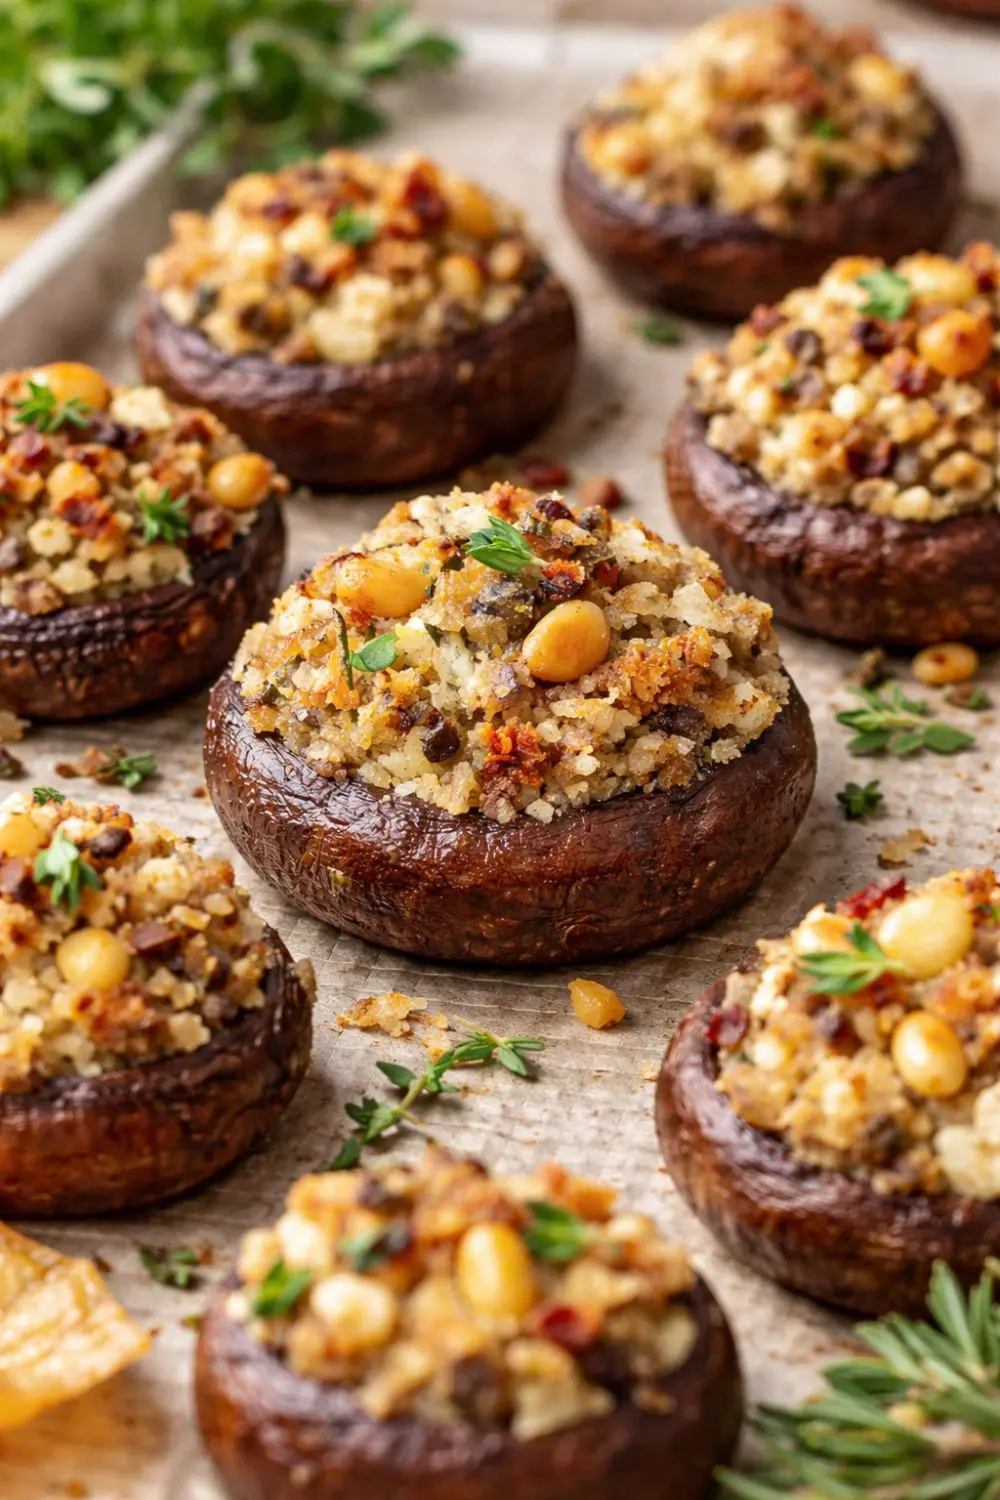
Transfer the stuffed mushrooms to your serving plate. Sprinkle with ground black pepper and fresh chopped basil right before bringing them to the table. The fresh herbs on top make the whole platter look polished and restaurant-quality, which takes about 30 seconds and makes a notable difference in presentation.
Tips for Perfect Dairy Free Stuffed Mushrooms Every Time
Choose the Right Mushroom Size
Large cremini or portobello mushrooms work best here big enough to hold a generous amount of filling without toppling over. Avoid small button mushrooms for this recipe; they don’t hold enough filling to make each bite satisfying and they cook faster than the filling can develop its flavor.
Don’t Skip the Parchment Paper
Mushrooms release a lot of moisture during baking. Parchment paper keeps the bottoms of the mushrooms from sitting in liquid, which would make them soggy rather than tender. It also makes cleanup a genuinely effortless one-second job.
Make the Filling Ahead
The cashew filling stores beautifully in an airtight container in the fridge for up to 2 days before baking. Make it the evening before your event, then stuff and bake the mushrooms the day of. This splits the work across two days and makes the day-of prep incredibly fast.
Storage Guide
| Storage Method | Duration | Reheating |
| Refrigerator (baked, airtight) | Up to 3 days | Oven at 350°F for 8–10 min to re-crisp the topping |
| Freezer | Not recommended | Cashew filling changes texture after freezing |
| Filling only (unbaked) | Up to 2 days in fridge | Stuff and bake fresh |
FYI, reheating in the oven rather than the microwave is the move every time the microwave makes the breadcrumb topping soft and soggy, while the oven brings the crunch right back.
My Final Thoughts
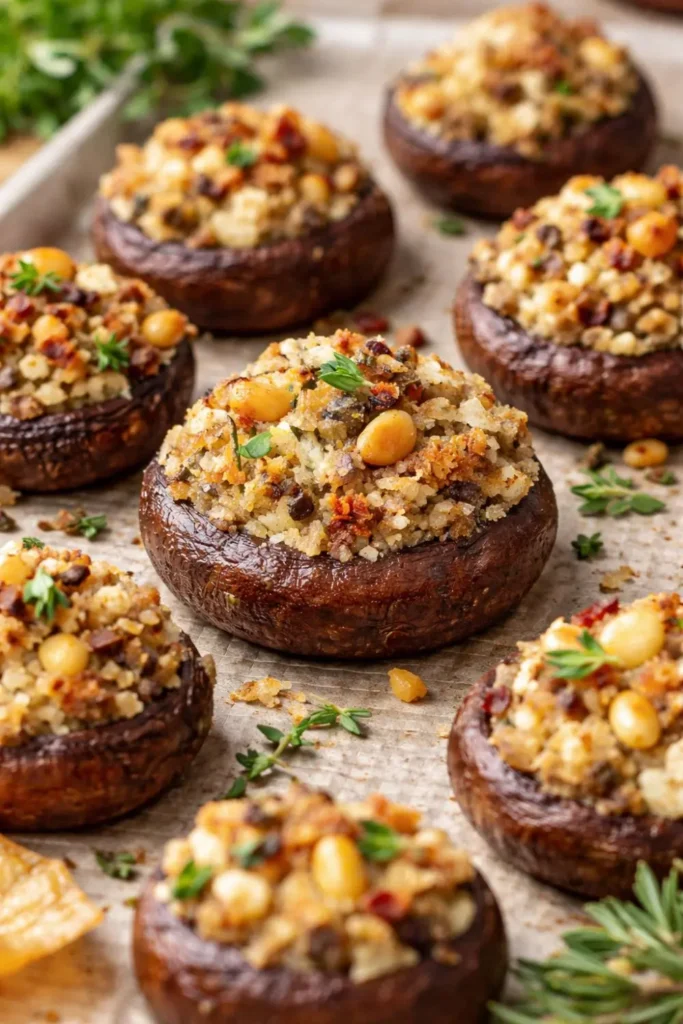
Dairy Free Stuffed Mushrooms prove that plant-based appetizers don’t need to apologize for what they’re missing. The cashew and coconut cream filling is genuinely creamy, the herb and spice blend is layered and punchy, and the golden breadcrumb topping delivers that satisfying crunch that makes every bite complete. At 139 calories per mushroom with real protein and healthy fats, these are appetizers you can feel good about serving and eating.
Make them for your next summer gathering, set them on the table while they’re still warm from the oven, and watch them disappear in minutes. Then take the quiet satisfaction of knowing every single ingredient was 100% plant-based. That never gets old.
Dairy Free Stuffed Mushrooms Summer Appetizer Recipe
Ingredients
Equipment
Method
- Step 1- Soak the Cashews
- Place your 1½ cups of raw cashews in a large bowl. Pour boiling water from the kettle directly over them until fully submerged. Leave them to soak for one full hour. Set a timer and walk away the soaking happens completely passively while you prep everything else.
- After an hour, drain the cashews and rinse them under cold water. They should feel noticeably softer when you press one between your fingers. If you’re using a standard blender rather than a high-speed model, extend the soak to 2 hours for a smoother result.
- Step 2- Prep the Mushrooms
- While the cashews soak, rinse all 12 large mushrooms under cold water and pat them dry. Twist or pull the stems out from each cap they should come out cleanly with a gentle tug. Keep the stems in a pile on your cutting board; they go straight into the filling. Place the empty mushroom caps on your parchment-lined baking tray, gill side up, ready for filling.
- Step 3- Preheat the Oven
- Set your oven to 400°F (200°C) and let it preheat fully while you make the filling. A fully preheated oven is important here sliding the mushrooms into an oven that’s still coming up to temperature means longer cooking and potentially uneven results.
- Step 4- Blend the Filling
- Add the soaked and drained cashews to your blender along with the mushroom stems, lemon juice, coconut cream, white vinegar, crushed garlic, chopped chili, onion powder, garlic powder, smoked paprika, and salt. Blend on high until completely smooth and creamy this usually takes 60–90 seconds in a high-speed blender.
- Scrape down the sides once or twice to make sure everything fully incorporates. The finished filling should be thick, smooth, and creamy similar in consistency to soft cream cheese. If it feels too thick to blend properly, add water one tablespoon at a time until it moves freely.
- Step 5- Fold in the Fresh Herbs
- Transfer the blended filling to a bowl. Add the chopped green onions and chopped fresh basil and fold them in gently with a spoon or spatula. Work with light, deliberate movements to keep the herbs in distinct pieces rather than smashing them into the filling.
- Taste the filling at this point. Adjust salt, lemon juice, or smoked paprika to your preference once it’s inside the mushrooms and baked, adjusting is much harder.
- Step 6- Stuff the Mushrooms
- Using a spoon or small cookie scoop, fill each mushroom cap generously with the cashew filling. Mound it slightly above the rim of the mushroom it will settle during baking. Work methodically across the tray so each mushroom gets a similar amount of filling.
- Step 7- Make and Apply the Breadcrumb Topping
- In your small bowl, combine the vegan breadcrumbs and melted vegan butter. Toss well until every breadcrumb is lightly coated. Sprinkle the mixture evenly over the top of each stuffed mushroom, pressing very gently so the crumbs sit on the filling rather than falling off the sides.
- Step 8- Bake to Golden Perfection
- Slide the tray into your preheated oven and bake for 15–20 minutes, until the breadcrumbs turn golden brown and crispy and the mushrooms are tender and slightly shrunken. Keep an eye on them from the 15-minute mark oven temperatures vary and you want golden, not burnt.
- Remove from the oven and let them sit for 2–3 minutes before serving. The filling sets slightly as it cools, making the mushrooms easier to pick up and eat.
- Step 9- Serve and Garnish
- Transfer the stuffed mushrooms to your serving plate. Sprinkle with ground black pepper and fresh chopped basil right before bringing them to the table. The fresh herbs on top make the whole platter look polished and restaurant-quality, which takes about 30 seconds and makes a notable difference in presentation.
Notes
Caloric & Nutritional Breakdown (Per Stuffed Mushroom)
At 139 calories per mushroom, these deliver real nutritional value for an appetizer that tastes genuinely indulgent. Here’s the complete breakdown:| Nutrient | Per Serving (1 mushroom) |
| Calories | 139 kcal |
| Carbohydrates | 9g |
| Protein | 4g |
| Fat | 10g |
| Saturated Fat | 4g |
| Monounsaturated Fat | 4g |
| Fiber | 1g |
| Sugar | 2g |
| Sodium | 225mg |
| Potassium | 239mg |
| Vitamin A | 148 IU |
| Vitamin C | 8mg |
| Calcium | 18mg |
| Iron | 2mg |

Hi — I’m Rachel. I’m a wife, a mom, and a home cook who believes that food should bring comfort, joy, and compassion to the table. I live with my family — two hungry little foodies who are my most honest recipe testers — and together we’ve built a kitchen culture that’s all about good food that happens to be 100% vegan. I started this blog because I wanted a place to share the recipes that keep our days moving, the dishes that make weeknights feel a little easier, and the meals that become our little family traditions.