
You know that appetizer platter at every summer party where one dish gets wiped out in five minutes flat while the rest just sits there looking sad? That’s what happens every single time I bring garlic & herb vegan stuffed mushrooms to a gathering. I’m not exaggerating, and honestly, I stopped bringing anything else years ago.
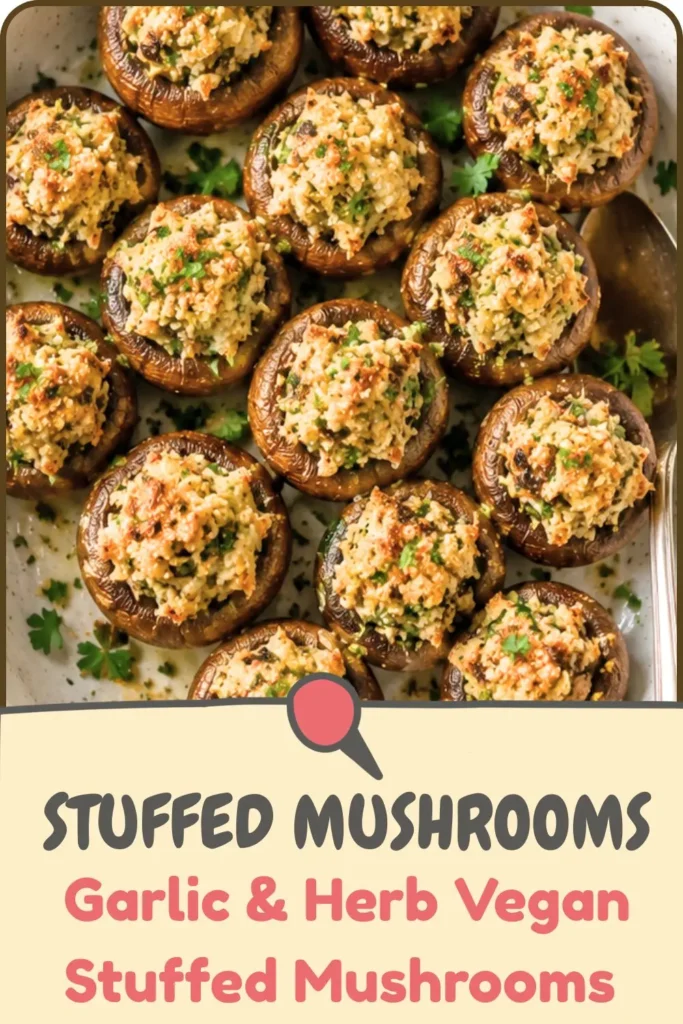
These little bites are savory, garlicky, herby, and packed with a walnut-parmesan-style filling that fools even the most devoted meat eaters. IMO, that’s the whole point of a great vegan appetizer: it shouldn’t need an apology or an asterisk. It just needs to taste incredible.
I’ve made this recipe more times than I can count, tweaked it, burned a batch or two (we don’t talk about that), and landed on a version that’s genuinely foolproof. Let’s get into it.
Why This Recipe Works So Well for Summer Entertaining
Summer parties demand food that’s easy to eat standing up, doesn’t require a fork, and holds up whether it’s warm or at room temp. Stuffed mushrooms check every single box.
They’re bite-sized, mess-free, and they travel well to a potluck or backyard barbecue. Nobody’s going to hunt you down for a napkin after eating one of these. Ever show up to a cookout with a dish that needs a plate, silverware, and a small prayer? This isn’t that dish.
Quick recipe snapshot:
- Prep Time- 15 minutes
- Cook Time- 20 minutes
- Total Time- 35 minutes
- Servings- 12 (one stuffed mushroom per serving)
- Calories- 71 kcal per mushroom
That’s a whole appetizer tray in about half an hour, start to finish. No marinating overnight, no waiting for dough to rise, none of that. Just chop, sauté, stuff, and bake.
What You’ll Need in Your Kitchen
Before we get to ingredients, let’s talk equipment, because using the right tools makes this recipe about ten times easier.
Equipment
- A skillet or wok for sautéing the onion, garlic, and mushroom stems
- A food processor or blender to pulse the walnut mixture into a crumbly, cheese-like texture
- A baking sheet to hold the stuffed caps while they bake to golden perfection
That’s genuinely it. No stand mixer, no fancy gadgets. If your kitchen has these three things, you’re already halfway there.
The Ingredient List (And Why Each One Earns Its Spot)
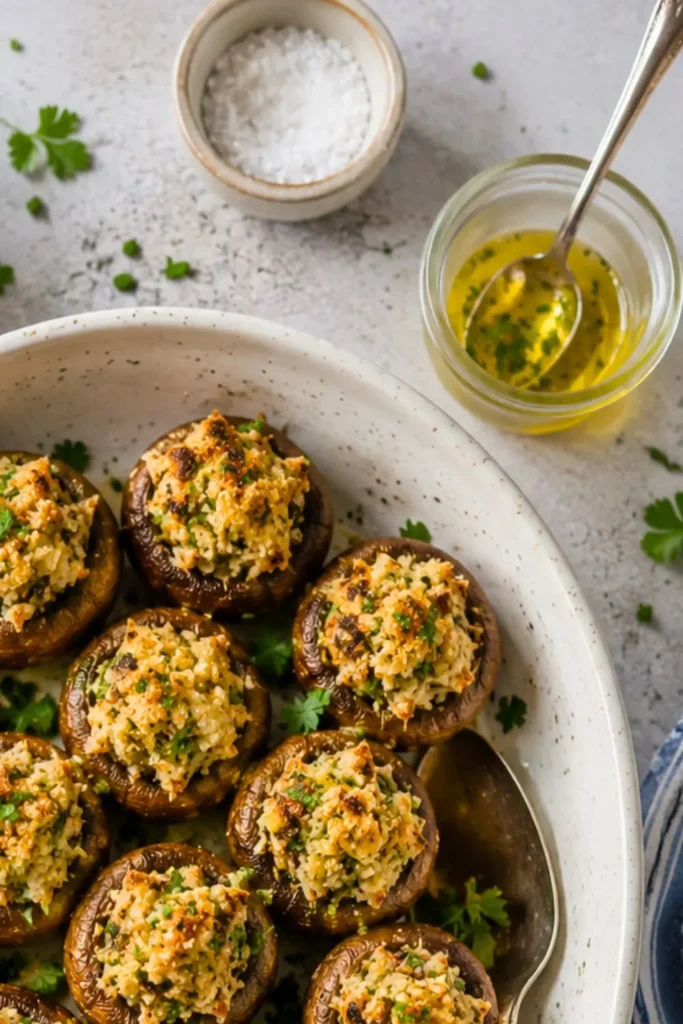
Here’s everything you need for 12 stuffed mushrooms:
- 16 oz cremini or button mushrooms (go for the larger caps, about 2–3 inches, so there’s room for plenty of filling)
- ½ cup walnuts
- 1 teaspoon garlic powder
- ½ teaspoon onion powder
- 2 tablespoons nutritional yeast
- 1½ teaspoons dried rosemary, divided
- 1½ teaspoons dried oregano, divided
- Salt and ground black pepper, to taste
- 1 teaspoon extra virgin olive oil
- 1 large onion, finely chopped
- 4 cloves garlic, minced or crushed
- ½ teaspoon red pepper flakes (optional, for a little kick)
- ¼ cup dry white wine (optional, but I highly recommend it)
- ½ cup panko breadcrumbs
- Zest of 1 lemon (optional)
- 2 tablespoons chopped parsley
Why Walnuts and Nutritional Yeast Are Doing the Heavy Lifting
Walnuts bring a rich, slightly buttery texture that mimics the richness you’d normally get from cheese or meat in a stuffed mushroom recipe. Nutritional yeast adds that unmistakable savory, umami, almost-cheesy flavor that vegan cooking absolutely relies on.
Together, they create a filling that’s hearty without being heavy. Ever bite into a stuffed mushroom that tastes like sad, wet bread? Yeah, this isn’t that. The walnut-nutritional yeast combo is doing serious flavor work here.
Step-by-Step How to Make Garlic & Herb Vegan Stuffed Mushrooms
I’ll walk you through this exactly how I do it in my own kitchen, mistakes and all.
Step 1- Prep the Mushrooms
Separate the mushroom caps from the stems. Finely chop the stems, and if you’ve got a few tiny mushrooms in the mix, chop those up too and toss them into the stuffing pile. Don’t throw the stems away they’re doing a lot of flavor work later.
Step 2- Build Your Walnut Base
Toss the walnuts, garlic powder, onion powder, nutritional yeast, half a teaspoon each of rosemary and oregano, salt, and pepper into your food processor or blender. Pulse until it looks like coarse crumbs. Set that aside; you’ll need it soon.
Preheat your oven to 400°F (205°C) while you’re at it. Getting the oven going early saves you from standing around later wondering why nothing’s crisping up.
Step 3- Sauté the Aromatics
In your skillet or wok, warm the olive oil, then add the garlic and onions. Season with salt and pepper, and sauté over medium heat for 2–3 minutes until the onions soften up. Your kitchen should smell amazing at this point. If it doesn’t, something’s gone wrong.
Step 4- Add the Mushroom Stems and Herbs
Stir in the chopped mushroom stems along with the remaining teaspoon each of rosemary and oregano. If you’re using the white wine, pour it in now and let it cook off. Quick tip: if you’re on a gas stove, turn the flame down or off while adding the wine, then bring it back to medium once it’s in the pan. Safety first, flavor second.
Stir in the red pepper flakes here too, if you’re using them. This is where the filling starts smelling like something you’d pay good money for at a restaurant.
Step 5- Combine Everything
Add your walnut mixture and the panko breadcrumbs into the skillet, and mix it all together well. Sauté for another couple of minutes, then taste and adjust the seasoning add more salt or pepper if it needs it. Stir in the parsley and lemon zest, if using, right at the end.
Honestly, this step is where I usually end up eating a spoonful “for quality control.” No shame.
Step 6- Stuff and Bake
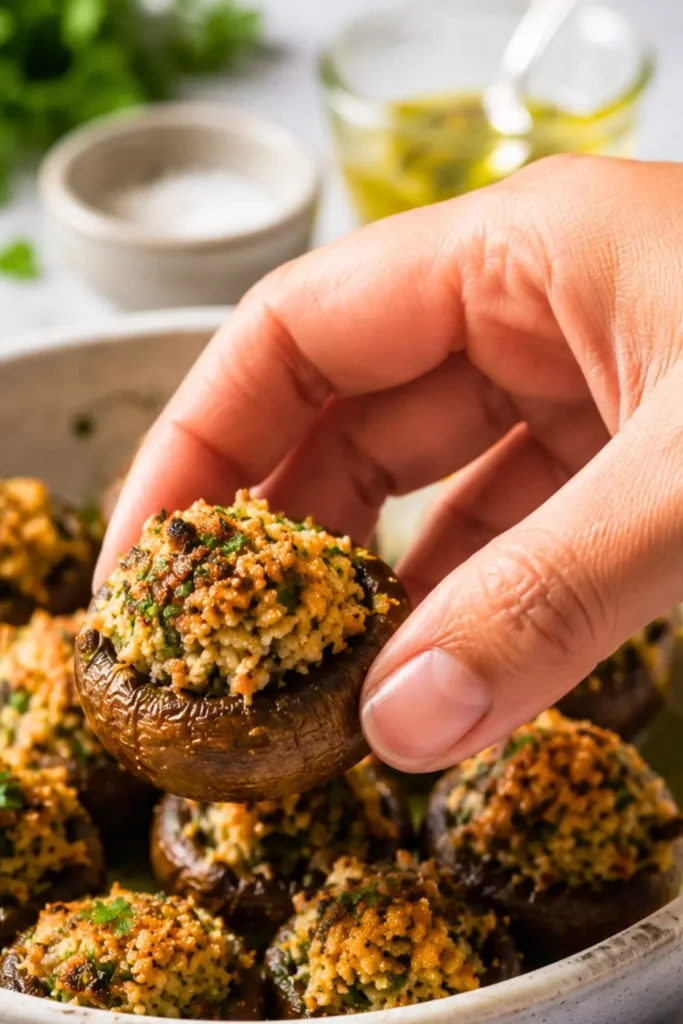
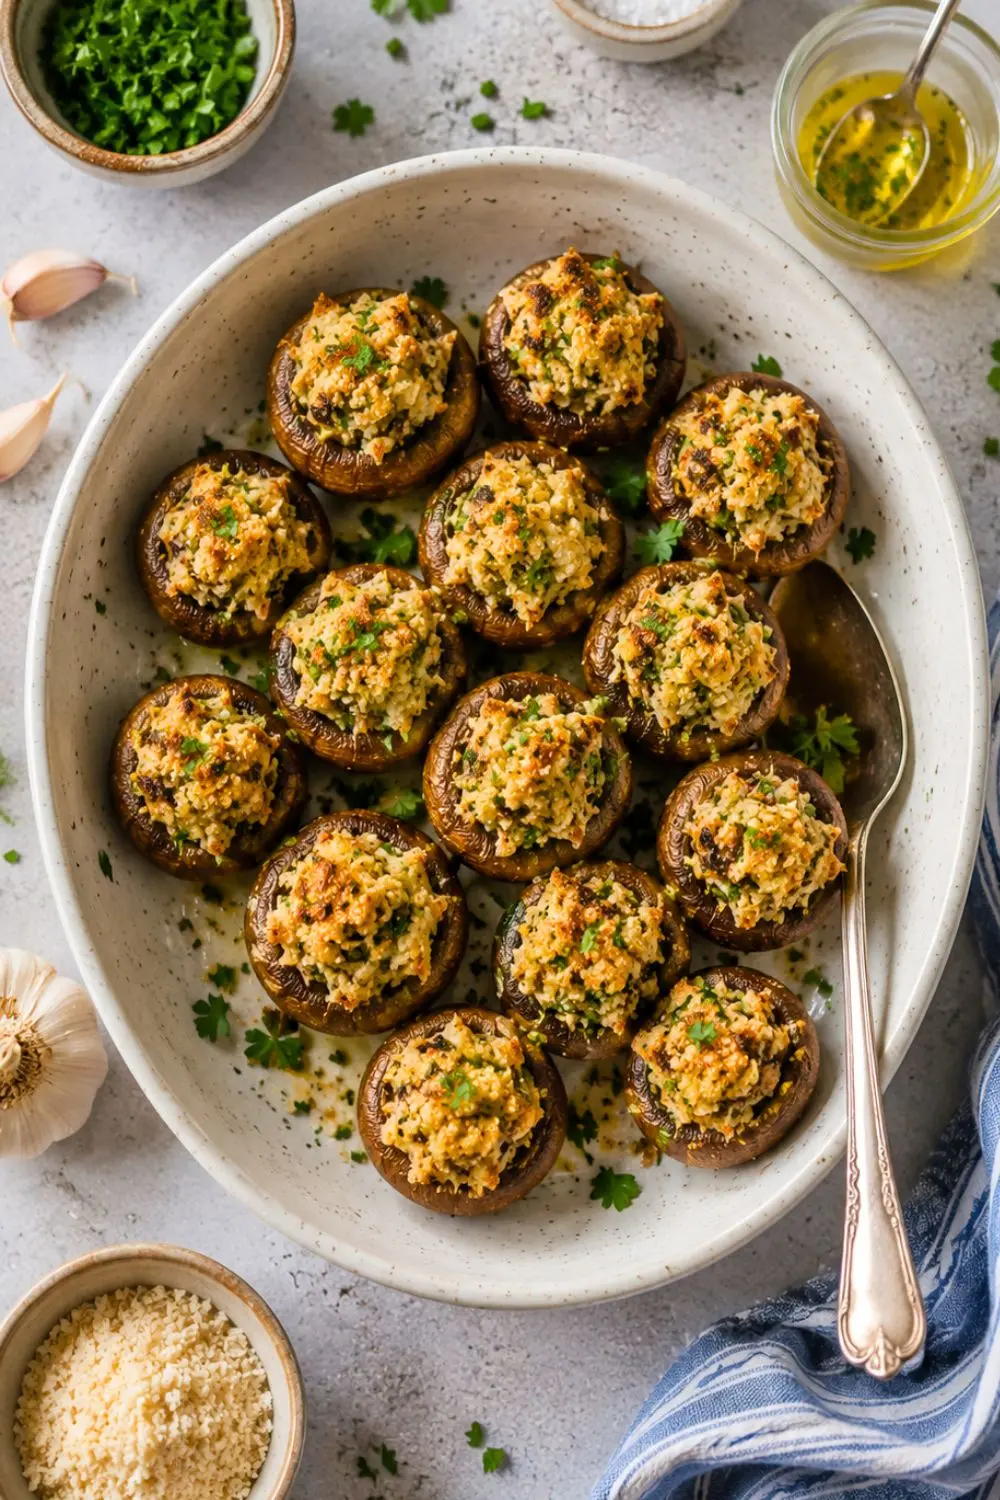
Arrange your mushroom caps on the baking sheet. Using a spoon, mound the filling generously into each cap. Don’t be shy about piling it high; that stuffing is the star here.
Bake for 20 minutes, or until the tops turn golden and slightly crispy. Pull them out, let them cool for a couple of minutes (patience, I know), and serve.
Nutrition Breakdown
Here’s what you’re working with per stuffed mushroom:
- Calories- 71 kcal
- Carbohydrates- 7g
- Protein- 3g
- Fat- 4g
- Saturated Fat- 0.4g
- Polyunsaturated Fat- 2g
- Monounsaturated Fat- 1g
- Fiber- 1g
- Sugar- 2g
- Potassium- 259mg
- Vitamin A- 87 IU
- Vitamin C- 2mg
- Calcium- 27mg
- Iron- 1mg
At 71 calories a pop, you can eat three or four without any guilt trip. That’s rare for an appetizer that actually tastes indulgent.
Tips I Learned the Hard Way
I’ve made enough batches of these to know exactly where things can go sideways. Save yourself the trouble.
- Pick your mushrooms carefully. Smaller caps look cute, but they hold barely any filling, and you’ll end up with more stuffing than mushroom. Go big or go home.
- Don’t skip drying the mushroom caps. Mushrooms hold a surprising amount of water. If yours seem damp, pat them dry with a paper towel before stuffing, or you’ll get a soggy bottom.
- Taste the filling before it goes in the caps. This is your last chance to adjust salt, pepper, or herbs. Once it’s baked, you’re locked in.
- Don’t overbake. Twenty minutes usually nails it, but ovens vary. Keep an eye on the tops; you want golden, not charred.
Can You Make These Ahead of Time?
Yes, and honestly, I’d recommend it if you’re hosting. Prep the filling a day ahead and store it in the fridge, then stuff and bake the mushrooms right before your guests arrive. This cuts your day-of prep down to basically nothing, which, if you’ve ever hosted a summer party, you know is priceless.
You can also fully bake them ahead and reheat in a 350°F oven for about 8–10 minutes. They won’t be quite as crisp as fresh from the oven, but they’ll still taste great.
What to Serve Alongside These
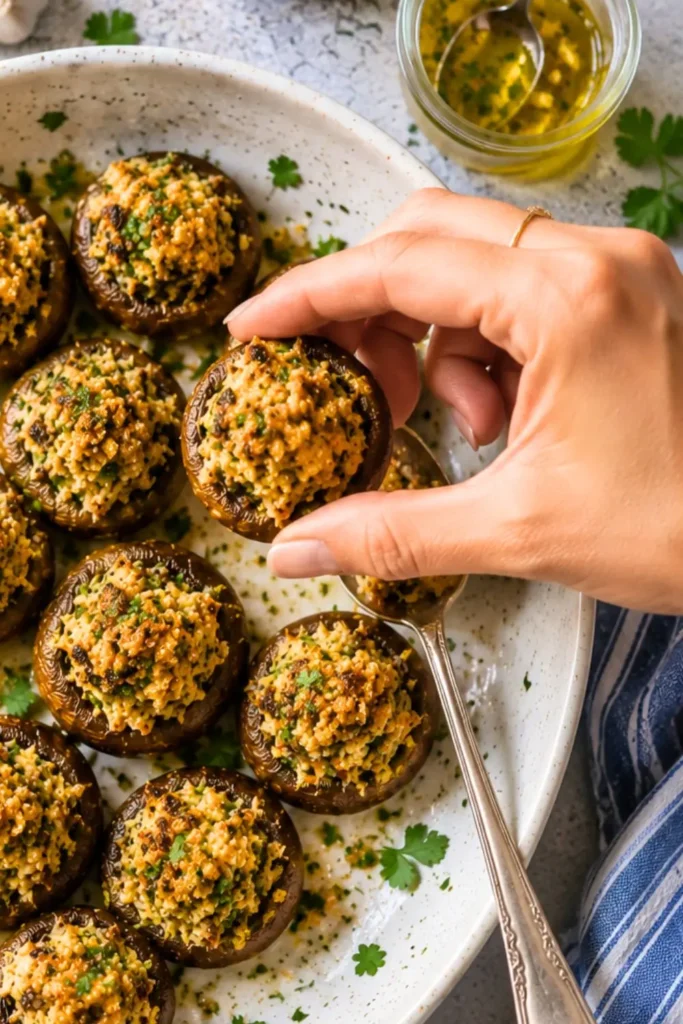
Stuffed mushrooms play well with almost anything on a summer spread. A few pairings I keep coming back to:
- A crisp white wine or a light, chilled rosé
- A simple arugula salad with lemon vinaigrette
- Grilled vegetable skewers for more smoky, charred flavor
- Crusty bread for anyone who wants to mop up extra filling (there’s always extra filling)
Fun Variations to Try
Once you’ve nailed the base recipe, it’s worth playing around a little. Recipes are a starting point, not a rulebook. Here are a few twists I’ve tried that turned out great.
- Swap in sun-dried tomatoes. Chop a couple tablespoons finely and fold them into the filling for a tangy, slightly sweet punch. This pairs beautifully with the rosemary and oregano already in the mix.
- Add a splash of balsamic glaze. Drizzle a little over the finished mushrooms right before serving. It adds a sweet-tart finish that makes people ask, “wait, what’s in this?”
- Go spicier. Double the red pepper flakes if you like heat. I’ve done this for game-day gatherings, and it disappears just as fast as the original.
- Use a mix of mushroom varieties. Baby bella and white button work interchangeably, but if you want something fancier, try large stuffing mushrooms specifically labeled for this purpose. They tend to hold their shape better under a heavy filling load.
None of these swaps are complicated, and that’s the beauty of this recipe. It’s flexible enough to bend toward whatever flavor mood you’re in that week.
Still Hungry, Try It Next recipe
Super Crispy Air Fryer Zucchini Fries
Storing and Reheating Leftovers
If you somehow end up with leftovers (rare, but it happens), store them in an airtight container in the fridge for up to three days. Don’t stack them too tightly, or the tops can get a little squished and lose that crispy texture.
To reheat, pop them back in a 350°F oven for about 8 minutes. Skip the microwave if you can help it; it turns that crispy panko topping into something soft and a little sad. A quick reheat in the oven or even a toaster oven keeps them tasting close to fresh-baked.
Freezing works too, though I’ll be honest, I’ve never had these last long enough to actually need the freezer. If you want to try it, freeze the unbaked stuffed caps on a tray until solid, then transfer them to a freezer bag. Bake straight from frozen, adding an extra 5–8 minutes to the cook time.
Frequently Asked Questions
Can I use a different nut instead of walnuts? Pecans work as a solid substitute if walnuts aren’t your thing. The flavor shifts slightly sweeter, but the texture holds up just fine.
Are these gluten-free? Not as written, since the panko breadcrumbs contain gluten. Swap in a gluten-free panko or breadcrumb alternative, and you’re good to go.
Can I skip the wine? Absolutely. It adds depth, but the recipe works fine without it. Just add a splash of vegetable broth instead if you want a similar effect.
How many people does this recipe serve? This recipe makes 12 stuffed mushrooms, which works well as an appetizer for 4–6 people if it’s part of a larger spread, or fewer if these are the star of the show (and let’s be real, they usually are).
My Final Thoughts
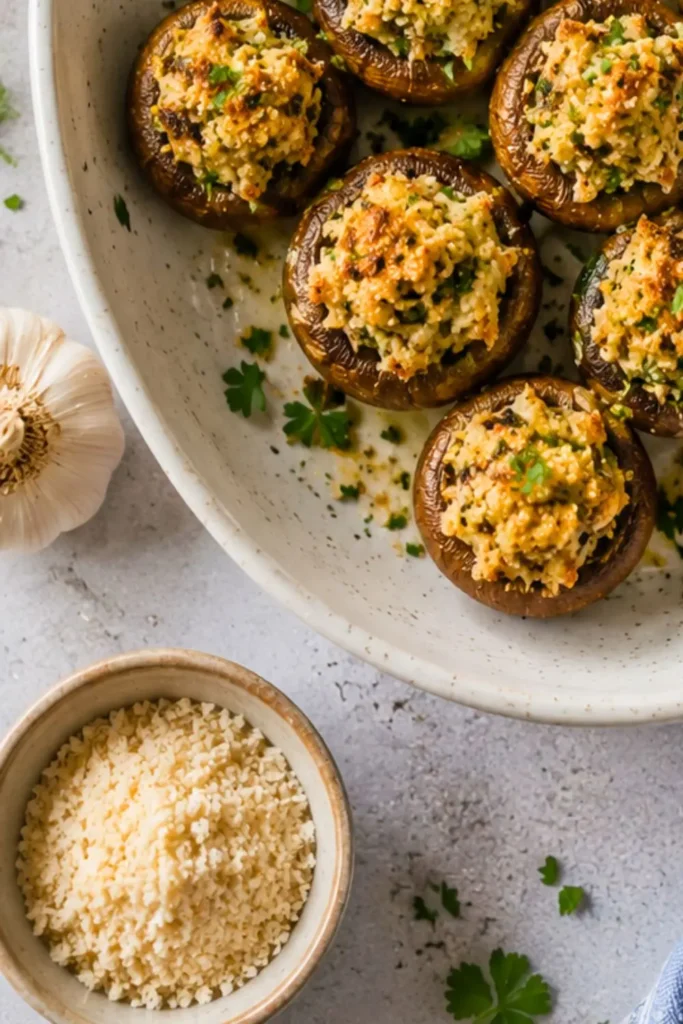
Garlic & herb vegan stuffed mushrooms are one of those recipes that quietly proves plant-based food doesn’t need to compromise on flavor, texture, or that “I can’t stop eating these” quality. They’re quick, they’re budget-friendly, and they consistently steal the show at every summer get-together I’ve brought them to.
So next time you’re staring down a guest list and wondering what to bring, skip the store-bought veggie tray. Make a batch of these instead, and watch the platter empty out before you’ve even had your first one. Trust me, you’ll want to double the recipe next time.
Garlic & Herb Vegan Stuffed Mushrooms Summer Appetizers
Ingredients
Equipment
Method
- Step 1- Prep the Mushrooms
- Separate the mushroom caps from the stems. Finely chop the stems, and if you’ve got a few tiny mushrooms in the mix, chop those up too and toss them into the stuffing pile. Don’t throw the stems away they’re doing a lot of flavor work later.
- Step 2- Build Your Walnut Base
- Toss the walnuts, garlic powder, onion powder, nutritional yeast, half a teaspoon each of rosemary and oregano, salt, and pepper into your food processor or blender. Pulse until it looks like coarse crumbs. Set that aside; you’ll need it soon.
- Preheat your oven to 400°F (205°C) while you’re at it. Getting the oven going early saves you from standing around later wondering why nothing’s crisping up.
- Step 3- Sauté the Aromatics
- In your skillet or wok, warm the olive oil, then add the garlic and onions. Season with salt and pepper, and sauté over medium heat for 2–3 minutes until the onions soften up. Your kitchen should smell amazing at this point. If it doesn’t, something’s gone wrong.
- Step 4- Add the Mushroom Stems and Herbs
- Stir in the chopped mushroom stems along with the remaining teaspoon each of rosemary and oregano. If you’re using the white wine, pour it in now and let it cook off. Quick tip: if you’re on a gas stove, turn the flame down or off while adding the wine, then bring it back to medium once it’s in the pan. Safety first, flavor second.
- Stir in the red pepper flakes here too, if you’re using them. This is where the filling starts smelling like something you’d pay good money for at a restaurant.
- Step 5- Combine Everything
- Add your walnut mixture and the panko breadcrumbs into the skillet, and mix it all together well. Sauté for another couple of minutes, then taste and adjust the seasoning add more salt or pepper if it needs it. Stir in the parsley and lemon zest, if using, right at the end.
- Honestly, this step is where I usually end up eating a spoonful “for quality control.” No shame.
- Step 6- Stuff and Bake
- Arrange your mushroom caps on the baking sheet. Using a spoon, mound the filling generously into each cap. Don’t be shy about piling it high; that stuffing is the star here.
- Bake for 20 minutes, or until the tops turn golden and slightly crispy. Pull them out, let them cool for a couple of minutes (patience, I know), and serve.
Notes
Nutrition Breakdown
Here’s what you’re working with per stuffed mushroom:- Calories- 71 kcal
- Carbohydrates- 7g
- Protein- 3g
- Fat- 4g
- Saturated Fat- 0.4g
- Polyunsaturated Fat- 2g
- Monounsaturated Fat- 1g
- Fiber- 1g
- Sugar- 2g
- Potassium- 259mg
- Vitamin A- 87 IU
- Vitamin C- 2mg
- Calcium- 27mg
- Iron- 1mg

Hi — I’m Rachel. I’m a wife, a mom, and a home cook who believes that food should bring comfort, joy, and compassion to the table. I live with my family — two hungry little foodies who are my most honest recipe testers — and together we’ve built a kitchen culture that’s all about good food that happens to be 100% vegan. I started this blog because I wanted a place to share the recipes that keep our days moving, the dishes that make weeknights feel a little easier, and the meals that become our little family traditions.