
Potato as a flour replacement sounds like the kind of food experiment that requires explanation until you taste it. Gluten-free vegan potato recipes in flatbread form produce something genuinely remarkable: a soft, pliable, slightly fluffy flatbread made primarily from mashed potato and a small quantity of flour, pan-fried until golden, and so satisfying that it works as a bread replacement, a wrap, a side dish, and an appetizer simultaneously. Eight flatbreads at 117 calories each, 40 minutes total, and a potato-based dough that’s naturally dairy-free, egg-free, and adaptable to gluten-free flour with a straightforward substitution.
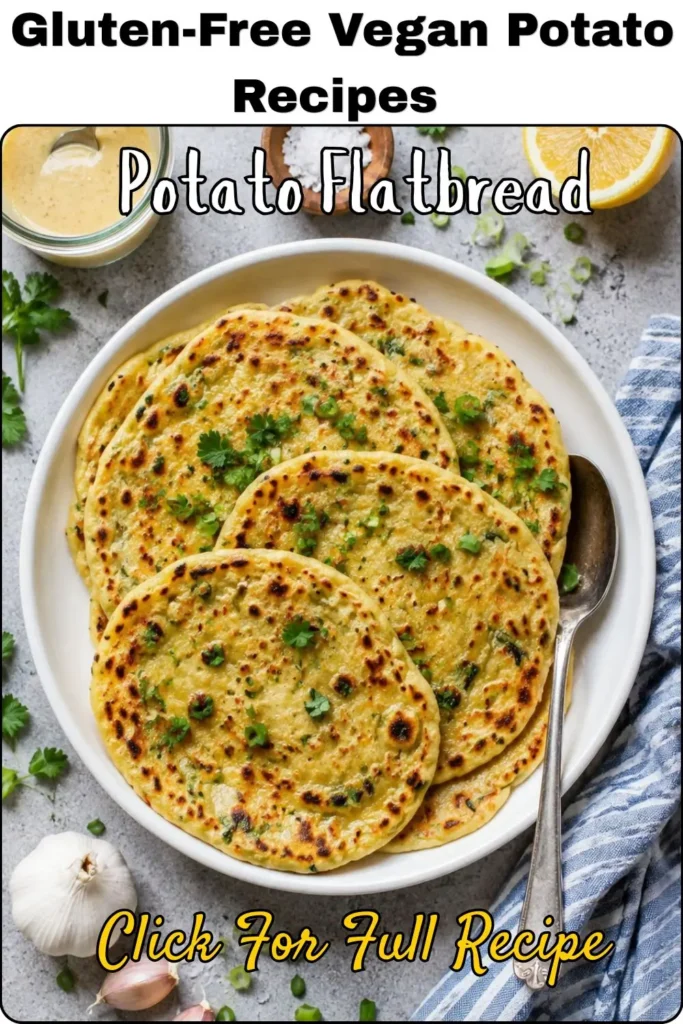
I discovered potato flatbread specifically when I was looking for a way to use up potatoes that had gone past their best-for-roasting window and were becoming too soft for anything crispy. The result was one of those kitchen accidents that immediately gets added to the permanent rotation soft, slightly chewy, faintly nutmeg-scented flatbreads with visible scallion pieces throughout that taste like genuine comfort food. FYI if you’ve never worked with potato dough before, it’s more forgiving than any wheat-based dough and requires zero resting time.
My Recipe Timing and Serving Details
| Detail | Info |
| Prep Time | 15 minutes |
| Cook Time | 25 minutes |
| Total Time | 40 minutes |
| Servings | 6-8 flatbreads |
| Serving Size | 1 flatbread |
| Calories Per Flatbread | 117 kcal |
| Course | Side Dish / Bread |
| Diet | Vegan (GF option available) |
These gluten-free vegan potato recipes produce 6-8 flatbreads depending on your preferred size 8 for thinner, smaller rounds and 6 for slightly larger, thicker ones. At 117 calories per flatbread, these are remarkably light for something that tastes as substantial as they do. This recipe serves 4 people as a bread side dish with 2 flatbreads each, or 6-8 people as part of a larger spread with one each.
Why Potato Flatbread Works The Science Behind the Dough
Have you ever wondered how mashed potato can form a workable dough with just a small amount of flour? The chemistry is fascinating and explains why this works so reliably:
Potatoes contain natural starches that- when cooked and mashed, become sticky and cohesive. These starches are what bind the flatbread dough together they create a network that, when combined with flour’s gluten (or GF flour’s alternative binding agents), produces a pliable, rollable dough without eggs or dairy.
Cooked potato starch gelatinizes when heated – it swells with water and creates a gel-like structure. This gelatinized starch is what makes potato bread and potato flatbreads so distinctively soft and slightly chewy compared to water-based flatbreads.
The potato provides moisture as the liquid ingredient – unlike most bread doughs that require added water or milk, the moisture content in cooked potatoes is sufficient to hydrate the flour without additional liquid. This is why the recipe doesn’t include plant milk or water.
The result is a dough that’s more forgiving, more moisture-stable, and easier to work with than most bread doughs and it requires zero yeast, zero rising time, and zero experience with bread baking.
Full Ingredient List
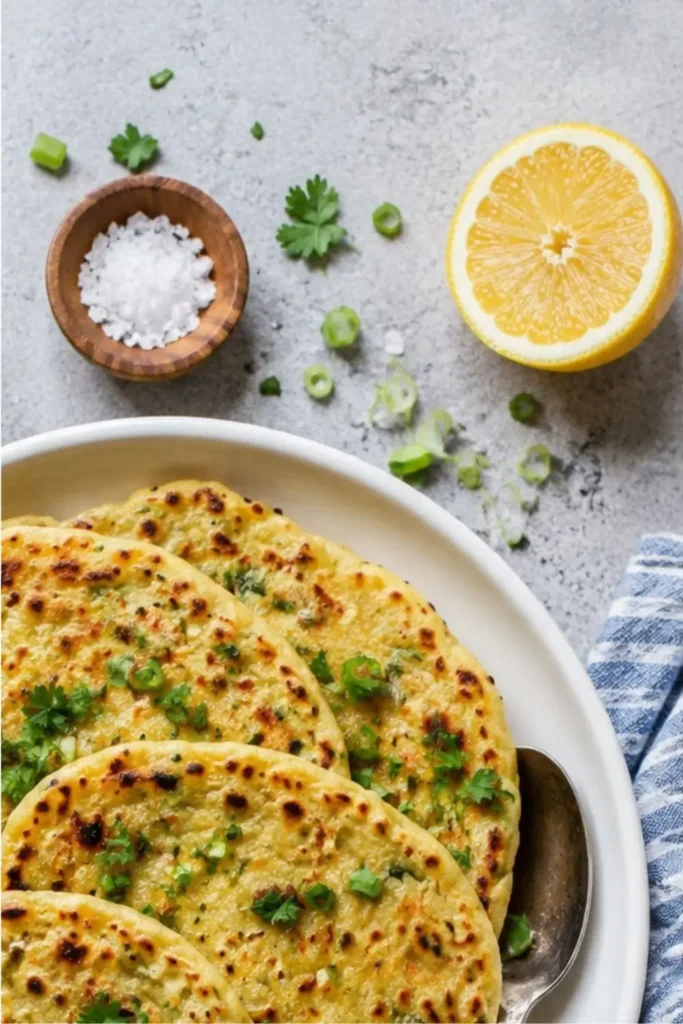
A beautifully minimal list:
For the Flatbread:
- 3 medium-large potatoes (400g cooked and peeled), the measured weight after cooking and peeling is the important figure
- 1 cup (120g) all-purpose flour,plus more for kneading
- 1 teaspoon baking powder
- ½ to ¾ teaspoon salt
- 1 pinch of nutmeg
- 1 tablespoon (13g) oil , plus more for frying
- ⅓ cup scallions, chopped
The Potato Selection Which Type Works Best
Not all potato varieties perform equally in flatbread dough, and choosing correctly makes the difference between a pliable, workable dough and a sticky, unmanageable one:
Starchy Potatoes (Best Choice)
Russet potatoes– high starch, low moisture, fluffy when mashed. They produce the driest, most workable potato dough that requires the least additional flour to achieve the right consistency. This means a higher potato-to-flour ratio, which creates a more distinctly “potato” flavored flatbread.
Idaho potatoes – similar profile to Russet, excellent for this application.
Medium-Starch Potatoes (Good Choice)
Yukon Gold potatoes medium starch, slightly waxy, naturally buttery flavor. They produce a slightly moister mash than Russet, which means you’ll need slightly more flour during kneading. The flavor benefit is worth it Yukon Gold potato flatbreads have a natural richness that starchy potatoes don’t quite match.
Waxy Potatoes (Avoid)
Red potatoes, fingerlings, and new potatoes, very low starch, high moisture. These create an excessively wet, sticky dough that requires so much additional flour that the potato character becomes muted. The recipe specifically notes weighing 400g cooked and peeled waxy potatoes lose less weight during cooking and produce a different moisture ratio.
The 400g (14 oz) specification is critical. The flour quantity is calibrated to this potato weight. Start with approximately 3 medium-large potatoes (about 600-650g raw) the weight reduction during cooking and peeling brings you to the approximately 400g you need.
Equipment You’ll Need For Gluten-Free Vegan Potato Recipes
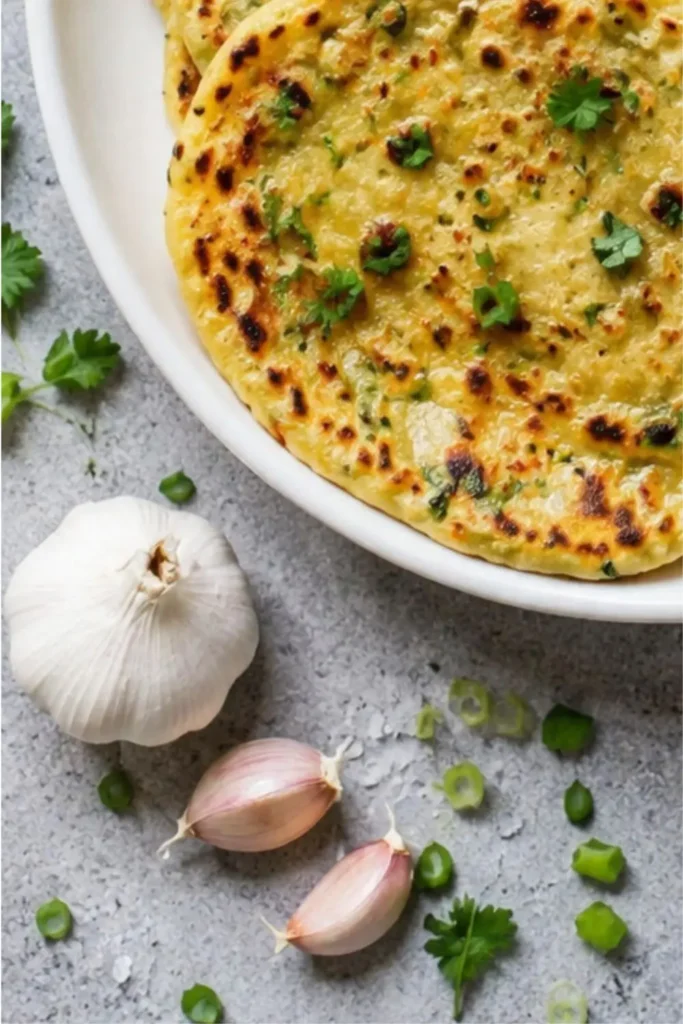
For Boiling and Mashing
- Large saucepan – for boiling the potatoes in salted water until fork-tender
- Colander – for draining
- Potato masher or potato ricer – the recipe specifically mentions both options. A potato ricer produces the smoothest, most lump-free mash, which creates the most uniform dough. A masher produces adequate results but may leave some small potato chunks these are generally fine and don’t significantly affect the final flatbread.
For the Dough
- Large mixing bowl – for combining mashed potato, flour, and remaining ingredients
- Rolling pin – for rolling each dough ball into a flat disc
- Oiled wax paper or parchment paper– two sheets per flatbread for rolling. The recipe specifically recommends rolling between two oiled sheets, which prevents the dough from sticking to either surface without requiring heavy flour dusting (which would change the dough’s consistency).
For Cooking
- Large non-stick frying pan or skillet – the non-stick surface is specifically important here. Potato flatbread dough can stick aggressively to inadequately coated surfaces, making removal difficult without tearing. A good quality non-stick pan or a well-seasoned cast iron skillet both work.
- Spatula – for flipping the flatbreads carefully. A wide, thin spatula gives the most control for the delicate flip.
- Kitchen towel – for covering cooked flatbreads while subsequent ones cook. Covering keeps the steam in and maintains the soft, pliable texture.
Step-by-Step Instructions Every Detail Matters
Step 1- Boil the Potatoes
Add the potatoes (unpeeled easier to peel after cooking) to a pot of salted water. Bring to a boil, then reduce to a gentle simmer and cook until completely fork-tender a fork should slide into the center with zero resistance. This takes approximately 15-20 minutes depending on potato size.
Salt the water generously – as with pasta, the boiling water is the potato’s only opportunity to absorb salt from the inside. Properly salted boiling water produces flatbreads that taste seasoned rather than flat, even with the added salt later.
Why cook unpeeled? Cooking potatoes in their skin prevents waterlogging peeled potatoes absorb significantly more water during boiling, which makes the dough wetter and requires more flour to compensate.
Step 2 – Cool, Peel, and Weigh
Drain the cooked potatoes and allow them to cool enough to handle comfortably. Peel them and weigh the peeled, cooked potato you need 400g. Adjust accordingly: if you have more, reserve the extra for another use; if you have slightly less, add another partial potato.
Let the peeled potatoes steam-dry briefly 2-3 minutes of air exposure after peeling allows some surface moisture to escape. This helps produce a drier dough.
Step 3 – Mash Thoroughly
Mash the cooled potatoes in the large bowl until completely smooth with no visible lumps. Use a potato ricer for the most uniform result, or a masher with thorough, patient mashing.
Lumps in the mash create weak spots in the flatbread areas where the dough is thinner or doesn’t hold together as well. Take the extra minute to get the mash genuinely smooth.
Step 4 – Add Remaining Ingredients and Knead
Add the flour, baking powder, salt, nutmeg, oil, and chopped scallions to the mashed potato bowl.
Mix with a spoon first until the mixture starts coming together, then switch to your hands and knead until a smooth, non-sticky dough forms. Add additional flour 2-3 tablespoons at a time until the dough no longer sticks to your hands this is the variable step because potato moisture content varies between varieties and cooking batches.
The nutmeg- Don’t be tempted to skip this or increase it significantly. A pinch of nutmeg in potato dishes creates a warmth that most people can’t identify specifically but notice as making the potato taste more interesting. It’s a traditional addition to potato gnocchi for the same reason.
The scallion distribution- Knead the scallions in during this stage to distribute them evenly throughout the dough rather than adding them at the end.
Step 5 – Divide and Roll
Divide the dough into 6-8 equal portions depending on preferred size. Roll each portion into a smooth ball.
For rolling: Place one dough ball on a sheet of lightly oiled parchment or wax paper. Place a second oiled sheet on top. Use a rolling pin to roll the dough into a disc approximately ⅛ to ¼ inch thick, with a diameter of about 5½ to 6 inches.
The oiled paper technique is specifically more effective than flouring the work surface because flour dusted onto the outside of the flatbread changes the surface texture and can create unpleasant floury spots on the cooked flatbread. The oiled paper releases the dough cleanly without adding material to the surface.
Step 6 – Cook One by One
Heat a large non-stick skillet over medium heat. Add a small amount of oil just enough to lightly coat the surface.
Remove the top sheet of parchment/wax paper from the first flatbread. Flip the flatbread onto your hand, then peel away the second sheet, then place the flatbread into the pan. Alternatively, flip the paper-covered flatbread directly onto the pan and peel away the top layer.
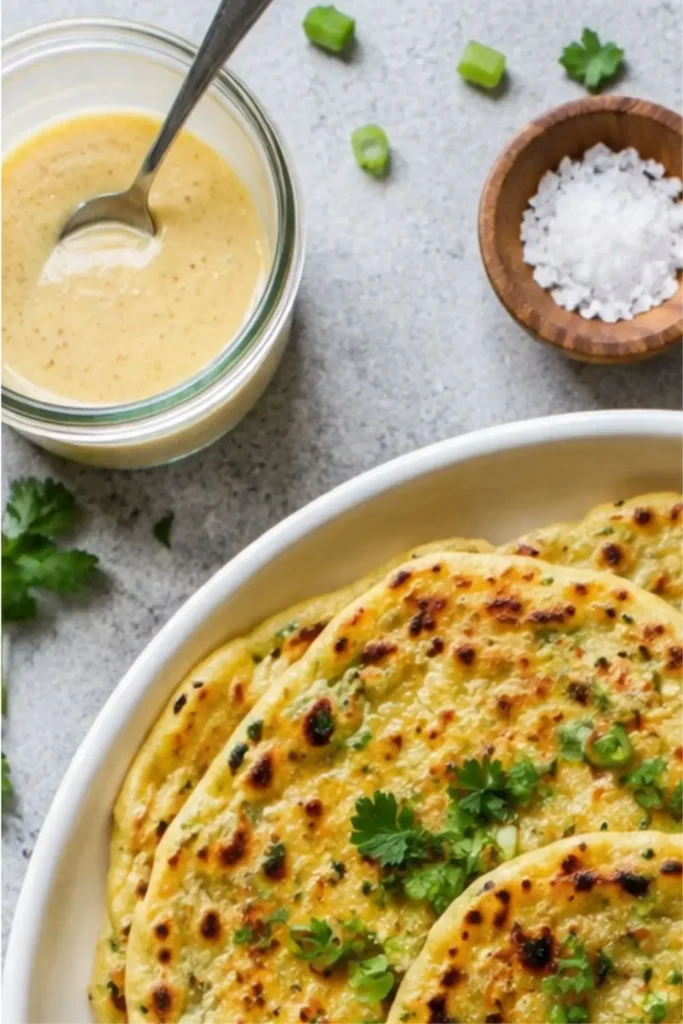
Cook for 2-4 minutes until the bottom is golden brown with visible spots. The flatbread will look slightly puffed in places as steam develops.
Flip carefully using a wide spatula. Cook for another 1-2 minutes on the second side.
Transfer to a plate and cover immediately with a kitchen towel. The towel traps steam and keeps the flatbread soft and pliable uncovered flatbreads dry out and become brittle at the edges within a few minutes.
While one flatbread cooks- Roll out the next dough ball. The rolling and cooking times align almost perfectly by the time a flatbread finishes cooking, the next one is ready to go in.
The Gluten-Free Version Making This Genuinely GF
The recipe’s flour note mentions that gluten-free flour works as a substitution, and this makes these genuinely among the most useful gluten-free vegan potato recipes in any collection.
Best GF Flour Options
King Arthur Measure for Measure – the most reliable 1:1 replacement in this recipe. Its blend of rice flour, tapioca starch, and potato starch (appropriately!) works very similarly to all-purpose flour in potato dough.
Bob’s Red Mill 1:1 GF Baking Flour – another excellent direct replacement that produces good results in flatbread dough.
Rice flour alone– works adequately but may require slightly more quantity than the all-purpose flour specification, as rice flour absorbs moisture slightly differently.
GF-Specific Adjustments
- Add xanthan gum (¼ teaspoon) if your GF flour blend doesn’t already contain it – xanthan gum mimics gluten’s binding function and prevents the flatbread from crumbling when handled
- Roll slightly thicker (closer to ¼ inch rather than ⅛ inch) for GF versions – thinner GF flatbreads are more fragile during flipping
- Cook on slightly lower heat – GF flatbreads can brown faster than wheat flour versions
FYI the naturally starchy potato base actually makes this one of the easier recipes to successfully convert to gluten-free, since the potato starch itself provides significant binding that reduces reliance on the flour’s gluten structure.
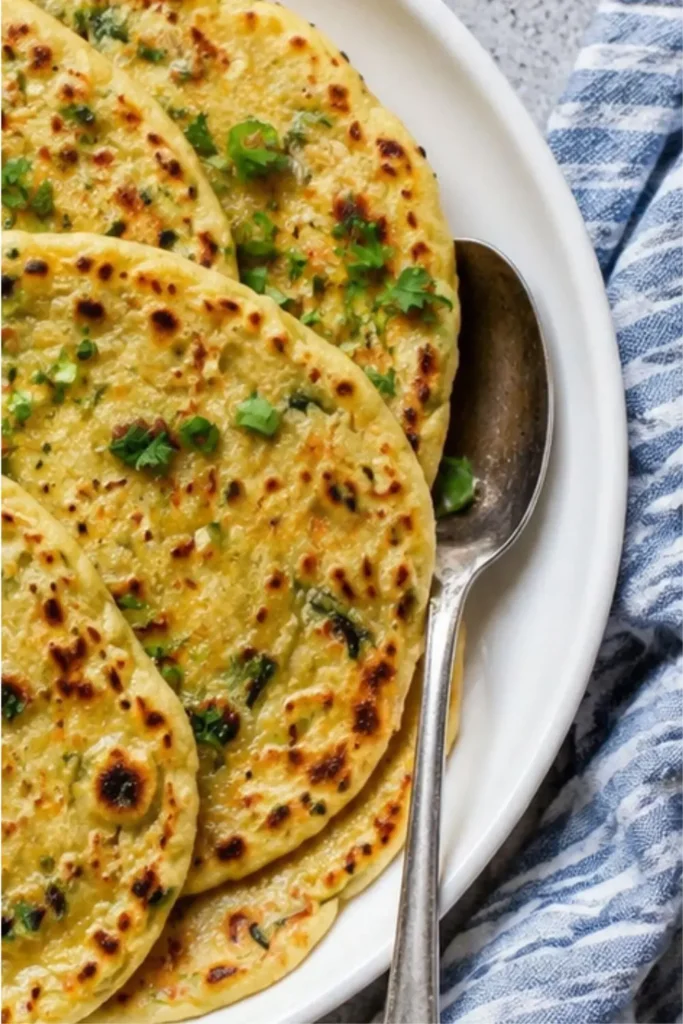
Serving Ideas Where These Flatbreads Shine
These potato side dishes work in more applications than you might initially expect:
As a Bread Replacement
Serve warm alongside soups, stews, and curries as a bread for dipping and scooping. The soft, slightly chewy texture works beautifully for this the flatbread absorbs broth and sauce without falling apart.
As a Wrap
Fill with roasted vegetables, hummus, vegan tzatziki, or any sandwich filling. The flatbread’s pliability (maintained by covering with the kitchen towel) allows folding and wrapping without cracking.
As a Side Dish
Serve alongside any main course where a bread or starchy side would be appropriate. They’re particularly good alongside Indian-inspired dishes the potato-scallion combination has a natural affinity with curries, dals, and chutneys.
As a Base for Toppings
Top with vegan cream cheese and herbs, hummus and roasted vegetables, or pesto and cherry tomatoes for a flatbread pizza-style presentation. The flatbread’s neutral flavor accepts strong toppings well.
Flavor Variations Beyond the Base Recipe
Herb versions:
- Add 2 tablespoons of finely chopped fresh dill instead of scallions produces a distinctly Eastern European potato bread character
- Use rosemary and garlic instead of scallions creates a more Italian-leaning flatbread
Spice versions:
- Add 1 teaspoon of cumin seeds and ½ teaspoon of turmeric creates a golden, aromatic Indian-inspired aloo paratha style flatbread
- Add ½ teaspoon of smoked paprika and ¼ teaspoon of garlic powder smoky, savory flatbread that pairs beautifully with dips
Loaded versions:
- Mix in 2 tablespoons of nutritional yeast for a subtle cheesy flavor
- Add 1 tablespoon of finely chopped sun-dried tomatoes for concentrated tomato flavor throughout
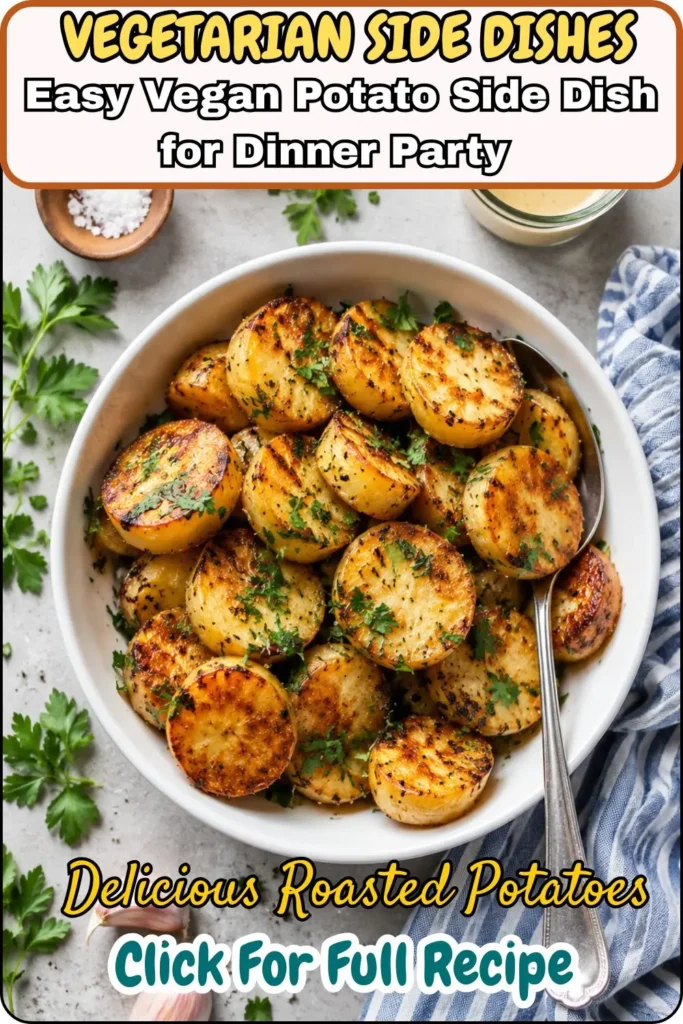
Still Hungry, Try It Next recipe
Easy Vegan Potato Side Dish for Dinner Party
Nutrition Information Per Flatbread
At 117 calories per flatbread (for 8 flatbreads):
| Nutrient | Per Flatbread |
| Calories | 117 kcal |
| Carbohydrates | 21g |
| Protein | 3g |
| Fat | 2g |
| Saturated Fat | 1g |
| Fiber | 2g |
| Sugar | 1g |
At 117 calories and only 2 grams of fat per flatbread, these are genuinely among the lightest bread options possible significantly lighter than most store-bought flatbreads, pitas, or wraps. The 2 grams of fiber per flatbread comes from the potato itself.
Storage and Reheating
- Room temperature- Store covered with the kitchen towel for up to 2 hours without quality loss
- Refrigerator- Store in an airtight container or zip-top bag for up to 3 days
- Reheating- Warm briefly in a dry skillet over medium heat for 1-2 minutes per side, or wrap in a damp kitchen towel and microwave for 30 seconds
- Freezer- Freeze with parchment paper between each flatbread for up to 1 month thaw at room temperature and reheat in a skillet
My Final Thoughts
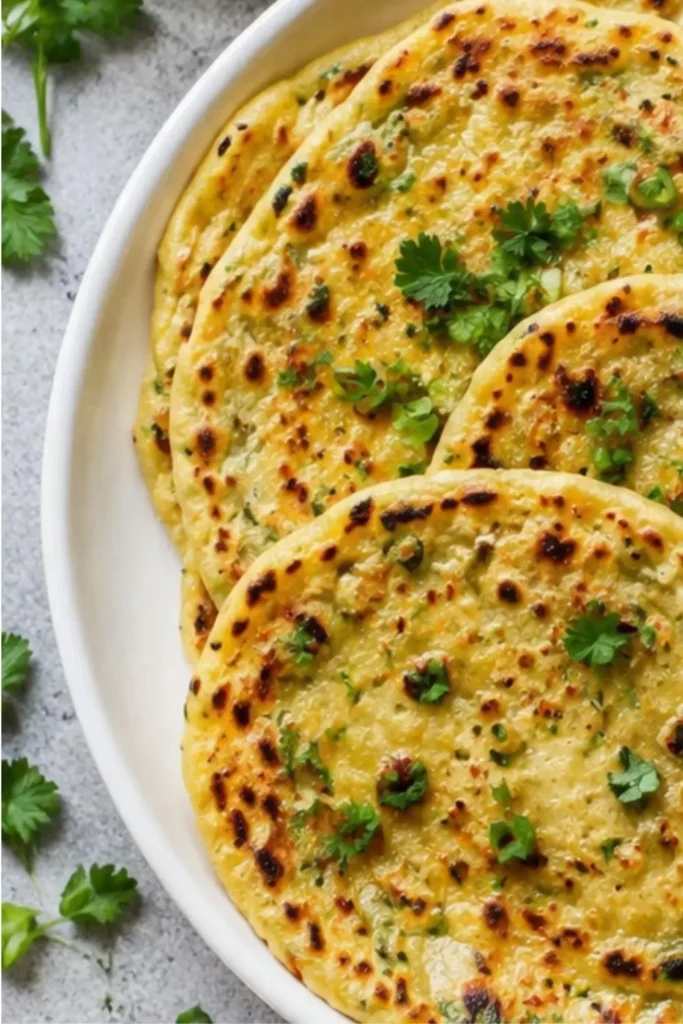
Gluten-free vegan potato recipes in flatbread form genuinely expand what you think potatoes are capable of 117 calories per flatbread, 8 flatbreads per batch, completely dairy-free and egg-free, naturally adaptable to gluten-free flour, and useful in more serving applications than almost any other potato side dish recipe.
Get the potato weight right (400g cooked and peeled). Knead until non-sticky. Roll between oiled paper. Cover the cooked flatbreads immediately.
Then use them for everything from soup dipping to curry scooping to wrap-building, and wonder why you never thought to turn potatoes into bread before.
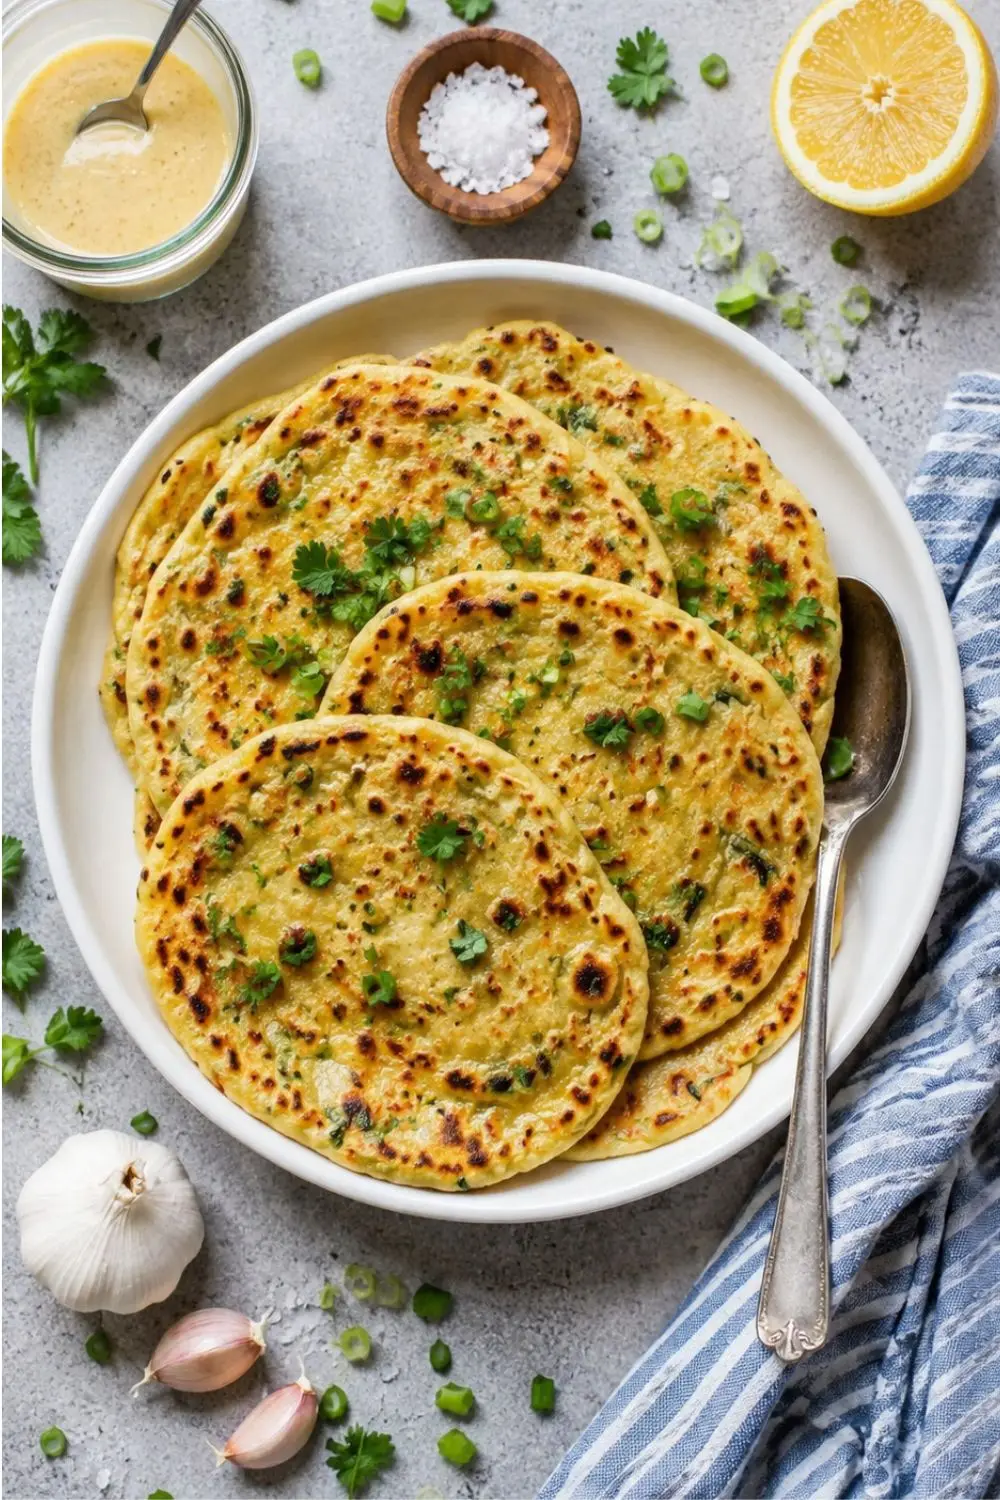
Gluten-Free Vegan Potato Recipes The Potato Flatbread
Ingredients
Equipment
Method
- Step 1- Boil the Potatoes
- Add the potatoes (unpeeled easier to peel after cooking) to a pot of salted water. Bring to a boil, then reduce to a gentle simmer and cook until completely fork-tender a fork should slide into the center with zero resistance. This takes approximately 15-20 minutes depending on potato size.
- Salt the water generously – as with pasta, the boiling water is the potato’s only opportunity to absorb salt from the inside. Properly salted boiling water produces flatbreads that taste seasoned rather than flat, even with the added salt later.
- Why cook unpeeled? Cooking potatoes in their skin prevents waterlogging peeled potatoes absorb significantly more water during boiling, which makes the dough wetter and requires more flour to compensate.
- Step 2 – Cool, Peel, and Weigh
- Drain the cooked potatoes and allow them to cool enough to handle comfortably. Peel them and weigh the peeled, cooked potato you need 400g. Adjust accordingly: if you have more, reserve the extra for another use; if you have slightly less, add another partial potato.
- Let the peeled potatoes steam-dry briefly 2-3 minutes of air exposure after peeling allows some surface moisture to escape. This helps produce a drier dough.
- Step 3 – Mash Thoroughly
- Mash the cooled potatoes in the large bowl until completely smooth with no visible lumps. Use a potato ricer for the most uniform result, or a masher with thorough, patient mashing.
- Lumps in the mash create weak spots in the flatbread areas where the dough is thinner or doesn’t hold together as well. Take the extra minute to get the mash genuinely smooth.
- Step 4 – Add Remaining Ingredients and Knead
- Add the flour, baking powder, salt, nutmeg, oil, and chopped scallions to the mashed potato bowl.
- Mix with a spoon first until the mixture starts coming together, then switch to your hands and knead until a smooth, non-sticky dough forms. Add additional flour 2-3 tablespoons at a time until the dough no longer sticks to your hands this is the variable step because potato moisture content varies between varieties and cooking batches.
- The nutmeg- Don’t be tempted to skip this or increase it significantly. A pinch of nutmeg in potato dishes creates a warmth that most people can’t identify specifically but notice as making the potato taste more interesting. It’s a traditional addition to potato gnocchi for the same reason.
- The scallion distribution- Knead the scallions in during this stage to distribute them evenly throughout the dough rather than adding them at the end.
- Step 5 – Divide and Roll
- Divide the dough into 6-8 equal portions depending on preferred size. Roll each portion into a smooth ball.
- For rolling: Place one dough ball on a sheet of lightly oiled parchment or wax paper. Place a second oiled sheet on top. Use a rolling pin to roll the dough into a disc approximately ⅛ to ¼ inch thick, with a diameter of about 5½ to 6 inches.
- The oiled paper technique is specifically more effective than flouring the work surface because flour dusted onto the outside of the flatbread changes the surface texture and can create unpleasant floury spots on the cooked flatbread. The oiled paper releases the dough cleanly without adding material to the surface.
- Step 6 – Cook One by One
- Heat a large non-stick skillet over medium heat. Add a small amount of oil just enough to lightly coat the surface.
- Remove the top sheet of parchment/wax paper from the first flatbread. Flip the flatbread onto your hand, then peel away the second sheet, then place the flatbread into the pan. Alternatively, flip the paper-covered flatbread directly onto the pan and peel away the top layer.
- Cook for 2-4 minutes until the bottom is golden brown with visible spots. The flatbread will look slightly puffed in places as steam develops.
- Flip carefully using a wide spatula. Cook for another 1-2 minutes on the second side.
- Transfer to a plate and cover immediately with a kitchen towel. The towel traps steam and keeps the flatbread soft and pliable uncovered flatbreads dry out and become brittle at the edges within a few minutes.
- While one flatbread cooks- Roll out the next dough ball. The rolling and cooking times align almost perfectly by the time a flatbread finishes cooking, the next one is ready to go in.
Notes
Nutrition Information Per Flatbread
At 117 calories per flatbread (for 8 flatbreads):| Nutrient | Per Flatbread |
| Calories | 117 kcal |
| Carbohydrates | 21g |
| Protein | 3g |
| Fat | 2g |
| Saturated Fat | 1g |
| Fiber | 2g |
| Sugar | 1g |

Hi — I’m Rachel. I’m a wife, a mom, and a home cook who believes that food should bring comfort, joy, and compassion to the table. I live with my family — two hungry little foodies who are my most honest recipe testers — and together we’ve built a kitchen culture that’s all about good food that happens to be 100% vegan. I started this blog because I wanted a place to share the recipes that keep our days moving, the dishes that make weeknights feel a little easier, and the meals that become our little family traditions.