
The first time I made Rice Paper Spring Rolls at home, I was convinced I’d ruin them. Those translucent wrappers look delicate enough to tear if you breathe on them wrong, and I’d watched enough cooking videos to convince myself the rolling technique required some kind of hidden talent. Turns out it doesn’t. After one slightly lopsided practice roll and a bowl of warm water, I had the technique down. And what came out of that first proper batch was genuinely one of the most beautiful, fresh, satisfying things I’d ever assembled at home.
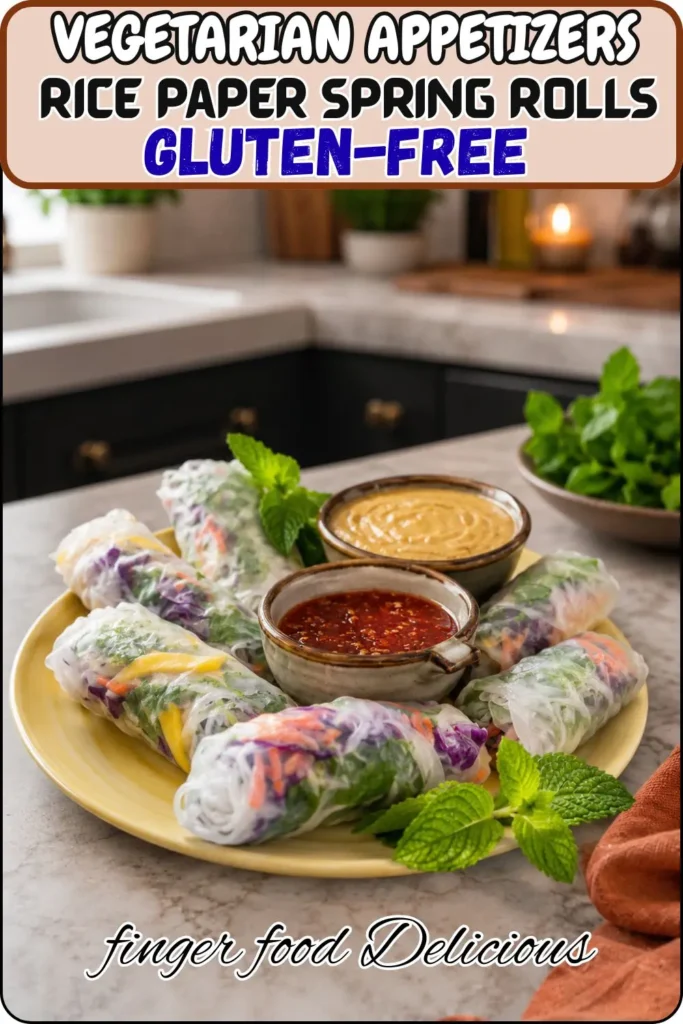
These rolls are firmly in the BITES & WRAPS category of vegan appetizers that pull double duty stunning enough for a party platter and simple enough for a weeknight dinner. No cooking required beyond boiling some noodles, and the spicy peanut dipping sauce is so good you’ll start finding reasons to put it on other things.
Why Rice Paper Spring Rolls Are the Ultimate Vegan Appetizer
What makes a great appetizer? It needs to look impressive, taste fresh and layered, work for a crowd without requiring you to stand at a stove all evening, and ideally be something people haven’t seen a hundred times already. Fresh Rice Paper Spring Rolls check every one of those boxes and then some.
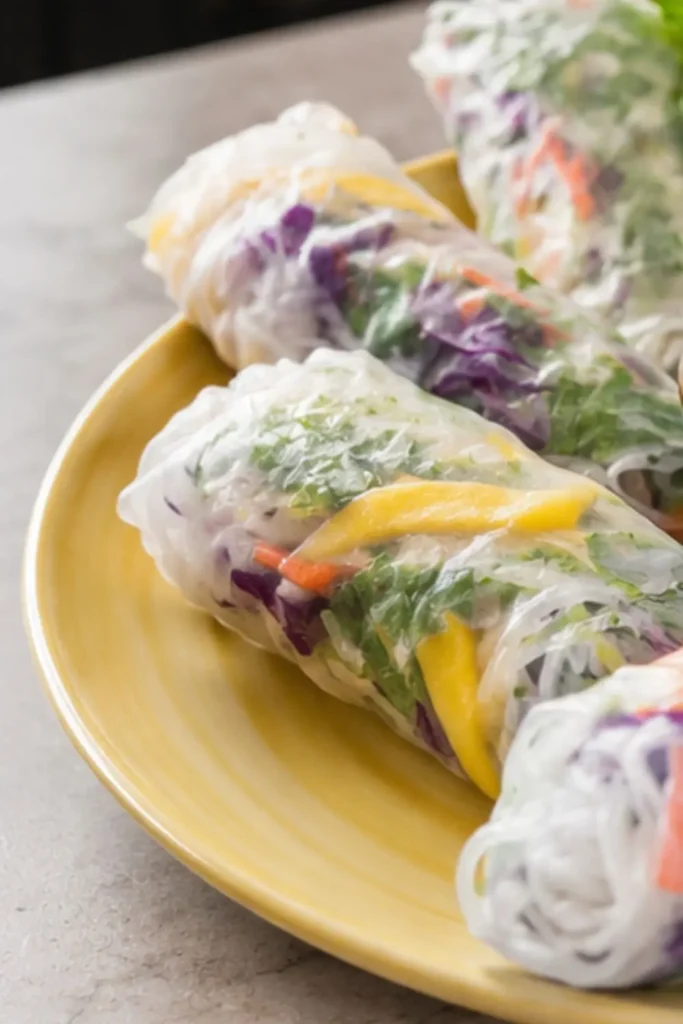
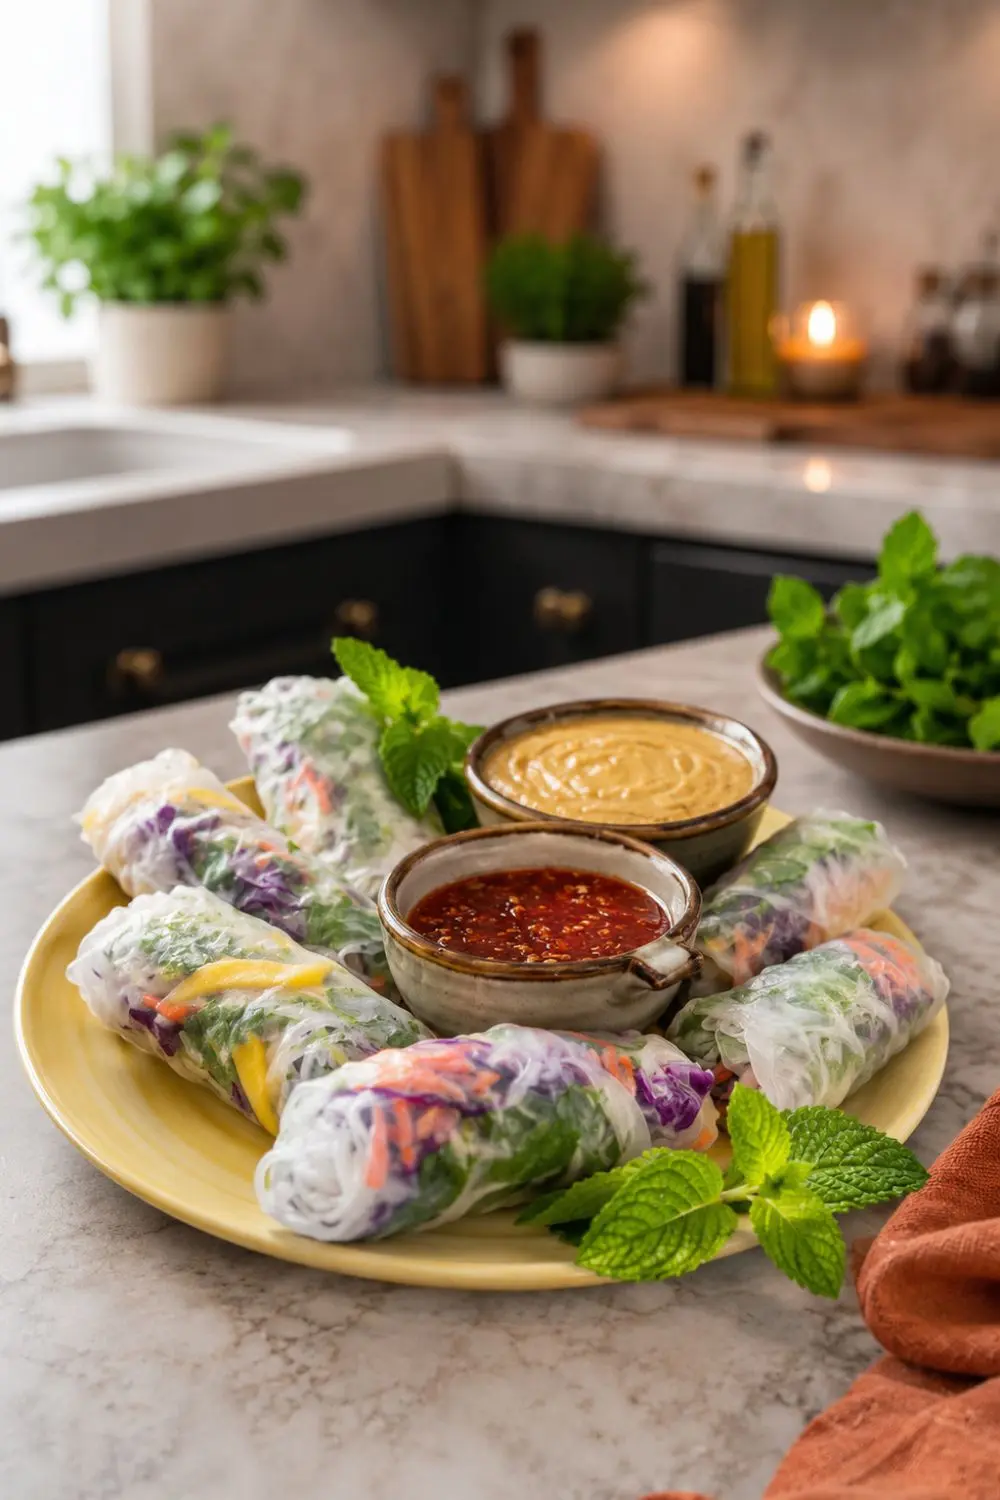
Each roll packs vermicelli noodles, crisp shredded cabbage, carrot matchsticks, cooling cucumber, creamy avocado, protein-rich edamame, and fresh cilantro into a translucent wrapper that shows off every color layer like a window into the roll. They look complex. They taste vibrant. And they take 30 minutes to assemble from scratch, with zero active cooking time beyond the noodles.
IMO, this is the single most visually impressive no-cook vegan appetizer you can put on a table.
My Recipe At a Glance
Here’s your full overview before you start:
| Detail | Info |
| Prep Time | 30 minutes |
| Cook Time | 0 minutes (noodles only) |
| Total Time | 30 minutes |
| Yield | 10–12 spring rolls |
| Servings | 4–6 people |
| Calories per Roll | 198 kcal |
| Course | Appetizer / Light Meal |
| Cuisine | Vietnamese-Inspired / Vegan |
At 198 calories per roll with 10g of protein, these are a satisfying, nutrient-dense appetizer option. A serving of two rolls per person comes in at around 396 calories substantial enough to actually hold you before a main course without feeling heavy.
Equipment You’ll Need For Rice Paper Spring Rolls
This recipe requires no cooking equipment beyond what you use for the noodles. Here’s the full list:
- Large pot – for boiling the vermicelli noodles. Nothing special required; any standard pot works.
- Colander or strainer– for draining and rinsing the noodles with cold water immediately after cooking
- Large shallow bowl – filled with warm water for soaking the rice paper wrappers one at a time. Wide and shallow works better than deep and narrow you need to submerge the full wrapper flat.
- Dampened cutting board or dish towel -your rolling surface. The slight moisture prevents the rice paper from sticking and tearing as you work. A dry surface is the enemy here
- Sharp knife and cutting board – for slicing the cucumbers into matchsticks, cutting the avocado, and halving the lettuce leaves.
- Small whisk or fork – for mixing the peanut dipping sauce until completely smooth.
- Serving platter – wide and flat, for arranging the finished rolls. Keep them seam side down so they hold their shape on the plate.
- Small dipping bowls – one per person for the peanut sauce. Sharing a communal bowl works too, but individual bowls feel more intentional on a dinner table.
That’s genuinely everything. The rolling technique is the only real skill involved here, and it takes about two rolls to get comfortable with it.
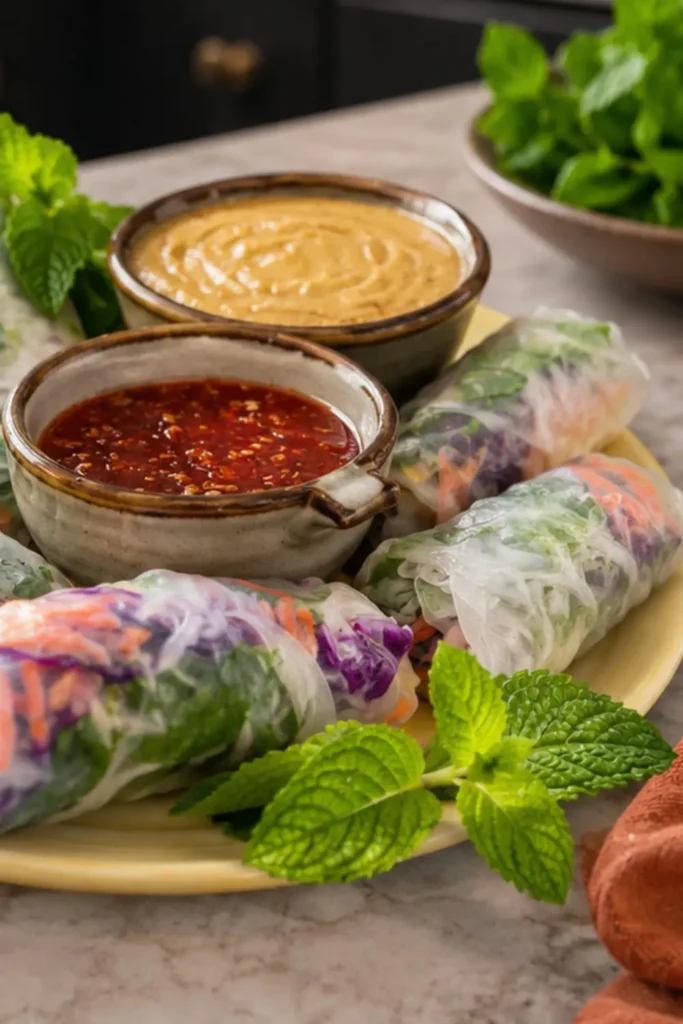
Ingredients (Makes 10–12 Rolls)
Two components: the rolls themselves and the peanut dipping sauce. Both are completely vegan and naturally gluten-free when you use tamari instead of soy sauce.
For the Fresh Spring Rolls:
- 10–12 rice paper wrappers (about 95–115g) – look for the 22cm round variety, which gives you enough surface area to fit a generous filling without the wrapper being too thin at the edges. Most Asian grocery stores carry these; they’re also increasingly available at mainstream supermarkets.
- 4 oz (112g) vermicelli noodles – rice vermicelli specifically, not glass noodles or thin wheat noodles. Rice vermicelli cooks in about 3 minutes, turns tender and slippery, and stays delicately neutral in flavor so it doesn’t compete with the vegetables.
- 6 butterhead lettuce leaves, halved butterhead forms a soft, pliable layer that helps anchor the filling inside the roll and adds a gentle, mild crunch.
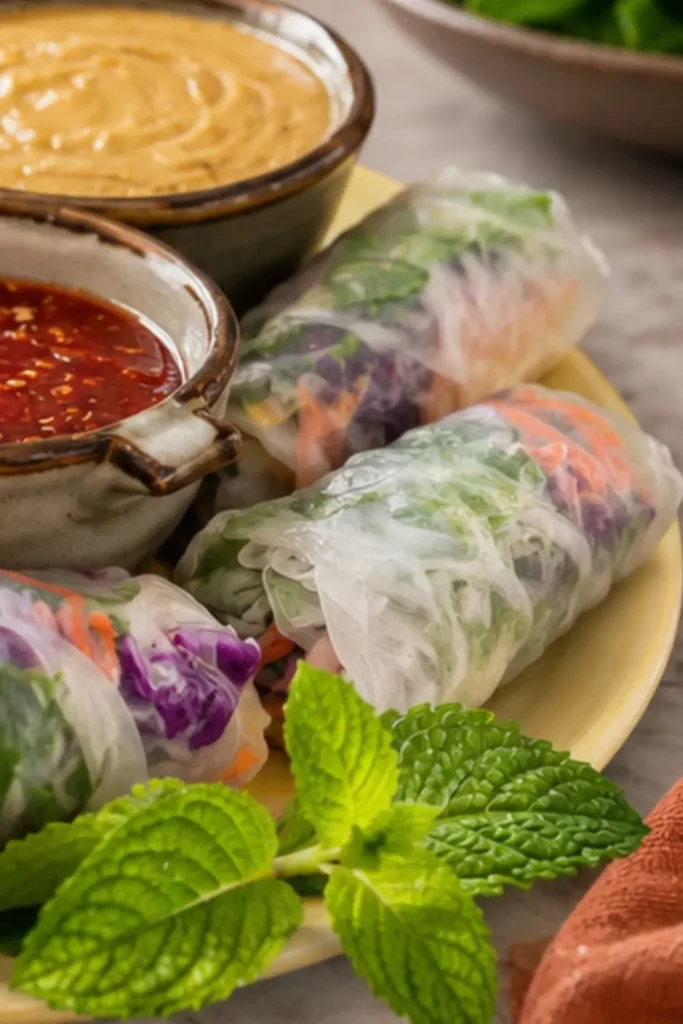
- 1 cup (90g) red cabbage, finely shredded the purple color bleeds slightly into the rice paper as you roll and creates that beautiful tinted wrapper effect in the finished rolls. It also adds serious crunch.
- 1 cup (220g) carrots, shredded- sweet, crunchy, and visually striking against the other ingredients.
- 3 mini cucumbers, cut into matchsticks – cooling, crisp, and exactly the right shape to sit neatly in the roll without creating lumps.
- 1 cup (150g) edamame -adds plant-based protein, a satisfying pop of texture, and a vibrant green color throughout the roll.
- 1–2 avocados, sliced – the creamy counterpoint to all that crunch. Slice it thin so it layers flat rather than creating a thick, lumpy center.
- ½ cup cilantro leaves – fresh, aromatic, and essential to the flavor profile. If cilantro genuinely isn’t for you, fresh mint is an excellent Vietnamese-inspired alternative.
For the Spicy Peanut Dipping Sauce:
- ½ cup (64g) natural peanut butter – smooth, with no added sugar or palm oil. The cleaner the peanut butter, the better the sauce.
- 1–2 tablespoons (15–30g) soy sauce or tamari – tamari for a gluten-free version; soy sauce for a slightly sharper, saltier edge. Start with 1 tablespoon and adjust.
- 1 tablespoon (15g) sweet Thai chili sauce – this adds sweetness and a gentle heat. Most sweet Thai chili sauces are vegan, but check the label.
- 1 tablespoon (21g) agave or maple syrup – optional, but it rounds out any bitterness in the peanut butter and balances the soy.
- Juice from 1 lime – non-negotiable. The acid is what makes the sauce bright and craveable rather than heavy and one-dimensional.
On the peanut sauce- Add warm water a tablespoon at a time to reach your desired consistency thicker for spreading on the roll, thinner for dipping. A splash of sriracha takes it to the next level if you want real heat.
Step-by-Step Instructions For Rice Paper Spring Rolls
Five stages. Here’s how to work through them smoothly.
Stage 1 – Cook the Noodles
Cook your rice vermicelli according to the package instructions usually just 3 minutes in boiling water. Drain immediately and rinse thoroughly with cold water to stop the cooking and prevent clumping. Toss gently with a tiny drizzle of sesame oil if you have it; this keeps the noodles loose and adds a subtle flavor note. Set aside in a bowl while you prep everything else.
Stage 2 – Prep All Your Fillings
Before you start rolling, have every filling component prepped and ready in front of you. This is the most important setup step in the entire recipe. Once a rice paper wrapper hits the water, the clock starts you have about 2–3 minutes to fill and roll before the paper gets too soft and starts tearing. A mise en place setup (all ingredients prepped and arranged within arm’s reach) makes the rolling process smooth and stress-free rather than frantic.
Line up the lettuce, noodles, cabbage, carrots, cucumber sticks, avocado slices, edamame, and cilantro all within easy reach of your rolling surface. Set your dampened cutting board or dish towel flat in front of you.
Stage 3 – Soak the Rice Paper
Fill your large shallow bowl with warm (not boiling) water. Take one rice paper wrapper and submerge it completely, holding it under for about 20–30 seconds until it turns from opaque and rigid to translucent and pliable. It should be soft but still hold its shape not completely limp.
Lift it carefully and lay it flat on your dampened rolling surface. Work quickly but calmly from this point. The paper continues to soften as it sits, so you want to fill and roll within about 60–90 seconds.
Stage 4 – Fill and Roll
Start building your layers in the lower third of the wrapper, leaving about an inch of space at the bottom edge and on the sides:
- Layer of butterhead lettuce this creates a base that protects the wrapper from tearing under the weight of the heavier vegetables
- Small nest of vermicelli noodles
- Shredded red cabbage and carrots
- Cucumber matchsticks
- A few avocado slices
- A pinch of edamame
- A few cilantro leaves on top
Keep the stack compact and not too high the temptation to overfill is real and I understand it completely, but an overfilled roll tears and won’t seal
Now roll: fold the right and left sides of the wrapper inward over the filling edges, then pull the bottom edge of the wrapper up and over the filling, tucking it firmly. Continue rolling upward away from you, applying even, gentle pressure as you go, until the roll is completely sealed. Place it seam side down on your serving platter.
Repeat for all remaining rolls. FYI your first one will be the ugliest. Your second will be better. By the fifth, you’ll feel like you’ve been doing this for years.
Stage 5 – Make the Peanut Sauce
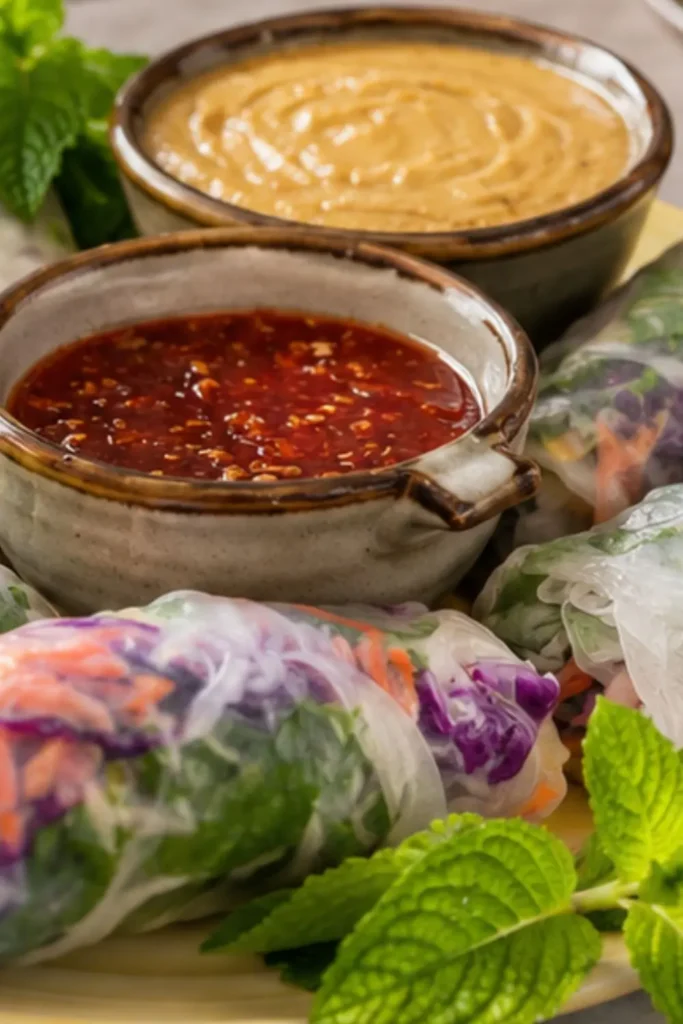
Whisk all the peanut sauce ingredients together in a bowl until completely smooth. Add warm water one tablespoon at a time until you reach a consistency you can dip into easily somewhere between thick yogurt and loose tahini is the sweet spot. Taste, adjust salt with more soy sauce, adjust heat with sriracha, adjust brightness with more lime. The sauce should taste bold, tangy, slightly sweet, and just spicy enough to make you want to keep dipping.
Full Nutrition Breakdown (Per Spring Roll)
| Nutrient | Amount |
| Calories | 198 kcal |
| Carbohydrates | 26.8g |
| Protein | 10g |
| Total Fat | 4.7g |
| Saturated Fat | 0.9g |
| Fiber | 3g |
| Sugar | 3.4g |
| Sodium | 17mg |
Only 17mg of sodium per roll that’s remarkably low for something this flavorful, which means the sodium in the dipping sauce is where most of the seasoning lives. This gives you total control over how much salt each person gets at the table, which is genuinely useful when you’re feeding guests with varying dietary needs.
Still Hungry, Try It Next recipe
Tips for Perfect Rice Paper Spring Rolls Every Time
These are the details that make the difference between beautiful rolls and frustrating ones:
- Warm water, not hot. Hot water over-softens the wrapper too quickly and makes it tear before you’ve finished rolling. Warm water gives you time to work.
- Don’t soak too long. 20–30 seconds is the window. A wrapper that feels still slightly firm when you lift it will continue softening on the rolling surface this is correct. A wrapper that’s already completely limp will tear immediately.
- Prep everything before you start rolling. Once the wrapper is soaked, you need to move. Having all fillings in front of you eliminates any scrambling.
- Don’t overfill. This is the most common mistake and the one that causes the most tears and frustration. A compact, modest filling rolls beautifully. A generous, heaped filling fights you the entire way.
- Keep your rolling surface damp. Re-dampen your cutting board or dish towel between every few rolls. A dry surface makes the wrapper stick and tear.
- Serve within 2 hours. Rice paper hardens as it dries out. Cover finished rolls loosely with a damp paper towel if you’re not serving immediately.
Filling Variations Worth Trying
These rolls are one of the most flexible recipes in the vegan appetizer world. Here’s where you can take them:
Mango and Tofu Version
Add thin strips of ripe mango alongside the avocado and swap edamame for pan-fried, lightly seasoned tofu strips. The mango brings a tropical sweetness that works beautifully with the peanut sauce.
Spicy Sriracha Tofu Version
Marinate pressed tofu cubes in sriracha, soy sauce, and garlic, then pan-fry until golden. Add to the rolls in place of edamame for a protein-forward, heat-packed version that people who love bold flavors will reach for repeatedly.
Rainbow Version
Maximize color by adding thinly sliced yellow bell pepper, purple radish, and fresh mint alongside the standard filling. The cross-section of a rainbow roll on the platter is genuinely stunning perfect for photos and parties.
Make-Ahead and Storage Tips
- Prep all fillings ahead- Every component stays fresh in individual airtight containers in the fridge for up to 24 hours before rolling.
- Make the peanut sauce ahead- It keeps covered in the fridge for up to 5 days and thickens as it sits just stir in a splash of warm water to loosen before serving.
- Store assembled rolls- Wrap each finished roll individually in plastic wrap to keep moisture in, then refrigerate for up to 24 hours. Remove 15 minutes before serving to take the chill off.
My Final Thoughts
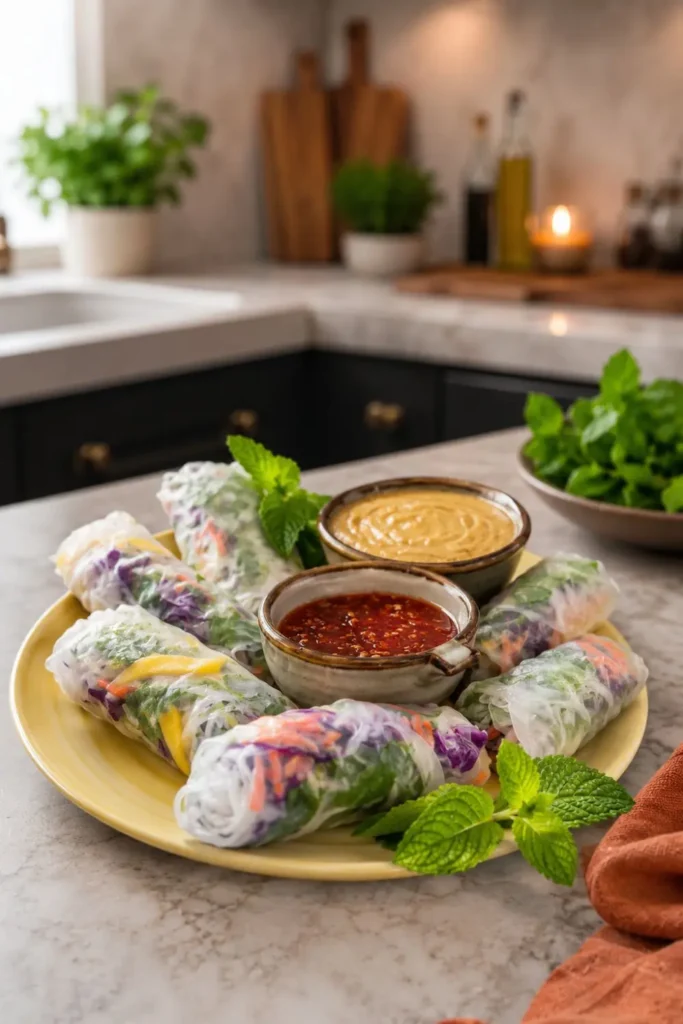
Rice Paper Spring Rolls reward the small effort you put into learning the rolling technique with one of the most beautiful, fresh, and genuinely satisfying plant-based appetizers you can make at home. Thirty minutes, no oven, completely vegan, visually stunning, and served with a peanut sauce that people will ask you for the recipe on immediately.
Make a batch for your next gathering. Set up a rolling station and let guests make their own it’s a genuinely fun group activity that produces something everyone actually wants to eat. And once you’ve got the rolling technique down, you’ll find yourself making these not just for parties but for any day when you want something that looks like it took effort and actually didn’t.
Rice Paper Spring Rolls
Ingredients
Equipment
Method
- Stage 1 – Cook the Noodles
- Cook your rice vermicelli according to the package instructions usually just 3 minutes in boiling water. Drain immediately and rinse thoroughly with cold water to stop the cooking and prevent clumping. Toss gently with a tiny drizzle of sesame oil if you have it; this keeps the noodles loose and adds a subtle flavor note. Set aside in a bowl while you prep everything else.
- Stage 2 – Prep All Your Fillings
- Before you start rolling, have every filling component prepped and ready in front of you. This is the most important setup step in the entire recipe. Once a rice paper wrapper hits the water, the clock starts you have about 2–3 minutes to fill and roll before the paper gets too soft and starts tearing. A mise en place setup (all ingredients prepped and arranged within arm’s reach) makes the rolling process smooth and stress-free rather than frantic.
- Line up the lettuce, noodles, cabbage, carrots, cucumber sticks, avocado slices, edamame, and cilantro all within easy reach of your rolling surface. Set your dampened cutting board or dish towel flat in front of you.
- Stage 3 – Soak the Rice Paper
- Fill your large shallow bowl with warm (not boiling) water. Take one rice paper wrapper and submerge it completely, holding it under for about 20–30 seconds until it turns from opaque and rigid to translucent and pliable. It should be soft but still hold its shape not completely limp.
- Lift it carefully and lay it flat on your dampened rolling surface. Work quickly but calmly from this point. The paper continues to soften as it sits, so you want to fill and roll within about 60–90 seconds.
- Stage 4 – Fill and Roll
- Start building your layers in the lower third of the wrapper, leaving about an inch of space at the bottom edge and on the sides:
- Layer of butterhead lettuce this creates a base that protects the wrapper from tearing under the weight of the heavier vegetables
- Small nest of vermicelli noodles
- Shredded red cabbage and carrots
- Cucumber matchsticks
- A few avocado slices
- A pinch of edamame
- A few cilantro leaves on top
- Keep the stack compact and not too high the temptation to overfill is real and I understand it completely, but an overfilled roll tears and won’t seal
- Now roll: fold the right and left sides of the wrapper inward over the filling edges, then pull the bottom edge of the wrapper up and over the filling, tucking it firmly. Continue rolling upward away from you, applying even, gentle pressure as you go, until the roll is completely sealed. Place it seam side down on your serving platter.
- Repeat for all remaining rolls. FYI your first one will be the ugliest. Your second will be better. By the fifth, you’ll feel like you’ve been doing this for years.
- Stage 5 – Make the Peanut Sauce
- Whisk all the peanut sauce ingredients together in a bowl until completely smooth. Add warm water one tablespoon at a time until you reach a consistency you can dip into easily somewhere between thick yogurt and loose tahini is the sweet spot. Taste, adjust salt with more soy sauce, adjust heat with sriracha, adjust brightness with more lime. The sauce should taste bold, tangy, slightly sweet, and just spicy enough to make you want to keep dipping.
Notes
Full Nutrition Breakdown (Per Spring Roll)
| Nutrient | Amount |
| Calories | 198 kcal |
| Carbohydrates | 26.8g |
| Protein | 10g |
| Total Fat | 4.7g |
| Saturated Fat | 0.9g |
| Fiber | 3g |
| Sugar | 3.4g |
| Sodium | 17mg |

Hi — I’m Rachel. I’m a wife, a mom, and a home cook who believes that food should bring comfort, joy, and compassion to the table. I live with my family — two hungry little foodies who are my most honest recipe testers — and together we’ve built a kitchen culture that’s all about good food that happens to be 100% vegan. I started this blog because I wanted a place to share the recipes that keep our days moving, the dishes that make weeknights feel a little easier, and the meals that become our little family traditions.