
Want a frozen dessert that looks like it took a professional pastry chef to make, but actually just needs a loaf pan and some patience? This Skinny Vegan Mixed Berry Icebox Cake delivers gorgeous layered color and genuinely creamy texture without a single minute of oven time.
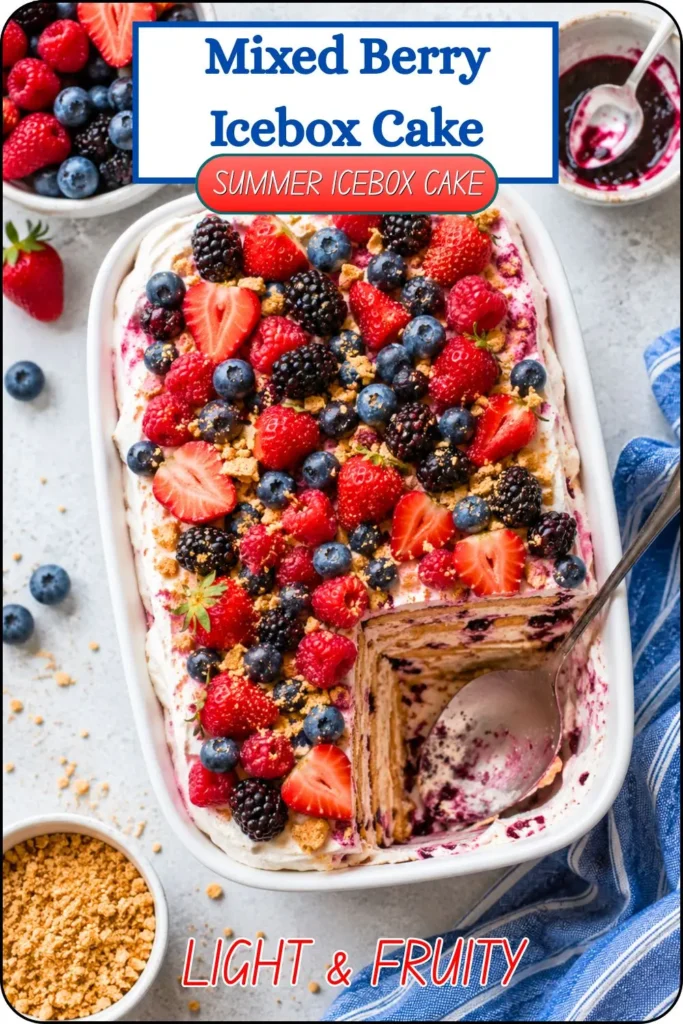
I started making this after seeing one too many gorgeous layered ice cream cakes online and assuming they required some kind of special technique. Turns out it’s just smart layering and a lot of freezer patience. Now this is the dessert I make when I want something that looks impressive but genuinely doesn’t require much active effort.
This isn’t a complicated baking project. It’s a straightforward layering process that lets your freezer do most of the actual work. Let’s break down exactly how to build it.
Why This Icebox Cake Deserves a Spot in Your Freezer
Dessert recipes don’t always need to be complicated to look genuinely impressive, and this mixed berry icebox cake proves that point beautifully. Layers of raspberry, vanilla, and blueberry come together for a stunning, genuinely delicious take on no-bake berry delights.
Here’s what makes this recipe worth the freezer time:
- Zero baking required-your freezer does all the heavy lifting
- Gorgeous layered presentation-looks far more impressive than the effort involved
- Naturally dairy-free-vegan vanilla ice cream keeps this fully plant-based
- Make-ahead friendly-perfect for prepping a day before a gathering
- Feeds a crowd-8 slices means plenty to share
Ever made a dessert that got way more compliments than the actual effort deserved? That’s this one. IMO, the layered look does most of the “wow factor” work here, and nobody needs to know how simple the process actually was.
Your Recipe Timing and Serving Details
Here’s the quick breakdown before you start layering:
- Prep Time- 20 minutes
- Cooking Time- 0 minutes
- Resting Time- 5 hours (freezing between layers)
- Total Time- 5 hours 20 minutes
- Servings- 8 slices
- Calories- 303 kcal per slice
Most of that 5-hour total is hands-off freezer time between layers, not active work—this recipe makes 8 slices, perfect for a small gathering or a dessert that lasts through the week. Plan ahead since each layer needs its own freezing time before the next one goes on.
Equipment You’ll Need For Skinny Vegan Mixed Berry Icebox Cake
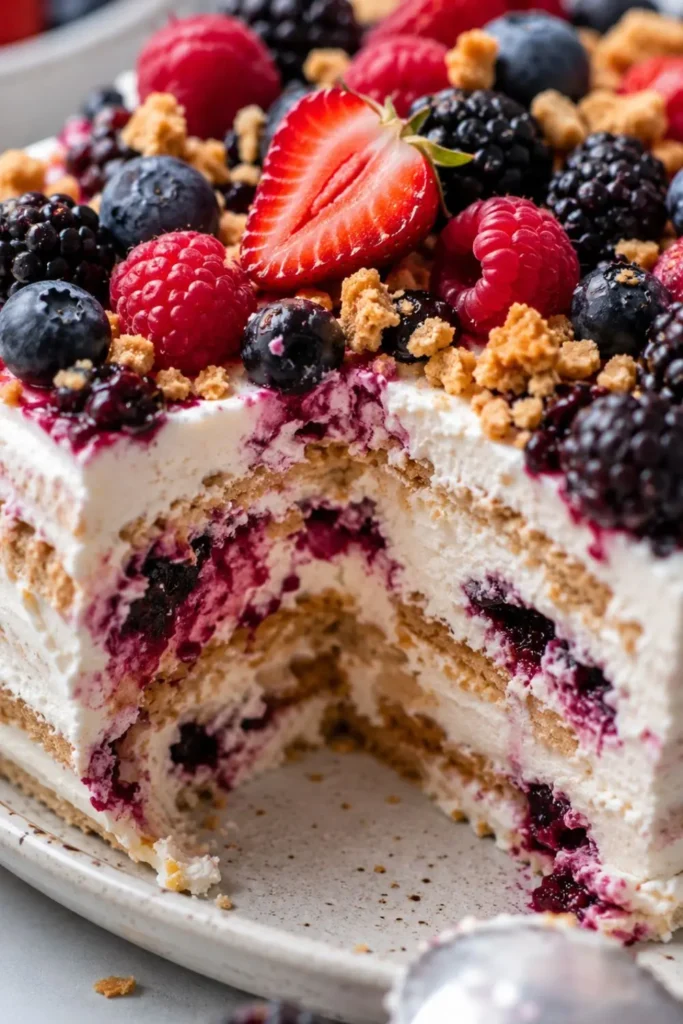
This recipe keeps things simple, relying mostly on your freezer instead of fancy tools. Here’s what to have ready:
- Loaf pan (for building and freezing the layered cake)
- Parchment paper (lines the pan and makes removing the cake so much easier)
- Food processor (for blending the raspberry and blueberry layers smooth)
- Spatula (for smoothing each layer evenly)
- Sharp knife (for slicing once the cake is fully frozen)
No oven, no stand mixer, nothing complicated. A food processor and your freezer handle nearly the entire process.
Ingredients Breakdown
This recipe comes together from a handful of ingredients, layered strategically for maximum visual and flavor impact. Here’s exactly what you need.
For the Ice Cream Cake
- 1/2 cup fresh or frozen raspberries
- 1/2 cup fresh or frozen blueberries
- Zest and juice of 1 lemon (optional, but adds nice brightness)
- 4 1/4 cups softened vegan vanilla ice cream
- 1/2 cup raspberry preserves
To Decorate
- 1/2 cup mixed fresh raspberries and blueberries
Short ingredient list, big visual payoff. FYI, letting the ice cream soften properly before blending makes a genuine difference in how smoothly each layer comes together.
How to Make Skinny Vegan Mixed Berry Icebox Cake
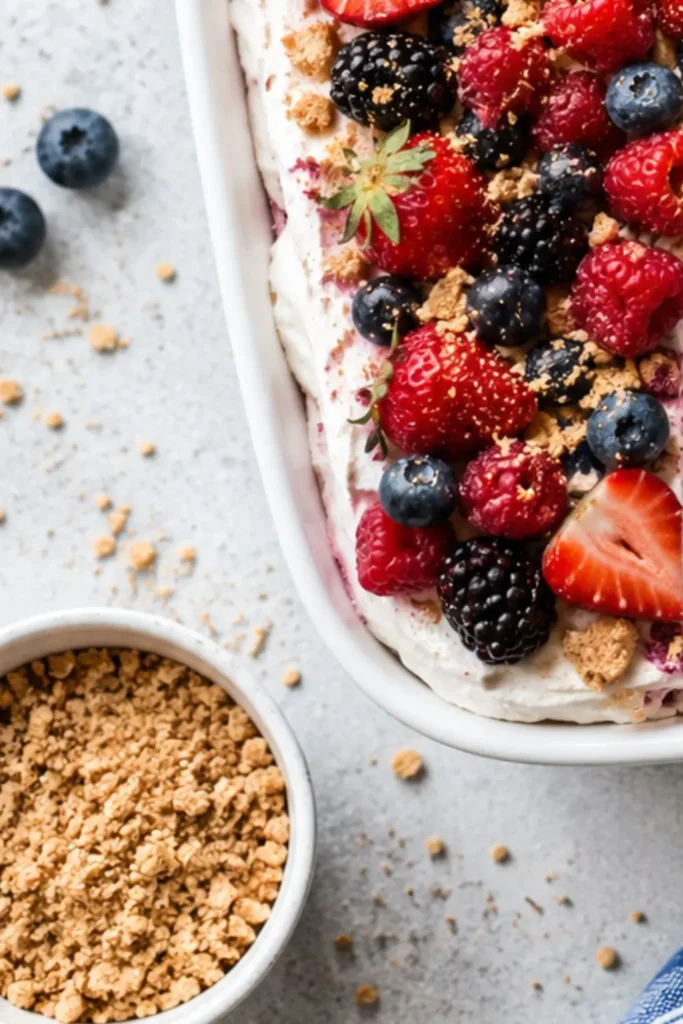
Ready to start layering? Here’s exactly how this comes together.
Step 1- Build the Raspberry Layer
In a food processor, blend the raspberries with half the lemon zest and juice until smooth. Add 1 3/4 cups of the softened vanilla ice cream and pulse until combined. Spread this mixture evenly in the parchment-lined loaf pan and smooth the top with a spatula, then spread half the raspberry preserves over the layer. Freeze for 1 hour until set.
Step 2- Add the Vanilla Layer
Spread 3/4 cup of softened vanilla ice cream over the raspberry layer. Smooth the surface, then spread the remaining raspberry preserves on top. Freeze for another 1 hour until set.
Step 3- Build the Blueberry Layer
Blend the blueberries with the remaining lemon zest and juice in the food processor until smooth. Add the remaining 1 3/4 cups of softened vanilla ice cream and pulse until combined. Spread this mixture evenly over the vanilla layer and smooth the top, then freeze for at least 2 hours until fully set.
Step 4- Unmold and Serve
Remove the cake from the loaf pan by lifting the parchment paper. If it sticks, run warm water over the outside of the pan to loosen it. Slice with a sharp knife and top with fresh berries before serving immediately.
Serving Ideas for This Cake
This layered dessert works beautifully in a variety of settings. Here’s how I like to serve it:
- Dinner party centerpiece– slice and plate individually for an impressive presentation
- Topped with extra berries– pile on more fresh fruit for added color and freshness
- Paired with a berry sauce– drizzle with a quick berry compote for extra sweetness
- Summer barbecue dessert– serve alongside lighter fare as a refreshing finish
- Make-ahead party prep– freeze the whole cake a day ahead, then slice right before guests arrive
Ever wondered why layering matters so much in a dessert like this? Each layer needs to fully set before the next one goes on, otherwise the colors and flavors bleed into each other instead of staying distinct and beautiful when sliced.
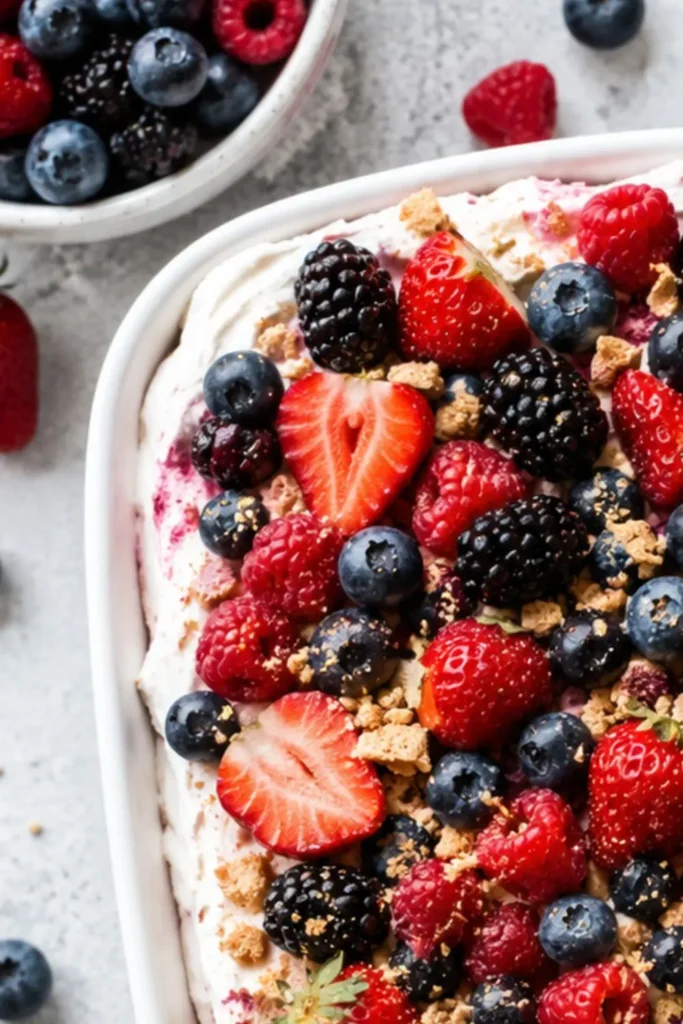
Tips for Getting This Cake Right
A few things I’ve picked up from making this more times than I can count:
- Let the ice cream soften properly before blending. Rock-hard ice cream doesn’t blend smoothly and can strain your food processor.
- Don’t skip the freezing time between layers. Rushing this step means the layers blend into each other instead of staying distinct.
- Line the pan with plenty of parchment paper overhang. This makes lifting the finished cake out so much easier.
- Run warm water on the outside of the pan if it sticks. Just a few seconds usually does the trick without melting the cake itself.
I once tried rushing the freezing time between layers because I was excited to finish the cake. The raspberry and vanilla layers ended up bleeding into each other slightly instead of staying crisp and distinct :/ Patience genuinely pays off with layered desserts like this.
Nutrition Breakdown (Per Slice)
Here’s exactly what you’re getting per slice, based on 8 total slices from this recipe:
- Calories- 303 kcal
- Carbohydrates- 45g
- Protein- 5g
- Fat- 14g
- Saturated Fat- 8g
- Sodium- 101mg
- Potassium- 306mg
- Fiber- 3g
- Sugar- 37g
- Vitamin A- 541 IU
- Vitamin C- 11mg
- Calcium- 169mg
- Iron- 1mg
This dessert genuinely earns its “skinny” name compared to more indulgent layered cakes, coming in at 303 calories per slice while still delivering that rich, creamy ice cream cake experience.
Still Hungry, Try It Next recipe
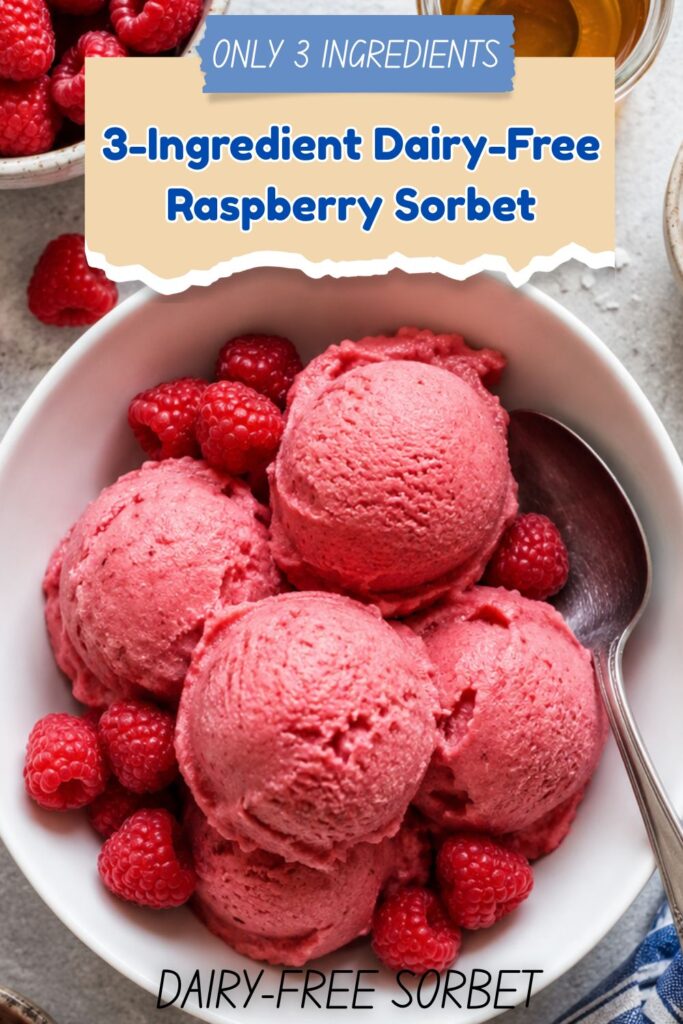
3-Ingredient Dairy-Free Raspberry Sorbet
Storage and Make-Ahead Tips
This cake keeps well in the freezer for up to 1 week, tightly wrapped in plastic wrap or stored in an airtight container. Since this is a make-ahead dessert by nature, prepping it a day or two before a gathering actually works in your favor.
If you’re slicing individual portions ahead of time, wrap each slice separately in plastic wrap for easy grab-and-go servings throughout the week.
Common Questions About This Cake
Can I use a different berry instead of raspberries or blueberries? Yes, strawberries or blackberries both work well using the same blending and layering method.
What if I don’t have raspberry preserves? Any berry preserve or jam works as a substitute, though the flavor will shift slightly depending on which one you choose.
Can I make this in a different pan shape? Yes, a small square or round pan works too, though a loaf pan gives you those classic clean, rectangular slices.
Do I need to let the cake sit out before slicing? A few minutes at room temperature makes slicing easier, especially if the cake has been in the freezer for several days.
My Final Thoughts
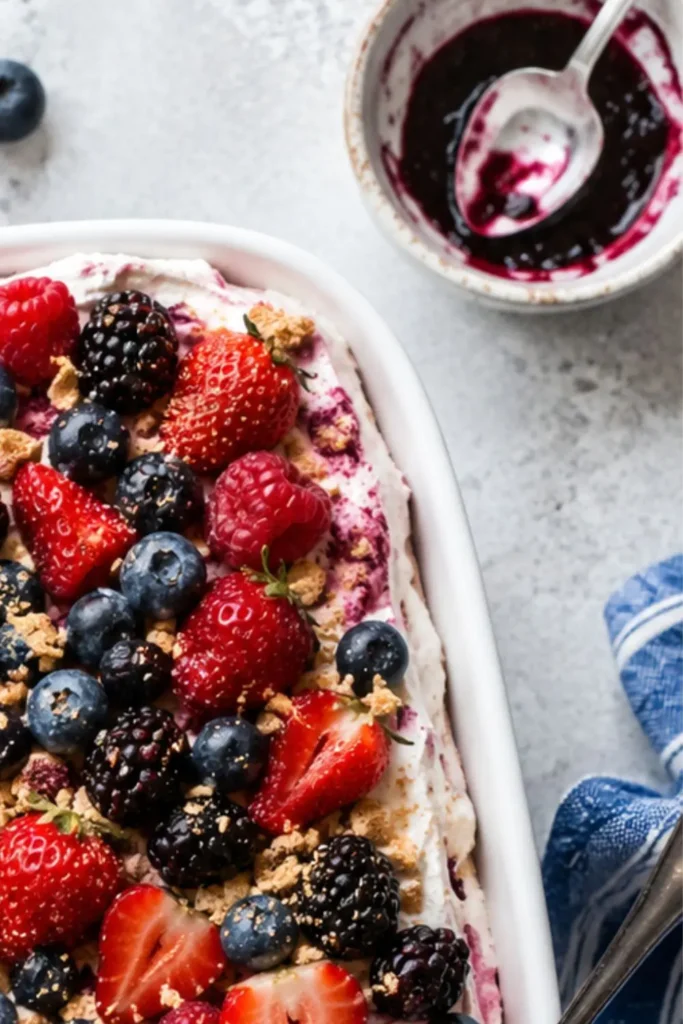
This Skinny Vegan Mixed Berry Icebox Cake proves that a genuinely stunning dessert doesn’t need an oven or complicated techniques. Layers of raspberry, vanilla, and blueberry come together for a treat that looks impressive and tastes even better.
Make this once, and it’s likely earning a permanent spot in your summer dessert rotation. Whether you serve it at a gathering or keep it in the freezer for yourself, this cake delivers real, colorful flavor every single time. Grab that loaf pan your next favorite frozen dessert is just a few layers away.
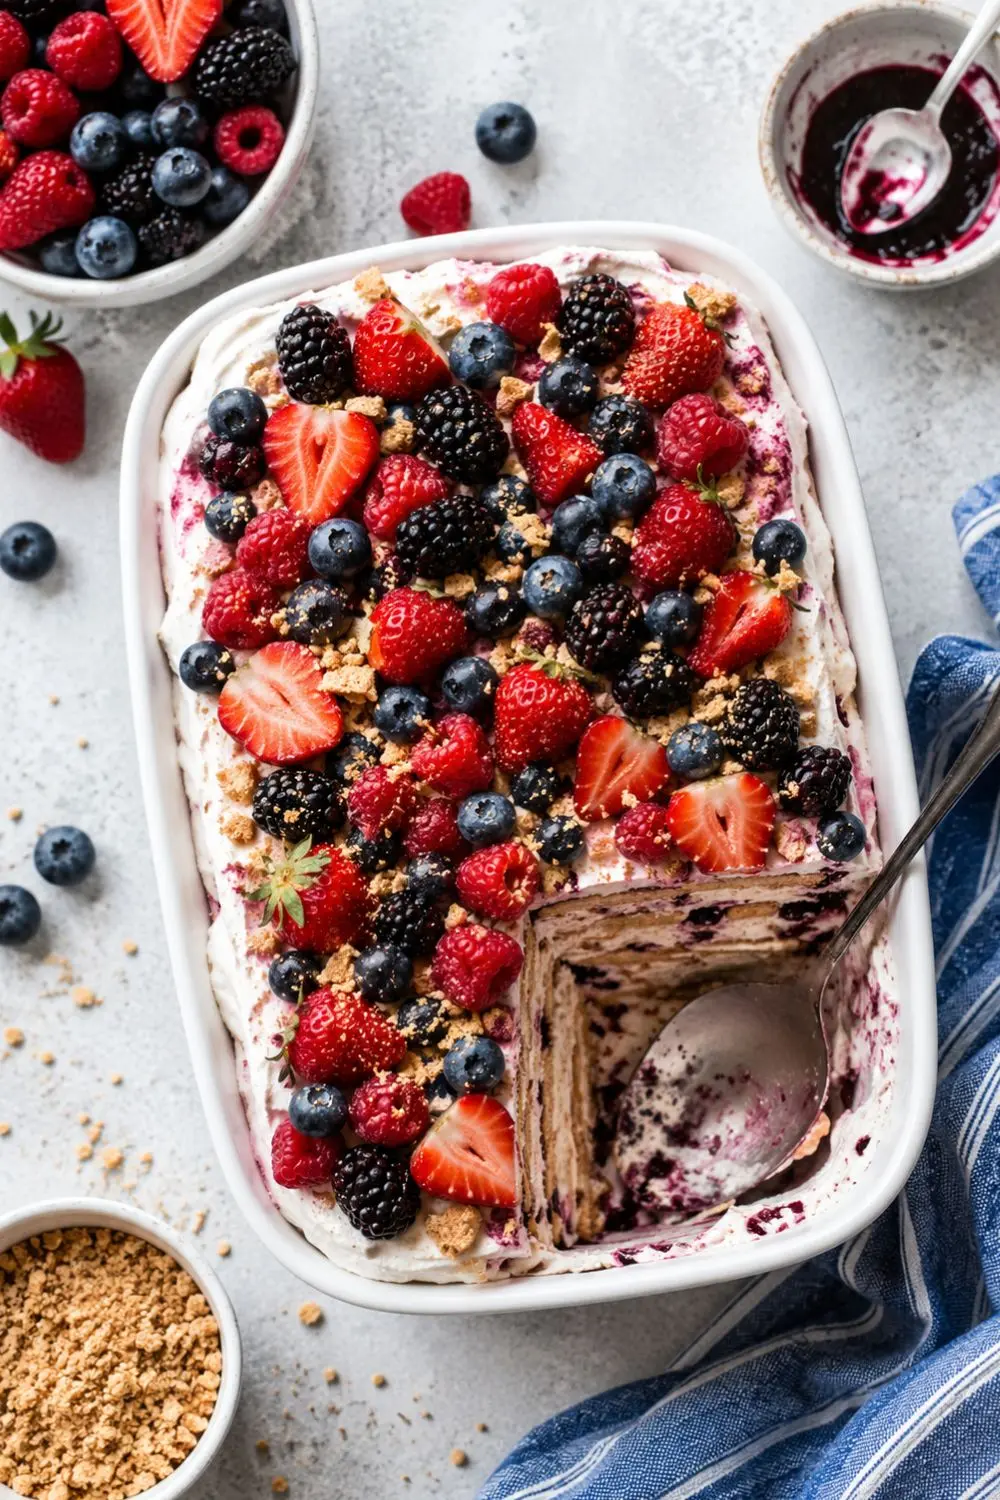
Skinny Vegan Mixed Berry Icebox Cake No-Bake Berry Delights
Ingredients
Equipment
Method
- Step 1- Build the Raspberry Layer
- In a food processor, blend the raspberries with half the lemon zest and juice until smooth. Add 1 3/4 cups of the softened vanilla ice cream and pulse until combined. Spread this mixture evenly in the parchment-lined loaf pan and smooth the top with a spatula, then spread half the raspberry preserves over the layer. Freeze for 1 hour until set.
- Step 2- Add the Vanilla Layer
- Spread 3/4 cup of softened vanilla ice cream over the raspberry layer. Smooth the surface, then spread the remaining raspberry preserves on top. Freeze for another 1 hour until set.
- Step 3- Build the Blueberry Layer
- Blend the blueberries with the remaining lemon zest and juice in the food processor until smooth. Add the remaining 1 3/4 cups of softened vanilla ice cream and pulse until combined. Spread this mixture evenly over the vanilla layer and smooth the top, then freeze for at least 2 hours until fully set.
- Step 4- Unmold and Serve
- Remove the cake from the loaf pan by lifting the parchment paper. If it sticks, run warm water over the outside of the pan to loosen it. Slice with a sharp knife and top with fresh berries before serving immediately.
Notes
Nutrition Breakdown (Per Slice)
Here’s exactly what you’re getting per slice, based on 8 total slices from this recipe:- Calories- 303 kcal
- Carbohydrates- 45g
- Protein- 5g
- Fat- 14g
- Saturated Fat- 8g
- Sodium- 101mg
- Potassium- 306mg
- Fiber- 3g
- Sugar- 37g
- Vitamin A- 541 IU
- Vitamin C- 11mg
- Calcium- 169mg
- Iron- 1mg

Hi — I’m Rachel. I’m a wife, a mom, and a home cook who believes that food should bring comfort, joy, and compassion to the table. I live with my family — two hungry little foodies who are my most honest recipe testers — and together we’ve built a kitchen culture that’s all about good food that happens to be 100% vegan. I started this blog because I wanted a place to share the recipes that keep our days moving, the dishes that make weeknights feel a little easier, and the meals that become our little family traditions.