Go Back
Skinny Vegan Mixed Berry Icebox Cake

Skinny Vegan Mixed Berry Icebox Cake No-Bake Berry Delights

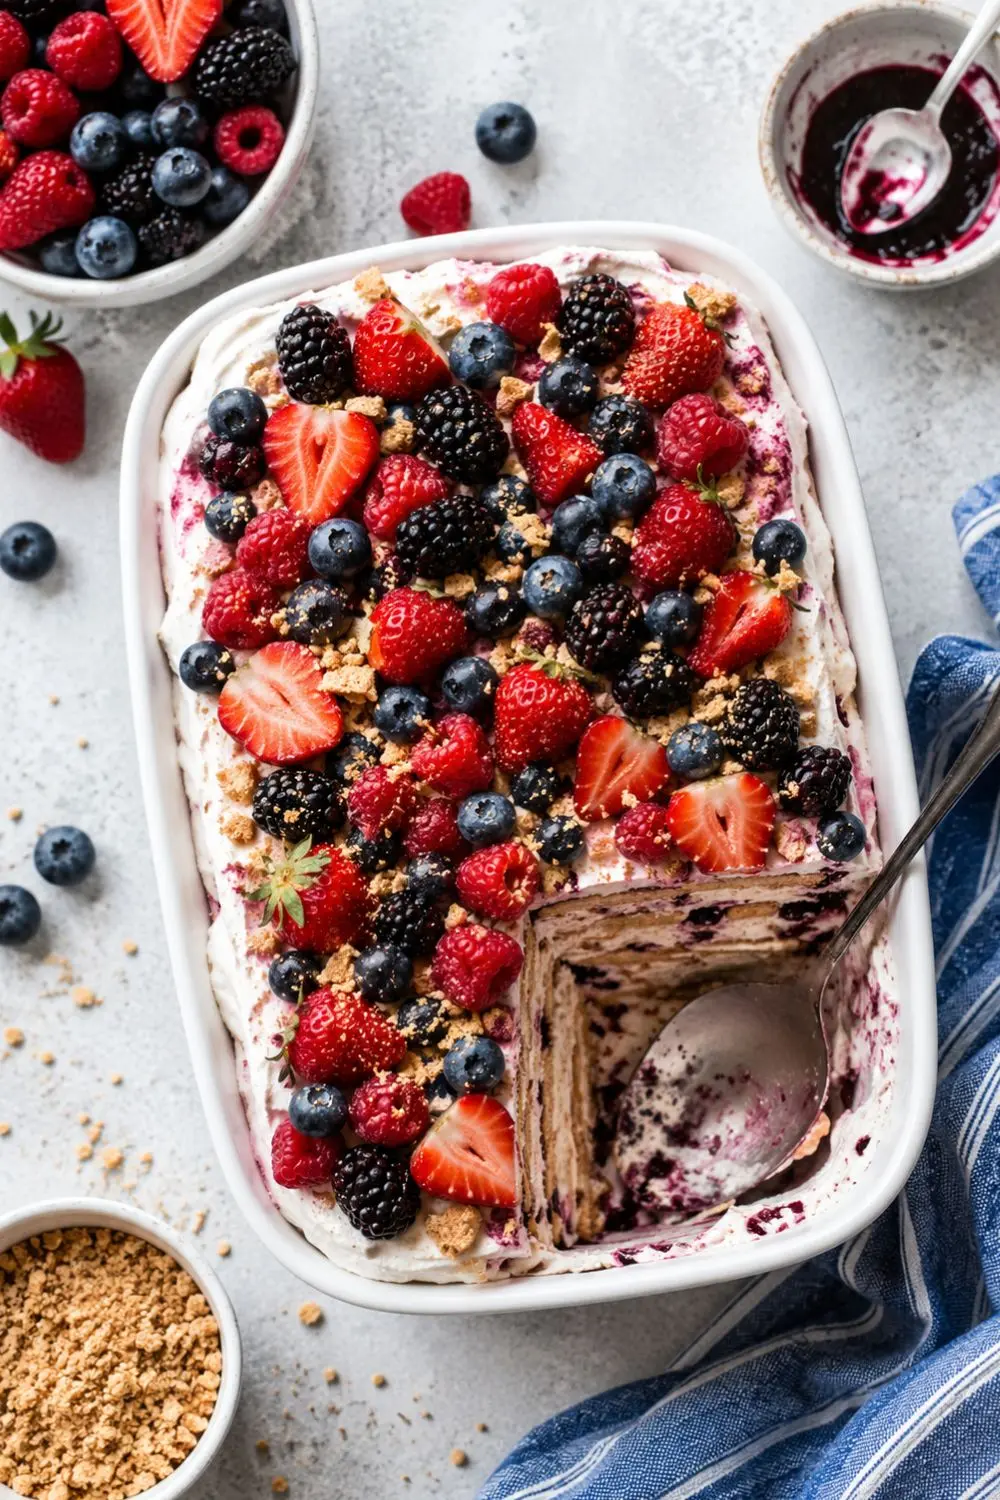
Want a frozen dessert that looks like it took a professional pastry chef to make, but actually just needs a loaf pan and some patience? This Skinny Vegan Mixed Berry Icebox Cake delivers gorgeous layered color and genuinely creamy texture without a single minute of oven time.
Prep Time 20 minutes
Resting Time- 5 hours (freezing between layers) 5 hours
Total Time 5 hours 20 minutes
Servings: 8
Course: Dessert, Gluten-free, summer desserts
Cuisine: American
Calories: 303

Ingredients
  

  • This recipe comes together from a handful of ingredients layered strategically for maximum visual and flavor impact. Here's exactly what you need.
  • For the Ice Cream Cake
  • 1/2 cup fresh or frozen raspberries
  • 1/2 cup fresh or frozen blueberries
  • Zest and juice of 1 lemon optional, but adds nice brightness
  • 4 1/4 cups softened vegan vanilla ice cream
  • 1/2 cup raspberry preserves
  • To Decorate
  • 1/2 cup mixed fresh raspberries and blueberries
  • Short ingredient list big visual payoff. FYI, letting the ice cream soften properly before blending makes a genuine difference in how smoothly each layer comes together.

Equipment

  • This recipe keeps things simple, relying mostly on your freezer instead of fancy tools. Here's what to have ready:
  • Loaf pan (for building and freezing the layered cake)
  • Parchment paper (lines the pan and makes removing the cake so much easier)
  • Food processor (for blending the raspberry and blueberry layers smooth)
  • Spatula (for smoothing each layer evenly)
  • Sharp knife (for slicing once the cake is fully frozen)
  • No oven, no stand mixer, nothing complicated. A food processor and your freezer handle nearly the entire process.

Method
 

  1. Step 1- Build the Raspberry Layer
  2. In a food processor, blend the raspberries with half the lemon zest and juice until smooth. Add 1 3/4 cups of the softened vanilla ice cream and pulse until combined. Spread this mixture evenly in the parchment-lined loaf pan and smooth the top with a spatula, then spread half the raspberry preserves over the layer. Freeze for 1 hour until set.
  3. Step 2- Add the Vanilla Layer
  4. Spread 3/4 cup of softened vanilla ice cream over the raspberry layer. Smooth the surface, then spread the remaining raspberry preserves on top. Freeze for another 1 hour until set.
  5. Step 3- Build the Blueberry Layer
  6. Blend the blueberries with the remaining lemon zest and juice in the food processor until smooth. Add the remaining 1 3/4 cups of softened vanilla ice cream and pulse until combined. Spread this mixture evenly over the vanilla layer and smooth the top, then freeze for at least 2 hours until fully set.
  7. Step 4- Unmold and Serve
  8. Remove the cake from the loaf pan by lifting the parchment paper. If it sticks, run warm water over the outside of the pan to loosen it. Slice with a sharp knife and top with fresh berries before serving immediately.
Notes

Nutrition Breakdown (Per Slice)

Here's exactly what you're getting per slice, based on 8 total slices from this recipe:
  • Calories- 303 kcal
  • Carbohydrates- 45g
  • Protein- 5g
  • Fat- 14g
  • Saturated Fat- 8g
  • Sodium- 101mg
  • Potassium- 306mg
  • Fiber- 3g
  • Sugar- 37g
  • Vitamin A- 541 IU
  • Vitamin C- 11mg
  • Calcium- 169mg
  • Iron- 1mg