
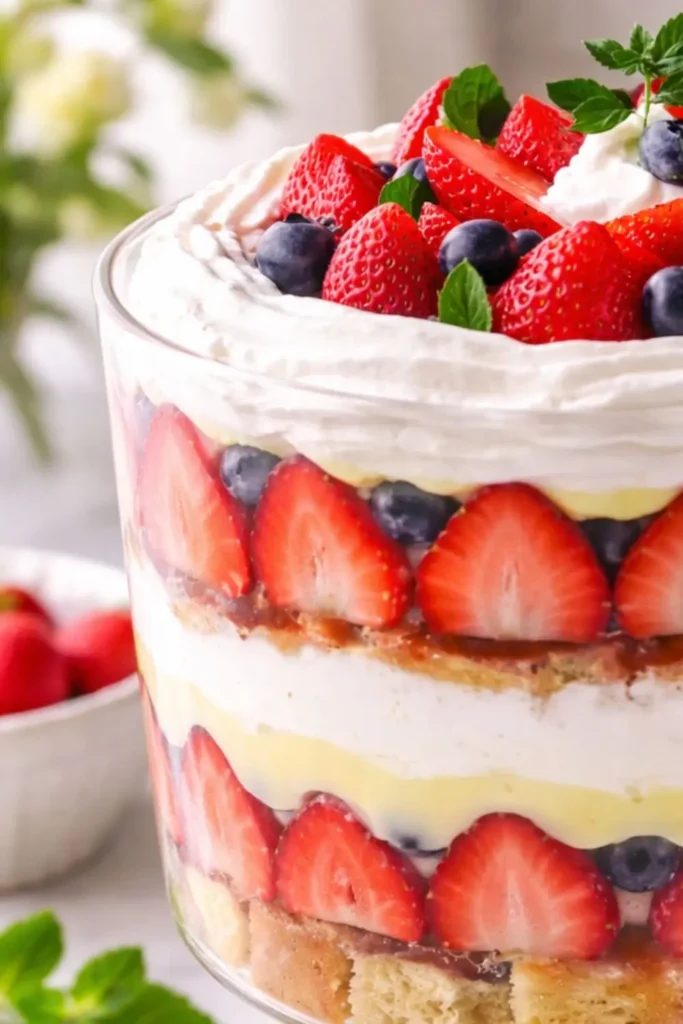
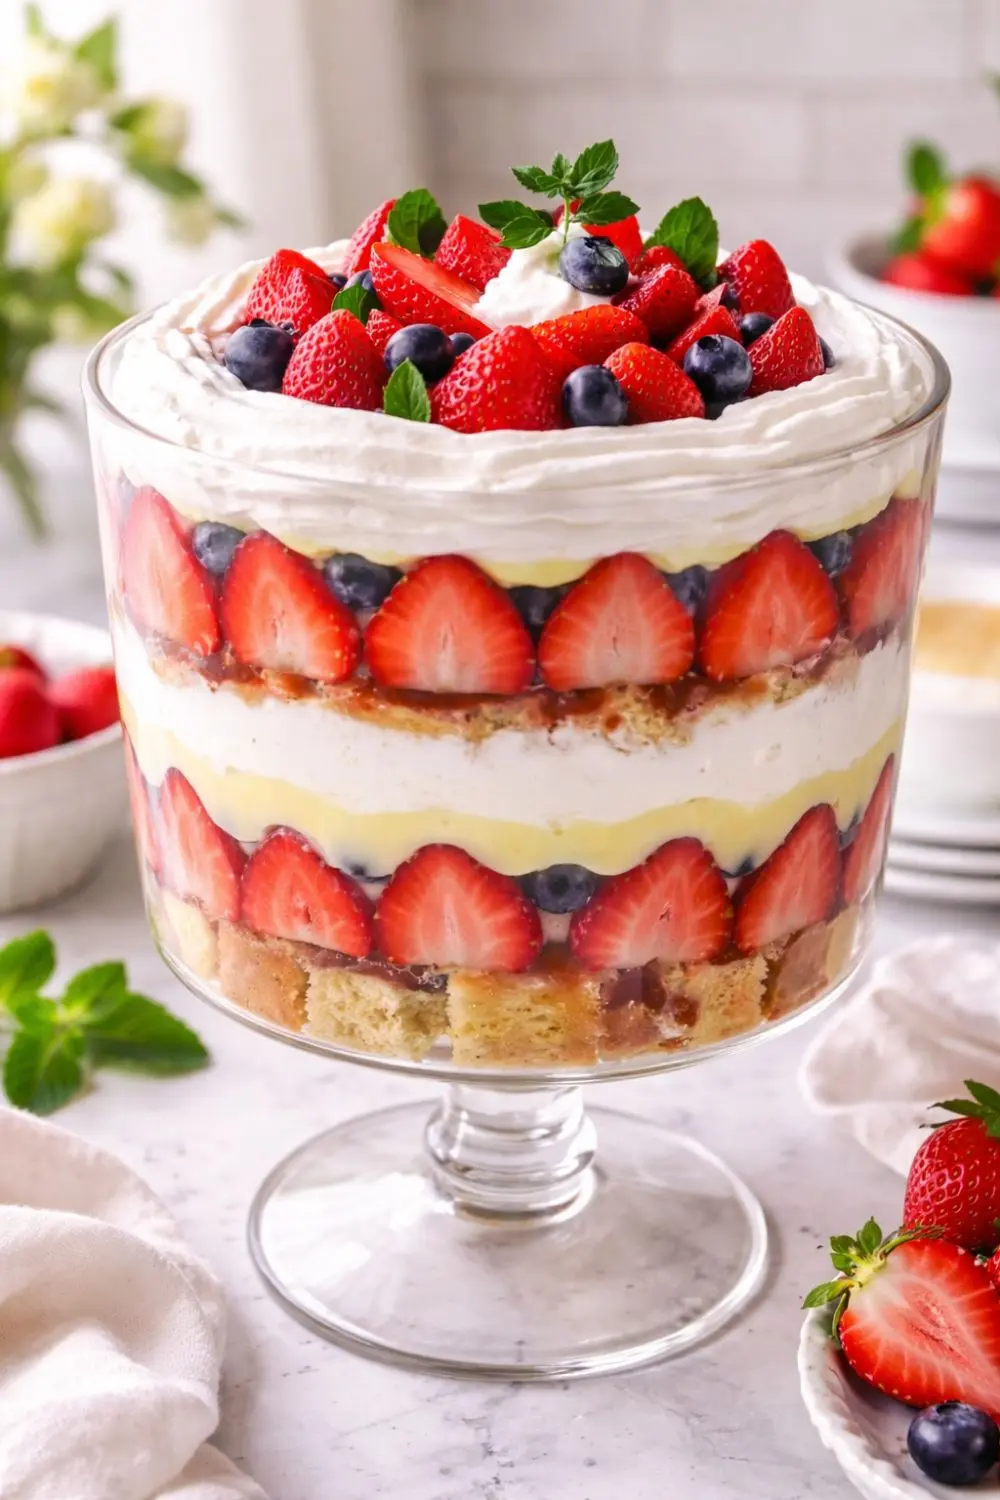
A Trifle / Layered Dessert in a clear glass bowl is genuinely one of the most visually impressive desserts you can bring to a 4th of July gathering alternating layers of vanilla cake cubes, silky vegan custard, fresh strawberries and blueberries, and fluffy coconut aquafaba whipped topping visible through the glass sides, creating a dessert that looks professionally constructed even when made entirely at home with plant-based ingredients. This One-Bowl Vegan Strawberry Shortcake Trifle serves 12 people at 678 calories each and takes some planning but the planning specifically happens over two days, spreading the actual work into very manageable sessions that keep any individual stage from feeling overwhelming.
I started making vegan trifles for 4th of July gatherings when I wanted something that looked dramatic and celebratory without requiring decorator-level skills. The trifle format is perfect: every layer is visible through the glass, which means the colors do the decorative work for you. Red strawberry, white custard and whipped topping, blue blueberry the 4th of July color scheme happens naturally from the ingredients. No piping, no decorating, no artistic skill required.
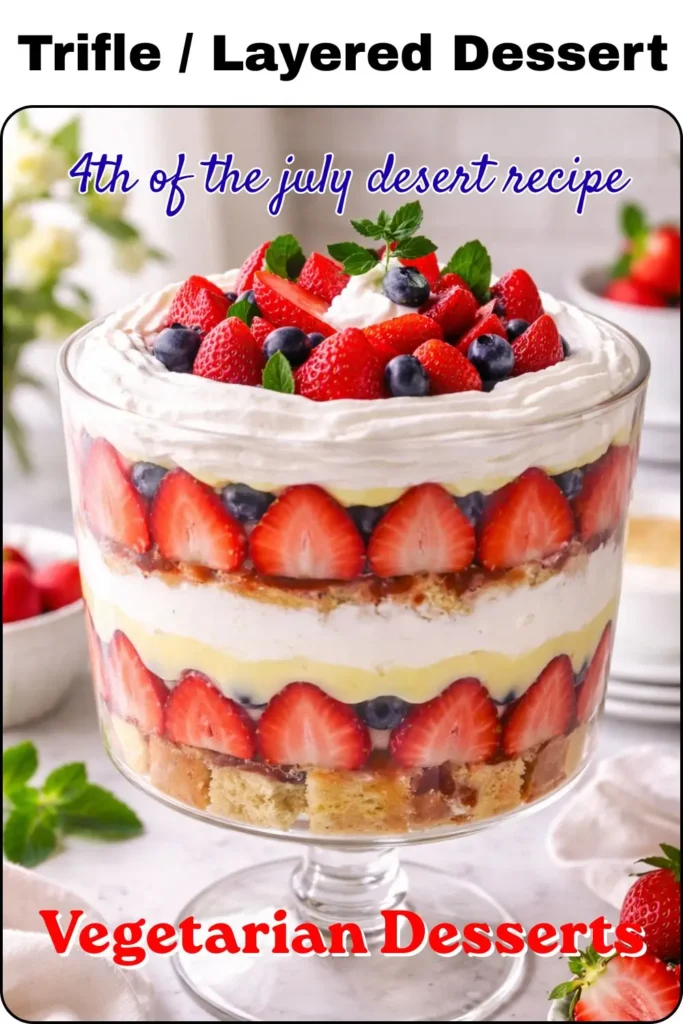
My Recipe Timing and Serving Details
| Detail | Info |
| Cake Prep + Bake | ~50 minutes |
| Custard Prep | ~20 minutes |
| Whipped Topping Prep | ~15 minutes |
| Total Chill Time | 4 hours minimum (components) |
| Assembly Time | ~20 minutes |
| Total Time | ~5 hours 30 minutes (spread over 1–2 days) |
| Servings | 12 |
| Calories Per Serving | 678 kcal |
| Course | Dessert / Party Food |
| Diet | 100% Vegan |
This trifle serves 12 people as a generous, celebration-worthy dessert portion. At 678 calories per serving reflecting the substantial custard, coconut whipped topping, and cake layers this is specifically a celebration-calibrated dessert. The recipe’s own recommendation: make all three components 1–2 days before the event and assemble on the party day. This is genuinely the most practical approach and produces better results than same-day preparation.
Why This Trifle Has Three Separate Components And Why Each Matters
A proper Trifle / Layered Dessert isn’t just fruit and cream in a bowl it’s a specific layered experience where each component contributes something irreplaceable:
The Vanilla Cake provides structure and absorbency. Trifle cake isn’t supposed to stay fluffy and cake-like it’s supposed to absorb surrounding custard and become something between bread pudding and cake in texture. This transformation is specifically what makes trifle satisfying in a way that just cream and fruit never achieves. The flaxseed egg replacement in this vegan version creates a dense, sturdy cake that absorbs custard beautifully without falling apart completely.
The Vegan Custard is the element that makes this a proper trifle rather than just a parfait. Thick, silky, slightly sweet, and gently vanilla-flavored, the custard soaks into the cake and creates the characteristic richness that defines trifle. The coconut milk and non-dairy milk combination produces a custard that’s genuinely creamy without any dairy. The optional turmeric or food coloring gives it the traditional yellow appearance.
The Coconut Aquafaba Whipped Topping is the most technically impressive component and the most uniquely vegan. Whipped coconut cream folded with aquafaba beaten to soft peaks creates something lighter, fluffier, and more stable than coconut cream alone. This is IMO one of the most elegant applications of aquafaba in vegan cooking using chickpea liquid to replicate the airy quality of egg-white-based whipped cream.
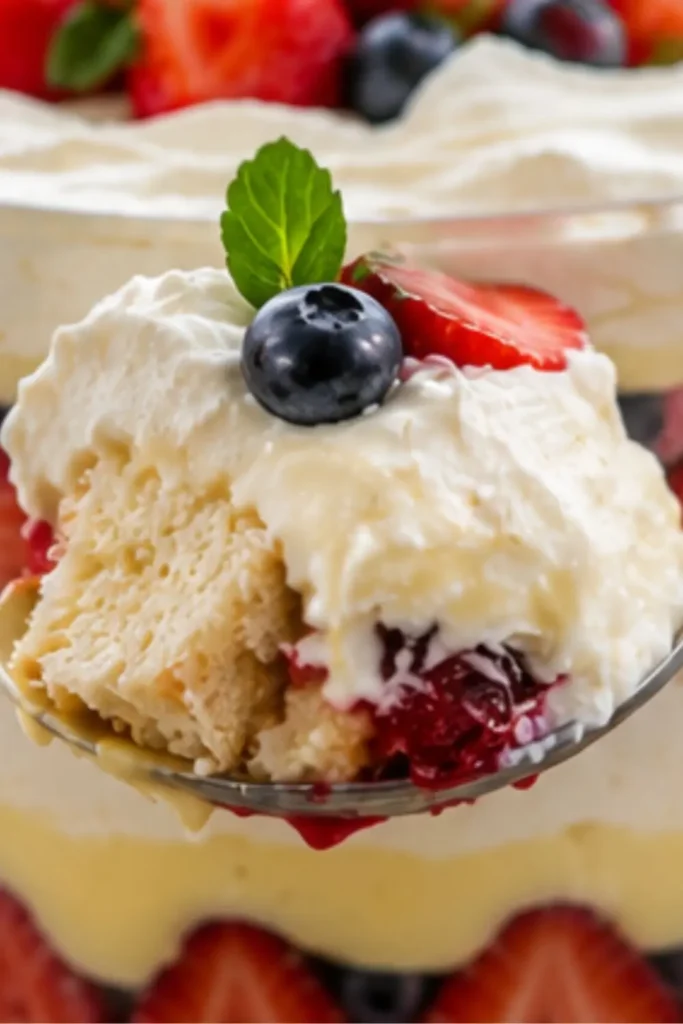
Full Ingredient List All Three Components
For the Vanilla Cake:
- 1 cup unflavored, unsweetened non-dairy milk, divided
- 2 tablespoons ground flaxseed
- 3 cups all-purpose flour
- 2 teaspoons baking powder
- ¾ teaspoon salt
- ⅔ cup vegetable oil
- 2 teaspoons vanilla extract
- ½ teaspoon almond extract (optional)
- 1½ cups organic granulated sugar
For the Vegan Custard:
- 1 cup unsweetened non-dairy milk, chilled
- ⅓ cup cornstarch
- 1 cup full-fat coconut milk
- ⅔ cup organic granulated sugar
- 1 tablespoon vegan butter
- 2 teaspoons vanilla extract
- Pinch turmeric or yellow food color (optional)
For the Coconut Aquafaba Whipped Topping:
- 2 cans (13.5 oz each) coconut cream, chilled overnight
- ½ cup organic powdered sugar
- ½ cup aquafaba (liquid from a can of chickpeas)
- ¼ teaspoon cream of tartar
For Assembly:
- 1 pound fresh strawberries – cleaned, hulled, and halved
- 2 cups fresh blueberries – cleaned
The overnight chilling of the coconut cream cans is specifically non-negotiable for the whipped topping. Coconut cream separates when chilled the solid fat rises to the top and the liquid settles below. You use only the solid portion for whipping. Coconut cream that hasn’t been chilled overnight hasn’t separated adequately and produces a loose, watery whipped cream that won’t hold its structure in the trifle.
The chilled non-dairy milk for the custard is specifically cold to prevent the cornstarch from clumping when whisked cornstarch dissolves more smoothly in cold liquid than warm liquid before the cooking process begins.
FYI the cream of tartar in the aquafaba component is specifically included to stabilize the foam. Cream of tartar lowers the pH of the aquafaba, which makes its protein structures more stable under mechanical stress from beating. Without it, aquafaba foam deflates significantly more quickly.
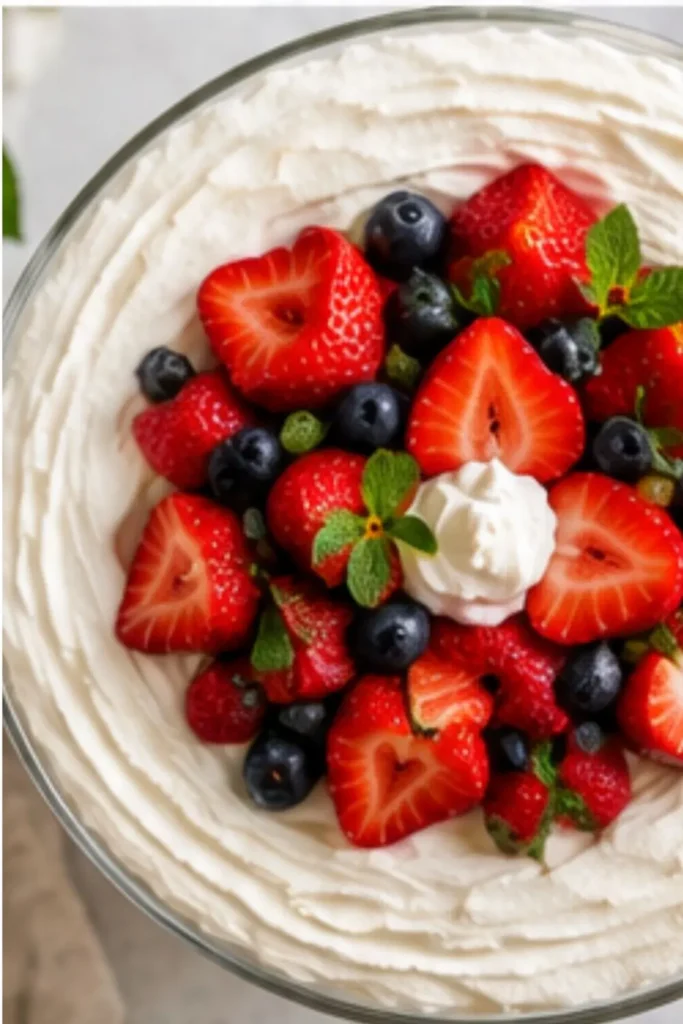
Equipment You’ll Need For Trifle / Layered Dessert
Primary Equipment
- Two 8×4 inch loaf pans – for baking the vanilla cake in two separate loaves. Two loaves produce the right quantity of cake cubes for a 3-quart trifle bowl with two complete layers. Grease and line with parchment slings for easy removal.
- Electric mixer – used for three separate stages: beating the flax-sugar-wet mixture for the cake, whipping the coconut cream with powdered sugar, and whipping the aquafaba to soft peaks. A stand mixer is most convenient; a hand mixer works throughout.
- 3-quart trifle bowl – the specific vessel that makes this dessert what it is. Clear glass or acrylic allows the alternating layers to show through the sides — this is the entire visual appeal of a layered dessert. A 3-quart capacity handles the full recipe with two complete layers plus generous garnish.
- Oven at 350°F
Supporting Equipment
- Two large mixing bowls – for the cake batter (keeping flax mixture and dry ingredients separate initially)
- Small saucepan – for the custard
- Whisk – for making the custard without lumps
- Wire cooling racks – for complete cooling of both cake loaves before cubing
- Cutting board and sharp knife – for cubing the cooled cake loaves into ½–1 inch cubes
- Rubber spatula – for folding the whipped aquafaba into the coconut cream without deflating
- Plastic wrap – for directly covering custard and whipped topping during chilling (prevents skin formation on custard)
Step-by-Step Instructions Organized by Component For Trifle / Layered Dessert
At 678 calories per serving for 12 servings:
| Nutrient | Per Serving |
| Calories | 678 kcal |
| Carbohydrates | 77g |
| Protein | 7g |
| Fat | 41g |
| Fiber | 3g |
| Sugar | 44g |
| Sodium | 232mg |
| Potassium | 325mg |
| Iron | 4mg |
Component 1 The Vanilla Cake (Day Before)
Step 1- Preheat to 350°F. Grease and line both loaf pans with parchment slings.
Step 2- In a large bowl, whisk ¼ cup of non-dairy milk with 2 tablespoons of ground flaxseed. Set aside for 5 full minutes the flaxseed gels into a thick, slightly mucilaginous mixture that replaces eggs. Don’t rush this rest period.
Step 3- In a separate large bowl, whisk together flour, baking powder, and salt.
Step 4- In a measuring cup or small container, stir together the remaining ¾ cup of non-dairy milk, vegetable oil, vanilla, and almond extract (if using).
Step 5- Add sugar to the flax mixture. Using the electric mixer on high speed, beat for 1 minute until fully blended and just starting to become creamy.
Step 6-Reduce mixer to low. Slowly drizzle in the oil-milk mixture while the mixer runs.
Step 7- Add the flour mixture in three additions, beating each fully incorporated before adding the next. The batter should be smooth and thick.
Step 8- Divide evenly between both loaf pans. Bake 33–35 minutes until a toothpick comes out clean.
Cool completely on wire racks before cubing. If making the day before, store cooled loaves wrapped at room temperature overnight.
Component 2 – The Vegan Custard (Day Before)
Step 1- Whisk the chilled non-dairy milk and cornstarch together in a small saucepan until the cornstarch dissolves completely no visible lumps.
Step 2- Whisk in the full-fat coconut milk and sugar. Place over medium heat, whisking constantly.
Step 3- Bring to a simmer while continuing to whisk. Remove from heat the moment it simmers by this point, it should have thickened noticeably.
Step 4- Whisk in the vegan butter, vanilla, and turmeric/food coloring until the butter melts completely.
Step 5- Allow to cool slightly, whisking occasionally to prevent a skin from forming. Once just warm to the touch, press plastic wrap directly against the surface of the custard and refrigerate for at least 4 hours overnight is better.
Component 3 – The Coconut Aquafaba Whipped Topping (Day Before or Morning Of)
The coconut cream cans must have been refrigerated overnight before this step.
Step 1- Open the chilled coconut cream cans. Scoop out only the solid cream portion that has separated to the top leave the liquid behind (save it for smoothies).
Step 2- Add the solid coconut cream and powdered sugar to a large bowl. Beat with the electric mixer on high for about 1 minute until fluffy. Refrigerate while you prepare the aquafaba.
Step 3- In a separate clean bowl, combine the aquafaba and cream of tartar. Beat on high speed for 4 minutes until soft peaks form. The aquafaba foam should hold a soft, slightly drooping peak when the whisk is lifted.
Aquafaba tip- If using a hand mixer rather than a stand mixer with a whisk attachment, this step takes 10+ minutes rather than 4. Plan accordingly.
Step 4- Using a rubber spatula, fold the aquafaba foam into the coconut cream in 3–4 gentle additions. Cut down through the center, sweep the bottom, fold up and over. Stop as soon as no visible white streaks remain. Overfold and you lose the airy structure.
Cover with plastic wrap or transfer to an airtight container. Chill for at least 4 hours.
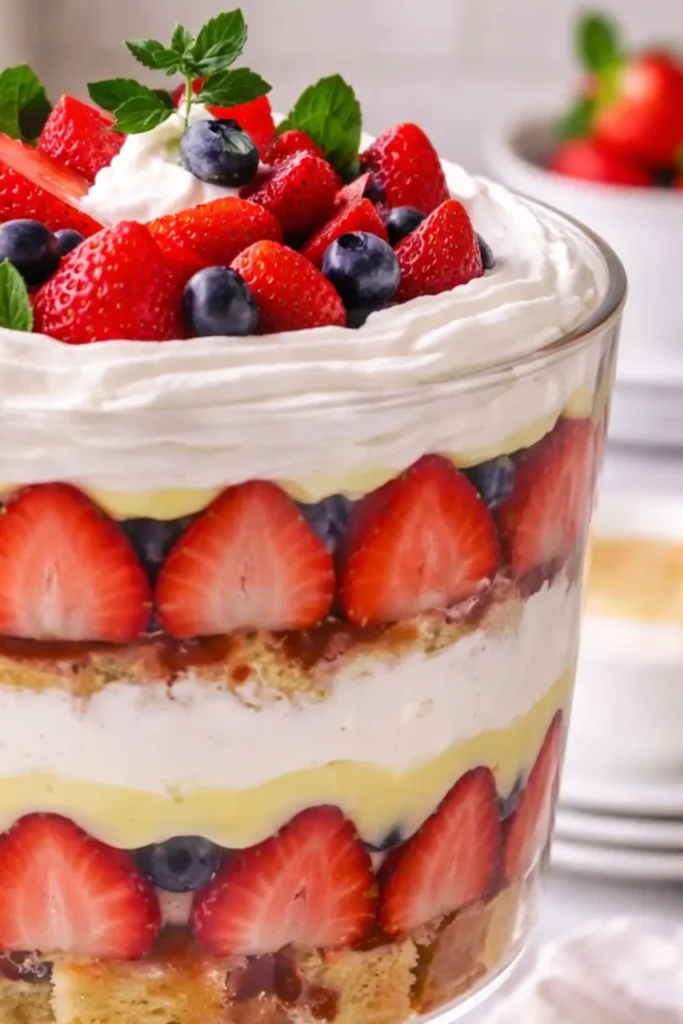
Assembly Day Of
Step 1- Remove cake loaves from pans using the parchment slings. Cut into ½–1 inch cubes.
Step 2- Whisk or stir the chilled custard to loosen it it will have set quite firmly during chilling.
Step 3- Layer in the following order:
First layer:
- ½ of the cake cubes arranged across the bottom of the 3-quart trifle bowl
- ½ of the custard spread over the cake
- All of the strawberries covering the custard layer
- ½ of the whipped topping over the strawberries
Second layer:
- Remaining cake cubes
- Remaining custard
- All of the blueberries
- Remaining whipped topping
Garnish- Arrange a few reserved strawberry halves and blueberries on top of the whipped topping in a decorative pattern.
Step 4- Serve immediately or refrigerate for up to 3 days the trifle actually improves as the cake absorbs the custard overnight.
The Two-Day Preparation Strategy
The recipe explicitly recommends this approach and it genuinely produces better results than same-day preparation:
Day 1:
- Bake both cake loaves → cool completely → wrap and store
- Make the custard → chill (at least 4 hours, overnight better)
- Make the whipped topping → chill (at least 4 hours, overnight better)
Day 2 (Party Day):
- Cube the cake (5 minutes)
- Stir the custard to loosen (1 minute)
- Assemble the trifle (15 minutes)
- Refrigerate until serving or serve immediately
This approach spreads approximately 90 minutes of total active work across two days, with the refrigerator doing the remaining work overnight. No single session feels overwhelming, and the assembled trifle benefits from the overnight-chilled components that have fully set and developed their flavors.
You may also like Next recipe
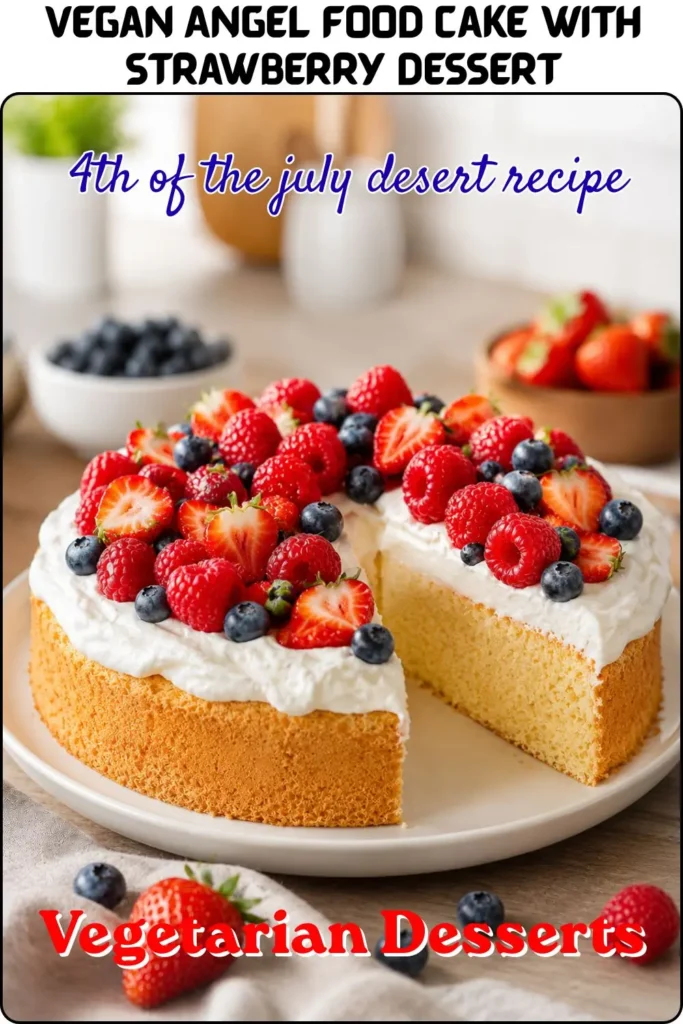
Vegan Angel Food Cake with Strawberry Dessert
The Aquafaba Whipped Topping Understanding the Science
The aquafaba folded into coconut cream is what makes this whipped topping genuinely exceptional rather than just acceptable:
Coconut cream alone- whips to a thick, rich cream but lacks the airy lightness of dairy whipped cream. It’s creamy and delicious but dense.
Whipped aquafaba- creates a foam that’s genuinely similar to whipped egg whites light, airy, and structurally stable when cream of tartar stabilizes the protein bonds.
Together- The folded combination has the richness of coconut cream and the lightness of whipped egg whites a textural combination that genuinely approaches the quality of traditional dairy whipped cream in ways that either component alone doesn’t achieve.
The critical technique- Fold rather than stir or beat after combining. Every extra fold deflates some of the aquafaba’s incorporated air. Ten careful folds is better than twenty efficient stirs.
Nutrition Information Per Serving
At 678 calories per serving for 12 servings:
| Nutrient | Per Serving |
| Calories | 678 kcal |
| Carbohydrates | 77g |
| Protein | 7g |
| Fat | 41g |
| Fiber | 3g |
| Sugar | 44g |
| Sodium | 232mg |
| Potassium | 325mg |
| Iron | 4mg |
The 678 calories reflect the full custard, whipped topping, cake, and fresh berry layers combined this is a genuinely substantial celebration dessert. 7 grams of plant-based protein per serving from the flaxseed cake and coconut cream combination. 4mg of iron from the fortified non-dairy milk and cake components.
Storage
- Assembled trifle- Refrigerate covered for up to 3 days each day the cake absorbs more custard and the layers become more unified and flavorful
- Individual components- All three components store separately in the refrigerator for up to 5 days assemble the day you plan to serve
- The custard- Store with plastic wrap pressed directly against the surface to prevent skin formation
- The whipped topping- Store in an airtight container it may settle slightly and benefit from a brief gentle fold before serving
My Final Thoughts
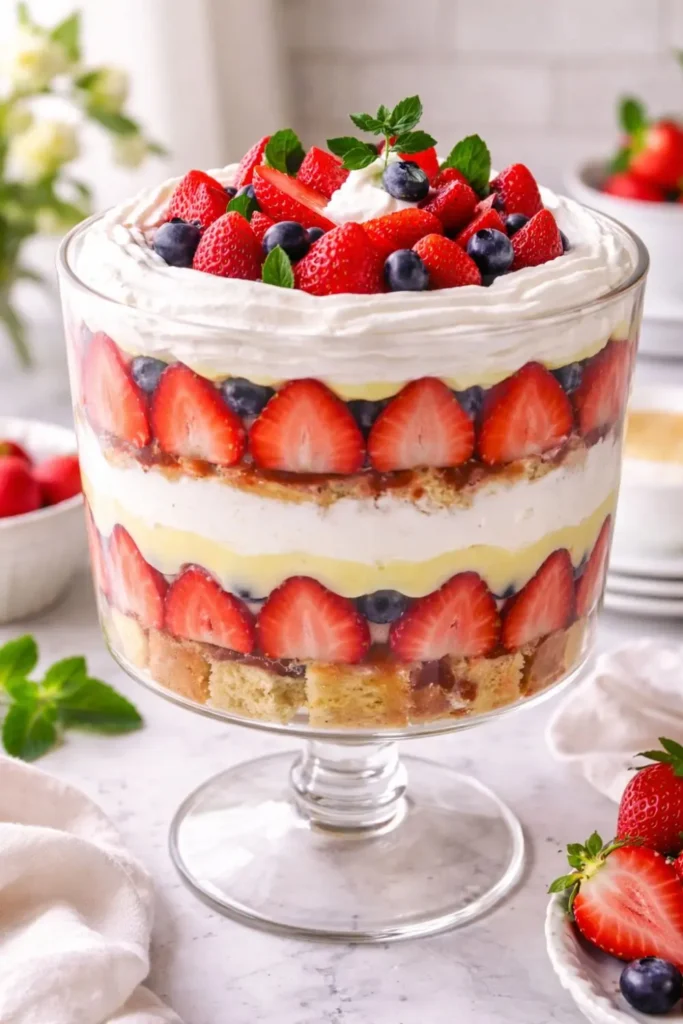
Vegan Trifle / Layered Dessert is the genuinely impressive, genuinely delicious 4th of July party dessert that rewards two-day planning with a spectacular result. Flaxseed vanilla cake, cornstarch-coconut custard, aquafaba-coconut whipped topping, fresh strawberries and blueberries in a clear glass bowl 678 calories per serving, 12 people fed, completely plant-based.
Make the cake today. Make the custard and whipped topping today. Assemble tomorrow. Accept the compliments.
Vegan Trifle / Layered Dessert
Ingredients
Equipment
Method
- Step 1- Preheat to 350°F. Grease and line both loaf pans with parchment slings.
- Step 2- In a large bowl, whisk ¼ cup of non-dairy milk with 2 tablespoons of ground flaxseed. Set aside for 5 full minutes the flaxseed gels into a thick, slightly mucilaginous mixture that replaces eggs. Don’t rush this rest period.
- Step 3- In a separate large bowl, whisk together flour, baking powder, and salt.
- Step 4- In a measuring cup or small container, stir together the remaining ¾ cup of non-dairy milk, vegetable oil, vanilla, and almond extract (if using).
- Step 5- Add sugar to the flax mixture. Using the electric mixer on high speed, beat for 1 minute until fully blended and just starting to become creamy.
- Step 6-Reduce mixer to low. Slowly drizzle in the oil-milk mixture while the mixer runs.
- Step 7- Add the flour mixture in three additions, beating each fully incorporated before adding the next. The batter should be smooth and thick.
- Step 8- Divide evenly between both loaf pans. Bake 33–35 minutes until a toothpick comes out clean.
- Cool completely on wire racks before cubing. If making the day before, store cooled loaves wrapped at room temperature overnight.
- Component 2 – The Vegan Custard (Day Before)
- Step 1- Whisk the chilled non-dairy milk and cornstarch together in a small saucepan until the cornstarch dissolves completely no visible lumps.
- Step 2- Whisk in the full-fat coconut milk and sugar. Place over medium heat, whisking constantly.
- Step 3- Bring to a simmer while continuing to whisk. Remove from heat the moment it simmers by this point, it should have thickened noticeably.
- Step 4- Whisk in the vegan butter, vanilla, and turmeric/food coloring until the butter melts completely.
- Step 5- Allow to cool slightly, whisking occasionally to prevent a skin from forming. Once just warm to the touch, press plastic wrap directly against the surface of the custard and refrigerate for at least 4 hours overnight is better.
- Component 3 – The Coconut Aquafaba Whipped Topping (Day Before or Morning Of)
- The coconut cream cans must have been refrigerated overnight before this step.
- Step 1- Open the chilled coconut cream cans. Scoop out only the solid cream portion that has separated to the top leave the liquid behind (save it for smoothies).
- Step 2- Add the solid coconut cream and powdered sugar to a large bowl. Beat with the electric mixer on high for about 1 minute until fluffy. Refrigerate while you prepare the aquafaba.
- Step 3- In a separate clean bowl, combine the aquafaba and cream of tartar. Beat on high speed for 4 minutes until soft peaks form. The aquafaba foam should hold a soft, slightly drooping peak when the whisk is lifted.
- Aquafaba tip- If using a hand mixer rather than a stand mixer with a whisk attachment, this step takes 10+ minutes rather than 4. Plan accordingly.
- Step 4- Using a rubber spatula, fold the aquafaba foam into the coconut cream in 3–4 gentle additions. Cut down through the center, sweep the bottom, fold up and over. Stop as soon as no visible white streaks remain. Overfold and you lose the airy structure.
- Cover with plastic wrap or transfer to an airtight container. Chill for at least 4 hours.
Notes
Nutrition Information Per Serving
At 678 calories per serving for 12 servings:| Nutrient | Per Serving |
| Calories | 678 kcal |
| Carbohydrates | 77g |
| Protein | 7g |
| Fat | 41g |
| Fiber | 3g |
| Sugar | 44g |
| Sodium | 232mg |
| Potassium | 325mg |
| Iron | 4mg |

Hi — I’m Rachel. I’m a wife, a mom, and a home cook who believes that food should bring comfort, joy, and compassion to the table. I live with my family — two hungry little foodies who are my most honest recipe testers — and together we’ve built a kitchen culture that’s all about good food that happens to be 100% vegan. I started this blog because I wanted a place to share the recipes that keep our days moving, the dishes that make weeknights feel a little easier, and the meals that become our little family traditions.