
Angel food cake has always been the summer dessert that feels impossibly light cloud-soft, barely-there crumb, pure white interior, and a flavor that just lets the fruit and cream alongside it shine. The problem? The classic version uses 10 to 12 egg whites per cake, which puts it firmly off the vegan menu. Until now. This Vegan Angel Food Cake with Strawberry Dessert uses aquafaba the liquid from a can of chickpeas to replicate every single thing egg whites do in the batter. The result is the lightest, most ethereal vegan cake you’ll ever make, topped with macerated fresh strawberries and fluffy coconut whipped cream. For a 4th of July party, it doesn’t get more perfect than this.
I’ll be honest, I was skeptical the first time I tried whipping aquafaba. The idea of chickpea liquid turning into something that resembles meringue felt like wishful thinking. Then I watched it happen in real time, and it changed how I approach vegan baking entirely. This cake is the best proof I know of what aquafaba can do when you treat it right. It looks stunning, it tastes incredible, and not one person at your party will guess that a can of chickpeas made it possible.
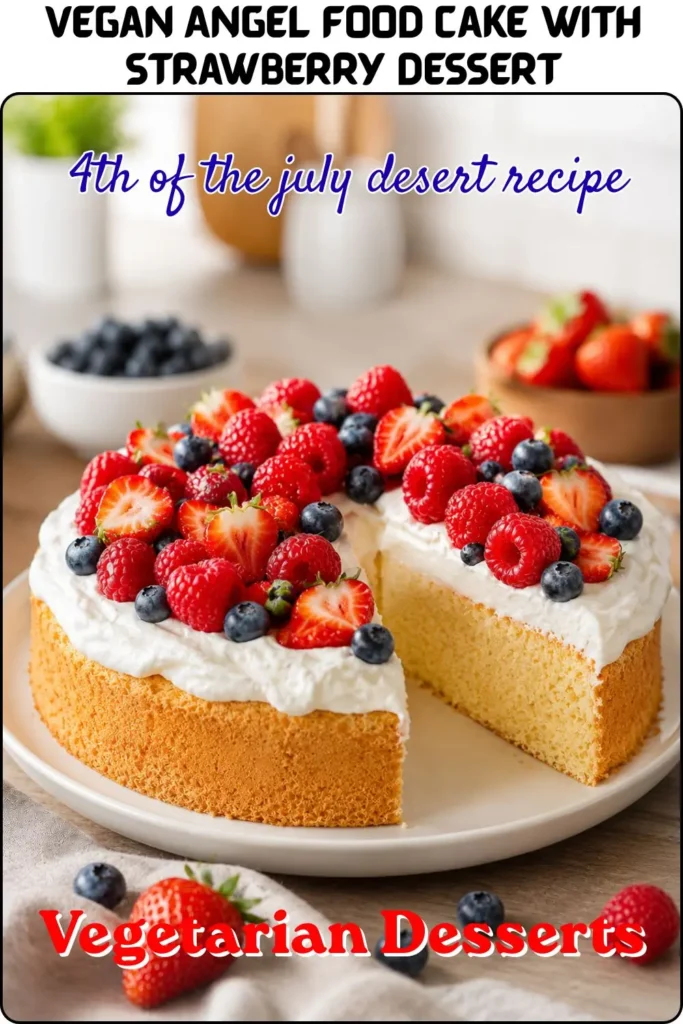
Why This Vegan Strawberry Angel Food Cake Works for 4th of July
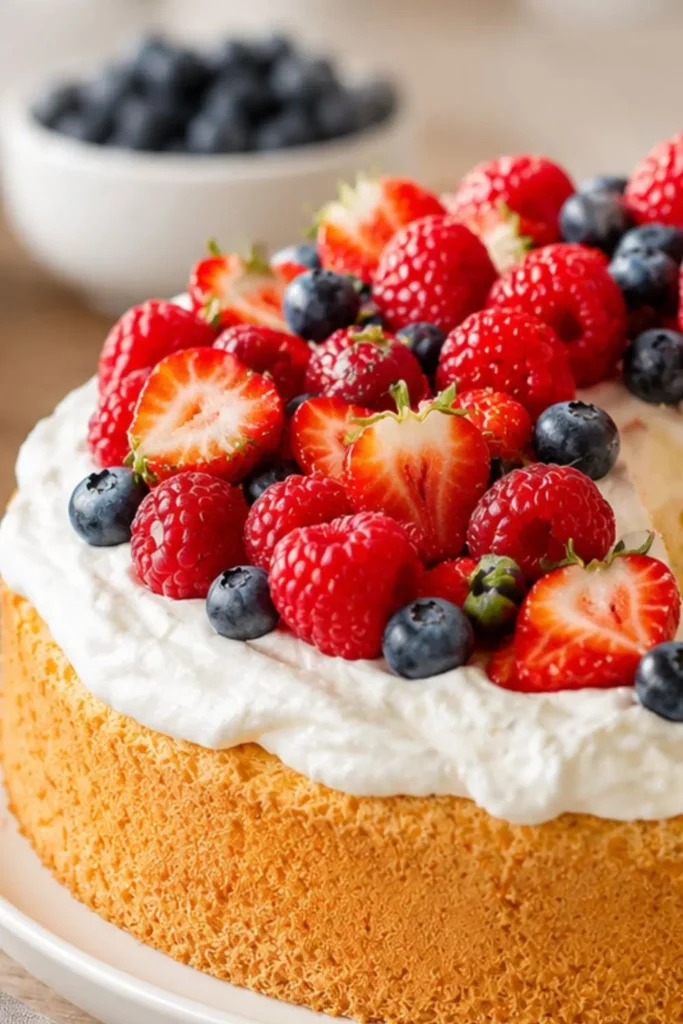
Angel food cake has natural patriotic energy pure white crumb, topped with red strawberries, finished with white coconut cream and scattered blueberries or raspberries. The color palette builds itself without any effort on your part. It’s the quintessential red-white-blue summer dessert that photographs beautifully and tastes like pure summer celebration.
Beyond the visual, this cake earns its place at the party table for entirely practical reasons:
- Lighter than any other vegan cake – the aquafaba-whipped batter produces a genuinely airy, low-density crumb
- The macerated strawberries do most of the flavor work – ripe summer berries sit in their own juice for 20 minutes and become intensely sweet and fragrant
- Coconut whipped cream is the perfect dairy-free topping -rich enough to feel indulgent, light enough not to overwhelm the delicate cake
- Serves 10–12 people from a single tube pan
- Makes stunning cupcakes too – use the same batter for Simple Vegan Angel Food Cupcakes with Strawberry Sauce for a portable party format
IMO, this is the vegan 4th of July dessert that feels the most classically American while being completely plant-based and that combination is exactly what makes it so satisfying to serve.
My Recipe Timing & Servings
| Detail | Info |
| Prep Time | 40 minutes |
| Cook Time | 40–45 minutes |
| Cooling Time | 40 minutes (inverted in pan) |
| Total Time | ~2 hours 5 minutes |
| Servings | 10–12 slices |
| Calories per slice | ~220–260 kcal (estimated, including berries and coconut cream) |
This cake serves 10 to 12 people generously when sliced from a tube pan perfect for a full 4th of July gathering. The cooling step is built into the timeline and cannot be rushed; the cake cools upside down in the pan to maintain its height and structure. Plan your timing backward from when you want to serve it: bake time + 40 minutes cooling + 15 minutes maceration = start at least 2.5 hours before serving.
Approximate Nutritional Breakdown Per Serving
Since the source recipe lists zero nutritional values, here’s a realistic estimate for the vegan version (cake + berries + coconut cream):
| Nutrient | Per Serving (1 of 12 slices) |
| Calories | ~235 kcal |
| Carbohydrates | ~42g |
| Protein | ~2g |
| Fat | ~7g (from coconut cream) |
| Fiber | ~2g |
| Sugar | ~28g |
| Cholesterol | 0mg |
| Sodium | ~110mg |
Angel food cake is one of the lower-fat desserts in the summer repertoire the cake itself contains almost no fat, with the fat coming from the coconut whipped cream topping. For a proper celebration dessert, these are impressively reasonable numbers.
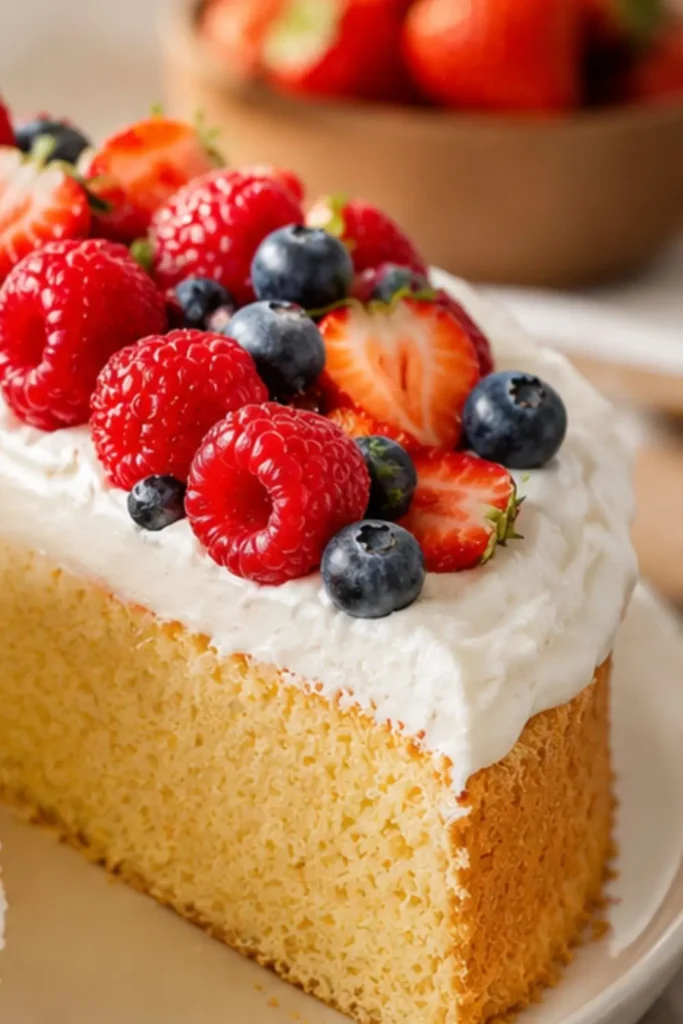
Equipment You’ll Need For Vegan Angel Food Cake with Strawberry Dessert
Angel food cake has specific equipment requirements that actually matter for the result:
- Stand mixer with whisk attachment – this is non-negotiable for whipping aquafaba to stiff peaks; the process takes 8–12 minutes and a hand mixer works as a backup, but a stand mixer handles the sustained whipping effort far better
- 10-inch tube pan (angel food cake pan) – the hollow center tube is what allows heat to penetrate the center of this large, delicate batter; do not grease it; the batter needs to cling to the sides as it rises
- Fine mesh sieve or sifter – for the three-times sifting of flour and powdered sugar; this step is genuinely critical and cannot be skipped
- Large mixing bowl – for the flour and sugar sifting
- Rubber spatula – for folding flour into the aquafaba without deflating it
- Serrated bread knife – for slicing the cooled cake into three horizontal layers without compressing the delicate crumb
- Bottle or wire rack– to invert the tube pan during cooling; most tube pans have small feet for this purpose; if yours doesn’t, invert it over a wine bottle placed through the center hole
- Large bowl – for macerating the berries
- Stand mixer bowl and whisk attachment – chilled in the freezer for 10 minutes before whipping the coconut cream
Ingredients
For the Vegan Angel Food Cake
- 1½ cups sifted powdered sugar
- 1 cup sifted cake flour (or sifted all-purpose flour – both work; cake flour produces a slightly more tender crumb)
- 1½ cups aquafaba – the liquid from unsalted or low-sodium canned chickpeas; approximately 2–3 cans depending on yield; measure precisely after draining
- 1½ teaspoons cream of tartar – stabilizes the aquafaba foam and helps it hold stiff peaks
- 1 teaspoon vanilla extract
- 1 cup granulated sugar
For the Macerated Strawberry Topping
- 2–3 cups mixed berries – strawberries as the primary, plus blueberries and raspberries for the full red-white-blue effect; use the ripest berries you can find
- ¼ cup granulated sugar
For the Coconut Whipped Cream
- 1 can (13.5 oz) full-fat coconut cream -chilled in the refrigerator overnight; only the thick solid portion is used
- 1 teaspoon pure vanilla extract
- 2 tablespoons powdered sugar (optional – adds sweetness and helps stabilize the peaks)
Understanding Aquafaba: The Egg White Replacement That Actually Works
If you’ve never cooked with aquafaba before, here’s what you need to know. Aquafaba is the viscous liquid that canned chickpeas are packed in. It contains dissolved proteins and starches that, when whipped, trap air and form a stable foam that behaves almost identically to whipped egg whites. It whips to soft peaks, stiff peaks, and everything in between and it does it consistently when you follow a few simple rules.
The Rules for Successful Aquafaba Whipping
- Use unsalted or low-sodium canned chickpeas – excess salt destabilizes the foam
- Measure carefully – 1½ cups is the correct amount to replace 10–12 egg whites in this recipe
- Room temperature aquafaba whips faster than cold – let it sit out for 15–20 minutes before starting
- Add cream of tartar – this is non-negotiable; it stabilizes the foam and helps it reach and hold stiff peaks
- Add sugar gradually – the same technique used with egg white meringue; adding it all at once deflates the foam
- Whip long enough – aquafaba takes longer than egg whites, typically 8–12 minutes to reach stiff peaks; don’t give up at 5 minutes thinking it’s not working
FYI, the stiff peaks from aquafaba look slightly less glossy than egg white meringue, but they perform identically in the oven. Trust the process.
Step-by-Step Instructions For Vegan Angel Food Cake with Strawberry Dessert
Step 1- Prep Your Oven and Pan
Move your oven rack to the lowest position this is important for angel food cake specifically, as it bakes from the bottom up and needs maximum distance from the top heating element. Preheat to 350°F (175°C). Do not grease your tube pan the batter needs to grip the ungreased sides to climb and rise properly. Greasing it is the single fastest way to end up with a flat, dense cake.
Step 2- Triple-Sift the Dry Ingredients
In your large mixing bowl, sift together the powdered sugar and cake flour three times. Yes, three times not once, not twice. Each pass through the sifter aerates the mixture more thoroughly, and this aeration is directly responsible for how light the finished cake feels. Use a fine-mesh sieve if you don’t have a traditional sifter. Set aside after the third sift.
Step 3- Whip the Aquafaba to Stiff Peaks
Pour your 1½ cups of room-temperature aquafaba into the bowl of your stand mixer. Add the cream of tartar and vanilla extract. Start whipping on medium speed and let it run for about 3–4 minutes until soft, foamy peaks begin to form.
With the mixer running, add the granulated sugar approximately 2 tablespoons at a time, waiting 30–45 seconds between additions. This gradual addition dissolves the sugar into the foam rather than deflating it. Continue whipping until stiff, glossy peaks form the foam should hold its shape when you pull the whisk attachment straight up and the peaks should stand upright without drooping. This takes 8–12 minutes total from when you started. Set a timer and be patient.
You may also like Next recipe

Step 4- Fold in the Flour Gently and Deliberately
Sift approximately one-quarter of your flour mixture over the whipped aquafaba foam. Using your rubber spatula, fold it in with slow, wide strokes a motion that sweeps under the foam, lifts it, and folds it over the flour. This motion preserves the air you just spent 10 minutes building into the aquafaba.
Repeat: sift one-quarter of the remaining flour, fold gently. Repeat two more times until all the flour is incorporated. Work slowly and deliberately aggressive stirring at this stage deflates the foam and produces a dense, chewy cake rather than a light, airy one. A few small streaks of flour at the end are fine; overmixing to eliminate them is not.
Step 5- Pour and Bake
Gently pour the batter into your ungreased 10-inch tube pan. Use your rubber spatula to spread it to the edges evenly, then cut through the batter several times with the spatula to release any large air pockets trapped inside. Smooth the top lightly.
Bake on the lowest oven rack for 40–45 minutes, until the top springs back when you press it very lightly with one finger. Avoid opening the oven during the first 35 minutes the temperature fluctuation can cause the foam structure to collapse before it sets.
Step 6- Cool Upside Down This Step Is Not Optional
Remove the cake from the oven immediately when done and invert the pan right away. Most 10-inch tube pans have small legs or feet on the rim specifically for this purpose they hold the inverted pan off the counter so air circulates around the cake as it cools. If your pan lacks feet, invert it over a full wine bottle placed through the center tube.
Leave it inverted for at least 40 minutes until completely cool. This inverted cooling prevents the delicate aquafaba foam structure from collapsing under its own weight while it’s still warm. Do not try to speed this up.
Once fully cooled, run a thin knife around the outer and inner edges of the pan, then remove the cake. Use your serrated knife to slice gently into three equal horizontal layers a sawing motion rather than pressing down.
Step 7- Macerate the Berries
Hull and slice your strawberries. Combine them in a bowl with your other berries and the ¼ cup of granulated sugar. Toss gently to coat and let the mixture sit for 15–20 minutes until the sugar draws out the fruit juices and creates a glossy, fragrant berry syrup. This is the maceration process, and it transforms good berries into extraordinary ones.
Step 8- Make the Coconut Whipped Cream
Place your stand mixer bowl and whisk attachment in the freezer for 10 minutes the cold surfaces help the coconut cream whip faster and hold its peaks more firmly. Scoop only the solid coconut cream from your overnight-chilled can into the chilled bowl, leaving any liquid behind. Beat with the vanilla extract (and optional powdered sugar) until soft peaks form about 3–4 minutes. Use immediately or keep refrigerated until needed.
Step 9- Assemble and Serve
Place the bottom cake layer on your serving plate. Spoon some macerated berries and their juice over the surface, then add a layer of coconut whipped cream. Add the middle layer and repeat. Place the top layer on, cover generously with coconut whipped cream, and spoon the remaining berries across the top. Serve within an hour of assembly for the best presentation.
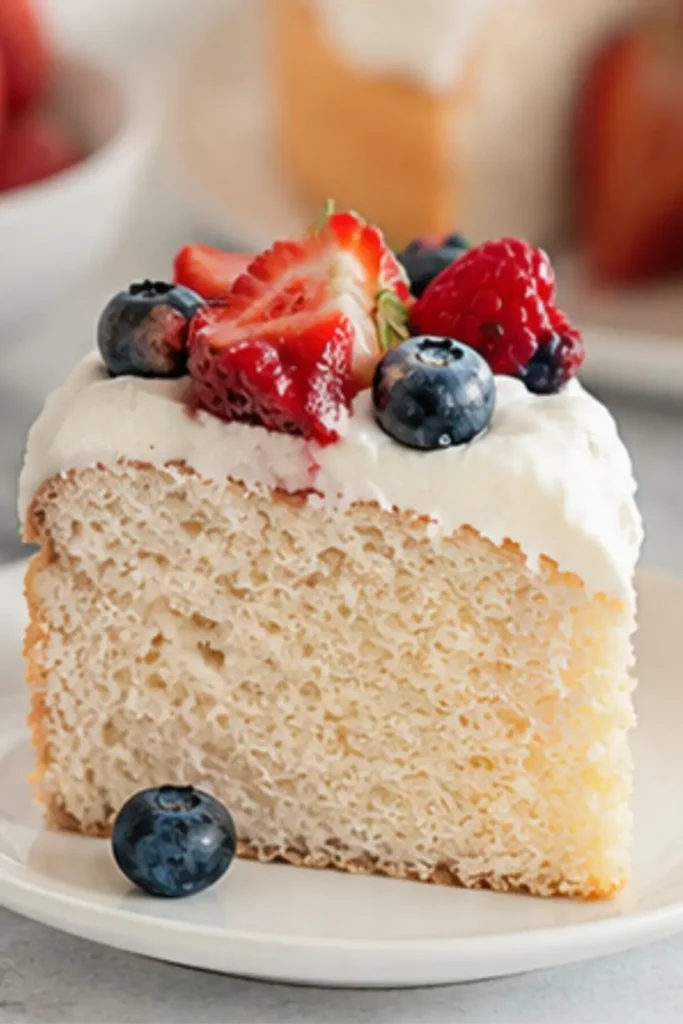
Simple Vegan Angel Food Cupcakes with Strawberry Sauce
Want a more party-friendly, portable version? Simple Vegan Angel Food Cupcakes with Strawberry Sauce use the exact same batter poured into a non-greased cupcake tin lined with parchment strips (not paper liners the batter needs to cling to the sides just like in the tube pan). Bake at 350°F for 18–22 minutes, cool inverted on a wire rack, then top each cupcake with a spoonful of macerated strawberry sauce and a dollop of coconut whipped cream. Individual servings, zero slicing required, and they look gorgeous on a party platter.
Tips for Angel Food Success
Never Grease the Pan
This bears repeating one more time because it matters that much. The ungreased pan surface is what allows the batter to climb the sides as it rises. A greased pan produces a cake that never achieves proper height or lift. Leave the pan completely bare.
Sift Three Times Every Time
Each sift pass removes clumps and introduces air. The triple-sifted flour mixture disperses into the aquafaba foam more evenly and produces a lighter, more even crumb than single-sifted flour would. This step feels like overkill until you taste the cake.
Use the Ripest Berries for Macerating
The maceration process amplifies what’s already in the fruit ripe, fragrant strawberries become extraordinary; underripe, flavorless ones just become sweetened underripe strawberries. Buy the best strawberries you can find for this recipe. Farmers’ market berries in peak summer are the ideal choice.
Storage Guide
| Component | Storage | Duration |
| Cake (unassembled) | Airtight at room temp | 2 days |
| Macerated berries | Refrigerator, covered | 1 day |
| Coconut whipped cream | Refrigerator, covered | 2 days |
| Assembled cake | Refrigerator | Same day best; up to 1 day |
Assemble as close to serving time as possible the berry juice will soak into the cake layers if the assembled cake sits for more than a few hours, which changes the texture. The individual components store well separately.
My Final Thoughts
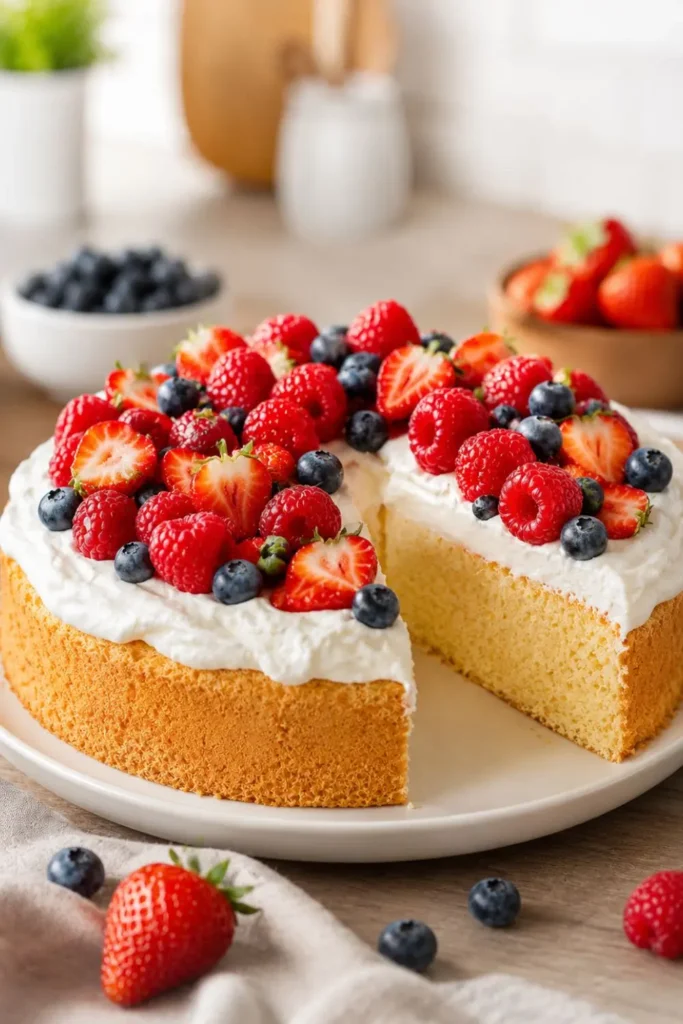
This Vegan Angel Food Cake with Strawberry Dessert is summer celebration food at its most elegant light, fresh, bright, and built entirely from plants. The aquafaba technique produces a genuinely airy, beautiful cake that honors everything the classic version was supposed to be, and the macerated strawberries bring that sweet, juicy summer intensity that makes every bite memorable.
Make it for your 4th of July table, stack those three layers high with berries and coconut cream, and let it be the centerpiece it was born to be. Then enjoy the look on people’s faces when you tell them what’s actually in it. That’s always the best part.
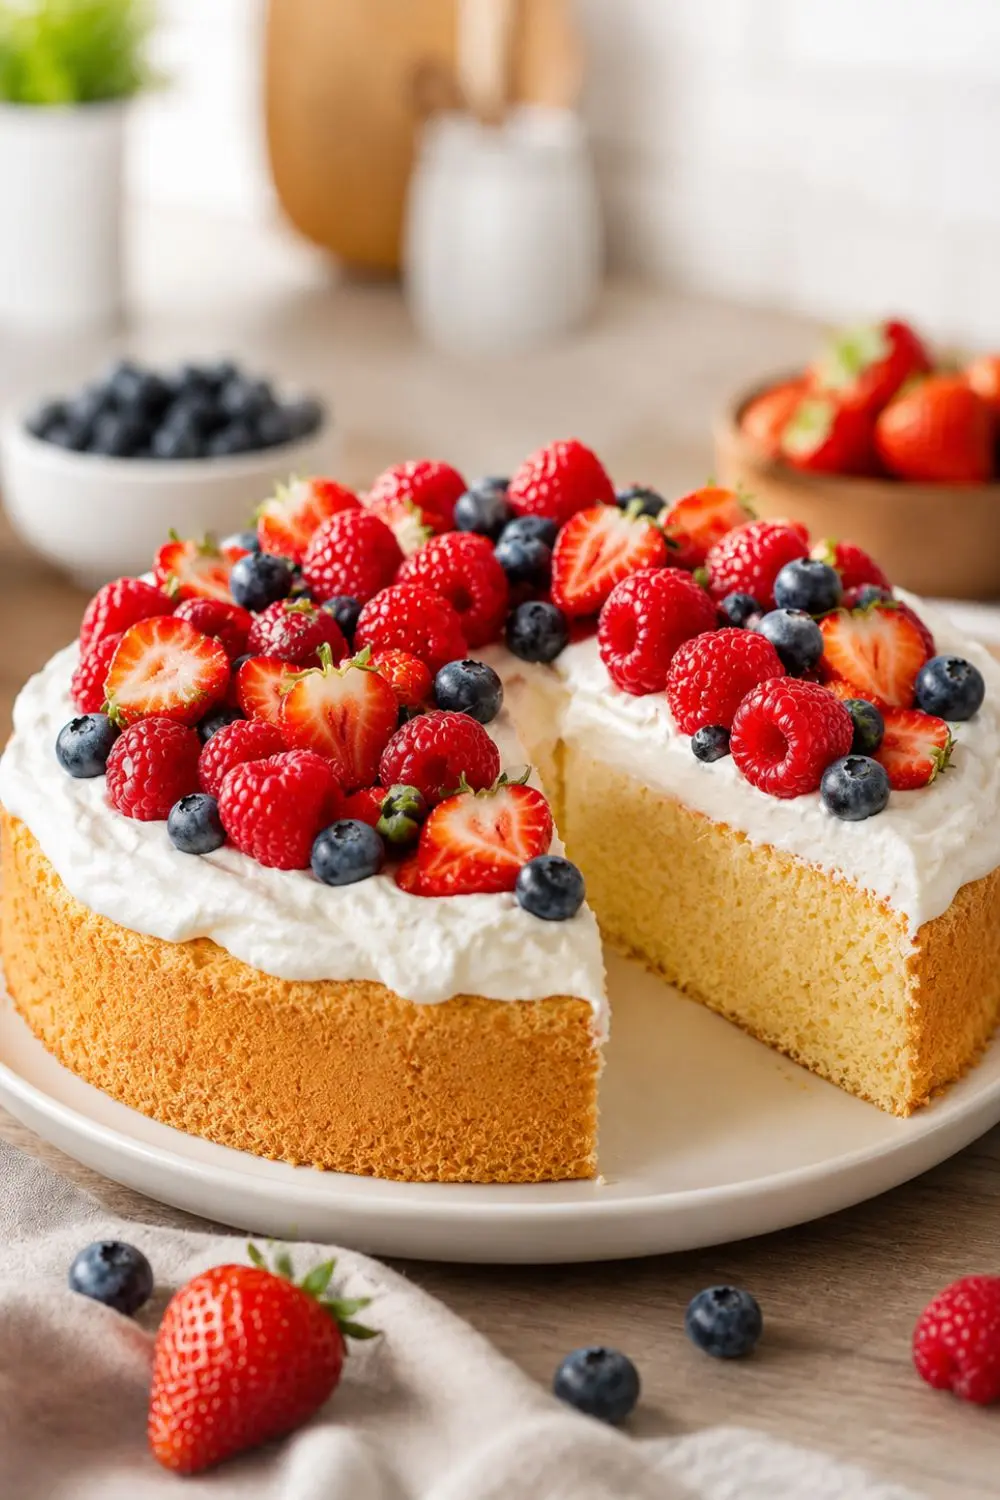
Vegan Angel Food Cake with Strawberry Dessert
Ingredients
Equipment
Method
- Step 1- Prep Your Oven and Pan
- Move your oven rack to the lowest position this is important for angel food cake specifically, as it bakes from the bottom up and needs maximum distance from the top heating element. Preheat to 350°F (175°C). Do not grease your tube pan the batter needs to grip the ungreased sides to climb and rise properly. Greasing it is the single fastest way to end up with a flat, dense cake.
- Step 2- Triple-Sift the Dry Ingredients
- In your large mixing bowl, sift together the powdered sugar and cake flour three times. Yes, three times not once, not twice. Each pass through the sifter aerates the mixture more thoroughly, and this aeration is directly responsible for how light the finished cake feels. Use a fine-mesh sieve if you don’t have a traditional sifter. Set aside after the third sift.
- Step 3- Whip the Aquafaba to Stiff Peaks
- Pour your 1½ cups of room-temperature aquafaba into the bowl of your stand mixer. Add the cream of tartar and vanilla extract. Start whipping on medium speed and let it run for about 3–4 minutes until soft, foamy peaks begin to form.
- With the mixer running, add the granulated sugar approximately 2 tablespoons at a time, waiting 30–45 seconds between additions. This gradual addition dissolves the sugar into the foam rather than deflating it. Continue whipping until stiff, glossy peaks form the foam should hold its shape when you pull the whisk attachment straight up and the peaks should stand upright without drooping. This takes 8–12 minutes total from when you started. Set a timer and be patient.
- Step 4- Fold in the Flour Gently and Deliberately
- Sift approximately one-quarter of your flour mixture over the whipped aquafaba foam. Using your rubber spatula, fold it in with slow, wide strokes a motion that sweeps under the foam, lifts it, and folds it over the flour. This motion preserves the air you just spent 10 minutes building into the aquafaba.
- Repeat: sift one-quarter of the remaining flour, fold gently. Repeat two more times until all the flour is incorporated. Work slowly and deliberately aggressive stirring at this stage deflates the foam and produces a dense, chewy cake rather than a light, airy one. A few small streaks of flour at the end are fine; overmixing to eliminate them is not.
- Step 5- Pour and Bake
- Gently pour the batter into your ungreased 10-inch tube pan. Use your rubber spatula to spread it to the edges evenly, then cut through the batter several times with the spatula to release any large air pockets trapped inside. Smooth the top lightly.
- Bake on the lowest oven rack for 40–45 minutes, until the top springs back when you press it very lightly with one finger. Avoid opening the oven during the first 35 minutes the temperature fluctuation can cause the foam structure to collapse before it sets.
- Step 6- Cool Upside Down This Step Is Not Optional
- Remove the cake from the oven immediately when done and invert the pan right away. Most 10-inch tube pans have small legs or feet on the rim specifically for this purpose they hold the inverted pan off the counter so air circulates around the cake as it cools. If your pan lacks feet, invert it over a full wine bottle placed through the center tube.
- Leave it inverted for at least 40 minutes until completely cool. This inverted cooling prevents the delicate aquafaba foam structure from collapsing under its own weight while it’s still warm. Do not try to speed this up.
- Once fully cooled, run a thin knife around the outer and inner edges of the pan, then remove the cake. Use your serrated knife to slice gently into three equal horizontal layers a sawing motion rather than pressing down.
- Step 7- Macerate the Berries
- Hull and slice your strawberries. Combine them in a bowl with your other berries and the ¼ cup of granulated sugar. Toss gently to coat and let the mixture sit for 15–20 minutes until the sugar draws out the fruit juices and creates a glossy, fragrant berry syrup. This is the maceration process, and it transforms good berries into extraordinary ones.
- Step 8- Make the Coconut Whipped Cream
- Place your stand mixer bowl and whisk attachment in the freezer for 10 minutes the cold surfaces help the coconut cream whip faster and hold its peaks more firmly. Scoop only the solid coconut cream from your overnight-chilled can into the chilled bowl, leaving any liquid behind. Beat with the vanilla extract (and optional powdered sugar) until soft peaks form about 3–4 minutes. Use immediately or keep refrigerated until needed.
- Step 9- Assemble and Serve
- Place the bottom cake layer on your serving plate. Spoon some macerated berries and their juice over the surface, then add a layer of coconut whipped cream. Add the middle layer and repeat. Place the top layer on, cover generously with coconut whipped cream, and spoon the remaining berries across the top. Serve within an hour of assembly for the best presentation.
Notes
Approximate Nutritional Breakdown Per Serving
Since the source recipe lists zero nutritional values, here’s a realistic estimate for the vegan version (cake + berries + coconut cream):| Nutrient | Per Serving (1 of 12 slices) |
| Calories | ~235 kcal |
| Carbohydrates | ~42g |
| Protein | ~2g |
| Fat | ~7g (from coconut cream) |
| Fiber | ~2g |
| Sugar | ~28g |
| Cholesterol | 0mg |
| Sodium | ~110mg |

Hi — I’m Rachel. I’m a wife, a mom, and a home cook who believes that food should bring comfort, joy, and compassion to the table. I live with my family — two hungry little foodies who are my most honest recipe testers — and together we’ve built a kitchen culture that’s all about good food that happens to be 100% vegan. I started this blog because I wanted a place to share the recipes that keep our days moving, the dishes that make weeknights feel a little easier, and the meals that become our little family traditions.