

“This post contains affiliate links. If you purchase through my links, I may earn a small commission at no extra cost to you.”
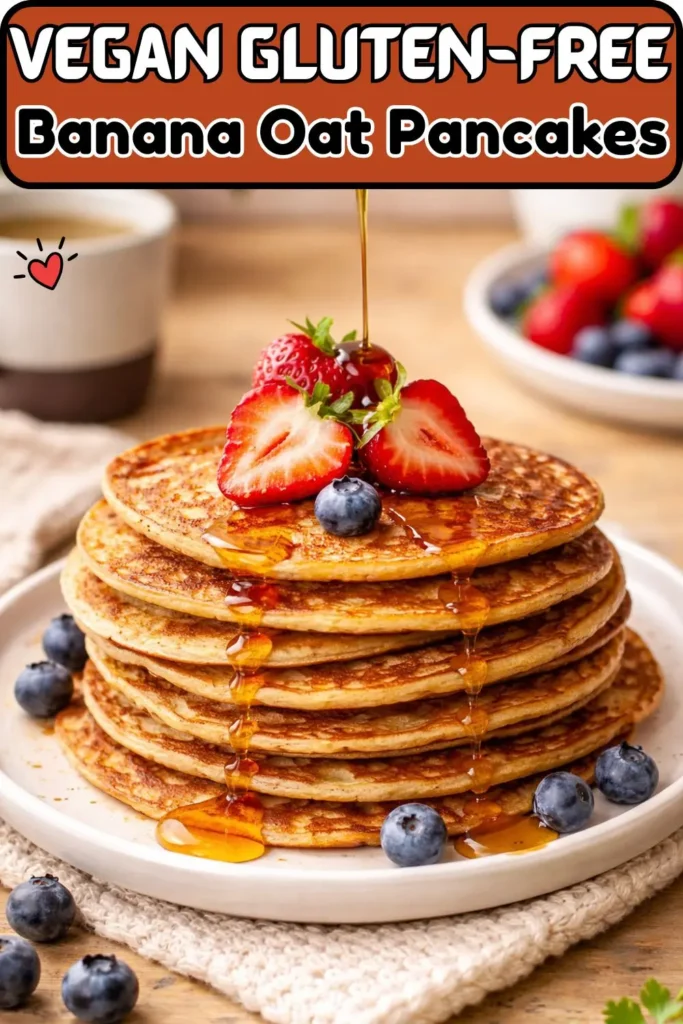
Three ingredients. No flour from a bag. No eggs. No dairy. No baking powder, no flaxseed eggs, no elaborate vegan substitutions. Just rolled oats, bananas, and plant milk blended together and cooked in a pan — and the result is a stack of genuinely good pancakes that are naturally gluten-free, completely vegan, and ready in 25 minutes.
When I first heard about this recipe I was sceptical in the way that anyone who’s made truly terrible three-ingredient pancakes before has a right to be. Then I made them and stood at the hob eating the first one straight out of the pan before it even made it to a plate.
These Vegan Gluten-Free Banana Oat Pancakes are the recipe for anyone who wants pancakes without the faff, without the specialist ingredients, and without the dietary compromises. Let’s walk through everything.
Quick Stats
- Prep Time: 5 minutes
- Cook Time: 20 minutes
- Total Time: 25 minutes
- Servings: 2 people (6–7 pancakes)
- Calories: 263 kcal per serving
- Course: Breakfast / Brunch
- Cuisine: American, Vegan, Gluten-Free
- Diet: 100% Vegan, Gluten-Free
The Full Ingredient List
For the pancakes (makes 6–7):
- 2 cups rolled oats (or 2¼ cups oat flour if using pre-made)
- 2 ripe bananas
- 2¼ cups your favourite plant-based milk
For the pan:
- Cooking oil — avocado oil or coconut oil work well (or use a non-stick pan and skip the oil)
To serve:
- Fresh berries or fruit
- Maple syrup
- Coconut whipped cream
How to Make Them – Step by Step Vegan Gluten-Free Banana Oat Pancakes
Step 1: Add the rolled oats to your blender and blend on high power for about 20 seconds until they’ve turned into a fine flour. Use the end of a wooden spoon to loosen any flour stuck to the bottom or sides of the jug.
Step 2: Add the bananas and plant milk to the blender with the freshly made oat flour. Blend on high for 30 seconds until the batter is smooth and fully combined. Scrape down the sides if needed and blend briefly again.
Step 3: Heat 1 teaspoon of oil in a frying pan over medium heat. The pan is ready when a drop of water sizzles immediately on contact. Pour in ½ cup of batter and allow it to spread into a wide circle naturally.
Step 4: Cook for 2–3 minutes until bubble holes form across the surface and the edges look set and solid rather than wet and shiny.
Step 5: Flip once with a spatula and cook for another 2 minutes until the underside is golden brown.
Step 6: Repeat for all pancakes — you’ll get 6–7 from this batch. Add a small amount of oil between batches as needed. Keep cooked pancakes warm on a plate in the oven at a low temperature (around 200°F / 90°C) until you’re ready to serve.
Step 7: Serve with fresh berries, sliced fruit, maple syrup, and coconut whipped cream.
Equipment You’ll Need
- A blender — ideally high-speed. This is the only piece of equipment that really matters. The blender does two jobs: turns rolled oats into flour, then blends everything into a smooth batter. A high-speed blender (Vitamix, NutriBullet Pro, Ninja) produces finer oat flour and a smoother batter than a standard blender. A standard blender works but may leave slightly coarser oat pieces in the batter — still good, just less refined in texture.
- A non-stick frying pan or well-seasoned cast iron pan. The non-stick surface is what makes flipping these pancakes clean and easy. A stainless steel pan sticks unless it’s very well oiled. Cast iron is excellent if it’s properly seasoned — it holds heat evenly and produces very consistent browning.
- A wide, flexible spatula. These pancakes are softer than regular pancakes because they have no added baking powder or eggs. You need a spatula that gets cleanly under the whole surface in one motion for a clean flip.
- Measuring cups — for the oats and milk. Proportion matters here for the right batter consistency.
- A wooden spoon — for loosening flour from the blender jug between blending steps
- Oven-safe plate — for keeping cooked pancakes warm
The blender is genuinely the piece of kit that determines the quality of the result. If yours is on the weaker side, blend the oats for a full 30–40 seconds rather than 20 to compensate.
Calorie & Nutrition Breakdown (Per Serving — Half the Recipe, 3–4 Pancakes)
| Nutrient | Per Serving |
| Calories | 263 kcal |
| Carbohydrates | 51.8g |
| Protein | 7.4g |
| Total Fat | 4.2g |
| Saturated Fat | 0.5g |
| Fibre | 6.4g |
| Sugar | 16.9g |
| Sodium | 50mg |
| Calcium | 185mg |
| Iron | 3mg |
| Potassium | 211mg |
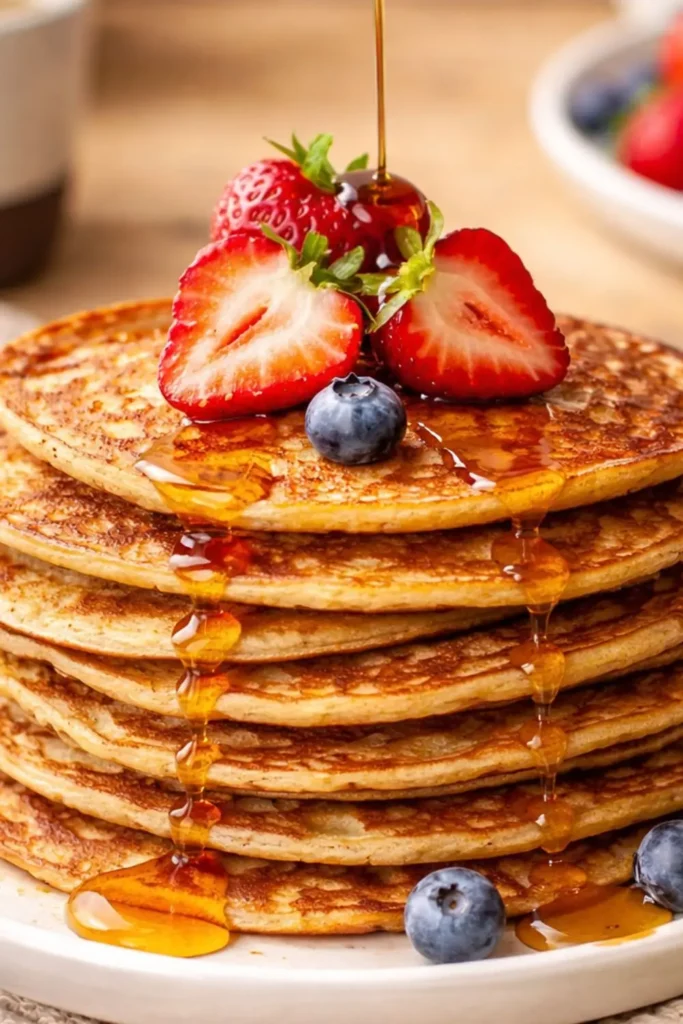
At 263 calories for a full pancake serving (3–4 pancakes), this is an impressively light breakfast for what feels like a genuinely indulgent meal. The 6.4g of fibre is excellent — that’s nearly a quarter of the recommended daily intake in a single breakfast serving. The 7.4g of protein comes primarily from the oats and whatever plant milk you use, with soy milk pushing this noticeably higher.
FYI: Oats are one of the best plant sources of a soluble fibre called beta-glucan, which has been extensively studied for its ability to lower LDL cholesterol and support heart health. These pancakes are doing significantly more nutritional work than a standard white flour pancake stack, and they taste better too. Sometimes the healthier option genuinely is the better one.
Why Three Ingredients Make Genuinely Good Pancakes
Here’s the question worth answering properly: how do these pancakes hold together and turn fluffy without eggs, baking powder, or any of the usual pancake infrastructure?
The Banana Is Doing Multiple Jobs
Ripe banana is the binding ingredient that replaces eggs in this recipe. It contains natural starches and sugars that, when blended smooth and heated in a pan, set into a cohesive structure. The banana also provides natural sweetness that means you don’t need added sugar in the batter, and creaminess that gives the pancakes a tender, soft texture rather than a dense or rubbery one. The riper the banana, the sweeter and more aromatic your pancakes will be.
The Oat Flour Provides Structure Without Gluten
When you blend rolled oats into flour and mix them with liquid, the oat starch absorbs the milk and creates a batter with enough body to spread into a circle and hold that shape in the pan. Unlike wheat flour, oat flour doesn’t develop gluten — which means the pancakes have a more tender, delicate crumb than wheat-based pancakes, but also means they’re softer and require a bit more care when flipping.
The Plant Milk Creates the Right Consistency
The 2¼ cups of plant milk loosens the oat flour and banana into a pourable batter with roughly the right consistency for pancakes. Too thick and the pancakes won’t spread properly; too thin and they won’t hold together. This ratio has been calibrated to produce batter that spreads into a circle on a medium-heat pan and cooks through evenly in 2–3 minutes per side.
The Blending Process — Two Steps for a Reason
The recipe asks you to blend the oats first, then add the other ingredients. This two-step approach is important and worth understanding.
Why Blend Oats Alone First
If you add the bananas and milk to the blender before blending the oats, the liquid prevents the oats from being properly pulverised. You end up with a batter that has visible oat pieces rather than smooth flour — which produces grainier, more uneven pancakes. Blending the oats dry first gives you a fine, smooth flour that then blends seamlessly with the wet ingredients. Twenty seconds on high is usually enough — check that the oats look like flour rather than a coarse meal before proceeding.
The Wooden Spoon Trick
After blending the oats, some flour inevitably sticks to the bottom of the blender jug or to the blades. Using the end of a wooden spoon to loosen it before adding the liquid ingredients ensures all of your oat flour actually ends up in the batter rather than stuck to the equipment. It’s a 10-second step that makes a difference to the final flour-to-liquid ratio.
Choosing Your Bananas — The Ripeness Factor
The bananas do more in this recipe than in almost any other, so their ripeness matters more here than in most recipes.
Ripe vs Very Ripe
Standard ripe bananas (yellow with a few spots) produce pancakes with a mild banana sweetness and a golden colour. These work well and produce reliably good results.
Very ripe bananas (heavily speckled or mostly brown) produce sweeter, more intensely banana-flavoured pancakes with a softer texture. The natural sugars in very ripe bananas are more developed, which means the batter is sweeter and the pancakes brown more readily in the pan (due to higher sugar content). Watch the heat carefully with very ripe bananas — they can catch and burn more quickly than less ripe ones.
What to Avoid
Green or very underripe bananas — these are starchy, not sweet, and produce dense, slightly bitter pancakes. Wait until they ripen before using them in this recipe.
Plant Milk Options — The Consistency Question
The recipe uses 2¼ cups of plant milk, and the type you choose affects both the flavour and the consistency of the final batter.
Oat Milk — Best Overall
The most consistent performer here. Oat milk’s natural creaminess produces a smooth, well-integrated batter and tender pancakes. The mild flavour doesn’t compete with the banana. This is my go-to choice for these pancakes.
Almond Milk
Thinner than oat milk, which can make the batter slightly looser. Works well but the pancakes may be marginally thinner. The subtle nuttiness pairs nicely with banana.
Soy Milk
The highest protein option — using soy milk bumps the protein per serving noticeably. The flavour is neutral and the consistency is good. Excellent choice if protein content matters to you.
Coconut Milk (Carton)
Adds a subtle coconut flavour that pairs beautifully with banana. Slightly richer than almond milk. Use the carton version rather than canned — canned is too thick for this batter.
What Affects Consistency
If your batter seems too thick (won’t spread naturally in the pan), add an extra tablespoon of plant milk at a time until it loosens slightly. If it’s too thin (spreads too much and won’t hold a shape), add a tablespoon of oat flour and blend briefly. The right consistency is somewhere between heavy cream and regular milk — pourable but not watery.
Still Hungry, Try It Next recipe :-
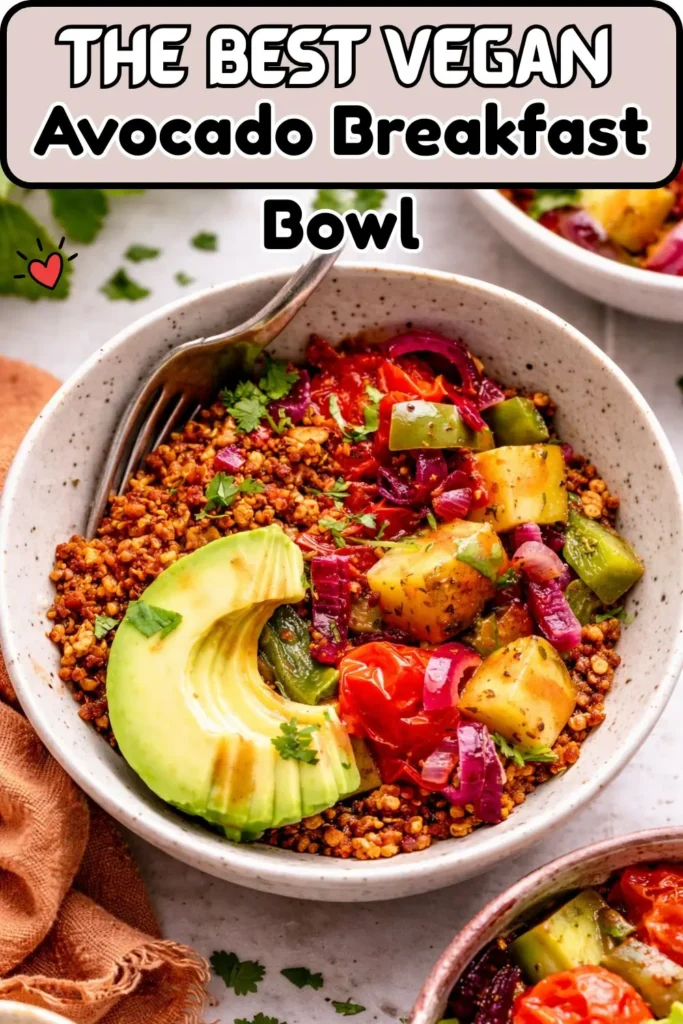
The BEST Vegan Avocado Breakfast Bowl
Tips for Perfect Vegan Gluten-Free Banana Oat Pancakes Every Time
- Use a properly preheated pan. A pan that isn’t hot enough produces pale, unevenly cooked pancakes. Test with a drop of water — it should sizzle and evaporate immediately. Medium heat, properly preheated.
- Don’t flip too early. Wait until bubble holes form across the entire surface and the edges look fully set. Flipping too early tears the pancake because it hasn’t set enough to hold together. This is the most common mistake with oat pancakes — patience pays off.
- Flip once, confidently. Get your spatula fully under the pancake in one decisive move. These pancakes are softer than regular ones and a tentative, partial flip often breaks them. One clean motion, done.
- Keep the heat consistent. Medium heat throughout. Too hot and the outside browns before the inside cooks through. Too low and the pancakes stay pale and slightly raw-tasting in the centre.
- Wipe the pan between batches. Built-up oil from previous batches can make later pancakes darker and slightly bitter. A quick wipe with kitchen paper and a fresh small amount of oil keeps each batch consistent.
- Let the batter rest for 2–3 minutes after blending if you have time. The oat flour absorbs the liquid slightly and the batter thickens a little, which produces a slightly more cohesive pancake.
The Banana-Free Option — For When You Need It
The recipe notes offer an interesting substitution: 1 cup of applesauce in place of the two bananas. This produces pancakes that are lower histamine (bananas are moderately high in histamines), lower in sugar, and with a more neutral flavour profile.
Applesauce pancakes from this recipe are slightly less sweet and have a more delicate flavour — which is actually nice if you want to let toppings like fresh berries and maple syrup take centre stage. The texture is essentially the same as the banana version. This makes the recipe genuinely accessible to people with banana sensitivities or histamine intolerances, which is a meaningful advantage over most vegan pancake recipes.
Toppings — Making the Stack Look and Taste Spectacular
The pancakes themselves are relatively simply flavoured — sweet banana, mild oat, clean plant milk. This makes them excellent canvases for toppings. Here’s how to build a genuinely great plate:
The Classic Stack
- Maple syrup — a proper drizzle, not a light mist. The warm maple syrup soaks into the soft pancakes in a very satisfying way.
- Vegan butter — melted over the warm stack so it seeps between the layers
- Fresh berries — blueberries and sliced strawberries are the classic. The tartness of the berries against the sweet banana pancakes is excellent.
The Tropical Version
- Sliced mango and pineapple on top
- Coconut whipped cream
- A squeeze of lime juice
- Toasted coconut flakes
The Chocolate Version
- Sliced banana on top
- Melted dark chocolate or vegan chocolate ganache drizzled over
- Cacao nibs for crunch
The Fresh and Light Version
- A mixed berry compote (simmer berries with maple syrup and lemon juice for 5 minutes)
- A dollop of coconut yoghurt
- Fresh mint leaves
The Indulgent Brunch Version
- Coconut whipped cream
- Sliced peaches
- A generous drizzle of maple syrup
- A light dusting of cinnamon
How to Store and Reheat Leftover Pancakes
These pancakes store and reheat better than you might expect — which makes them a viable meal prep option for busy mornings.
Fridge Storage
Let pancakes cool completely before stacking — warm pancakes generate steam that makes them go soft and sticky when stacked together. Store in an airtight container in the fridge for up to 3 days. Place a small piece of parchment paper between each pancake to prevent sticking.
Freezer Storage
These freeze well. Stack with parchment paper between each pancake, seal in a zip-lock bag, and freeze for up to 3 months. Individual frozen pancakes can go straight from the freezer to the toaster or microwave
Still Hungry, Try It Next recipe :-
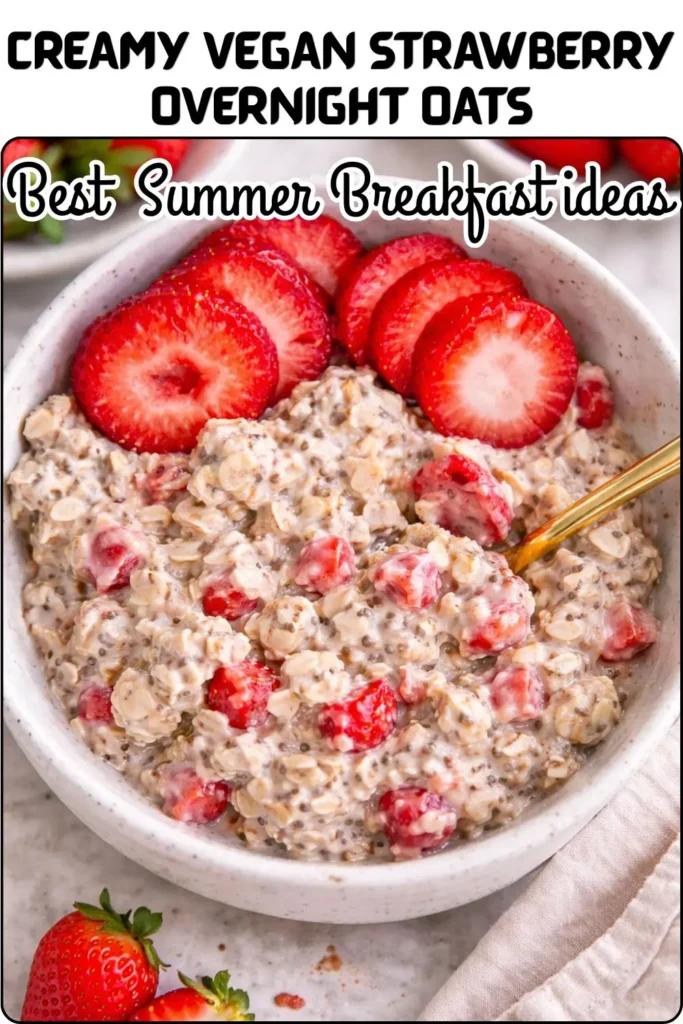
Creamy Vegan Strawberry Overnight Oats
Reheating Options
- Toaster: Best method. 1–2 minutes produces warm, slightly crispy edges that are genuinely excellent. IMO this is better than eating them fresh.
- Microwave: 30–45 seconds per pancake. Faster but softer result. Fine for a quick weekday morning.
- Oven: Place on a baking sheet at 350°F (175°C) for 5–8 minutes. Good for reheating multiple pancakes at once.
Making These Fully Gluten-Free
The recipe is naturally gluten-free in its ingredients — oats, bananas, and plant milk are all inherently gluten-free foods. The important caveat is that regular oats are often processed in facilities that also handle wheat, which means they can be contaminated with gluten and aren’t suitable for people with coeliac disease or serious gluten sensitivity.
To make these pancakes fully and safely gluten-free, buy oats that are certified gluten-free — look for the certification mark on the packaging. The oats themselves are processed in dedicated gluten-free facilities to prevent cross-contamination. The recipe works identically with certified gluten-free oats.
Variations to Try Once You’ve Made the Original
Blueberry Oat Pancakes
Fold ½ cup of fresh or frozen blueberries into the finished batter before cooking. Press a few extra into each pancake immediately after pouring. The blueberries add bursts of juicy sweetness throughout.
Cinnamon Spice Version
Add ½ teaspoon of ground cinnamon and ¼ teaspoon of ground nutmeg to the blender before blending everything together. The warm spices against the banana creates something that tastes like a cross between a pancake and a banana bread.
Chocolate Chip Version
Stir a tablespoon of vegan dark chocolate chips into the batter after blending. Press a few into the surface of each pancake immediately after pouring. Chocolate-banana is a combination that needs no further justification.
Vanilla and Cardamom
Add ½ teaspoon of vanilla extract and ¼ teaspoon of ground cardamom to the batter. The floral, warmly spiced cardamom against the sweet banana produces a flavour combination that feels genuinely special.
Higher Protein Version
Use soy milk and add a scoop of vanilla vegan protein powder to the blender. The texture changes slightly but the pancakes still cook and taste well. You’ll push each serving past 20g of protein — genuinely impressive for a pancake breakfast.
Frequently Asked Questions
Why are my pancakes sticking to the pan? Either the pan isn’t hot enough before adding the batter, or you’re not using enough oil. Make sure the pan is properly preheated and add a small amount of oil between each batch. A good non-stick pan greatly reduces this problem.
Can I make the batter the night before? The batter can be refrigerated for up to 24 hours. The oat flour continues absorbing liquid overnight, so the batter will be thicker in the morning. Stir in a tablespoon or two of plant milk to loosen it back to pouring consistency before cooking.
Can I use quick oats instead of rolled oats? Yes — quick oats blend into flour well and work in this recipe. Steel-cut oats don’t blend finely enough and should be avoided.
My pancakes aren’t forming bubble holes — what’s wrong? The heat is probably too low. The bubbles form as the batter heats through from the bottom. Increase the heat slightly and wait — they’ll appear once the pan is at the right temperature.
Can I make these without a blender? You can use pre-made oat flour instead of blending rolled oats (use 2¼ cups), and then mash the bananas very thoroughly with a fork before whisking everything together. The texture won’t be as smooth but the recipe will still work.
Are these suitable for children? Absolutely — these are kid-friendly, naturally sweet, and free from common allergens (apart from oats, obviously). The banana sweetness tends to be very popular with younger eaters.
Make These This Weekend
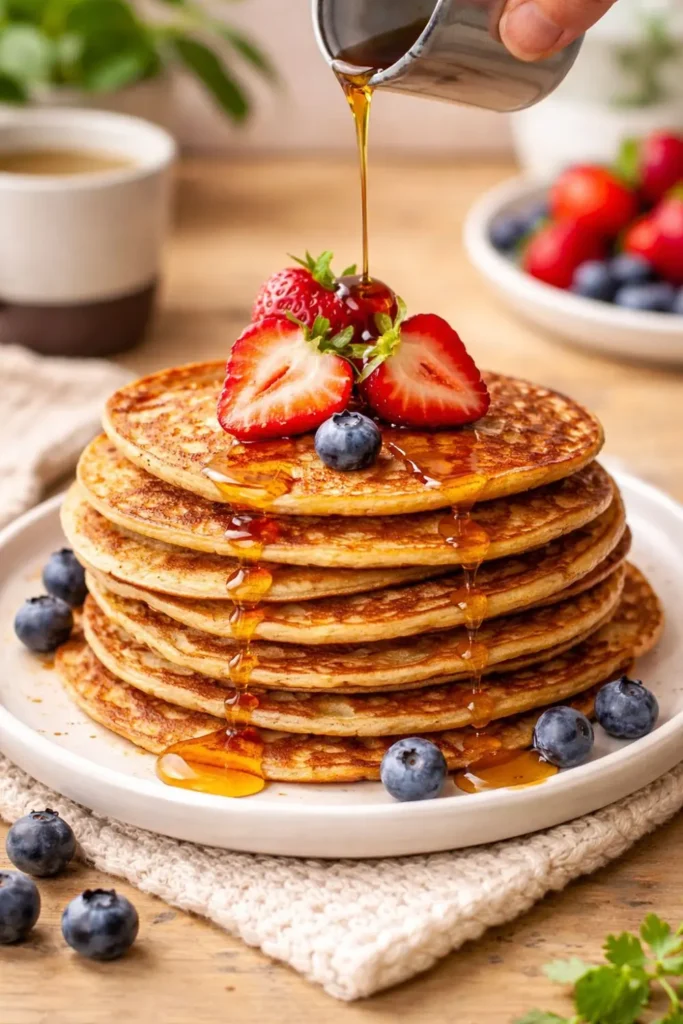
Here’s the complete picture: two cups of rolled oats, two ripe bananas, and 2¼ cups of plant milk. Blend in two steps. Cook in a pan. Get 6–7 pancakes for two people, at 263 calories per serving, with 6.4g of fibre, 7.4g of protein, and the kind of naturally sweet, banana-forward flavour that makes a weekend morning feel genuinely special.
Three ingredients, a blender, and 25 minutes. No specialist vegan ingredients, no elaborate substitutions, no complicated technique. Just the best argument I know for keeping a bunch of ripe bananas and a bag of rolled oats permanently stocked in your kitchen.
Make these on your next slow morning. Top them generously. Eat them while they’re warm. And next time someone tells you vegan gluten-free pancakes can’t be good — you’ll know exactly what to say.
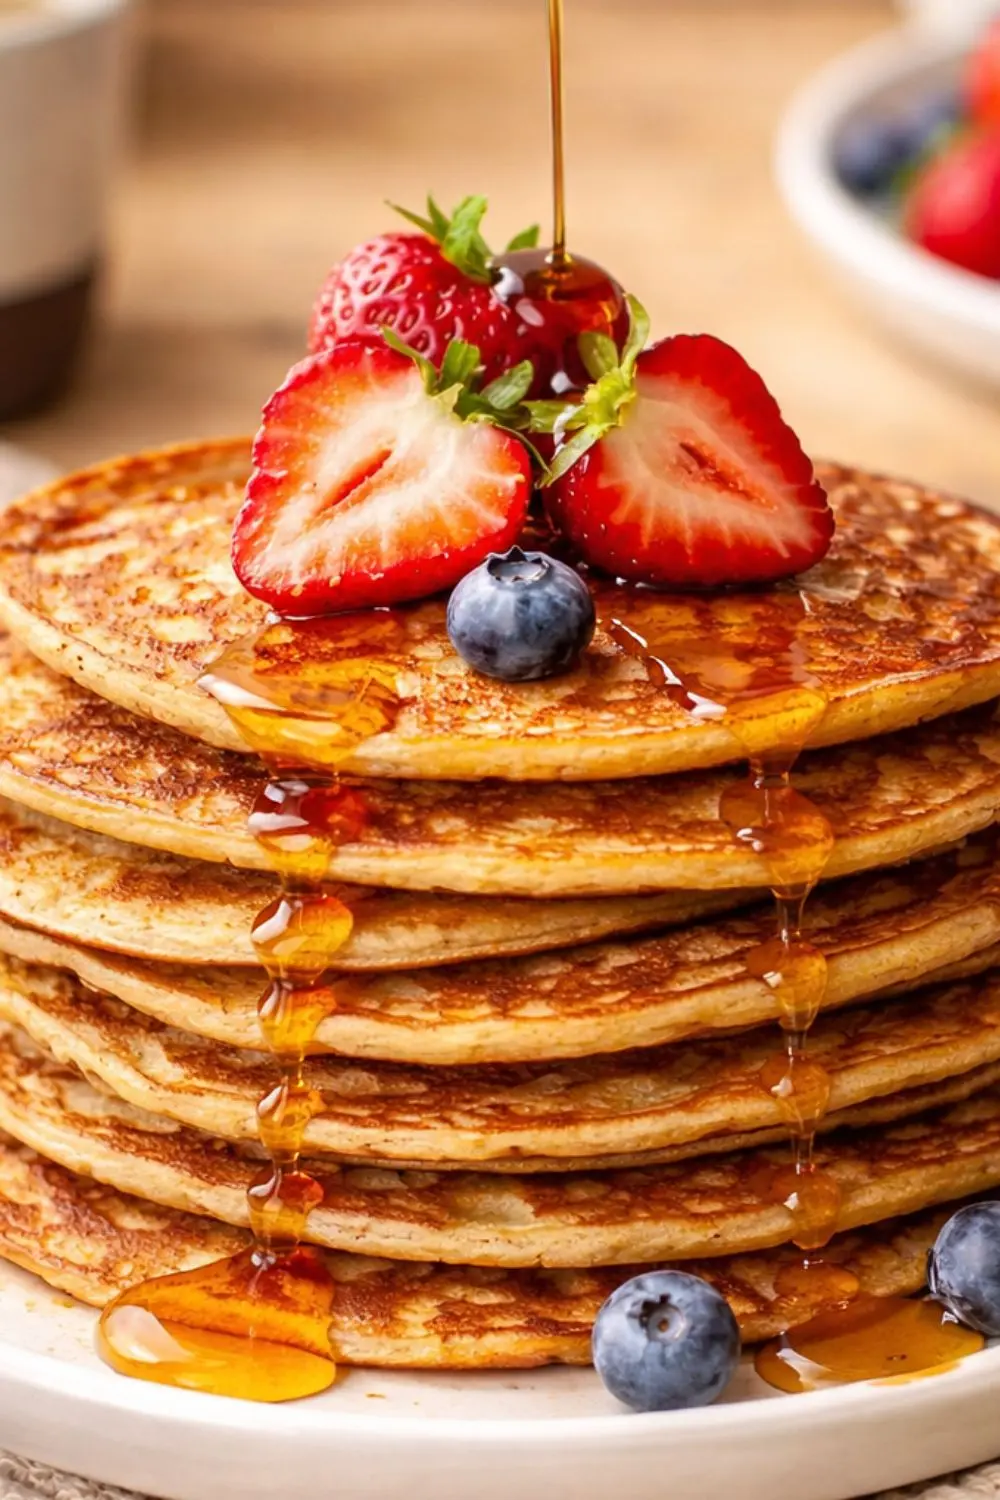
Vegan Gluten-Free Banana Oat Pancakes Three-Ingredient Breakfast
Ingredients
Equipment
Method
- Step 1: Add the rolled oats to your blender and blend on high power for about 20 seconds until they’ve turned into a fine flour. Use the end of a wooden spoon to loosen any flour stuck to the bottom or sides of the jug.
- Step 2: Add the bananas and plant milk to the blender with the freshly made oat flour. Blend on high for 30 seconds until the batter is smooth and fully combined. Scrape down the sides if needed and blend briefly again.
- Step 3: Heat 1 teaspoon of oil in a frying pan over medium heat. The pan is ready when a drop of water sizzles immediately on contact. Pour in ½ cup of batter and allow it to spread into a wide circle naturally.
- Step 4: Cook for 2–3 minutes until bubble holes form across the surface and the edges look set and solid rather than wet and shiny.
- Step 5: Flip once with a spatula and cook for another 2 minutes until the underside is golden brown.
- Step 6: Repeat for all pancakes — you’ll get 6–7 from this batch. Add a small amount of oil between batches as needed. Keep cooked pancakes warm on a plate in the oven at a low temperature (around 200°F / 90°C) until you’re ready to serve.
- Step 7: Serve with fresh berries, sliced fruit, maple syrup, and coconut whipped cream.
Notes
Calorie & Nutrition Breakdown (Per Serving — Half the Recipe, 3–4 Pancakes)
| Nutrient | Per Serving |
| Calories | 263 kcal |
| Carbohydrates | 51.8g |
| Protein | 7.4g |
| Total Fat | 4.2g |
| Saturated Fat | 0.5g |
| Fibre | 6.4g |
| Sugar | 16.9g |
| Sodium | 50mg |
| Calcium | 185mg |
| Iron | 3mg |
| Potassium | 211mg |

Hi — I’m Rachel. I’m a wife, a mom, and a home cook who believes that food should bring comfort, joy, and compassion to the table. I live with my family — two hungry little foodies who are my most honest recipe testers — and together we’ve built a kitchen culture that’s all about good food that happens to be 100% vegan. I started this blog because I wanted a place to share the recipes that keep our days moving, the dishes that make weeknights feel a little easier, and the meals that become our little family traditions.