
This vegan raspberry cake is technically a no-bake cashew cheesecake and that description undersells it so dramatically that I’m going to lead with the result instead: a silky, creamy, intensely raspberry-pink filling set in a buttery digestive cookie crust, topped with a glossy ruby-red raspberry glaze and fresh raspberries. It looks like something from a high-end patisserie. It serves 12 people at 324 calories per slice. And once you’ve made it, you’ll understand why cashew cheesecake has earned a permanent place in serious vegan dessert repertoires.
I started making this vegan raspberry cake recipe when I needed a showstopper dessert that I could make the day before without any quality loss in fact, one that specifically improves with overnight refrigeration. The cashew-cream cheese filling sets beautifully in the freezer, the flavors deepen overnight, and the raspberry glaze poured on the next day stays glossy and vibrant. The entire dessert is completely plant-based, grain-free in the filling, and genuinely more impressive than most baked cakes in its visual impact.
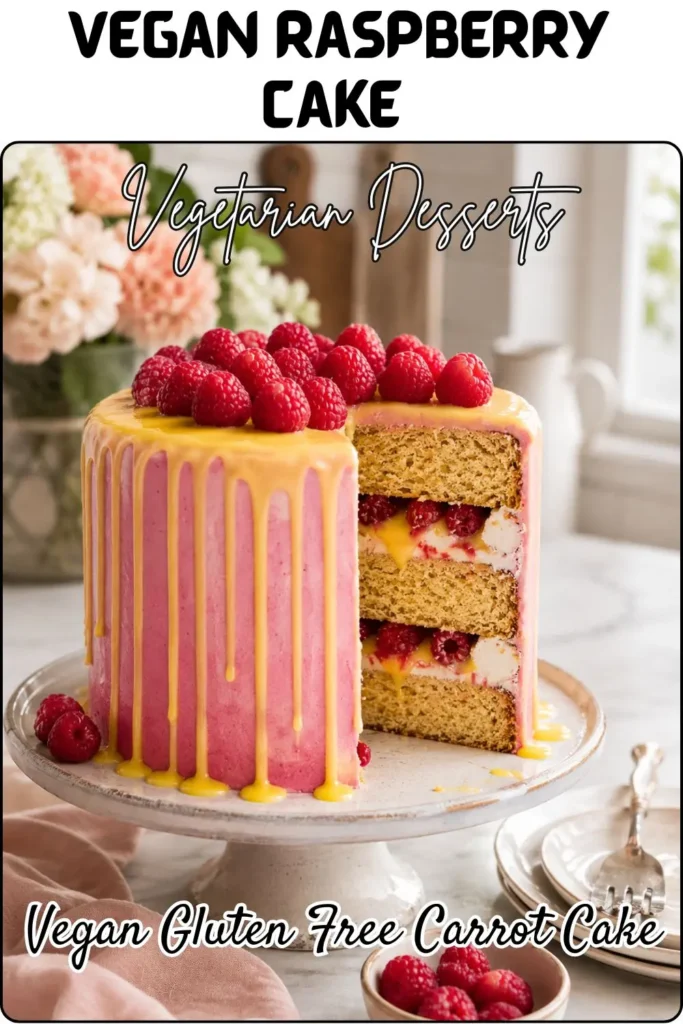
My Recipe Timing and Serving Details
Here’s your complete planning overview:
| Detail | Info |
| Prep Time | 35 minutes |
| Freeze Time | 4 hours minimum (overnight preferred) |
| Total Time | ~4 hours 35 minutes |
| Servings | 12 slices |
| Serving Size | 1 of 12 slices |
| Calories Per Slice | 324 kcal |
| Course | Dessert |
| Diet | 100% Vegan |
This vegan raspberry cake serves 12 people as a generous dessert portion. At 324 calories per slice with 5 grams of protein, 5 grams of fiber, and 12mg of Vitamin C, each slice provides real nutritional substance alongside its genuinely luxurious flavor. The minimum 4-hour freeze sets this firmly as a make-ahead dessert overnight is specifically better and recommended for the best texture and flavor development.
Why Cashew + Cream Cheese Filling Is the Gold Standard for Vegan Cheesecake
Have you ever had a vegan cheesecake that tasted primarily of coconut oil and vaguely of cream cheese, without the genuine silky richness of the real thing? That result comes from using only vegan cream cheese without the cashew base the cream cheese alone can’t achieve the smooth, creamy, dense filling that makes a proper cheesecake satisfying.
This recipe’s dual filling approach both soaked cashews AND vegan cream cheese produces something genuinely different:
Soaked cashews blend to a completely smooth, naturally creamy base with a neutral flavor and high fat content. They provide the filling’s body and mouthfeel the luxurious density that makes each bite feel substantial and satisfying.
Vegan cream cheese adds the tang and slight sharpness that makes the filling taste genuinely like cheesecake rather than just a sweet cashew cream. Without the cream cheese, the filling tastes pleasant but doesn’t have the characteristic cheesecake character.
The two together create a filling that’s richer, creamier, and more complex than either alone and the raspberry puree blended through gives it a vivid pink color and fresh berry flavor that makes it specifically and unmistakably a vegan raspberry cake.
FYI the optional raspberry powder or freeze-dried raspberries added to the filling intensify both the color and the raspberry flavor considerably. If you want a deeply vibrant pink filling with intense raspberry presence throughout, add the 25g. If you prefer a subtler color and flavor from the fresh raspberries alone, skip it. Both versions are excellent just different in intensity.
Full Ingredient List
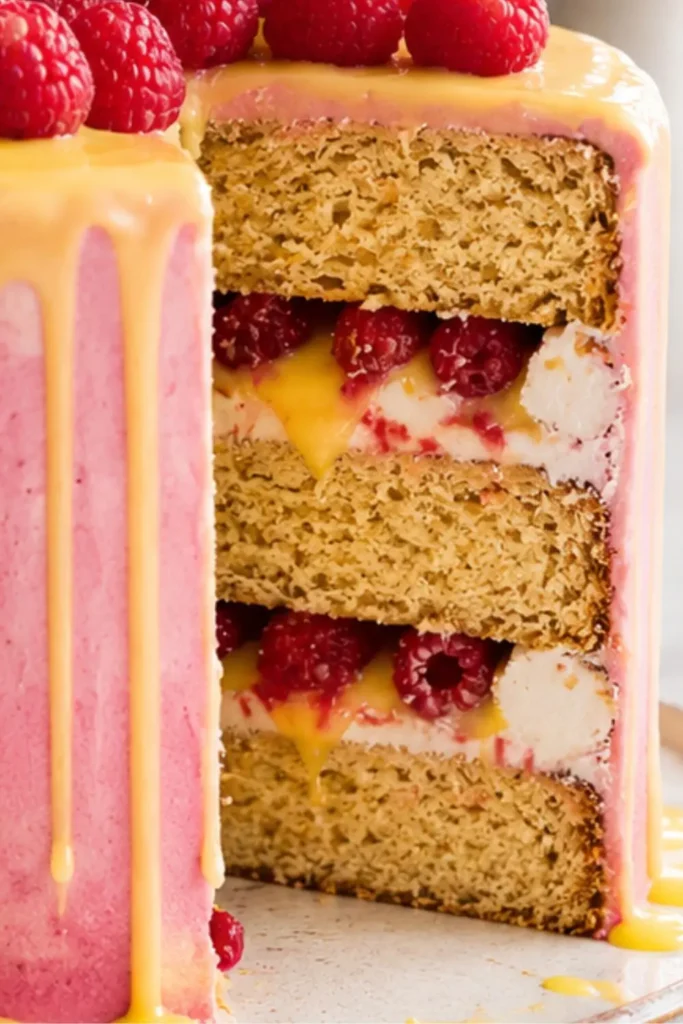
Three components, each critical:
The Cookie Crust:
- 180g (12 cookies) vegan digestive cookies , or other vegan cookies
- 2 tablespoons coconut sugar or cane sugar
- ½ teaspoon sea salt
- 90g (6½ tablespoons) vegan butter
The Filling:
- 200g (1⅔ cups) fresh raspberries
- 200g (1½ cups) cashews, soaked (see below)
- 300g (10.6 oz) vegan cream cheese
- 80ml (⅓ cup) pure maple syrup
- 70g (⅓ cup) solid coconut oil
- 1 tablespoon fresh lemon juice or lime juice
- 1 tablespoon vanilla extract
- 25g (¼ cup) raspberry powder or freeze-dried raspberries (optional)
The Raspberry Glaze:
- 120g (1 cup) fresh raspberries
- 30g (2½ tablespoons) caster sugar
- 1 teaspoon fresh lemon juice
- 1 tablespoon cornstarch
- 118ml (½ cup) water
- 200g (1⅔ cups) additional fresh raspberries , for garnish
The soaked cashews are a critical component that requires advance planning. Raw cashews soaked in cold water for 4–6 hours (or in hot water for 30–60 minutes if you’re short on time) blend to a completely smooth, silky consistency. Unsoaked cashews or insufficiently soaked ones produce a slightly grainy, less creamy filling that feels uneven on the palate. If you discover at the last minute that you forgot to soak the cashews, a 30-minute hot water soak produces an adequate result, though 4–6 hours cold water produces the best outcome.
The solid coconut oil (room temperature solid state, not melted) contributes to the filling’s set. At refrigerator and freezer temperatures, coconut oil hardens this hardening is what helps the filling achieve its firm, sliceable texture. Coconut oil that’s been melted and re-solidified works equally well; just make sure it’s back to its solid state when measured.
Equipment You’ll Need For
Primary Equipment
- 7-inch or 8-inch round cake tin with a removable base – the removable base is non-negotiable for this recipe. You freeze the cheesecake solid, then need to release it cleanly. A spring-form pan or any tin with a push-out base works. A 7-inch produces a taller filling; an 8-inch produces a wider, slightly lower filling. Both work at the specified quantities.
- High-speed blender – specifically for the filling. A high-speed blender (Vitamix, Blendtec, NutriBullet Pro) creates a completely smooth, creamy filling from cashews and cream cheese. A standard blender produces an adequate result but may require longer blending and more scraping. A food processor works but produces a slightly less uniformly smooth filling acceptable but not ideal.
- Food processor – for the crust. Blitzes cookies to fine, even crumbs efficiently.
- Small saucepan – for the raspberry glaze
- Fine-mesh sieve – for straining seeds from the raspberry glaze. This step is what makes the glaze glossy and smooth rather than seedy.
Supporting Equipment
- Offset spatula – for spreading the glaze over the top of the set cheesecake
- Parchment paper – for lining the tin base
- Measuring cups, spoons, and kitchen scale – the recipe provides gram measurements throughout; a scale produces the most accurate results
- Whisk – for the cornstarch-water mixture in the glaze
- Flat-bottomed glass or ¼ cup measure – for pressing and compacting the cookie crust evenly
Step-by-Step Instructions For Vegan Raspberry Cake
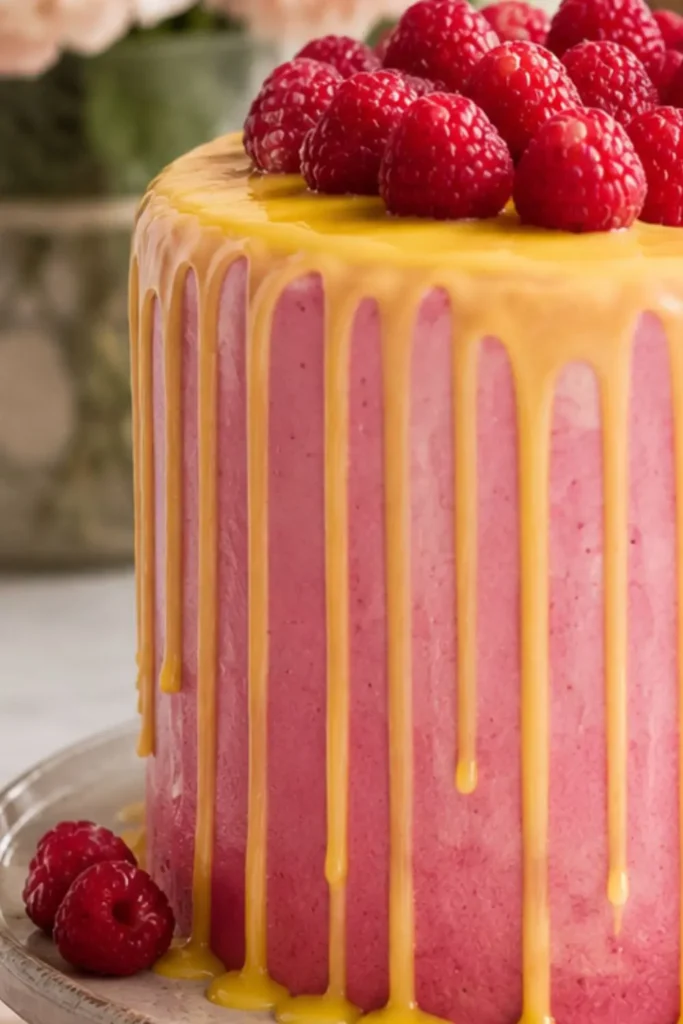
Stage 1 – The Cookie Crust
Step 1 – Line the pan. Line the base of your 7 or 8-inch removable-base tin with parchment paper. Cut a circle to fit the base this ensures the crust releases cleanly when you remove the frozen cheesecake.
Step 2 – Blitz the crust. Add the vegan digestive cookies, coconut sugar, and sea salt to a food processor. Blitz for approximately 30 seconds until evenly, finely ground you want the consistency of breadcrumbs, not flour. Add the melted vegan butter and blend again until the mixture sticks together between your fingers when pressed. This cohesion indicates the butter has fully incorporated and the crust will hold together after freezing.
Step 3 – Press and freeze. Transfer the crust mixture to the lined tin. Use a flat-bottomed glass or the bottom of a measuring cup to press it down firmly and evenly, creating a compact, level base. Place in the freezer while you prepare the filling
Vegan digestive cookie options- Most digestive biscuits (McVitie’s sells a vegan version, as do many store brands) are accidentally vegan. Check labels some contain butter or milk. Ginger snaps, Oreos (original version is vegan), or any plain vegan cookie create excellent crusts with different flavor variations.
Stage 2 – The Cashew Raspberry Filling
Step 4 – Blend until smooth. Drain and rinse the soaked cashews. Add them to the high-speed blender along with the fresh raspberries, vegan cream cheese, maple syrup, solid coconut oil, lemon juice, vanilla extract, and optional raspberry powder.
Blend on high speed for 2–3 minutes until completely smooth and creamy. Stop and scrape down the sides once or twice to ensure everything incorporates. The finished filling should look like a thick, vibrant pink cream with absolutely no visible texture from the cashews.
Testing for smoothness, Run a small amount between your fingers. Any graininess indicates the cashews need more blending. Continue in 30-second increments, scraping between each, until no graininess is detectable.
Step 5 – Pour and freeze. Pour the filling over the firm crust in the tin. Smooth the top with a spatula. Place in the freezer and allow to set for 4 hours minimum overnight produces the best result.
The freezer set is what gives this cake its clean, sliceable edges and firm-but-creamy texture. Refrigerator setting alone takes significantly longer and produces a slightly softer result.
Once set- Remove the tin from the freezer and release the cheesecake from the tin while still frozen. Work quickly the edges soften at room temperature and a still-frozen cheesecake releases most cleanly.
Stage 3 – The Raspberry Glaze
The glaze goes on after the cheesecake is set and released from the tin. Make it while the cheesecake is in the freezer so it has time to cool before application.
Step 6 – Cook the raspberries. Add the 120g of fresh raspberries, caster sugar, and lemon juice to a small saucepan. Bring to a simmer over medium heat, cooking for 5 minutes while whisking occasionally to break down the raspberries and prevent sticking.
Step 7 – Strain out the seeds. Pass the cooked raspberry mixture through a fine-mesh sieve into a bowl, pressing the pulp through with the back of a spoon. Discard the seeds. Return the smooth raspberry sauce to the saucepan.
Step 8 – Thicken with cornstarch. In a small bowl, whisk together the cornstarch and water until completely smooth no lumps. Add this mixture to the raspberry sauce in the saucepan. Bring to a simmer over medium heat, stirring continuously. Cook for 2–3 minutes until the glaze thickens noticeably. Remove from heat and set aside to cool for 15–20 minutes.
Why does the glaze need to cool before application? A hot glaze poured over a frozen cheesecake creates rapid temperature change that can cause the filling surface to weep liquid and the glaze to set unevenly. A cooled (but still pourable) glaze applies smoothly and sets cleanly.
Step 9 – Apply the glaze. Pour approximately ⅔ of the raspberry glaze over the top of the set cheesecake. Use an offset spatula to gently ease it toward the edges you want it to cover the top completely and cascade slightly over the edges for a dramatic visual effect. Reserve the remaining ⅓ for serving alongside.
Garnish immediately with the 200g of fresh raspberries while the glaze is still tacky they’ll adhere as the glaze continues to set.
Vegan Cream Cheese Which Brand Works Best
The vegan cream cheese is the filling’s primary flavor contributor choosing the right brand matters:
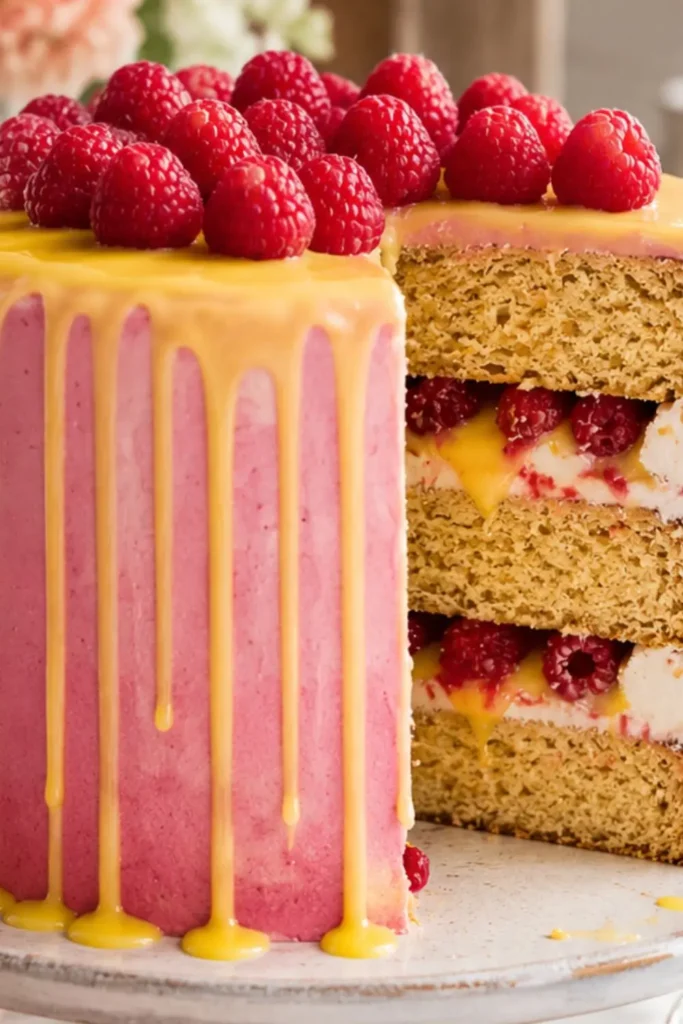
Best options for no-bake cheesecake:
- Kite Hill Almond Cream Cheese – the most neutral, smooth flavor that lets the raspberry lead. Produces a very clean, sophisticated cheesecake flavor.
- Violife Original Cream Cheese – slightly tangier than Kite Hill, works excellently in this application. Good structure that blends smoothly.
- Miyoko’s Vegan Cream Cheese – the tangiest, most cream-cheese-forward flavor. Produces the most “traditional cheesecake” taste of any vegan option.
Avoid- Very thin or runny cream cheese alternatives these affect the filling’s ability to set properly and produce a softer, less sliceable result.
The Make-Ahead Timeline This Dessert’s Greatest Strength
This vegan raspberry almond cake (well, cheesecake) genuinely thrives on advance preparation:
Two days before- Soak cashews in cold water. Make the crust and freeze.
Day before- Make the filling and freeze overnight. Make the raspberry glaze and refrigerate. The overnight freeze produces a better-set, more uniformly firm filling than a 4-hour freeze.
Day of serving- Remove cheesecake from freezer, release from tin, apply glaze, garnish with fresh raspberries. Refrigerate until serving approximately 30–45 minutes in the refrigerator brings the cheesecake from frozen to perfectly set and sliceable.
IMO, the day-before timeline is genuinely better than same-day preparation both for the flavor development in the filling and for the stress-free hosting it provides.
Try It Next recipe
Nutrition Information Per Slice
At 324 calories per slice for 12 slices:
| Nutrient | Per Slice |
| Calories | 324 kcal |
| Carbohydrates | 32g |
| Protein | 5g |
| Fat | 21g |
| Fiber | 5g |
| Sugar | 16g |
| Sodium | 58mg |
| Potassium | 298mg |
| Calcium | 36mg |
| Iron | 3mg |
| Vitamin C | 12mg |
The remarkably low 58mg of sodium per slice reflects the whole-food, minimally processed ingredient base. The 5 grams of fiber comes from the raspberries and cashews working together. The 21 grams of fat comes primarily from cashews and coconut oil predominantly unsaturated and medium-chain triglycerides respectively.
Storage
- Refrigerator- Store in an airtight container for up to 5 days (depending on fresh raspberry garnish freshness fresh raspberries deteriorate faster than the cheesecake itself)
- Freezer- Store unglazed and ungarnished for up to 3 months. Apply glaze and garnish after thawing.
- Service temperature- This cheesecake is best served slightly above freezing removed from the refrigerator 10 minutes before slicing for the cleanest, most beautiful cut edges.
My Final Thoughts
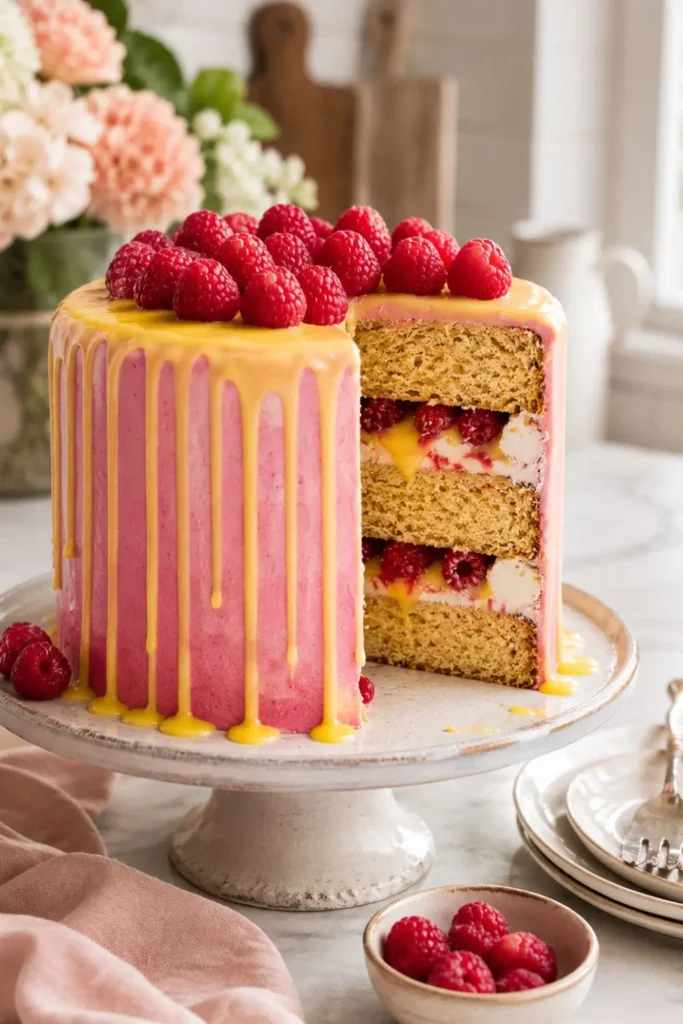
Vegan raspberry cake in no-bake cashew cheesecake form is the dessert that makes guests visually stop before they eat the vibrant raspberry glaze, the gleaming fresh berry garnish, the perfect clean sides. Then they taste it and stop talking for a moment. That’s the reaction worth planning around.
324 calories per slice, 12 people served, make-ahead by design, completely plant-based.
Soak the cashews. Make the crust first. Blend the filling smooth. Freeze overnight. Apply the glaze the next day. Serve to a genuinely impressed table.
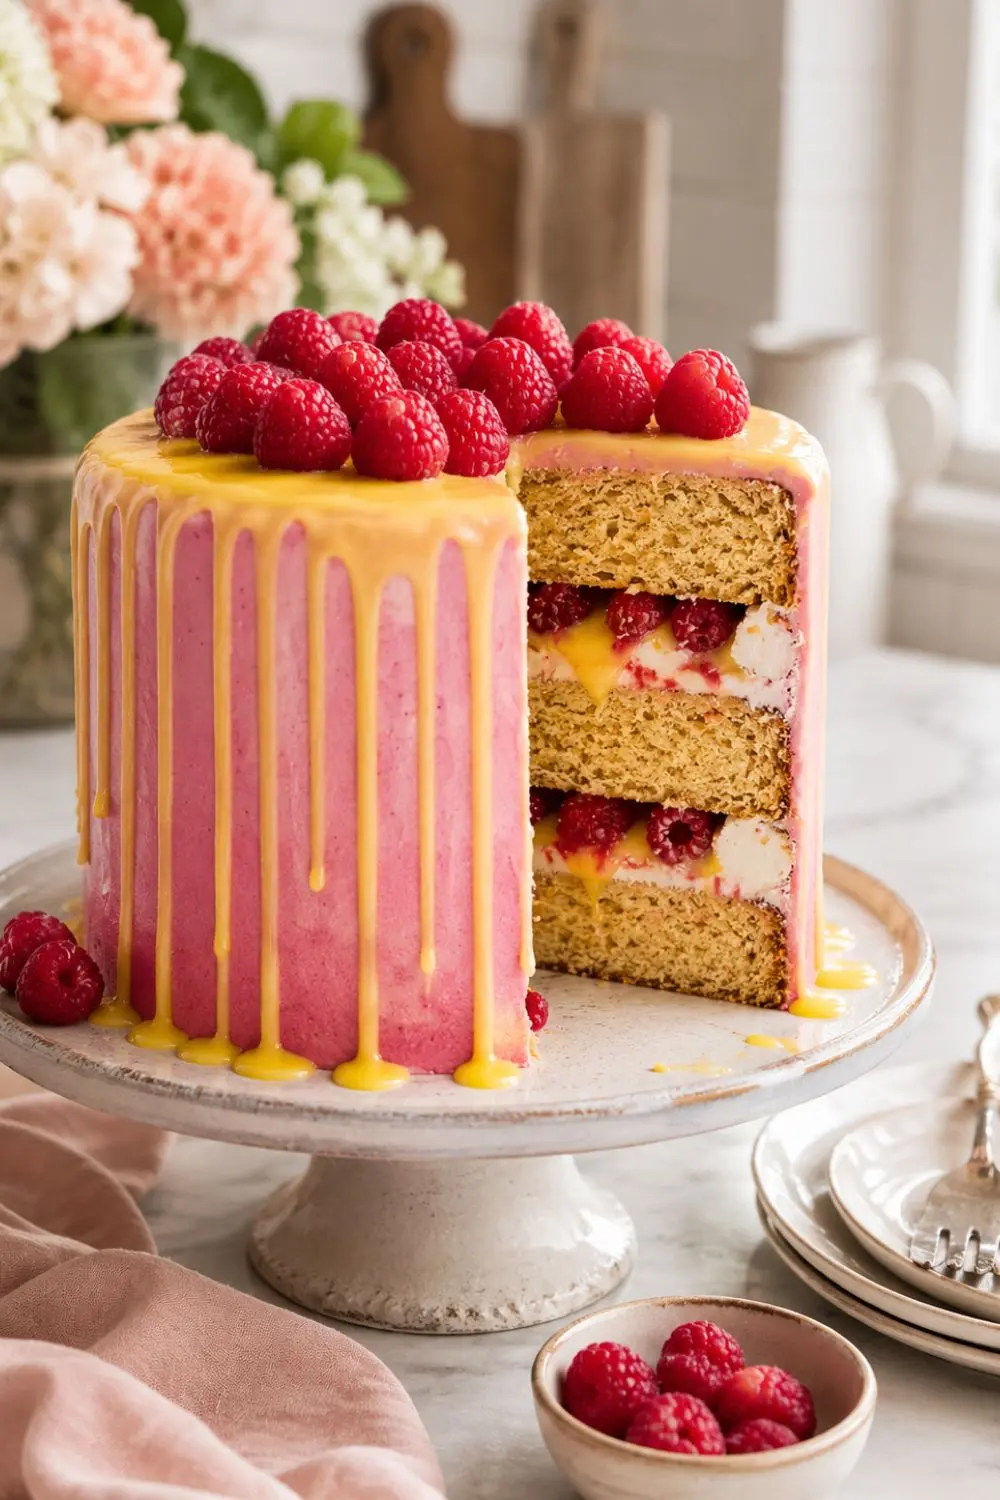
Vegan Raspberry Cake The No-Bake Cashew Cheesecake
Ingredients
Equipment
Method
- Stage 1 – The Cookie Crust
- Step 1 – Line the pan. Line the base of your 7 or 8-inch removable-base tin with parchment paper. Cut a circle to fit the base this ensures the crust releases cleanly when you remove the frozen cheesecake.
- Step 2 – Blitz the crust. Add the vegan digestive cookies, coconut sugar, and sea salt to a food processor. Blitz for approximately 30 seconds until evenly, finely ground you want the consistency of breadcrumbs, not flour. Add the melted vegan butter and blend again until the mixture sticks together between your fingers when pressed. This cohesion indicates the butter has fully incorporated and the crust will hold together after freezing.
- Step 3 – Press and freeze. Transfer the crust mixture to the lined tin. Use a flat-bottomed glass or the bottom of a measuring cup to press it down firmly and evenly, creating a compact, level base. Place in the freezer while you prepare the filling
- Vegan digestive cookie options- Most digestive biscuits (McVitie’s sells a vegan version, as do many store brands) are accidentally vegan. Check labels some contain butter or milk. Ginger snaps, Oreos (original version is vegan), or any plain vegan cookie create excellent crusts with different flavor variations.
- Stage 2 – The Cashew Raspberry Filling
- Step 4 – Blend until smooth. Drain and rinse the soaked cashews. Add them to the high-speed blender along with the fresh raspberries, vegan cream cheese, maple syrup, solid coconut oil, lemon juice, vanilla extract, and optional raspberry powder.
- Blend on high speed for 2–3 minutes until completely smooth and creamy. Stop and scrape down the sides once or twice to ensure everything incorporates. The finished filling should look like a thick, vibrant pink cream with absolutely no visible texture from the cashews.
- Testing for smoothness, Run a small amount between your fingers. Any graininess indicates the cashews need more blending. Continue in 30-second increments, scraping between each, until no graininess is detectable.
- Step 5 – Pour and freeze. Pour the filling over the firm crust in the tin. Smooth the top with a spatula. Place in the freezer and allow to set for 4 hours minimum overnight produces the best result.
- The freezer set is what gives this cake its clean, sliceable edges and firm-but-creamy texture. Refrigerator setting alone takes significantly longer and produces a slightly softer result.
- Once set- Remove the tin from the freezer and release the cheesecake from the tin while still frozen. Work quickly the edges soften at room temperature and a still-frozen cheesecake releases most cleanly.
- Stage 3 – The Raspberry Glaze
- The glaze goes on after the cheesecake is set and released from the tin. Make it while the cheesecake is in the freezer so it has time to cool before application.
- Step 6 – Cook the raspberries. Add the 120g of fresh raspberries, caster sugar, and lemon juice to a small saucepan. Bring to a simmer over medium heat, cooking for 5 minutes while whisking occasionally to break down the raspberries and prevent sticking.
- Step 7 – Strain out the seeds. Pass the cooked raspberry mixture through a fine-mesh sieve into a bowl, pressing the pulp through with the back of a spoon. Discard the seeds. Return the smooth raspberry sauce to the saucepan.
- Step 8 – Thicken with cornstarch. In a small bowl, whisk together the cornstarch and water until completely smooth no lumps. Add this mixture to the raspberry sauce in the saucepan. Bring to a simmer over medium heat, stirring continuously. Cook for 2–3 minutes until the glaze thickens noticeably. Remove from heat and set aside to cool for 15–20 minutes.
- Why does the glaze need to cool before application? A hot glaze poured over a frozen cheesecake creates rapid temperature change that can cause the filling surface to weep liquid and the glaze to set unevenly. A cooled (but still pourable) glaze applies smoothly and sets cleanly.
- Step 9 – Apply the glaze. Pour approximately ⅔ of the raspberry glaze over the top of the set cheesecake. Use an offset spatula to gently ease it toward the edges you want it to cover the top completely and cascade slightly over the edges for a dramatic visual effect. Reserve the remaining ⅓ for serving alongside.
- Garnish immediately with the 200g of fresh raspberries while the glaze is still tacky they’ll adhere as the glaze continues to set.
Notes
Nutrition Information Per Slice
At 324 calories per slice for 12 slices:| Nutrient | Per Slice |
| Calories | 324 kcal |
| Carbohydrates | 32g |
| Protein | 5g |
| Fat | 21g |
| Fiber | 5g |
| Sugar | 16g |
| Sodium | 58mg |
| Potassium | 298mg |
| Calcium | 36mg |
| Iron | 3mg |
| Vitamin C | 12mg |

Hi — I’m Rachel. I’m a wife, a mom, and a home cook who believes that food should bring comfort, joy, and compassion to the table. I live with my family — two hungry little foodies who are my most honest recipe testers — and together we’ve built a kitchen culture that’s all about good food that happens to be 100% vegan. I started this blog because I wanted a place to share the recipes that keep our days moving, the dishes that make weeknights feel a little easier, and the meals that become our little family traditions.