Equipment You'll Need
This recipe runs on stovetop cooking with a blending step no actual slow cooker required for the dip itself, though the summer crockpot series inspiration means this recipe fits the low-and-slow philosophy perfectly:
Primary Cooking Equipment
Large skillet — a 12-inch skillet is the minimum size for accommodating 8 cups of sliced onions. The onions need room to spread out during cooking a crowded pan causes steaming rather than caramelization. As the onions cook down, they'll eventually occupy much less space, but the early stages need surface area.
A cast iron skillet is IMO the ideal vessel for caramelizing onions specifically. Cast iron retains and distributes heat exceptionally evenly, which prevents the hot spots that cause uneven caramelization some pieces burning while others stay raw. It also naturally develops the fond (browned bits) on the pan bottom that the apple cider vinegar and tamari mixture deglazes for additional flavor.
For the Dip Base
Medium mixing bowl — for whisking together the silken tofu, lemon juice, and remaining salt before folding in the onions
Small bowl — for whisking the vinegar, tamari, miso, and maple syrup together before adding to the onions
Whisk — essential for getting the silken tofu completely smooth and for combining the small sauce bowl ingredients
Supporting Equipment
Cutting board and sharp knife — for thinly slicing 3 onions and mincing 2 garlic cloves. A mandoline slicer speeds up the onion slicing dramatically if you have one — uniform thickness produces more even caramelization.
Wooden spoon or silicone spatula — for stirring the onions every 5 minutes during caramelization
Measuring spoons
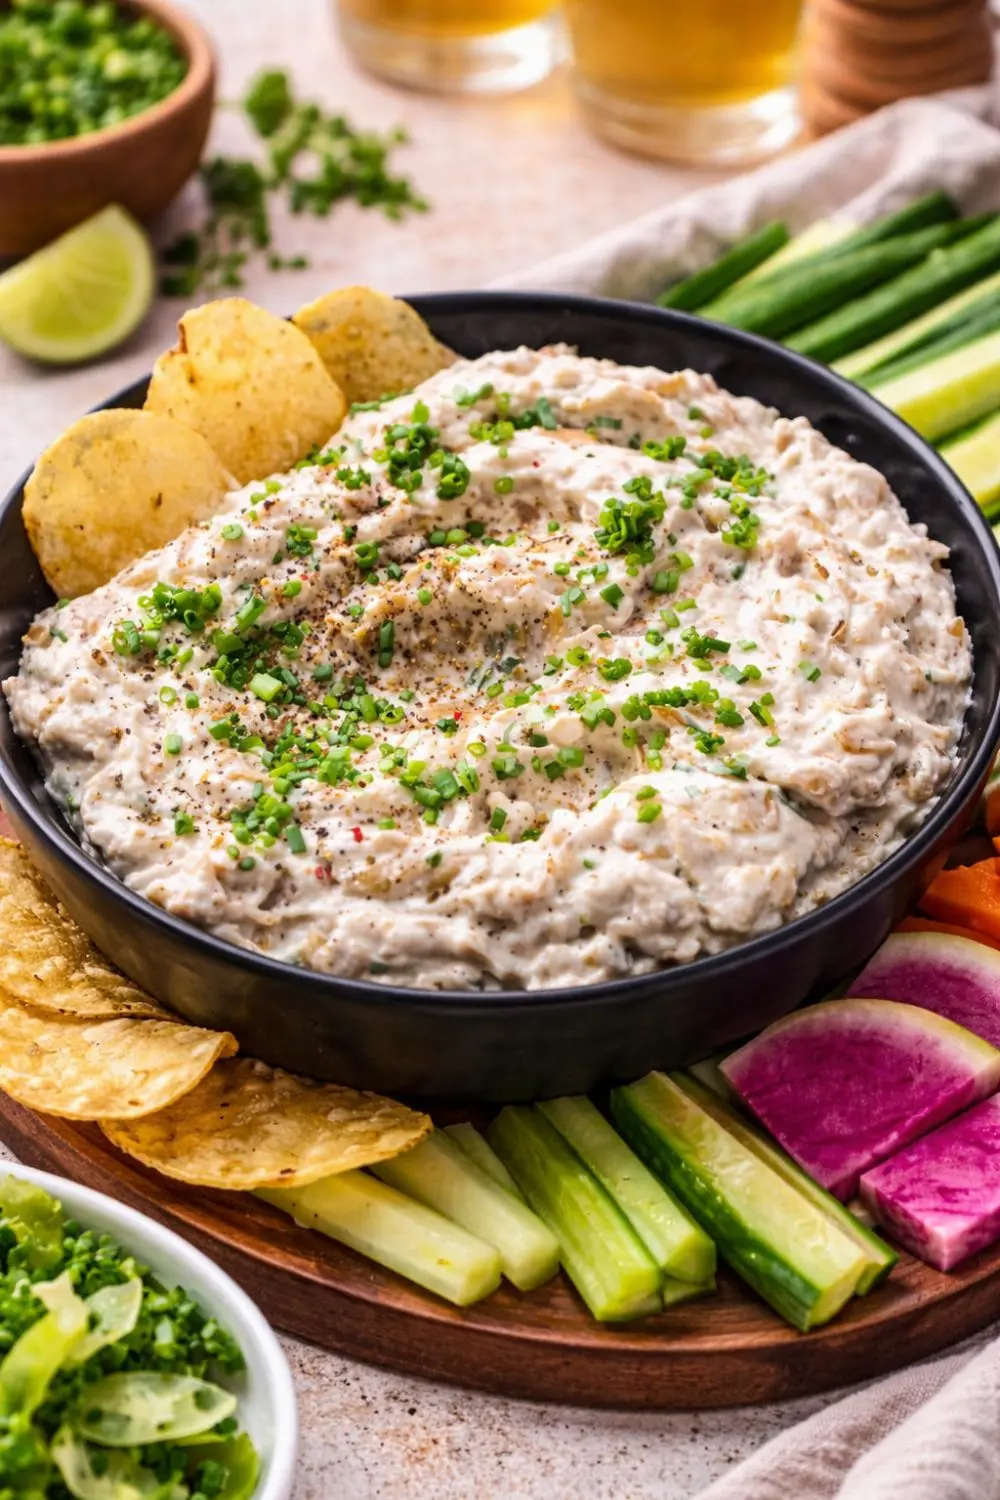
Serving bowl — something wide and shallow shows off the dip's beautiful golden color and makes chip-dipping easier
The Critical Technique — Proper Onion Caramelization
The entire success of Slow Cooker Vegan Caramelized Onion Dip depends on properly caramelized onions, and this step cannot be rushed. If you try to speed it up by raising the heat, you get browned (sometimes burned) onions rather than caramelized ones and the difference in flavor is significant.
What caramelization actually means: The natural sugars in onions, through sustained medium-heat cooking, convert from starch into sweet, complex sugars that develop a deep golden color and a concentrated sweetness that makes raw or simply cooked onions taste like a completely different food. It takes time at the right temperature. There are no shortcuts.
The Key Caramelization Tips
Medium heat for the first 15 minutes — the onions need to soften before they can caramelize. High heat skips this softening stage and burns the outside before the inside cooks through.
Reduce to medium-low if things are moving too fast — some stove burners run hotter than others. If you see browning in the first 10 minutes, reduce heat immediately.
Stir every 5 minutes — not constantly, but regularly. The onions need contact with the hot pan surface to develop color, and stirring prevents any single layer from burning while redistributing the ones that need more time.
Add ½ teaspoon of salt at the start — salt draws out moisture from the onions, which creates steam that helps them soften in the early stages before caramelization begins.
25–30 minutes for full caramelization — when done properly, the onions reduce dramatically in volume and turn a deep, uniform golden-amber color. They should taste sweet, rich, and complex not sharp or sulfurous.