Step 1- Start the Cashew Soak
Place your 1½ cups of raw cashews in a small bowl and cover completely with hot water. Let them soak while you cook the onions the heat from the water softens them faster than cold water would. If you're using a standard blender rather than a high-speed model, extend this soak to 2–3 hours for the smoothest possible result.
Step 2- Caramelize the Onions Low and Slow
Heat 1 tablespoon of olive oil in your large non-stick skillet over medium-high heat. Add the thinly sliced or diced yellow onions and stir to coat them in the oil for the first minute or two. Then turn the heat down to medium-low, add ¼ teaspoon of salt, and stir to combine.
Now comes the patience part. Let the onions cook, stirring occasionally, for 30–40 minutes. You're looking for golden, deeply translucent onions that have reduced significantly in volume and smell sweet and rich. If they start sticking to the pan or drying out, add a small splash of water to the skillet and stir this happens naturally and is totally normal. Once done, turn off the heat and let them rest in the skillet while you build the cashew base.
Step 3- Blend the Cashew Base
Drain and rinse your soaked cashews. Add them to your high-speed blender along with the vegan Worcestershire sauce, apple cider vinegar, fresh lemon juice, onion powder, garlic powder, 1 teaspoon of salt, dried dill (if using), and ½ cup of water.
Blend on high until completely smooth and creamy use the tamper if your blender has one to push the ingredients fully into the blades. If the mixture feels too thick to blend properly, add more water one tablespoon at a time until it moves freely. The finished cashew base should have the consistency of loose cream cheese thick, spreadable, and completely smooth with no gritty texture.
Step 4- Combine and Season
Scoop the caramelized onions out of the skillet and into the blender or a large mixing bowl. Stir them thoroughly into the cashew base until the onions distribute evenly throughout every spoonful should have both creamy base and pieces of sweet, golden onion.
Taste the dip at this point and adjust seasoning as needed. Want more tang? Add a squeeze more lemon juice. Need more salt? Add it a pinch at a time. Want more depth? A dash more Worcestershire does the job.
Step 5- Chill This Step Matters
Transfer the dip to an airtight container and refrigerate for at least 2 hours before serving. This chilling period isn't just about getting the dip cold it's when the flavors fully meld together and the texture firms up to that perfect, scoopable consistency. The dip actually tastes noticeably better after chilling than it does straight from the blender. Overnight chilling makes it even better.
Step 6- Garnish and Serve
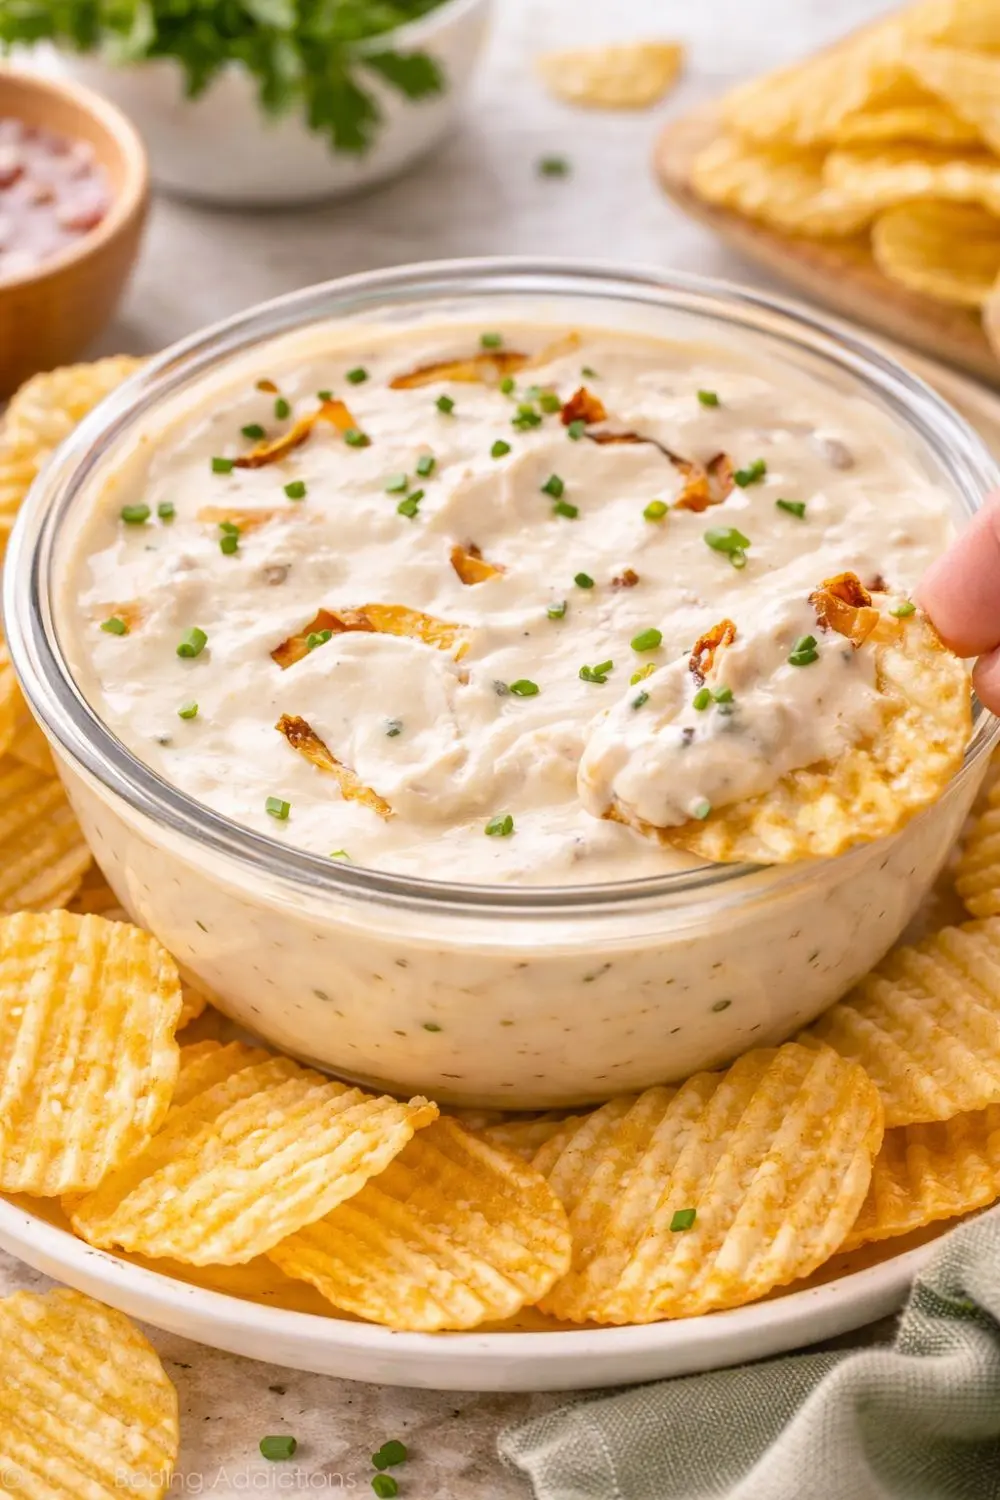
When you're ready to serve, transfer the dip to your serving bowl. Garnish with chopped fresh chives, a few spoonfuls of reserved caramelized onions, and pomegranate arils if you want that showstopping, festive look. Set out your chips, crudités, crostini, or baked potato wedges and let people help themselves.