Step 1 - Prepare Coconut and Pan
Preheat the oven to 180°C (355°F). Line your 8-inch round pan with parchment paper.
If your shredded coconut isn't fine, pulse it in a food processor until it reaches a fine crumb consistency. Set aside.
Step 2 - Combine Dry Ingredients
Add the flour, processed coconut, granulated sugar, baking powder, and salt to your large mixing bowl. Whisk together thoroughly until evenly combined the coconut should distribute uniformly through the flour and sugar rather than clumping in one area.
Step 3 - Add Wet Ingredients
Add all the wet ingredients except the raspberries directly to the flour mixture: the dairy-free milk, canned coconut milk, oil (or melted vegan butter), lemon juice, and vanilla extract.
Mix until just combined no visible dry flour streaks should remain, but don't overmix beyond this point. Overmixing develops gluten and produces a tougher, chewier crumb than this cake should have.
Step 4 - Fold in Raspberries
Add the 1 cup of raspberries (fresh or frozen, absolutely not thawed) to the batter and fold gently with a spatula. Use a lifting and folding motion rather than stirring this preserves the raspberries as whole pieces distributed through the batter rather than crushing them into a pink-stained uniform mixture.
Why not thawed? Frozen raspberries thaw and release significant liquid when added to batter this excess liquid disrupts the batter's moisture balance and can affect the rise. Adding them directly from frozen releases their liquid gradually during baking, which the batter and oven heat can accommodate. The bake time accounts for this frozen raspberries add approximately 10 minutes to the required bake time compared to fresh.
Step 5 -Assemble and Top
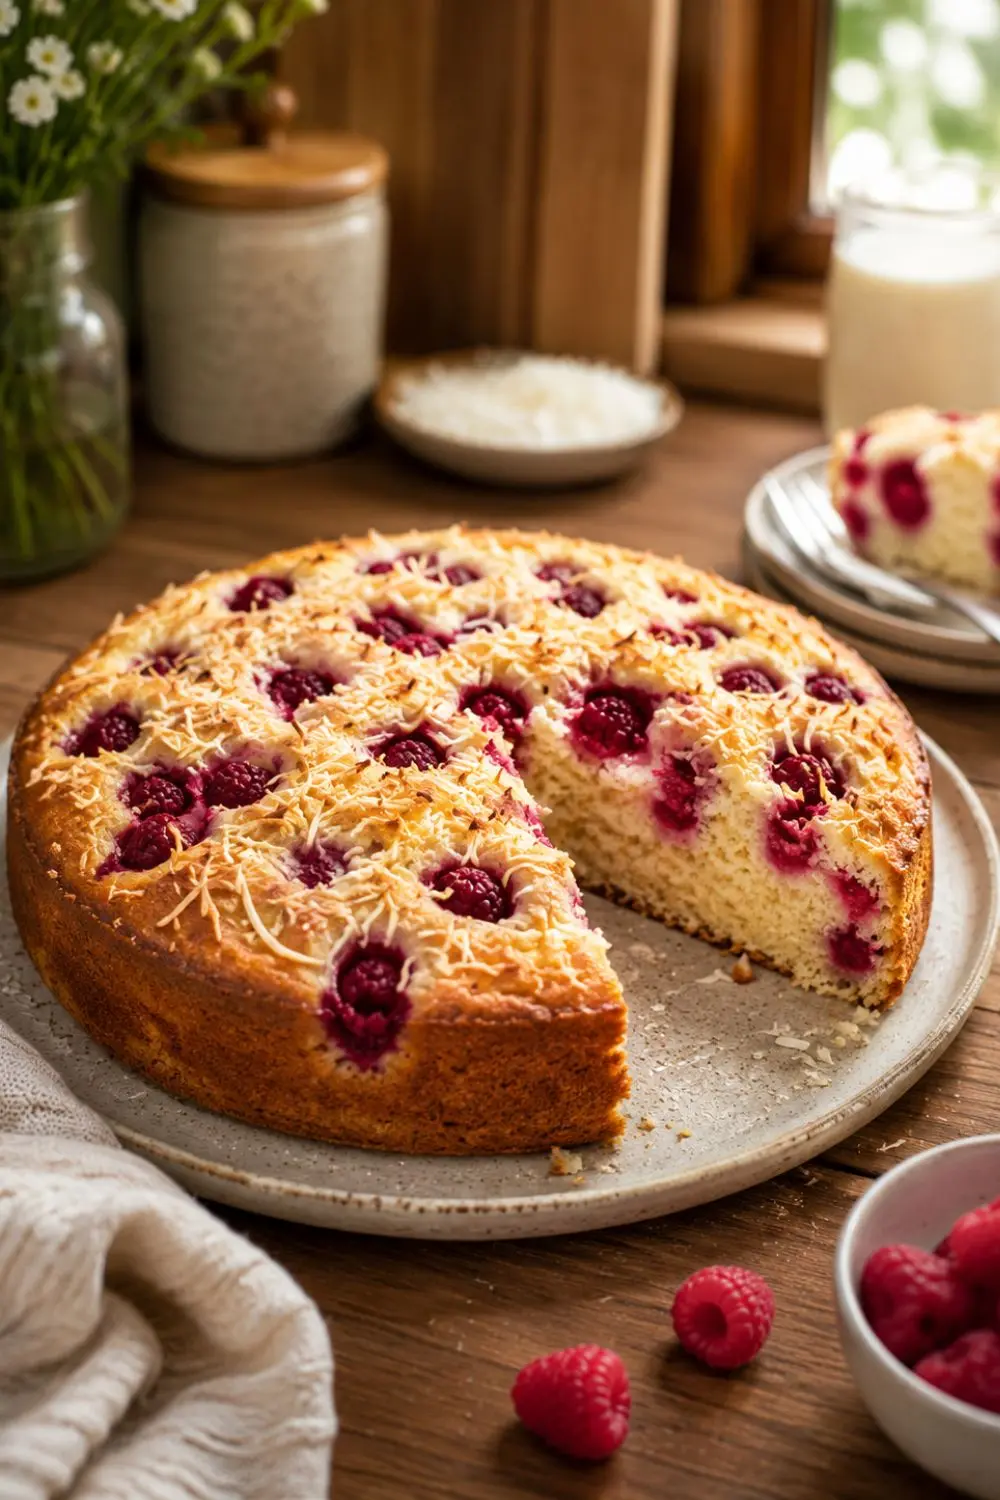
Pour the batter into the prepared pan. Scatter the additional 1 cup of raspberries across the surface of the batter and press some of them gently into the surface. This double-raspberry approach ensures gorgeous raspberry presence both throughout the interior and on the beautiful golden top.
Sprinkle the shredded coconut or coconut flakes over the top if using these toast during baking and create a golden, fragrant, slightly crunchy topping that makes the finished cake look genuinely artisanal.
Step 6 - Bake Full Commitment Required
Bake for 1 hour 10 minutes to 1 hour 20 minutes. This extended bake time is why this cake requires a specific commitment when you decide to make it plan accordingly.
Fresh raspberries- Bake toward the shorter end of the range (closer to 1 hour 10 minutes)
Frozen raspberries- Bake toward the longer end (closer to 1 hour 20 minutes) as the frozen berries cool the surrounding batter and require additional heat to bake through completely
Doneness indicators-
Surface is deeply golden brown
Toothpick inserted into the center comes out clean (no wet batter)
Gentle press on the center bounces back rather than sinking
If the surface browns before the center is done- Tent loosely with aluminum foil and continue baking. The foil prevents additional browning while the center continues cooking through.
Step 7 - Cool and Serve
Allow the cake to cool in the pan for 10 minutes, then transfer to a wire rack to cool completely. If desired, top with additional toasted shredded coconut for a visually impressive finishing touch.
Serve with raspberry preserves alongside the recipe specifically recommends this and it's genuinely the best accompaniment. A spoonful of good raspberry jam alongside each slice creates an intensified raspberry experience that makes the cake taste even more flavorful.