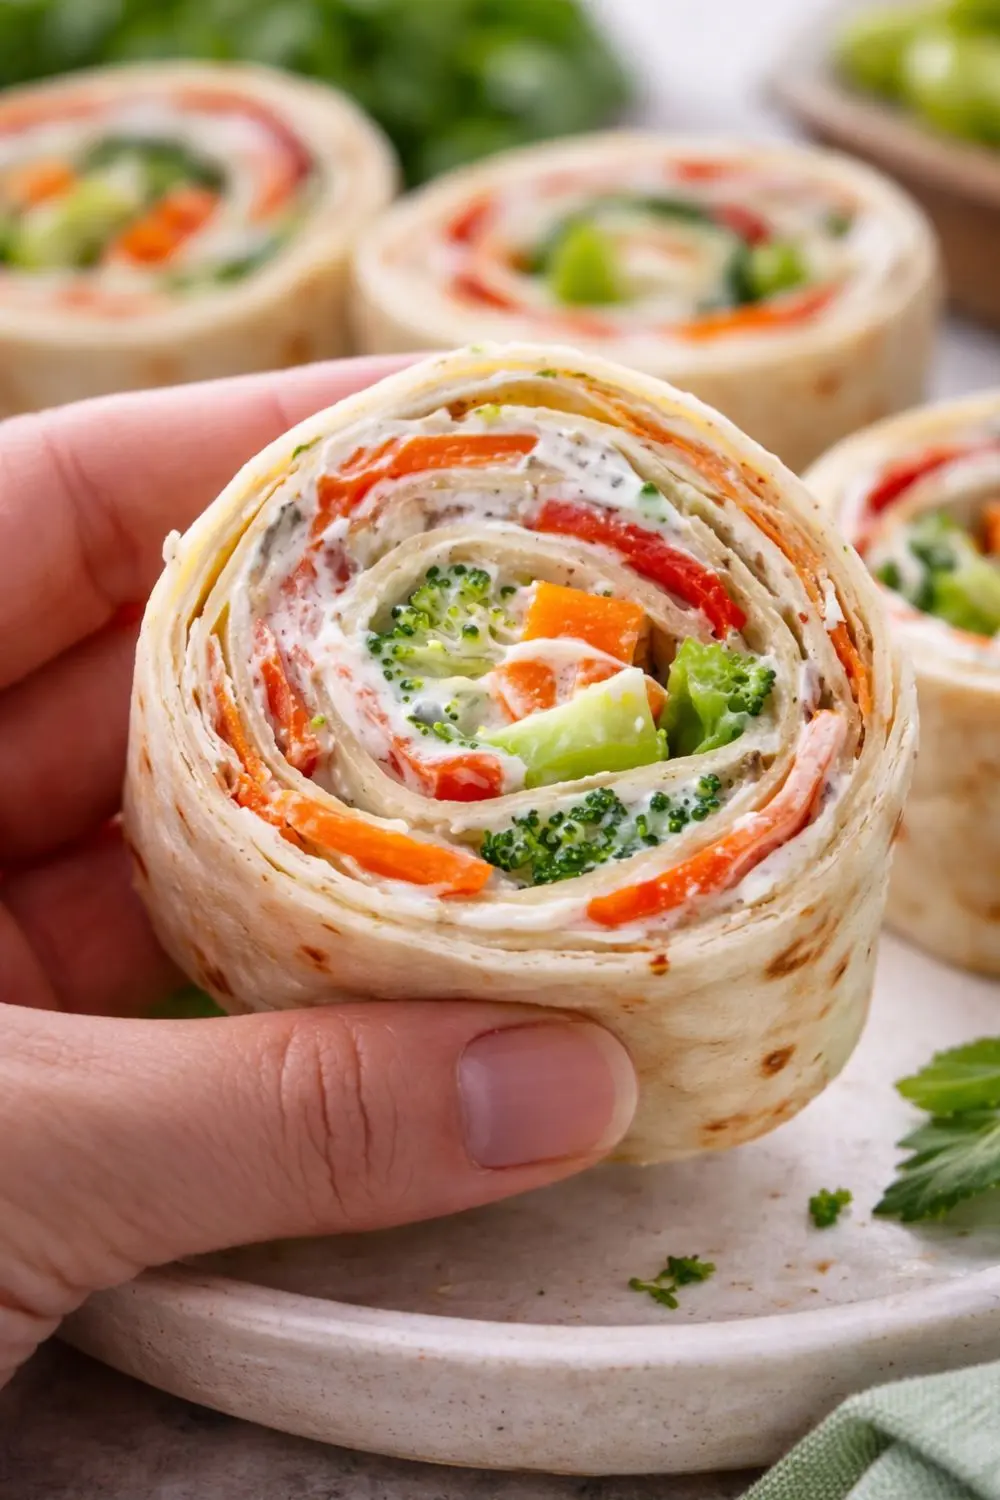
Step 1 - Soften the Vegan Cream Cheese
Remove the vegan cream cheese from the refrigerator 30–45 minutes before starting and allow it to soften at room temperature. Softened cream cheese blends completely smooth and incorporates the other ingredients without lumps. Cold cream cheese produces a lumpy filling that's difficult to spread evenly.
Step 2 - Make the Cream Base
In a medium mixing bowl, combine the softened vegan cream cheese, vegan sour cream, ranch seasoning packet, and dried dill weed. Beat with an electric hand mixer or stir vigorously with a spatula until completely smooth and uniformly combined.
The base should look and feel like a thick, creamy dip spreadable but not runny. If it seems too thick, add 1 additional tablespoon of vegan sour cream. If it seems too thin, refrigerate for 15 minutes to firm slightly before proceeding.
Step 3 - Add the Fillings
Fold in the shredded vegan cheddar first, distributing it evenly through the cream base. Then add the chopped vegetables, carrots, broccoli, and red bell pepper and fold gently until evenly distributed.
Important technique- Don't stir vigorously at this stage. Gentle folding preserves the vegetable pieces and prevents the mixture from becoming overly dense. The vegetables should be distributed evenly but still recognizable in the filling.
Step 4 - Spread the Filling on Tortillas
Lay one tortilla or lavash sheet flat on your work surface. Spoon approximately ⅕ of the filling (for 5 tortillas) or ¼ of the filling (for 4 lavash sheets) onto the wrap.
Spread the filling in an even, thin layer from edge to edge covering the entire surface including the edges. A thin, even layer produces better pinwheels than a thick central line of filling, which creates uneven distribution when sliced.
Step 5 -Roll Tightly
Starting from the short end (narrow end) of the tortilla or lavash, roll the wrap toward you, keeping it tight throughout. A tight roll produces dense, well-defined spiral cross-sections when sliced. A loose roll produces pinwheels that unravel and look messy on the platter.
Keep consistent pressure as you roll, imagine rolling a yoga mat or a poster and tuck the leading edge tightly before completing each turn.
Step 6 - Seal and Chill
Place each completed roll seam-side down in an airtight container or wrap tightly in plastic wrap. The seam-side-down position keeps the roll closed during chilling without requiring tape or skewers.
Refrigerating for at least 2 hours overnight produces the best result. The chilling firms the filling, helps the tortilla mold to the filling's shape, and allows all the flavors to develop and integrate fully.
Step 7 - Slice and Arrange
Remove from the refrigerator. Using your serrated knife, slice each roll into ½ to ¾-inch pinwheels using a gentle sawing motion.
Trim the ends- The first ½ inch at each end of every roll looks uneven and should be trimmed off before presenting. These end pieces become the cook's snack. Quality control is an important part of the process.
Arrange pinwheels cut-side up on a serving platter. The spiral cross-section is the visual payoff to arrange them so the colorful vegetable filling faces upward.