
Servings: 2
Prep Time: 10 minutes
Chilling Time: 2 hours
Total Time: 2 hours 10 minutes
Calories: 278.81 kcal per serving
No stove. No oven. No excuses. These Easy No-Cook Vegan Raspberry Chia Cups are the summer breakfast you’ve been looking for and if you’ve been sleeping on chia pudding, today is the day that changes. Layered with a matcha-kissed chia base, bright mashed raspberries, and creamy dairy-free yogurt, these little cups are genuinely beautiful AND genuinely delicious. That combo is rarer than it sounds.
I started making these on Sunday nights so my Monday mornings would feel a little less chaotic. Ten minutes of effort the night before, and breakfast practically makes itself. Let me show you how it works.
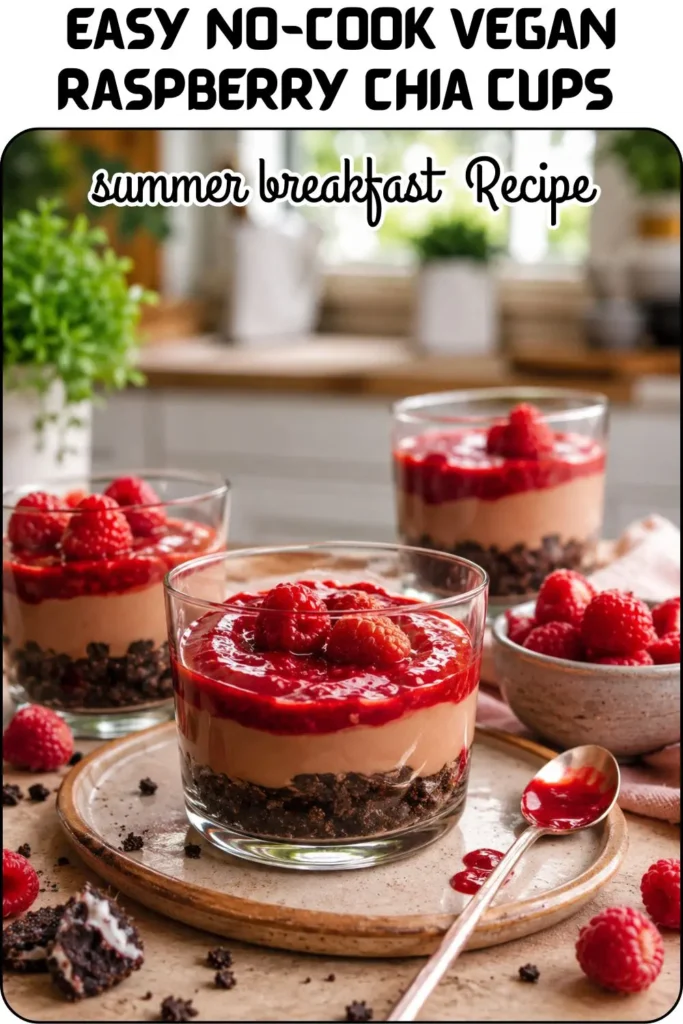
Why These Vegan Raspberry Chia Cups Are a Summer Game-Changer
Hot weather and a hot stove are not a good combination. That’s just a fact. These no-cook vegan chia cups exist entirely in the fridge you prep them, walk away, and come back to something that looks like it took way more effort than it did.
The flavor profile here is genuinely exciting. You’ve got the earthy depth of matcha running through the chia base, the bright tartness of fresh raspberries, and the cool creaminess of dairy-free yogurt on top. Every layer earns its place. And because everything chills together, the flavors meld overnight into something that tastes intentional and layered not like you just threw stuff in a bowl.
Did I mention these also happen to be packed with fiber, protein, and omega-3s? Yeah. Breakfast that tastes this good and works this hard is not something you pass up.
Ingredients You’ll Need For
For the Chia Pudding Base
- 225 ml plant-based milk – soy, oat, or almond all work; soy gives the most protein, oat gives the creamiest texture
- 1 teaspoon matcha powder – this is the secret weapon; it adds color, antioxidants, and a subtle earthy flavor
- 4 tablespoons chia seeds – the stars of the show; they absorb liquid and transform into a thick, pudding-like texture
- 1 tablespoon maple syrup – just enough sweetness to balance the matcha without overpowering the raspberries
For the Layers
- 200g fresh raspberries – you’ll mash half and keep half whole for topping
- 8 tablespoons dairy-free yogurt – coconut or soy-based yogurt both work beautifully; go thick and creamy if you can find it
That’s the whole list. Six ingredients, zero cooking, maximum payoff. FYI, the matcha is optional if you genuinely can’t stand it but I’d encourage you to try it at least once before skipping it. It transforms the chia layer from “basic” to “what IS this and where has it been all my life.”
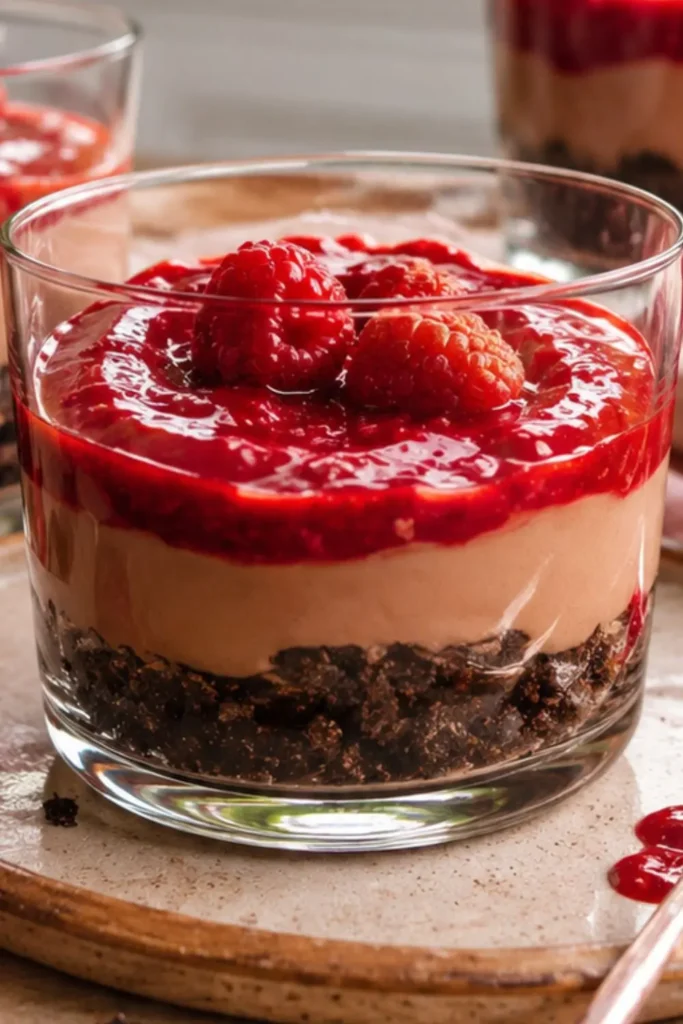
Equipment You’ll Need For
The beauty of this recipe is how little you need:
- 1 mixing bowl – for whisking the chia base
- 1 whisk – essential for fully dissolving the matcha into the milk (lumpy matcha is a crime)
- 1 fork – for mashing the raspberries into a quick jammy layer
- 1 spoon – for stirring in the chia seeds and layering everything
- 2 serving bowls or glasses – clear glasses especially show off those gorgeous layers
No blender, no baking dish, no special gadgets. If your kitchen has a whisk and two bowls, you’re fully equipped to make these.
Servings & Who This Recipe Is For
This recipe makes 2 generous servings, which makes it ideal for:
- Meal prepping breakfast for two – make a batch Sunday night, enjoy Monday and Tuesday morning
- A solo breakfast with leftovers – one for today, one for tomorrow; future you will be grateful
- A light summer dessert – swap the breakfast label and serve these after dinner; they’re that good
- A healthy snack – the high fiber and protein content makes them genuinely filling between meals
Want to scale up? This recipe doubles and triples easily. Just keep the ratios the same and use a larger mixing bowl. Making these for four people adds maybe two extra minutes of prep still completely worth it.
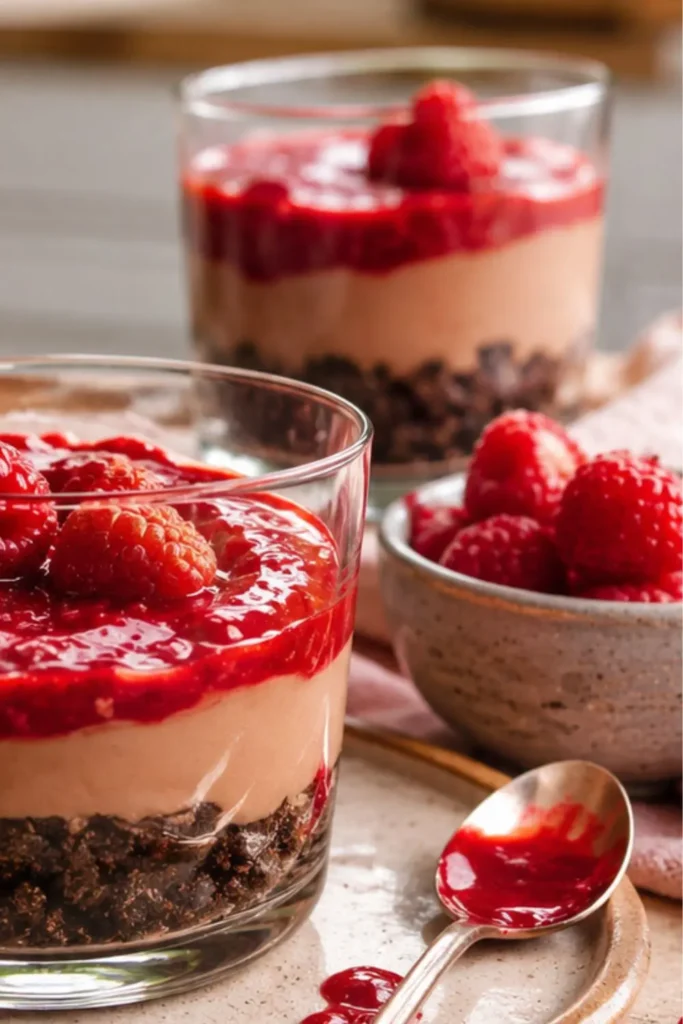
Caloric & Nutritional Info (Per Serving)
| Nutrient | Amount |
| Calories | 278.81 kcal |
| Carbohydrates | 36.49g |
| Protein | 11.04g |
| Fat | 10.93g |
| Fiber | 15.57g |
| Sugar | 14.02g |
| Calcium | 408.69mg |
| Iron | 3.44mg |
| Vitamin C | 34.39mg |
| Potassium | 409.84mg |
| Sodium | 56.18mg |
Nearly 279 calories per serving with over 11 grams of protein and a jaw-dropping 15.57 grams of fiber. That fiber count alone makes these cups genuinely impressive most people don’t hit their daily fiber target, and one of these cups covers more than half of what you need. The calcium is also worth noting: 408mg per serving is remarkable for a fully plant-based breakfast.
Step-by-Step Instructions
Step 1- Whisk the Matcha Into the Milk (2 Minutes)
Pour 225 ml of plant-based milk into your mixing bowl and add 1 teaspoon of matcha powder. Whisk vigorously until the matcha fully dissolves and the milk turns a smooth, even green. No lumps allowed take an extra 30 seconds here if needed. Undissolved matcha clumps taste bitter and grainy, and nobody wants that.
Step 2- Stir in the Chia Seeds and Maple Syrup (2 Minutes)
Add 4 tablespoons of chia seeds and 1 tablespoon of maple syrup to the matcha milk. Stir well with a spoon to fully combine. Let the mixture sit for about 5 minutes, then stir again this second stir prevents the chia seeds from clumping together at the bottom, which is the main thing people get wrong with chia pudding.
Step 3- Refrigerate for 2+ Hours
Cover the bowl and refrigerate for at least 2 hours, or overnight if you’re prepping ahead. The chia seeds absorb the liquid and expand into a thick, gel-like pudding. The longer you leave it, the thicker and creamier it gets. Overnight is genuinely the sweet spot.
When you pull it out, give it a quick stir. If it looks thicker than you want, add a splash of plant milk and stir again. Too thin? That means the chia-to-milk ratio was slightly off add another half tablespoon of chia seeds, stir, and refrigerate for another 30 minutes.
Step 4- Prepare the Raspberry Layer (3 Minutes)
Take half your raspberries (about 100g) and mash them with a fork in a small bowl until they form a rough, jammy paste. You’re not going for smooth here a little texture is a good thing. The mashed raspberry layer adds a burst of tart flavor that cuts through the creaminess of the yogurt and the earthiness of the matcha perfectly.
Step 5- Assemble the Layers
Now comes the fun part. Into each serving bowl or glass, layer in this order:
- Mashed raspberry layer -spoon it into the bottom
- Chia pudding – add an even layer on top of the raspberries
- Dairy-free yogurt – spoon it over the chia layer generously
- Whole raspberries – scatter the remaining fresh berries on top
If you’re using clear glasses, take a second to be intentional with the layers these cups look absolutely stunning when you can see each distinct layer through the glass. It takes zero extra effort and gets significant results. IMO, presentation matters more than people admit.
Step 6- Serve Immediately or Chill Further
Serve right away for a lightly chilled breakfast, or pop the assembled cups back in the fridge for another 30 minutes if you want everything extra cold. Either way works perfectly.
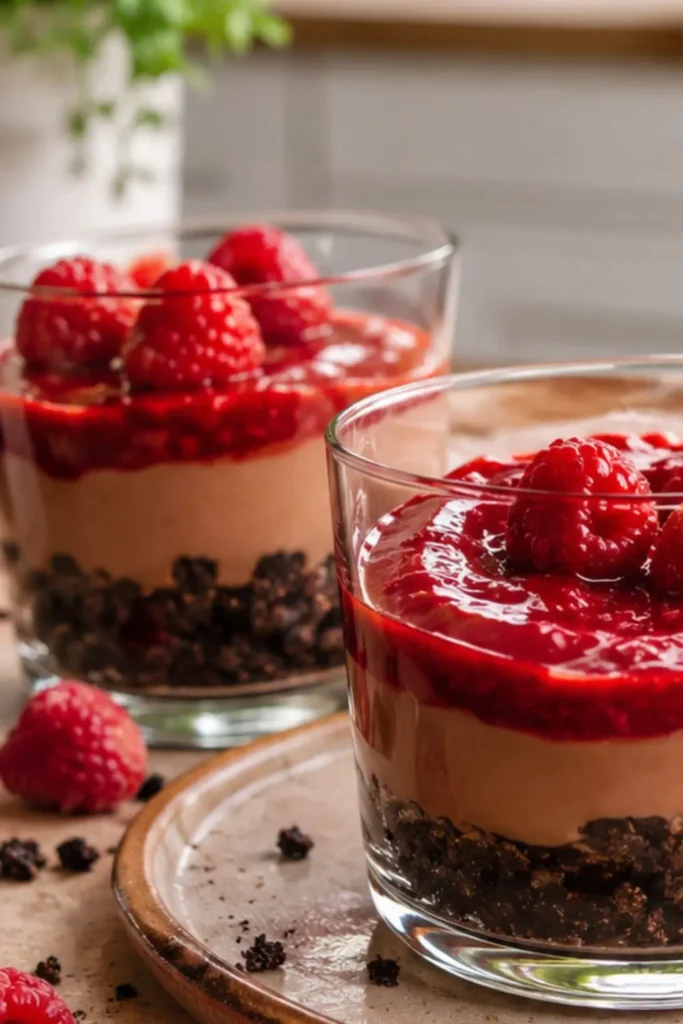
Tips for the Best Raspberry Chia Cups
Get the Chia-to-Milk Ratio Right
The standard ratio for chia pudding is 1 tablespoon of chia seeds per 60 ml of liquid. This recipe uses that exact ratio. If your pudding turns out too runny, your chia seeds might be old fresher seeds absorb liquid more aggressively. Always check the expiry date on your chia seeds if the texture isn’t setting up properly.
Which Plant Milk Works Best?
Here’s an honest breakdown:
- Soy milk – highest protein, slightly beany undertone that the matcha masks well
- Oat milk creamiest texture, naturally sweet, pairs beautifully with maple syrup
- Almond milk – lighter and thinner; works but gives a less creamy result
- Coconut milk – adds a subtle tropical note that actually works surprisingly well with the raspberries
I personally reach for oat milk every time for these cups. The texture it creates is just richer and more satisfying.
Matcha Quality Matters
Not all matcha is created equal. Culinary-grade matcha is perfectly fine for this recipe you don’t need ceremonial grade. But avoid cheap matcha that looks more yellow than green, as it tends to taste bitter and stale. A good culinary matcha gives you that vivid green color and a pleasant, grassy flavor that pairs beautifully with the raspberry tartness.
Make-Ahead & Storage Tips
These cups are practically designed for meal prep:
- Prep the chia base up to 3 days ahead keep it covered in the fridge
- Assemble the full cups up to 24 hours ahead the layers hold up beautifully overnight
- Store assembled cups covered in the fridge for up to 2 days
- Don’t freeze chia pudding doesn’t thaw well; the texture gets grainy and unpleasant
The mashed raspberry layer can also be made ahead and stored separately in a small sealed container for up to 3 days. This gives you maximum flexibility if you want to mix and match toppings throughout the week.
Try It Next recipe
Vegan Strawberry Stuffed French Toast
Variations Worth Trying
Go Berry Wild
Replace or mix raspberries with blueberries, blackberries, or strawberries. Each berry brings a different flavor profile, and all of them pair well with the matcha base. A mixed berry version looks especially vibrant.
Skip the Matcha
If matcha isn’t your thing, swap it for ½ teaspoon of vanilla extract or 1 tablespoon of cacao powder for a chocolatey version. Both are delicious the cacao version especially tastes like dessert masquerading as breakfast.
Add a Crunch Layer
Top the assembled cups with granola, toasted coconut flakes, or crushed nuts right before serving. The contrast of creamy chia pudding and crunchy topping takes the texture to a whole new level.
Boost the Protein
Stir 1 tablespoon of hemp seeds into the chia base before refrigerating, or use a high-protein soy yogurt on top. Either option bumps the protein content meaningfully without changing the flavor.
Frequently Asked Questions
Can I use frozen raspberries instead of fresh? Absolutely. Thaw them first and drain any excess liquid. Frozen raspberries actually mash more easily than fresh, which makes the jammy layer effortless. The flavor is slightly less bright, but totally delicious.
Why didn’t my chia pudding thicken? Two likely culprits: either your chia seeds are too old, or you didn’t stir the mixture twice (once right after mixing, once after 5 minutes). That second stir breaks up clumps and ensures even absorption. Also, make sure you’re giving it the full 2 hours minimum.
Can I make this without matcha? Yes. The matcha adds flavor and color but isn’t structurally important. Plain chia pudding made with just plant milk and maple syrup still tastes great it just won’t have that gorgeous green color.
Is this recipe kid-friendly? The raspberry and yogurt layers are a total hit with kids. The matcha flavor is mild enough that most children don’t notice it, but if you’re not sure, just leave it out and add a little extra vanilla. The layers also make it fun and visually interesting for younger eaters.
My Final Thoughts
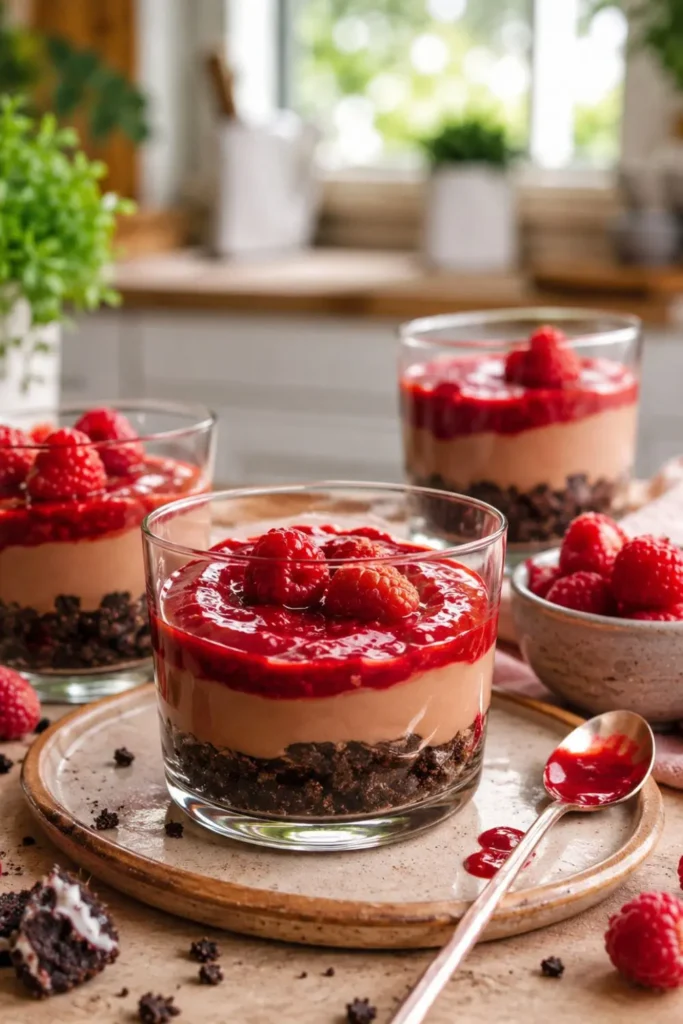
These Easy No-Cook Vegan Raspberry Chia Cups are proof that a great breakfast doesn’t need heat, complexity, or a long grocery list. Ten minutes of actual work, a couple of hours in the fridge, and you’ve got something that’s genuinely impressive nutritionally and visually.
The fiber content alone makes these cups worth adding to your regular rotation. Nearly 16 grams of fiber per serving, over 11 grams of protein, and a full day’s boost of energy from ingredients that cost very little and take almost no effort. That’s the kind of math that works in your favor every time.
Make a batch tonight. Wake up to breakfast already done. And maybe, just maybe, Monday won’t feel so bad after all.
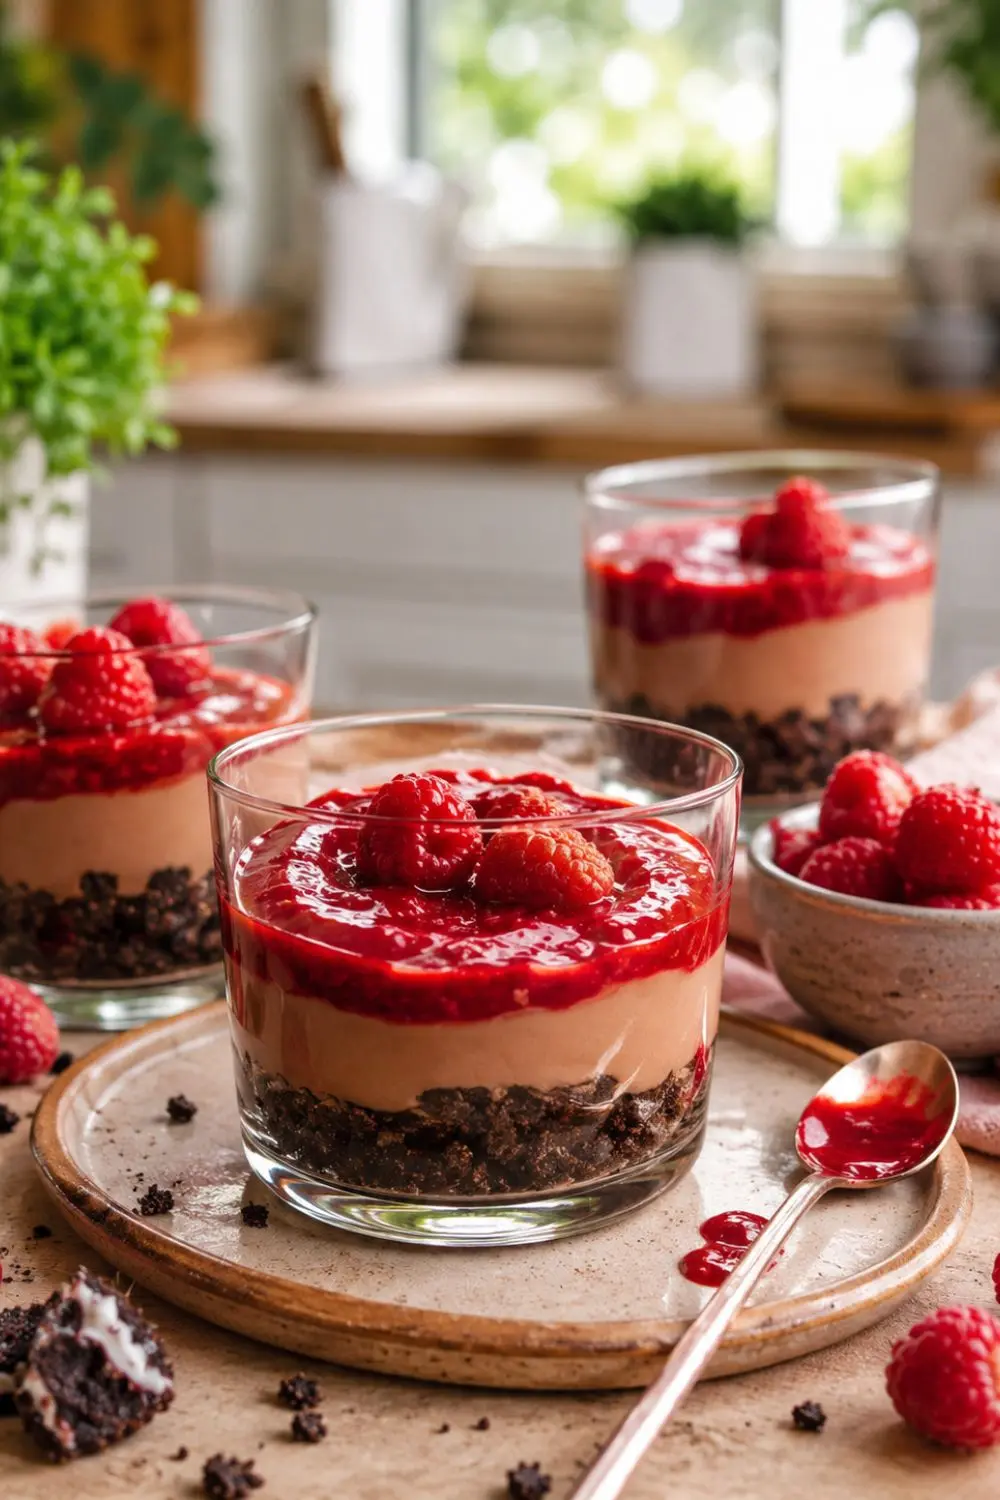
Easy No-Cook Vegan Raspberry Chia Cups
Ingredients
Equipment
Method
- Step 1- Whisk the Matcha Into the Milk (2 Minutes)
- Pour 225 ml of plant-based milk into your mixing bowl and add 1 teaspoon of matcha powder. Whisk vigorously until the matcha fully dissolves and the milk turns a smooth, even green. No lumps allowed take an extra 30 seconds here if needed. Undissolved matcha clumps taste bitter and grainy, and nobody wants that.
- Step 2- Stir in the Chia Seeds and Maple Syrup (2 Minutes)
- Add 4 tablespoons of chia seeds and 1 tablespoon of maple syrup to the matcha milk. Stir well with a spoon to fully combine. Let the mixture sit for about 5 minutes, then stir again this second stir prevents the chia seeds from clumping together at the bottom, which is the main thing people get wrong with chia pudding.
- Step 3- Refrigerate for 2+ Hours
- Cover the bowl and refrigerate for at least 2 hours, or overnight if you’re prepping ahead. The chia seeds absorb the liquid and expand into a thick, gel-like pudding. The longer you leave it, the thicker and creamier it gets. Overnight is genuinely the sweet spot.
- When you pull it out, give it a quick stir. If it looks thicker than you want, add a splash of plant milk and stir again. Too thin? That means the chia-to-milk ratio was slightly off add another half tablespoon of chia seeds, stir, and refrigerate for another 30 minutes.
- Step 4- Prepare the Raspberry Layer (3 Minutes)
- Take half your raspberries (about 100g) and mash them with a fork in a small bowl until they form a rough, jammy paste. You’re not going for smooth here a little texture is a good thing. The mashed raspberry layer adds a burst of tart flavor that cuts through the creaminess of the yogurt and the earthiness of the matcha perfectly.
- Step 5- Assemble the Layers
- Now comes the fun part. Into each serving bowl or glass, layer in this order:
- Mashed raspberry layer -spoon it into the bottom
- Chia pudding – add an even layer on top of the raspberries
- Dairy-free yogurt – spoon it over the chia layer generously
- Whole raspberries – scatter the remaining fresh berries on top
- If you’re using clear glasses, take a second to be intentional with the layers these cups look absolutely stunning when you can see each distinct layer through the glass. It takes zero extra effort and gets significant results. IMO, presentation matters more than people admit.
- Step 6- Serve Immediately or Chill Further
- Serve right away for a lightly chilled breakfast, or pop the assembled cups back in the fridge for another 30 minutes if you want everything extra cold. Either way works perfectly.
Notes
Caloric & Nutritional Info (Per Serving)
| Nutrient | Amount |
| Calories | 278.81 kcal |
| Carbohydrates | 36.49g |
| Protein | 11.04g |
| Fat | 10.93g |
| Fiber | 15.57g |
| Sugar | 14.02g |
| Calcium | 408.69mg |
| Iron | 3.44mg |
| Vitamin C | 34.39mg |
| Potassium | 409.84mg |
| Sodium | 56.18mg |

Hi — I’m Rachel. I’m a wife, a mom, and a home cook who believes that food should bring comfort, joy, and compassion to the table. I live with my family — two hungry little foodies who are my most honest recipe testers — and together we’ve built a kitchen culture that’s all about good food that happens to be 100% vegan. I started this blog because I wanted a place to share the recipes that keep our days moving, the dishes that make weeknights feel a little easier, and the meals that become our little family traditions.