
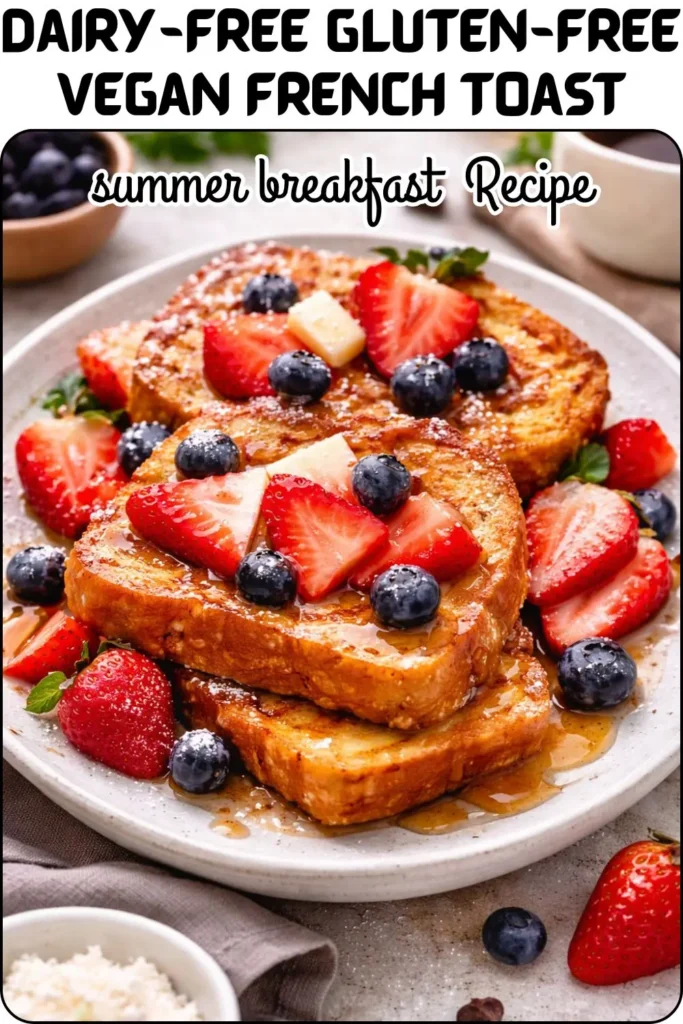
French toast is one of those breakfast items that feels inherently tied to eggs and dairy like the whole concept falls apart without them. That assumption is wrong. Dairy-Free Gluten-Free Vegan French Toast uses cashew butter and flax seeds to create a rich, binding custard that clings to gluten-free bread and fries to a genuinely golden, slightly crispy finish that’s indistinguishable from the traditional version in every way that matters. Eight grams of protein per slice. No eggs. No dairy. No gluten. Absolutely no compromise on flavor.
I started making this when I needed a French toast recipe that worked for a breakfast table with multiple dietary restrictions gluten-free, vegan, and “I just want something that tastes good.” This recipe satisfied all three simultaneously, which felt like a minor miracle. The cashew butter is the unexpected star it adds richness, creaminess, and a subtle nuttiness that actually improves on traditional egg-based custard rather than merely approximating it.
My Recipe Timing and Serving Details
Here’s your complete planning overview:
| Detail | Info |
| Prep Time | 8 minutes |
| Cook Time | 10 minutes |
| Total Time | 18 minutes |
| Servings | 4 slices |
| Serving Size | 1 slice |
| Calories Per Slice | 149 kcal |
| Course | Breakfast |
| Diet | 100% Vegan, Dairy-Free, Gluten-Free |
18 minutes total for 4 slices of genuinely impressive vegan French toast. At 149 calories per slice with 8 grams of protein and 2 grams of fiber, each slice delivers a balanced, satisfying breakfast that keeps you full without weighing you down. A full breakfast of 2 slices with fresh fruit comes in at approximately 350 calories nutritionally complete and entirely plant-based.
What Makes the Cashew Butter Custard Work
Traditional French toast custard relies on eggs for binding and richness. The eggs do two things: they coat the bread with protein that firms up when heated, creating structure, and they add fat that produces richness and that slightly custardy interior. Cashew butter and flax seeds together replicate both functions completely.
Cashew butter contributes fat and richness equivalent to egg yolks it makes the custard coating thick enough to cling to the bread without dripping off, and its fat content produces the rich, slightly creamy interior that good French toast should have. The mild, neutral flavor of cashew butter means it doesn’t compete with the vanilla and cinnamon it simply provides the richness and binding that egg yolk would.
Flax seeds act as the egg white replacement. Ground or whole flax seeds mixed with liquid create a gel that binds the custard together. When the custard-coated bread hits a hot pan, this flax gel firms up and helps create that slightly crispy exterior. It’s not a perfect replication of egg white’s specific protein structure, but in the context of this recipe, it produces genuinely excellent results.
The optional protein powder adds an extra 2 grams of protein per slice and makes the custard slightly thicker. FYI it’s genuinely optional and the recipe works beautifully without it. Add it if you want a protein boost; skip it if you want to keep the ingredient list minimal.
Full Ingredient List
A concise, purposeful list that’s free of dairy, gluten, and eggs:
The Custard Batter:
- ¾ cup almond milk or any plant-based milk
- 2 tablespoons cashew butter or any nut or seed butter
- 1 tablespoon flax seeds ground or whole
- 2 teaspoons plant-based protein powder (optional)
- 1 teaspoon ground cinnamon
- 1 teaspoon pure vanilla extract
- 1 teaspoon maple syrup or sugar-free maple syrup
The Bread:
- 4 slices gluten-free or keto bread choice matters significantly (see below)
Optional Toppings:
- Maple syrup (regular or sugar-free)
- Vegan butter
- Coconut cream
- Fresh summer fruit berries, peaches, bananas
The maple syrup in the batter is a small addition that makes a meaningful difference. Dissolved into the custard, it adds sweetness and a subtle caramel quality that makes the finished French toast taste more indulgent. It also contributes to the golden browning during cooking the natural sugars caramelize on contact with the hot pan.
Choosing the Right Bread The Most Important Decision
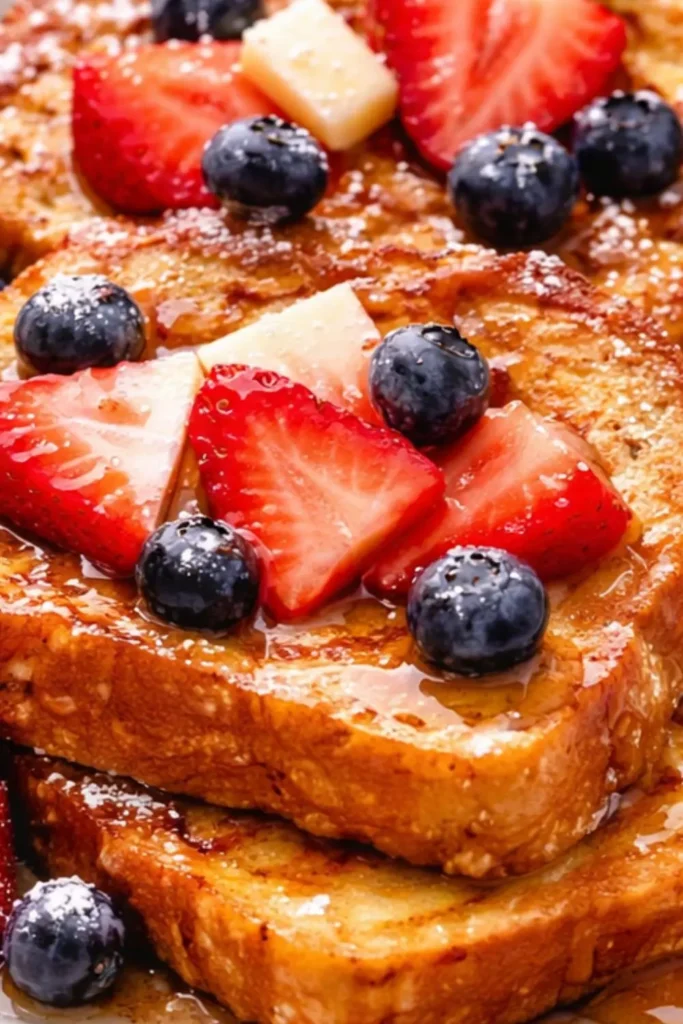
The gluten-free bread choice significantly affects the final result, and not all gluten-free breads perform equally in this application:
What You Need in Gluten-Free French Toast Bread
Structural integrity- The bread needs to hold together through soaking and frying without disintegrating. Some gluten-free breads crumble when wet these fail completely in French toast applications.
Neutral or complementary flavor-The bread should taste good without competing with the vanilla-cinnamon custard. Some gluten-free breads have a pronounced rice flour or gummy quality that doesn’t work well here.
Thickness- Slightly thicker slices (¾ inch) absorb the custard better and produce a more satisfying result than thin slices.
Best Bread Options
Schär Gluten-Free Artisan Baker White – holds together well, neutral flavor, available in most grocery stores. Consistently produces excellent French toast results.
Canyon Bakehouse Gluten-Free Mountain White – slightly denser, excellent structural integrity when soaking, clean flavor. One of the better options widely available.
Homemade gluten-free bread – if you bake your own, a slightly stale or day-old loaf produces better French toast than fresh bread. The slight dryness allows the custard to soak in rather than sitting on the surface.
The Fresh Bread Problem And How to Solve It
The recipe specifically addresses this. if using fresh bread, toast or bake it briefly before soaking. Fresh gluten-free bread has too much moisture when you soak it in the custard, it absorbs too much liquid and becomes waterlogged rather than custard-soaked. A brief toast in a toaster or 5 minutes in a 350°F oven removes enough surface moisture that the bread absorbs the custard properly without falling apart.
This is the single technique tip that most significantly affects whether your French toast succeeds or turns into soggy, falling-apart bread. Don’t skip the pre-toasting step with fresh bread.
Equipment You’ll Need For
This recipe runs on standard breakfast cooking equipment:
Primary Equipment
- Large frying pan or skillet – a 12-inch non-stick skillet is the ideal choice. Non-stick specifically prevents the custard-coated bread from sticking during the initial cooking stage before the crust sets. The large size lets you cook all 4 slices in one or two batches without overcrowding overcrowded slices steam each other and don’t develop the crispy exterior properly.
Cast iron works excellently once properly preheated and produces a particularly beautiful, even golden crust. The heat retention of cast iron keeps the temperature consistent through multiple batches. Just make sure it’s well-seasoned before using.
For the Batter
- Wide, shallow bowl – wide enough to lay a slice of bread flat for soaking. A pie dish, shallow storage container, or even a wide pasta bowl works perfectly. The bowl needs to be wider than your bread slices.
- Fork or whish – for beating the custard ingredients together until smooth. A small whisk works better than a fork for fully incorporating the cashew butter.
- Blender (optional) – the recipe mentions using a blender for an extra-smooth, creamy custard. If your cashew butter isn’t fully incorporating with the fork method, 30 seconds in a blender produces a completely smooth, uniform custard that soaks into the bread more evenly.
Supporting Tools
- Spatula – for flipping the French toast slices without tearing
- Measuring cups and spoons
- Toaster or baking sheet – for the pre-toasting step if using fresh bread
- Plate – for holding cooked slices while you finish subsequent batches
Step-by-Step Instructions
Step 1 – Prepare the Custard Batter
Add the almond milk, cashew butter, flax seeds, protein powder (if using), cinnamon, vanilla extract, and maple syrup to a wide shallow bowl. Beat together with a fork or whisk until the cashew butter fully incorporates into the milk and the mixture becomes smooth and uniform.
The cashew butter takes a moment to fully combine be patient and whisk until no visible streaks of nut butter remain. If it resists incorporating, warm the almond milk very slightly (15 seconds in the microwave) before adding the cashew butter the warmth helps it emulsify.
Blender alternative Add all custard ingredients to a blender and blend for 30–45 seconds until completely smooth. This produces the most uniform, creamy custard and is worth the extra appliance if you want maximum results.
Step 2 – Pre-Toast Fresh Bread (If Needed)
If your gluten-free bread is fresh, toast each slice briefly in a toaster to remove surface moisture before soaking. A light toast not golden, just slightly dried is all you need. Let the slices cool for 1–2 minutes before soaking so they don’t become too hot to handle.
If your bread is a day old or slightly stale, skip this step older bread has the right moisture level for soaking without pre-treatment.
Step 3 – Soak the Bread
Place one slice of bread flat into the custard bowl. Allow it to sit for at least 10 seconds, turning once to soak both sides. The bread should absorb enough custard to feel slightly weighted and coated throughout not dripping wet, not dry. Gluten-free bread typically soaks faster than regular wheat bread.
Repeat with remaining slices, working in batches that fit your pan.
Step 4 – Fry to Golden Perfection
Heat a drizzle of oil in your large non-stick pan or skillet over medium-high heat. Allow the oil to get genuinely hot a drop of water should sizzle immediately on contact. Cold pan + custard-soaked bread = soggy French toast. Hot pan + custard-soaked bread = golden, slightly crispy French toast.
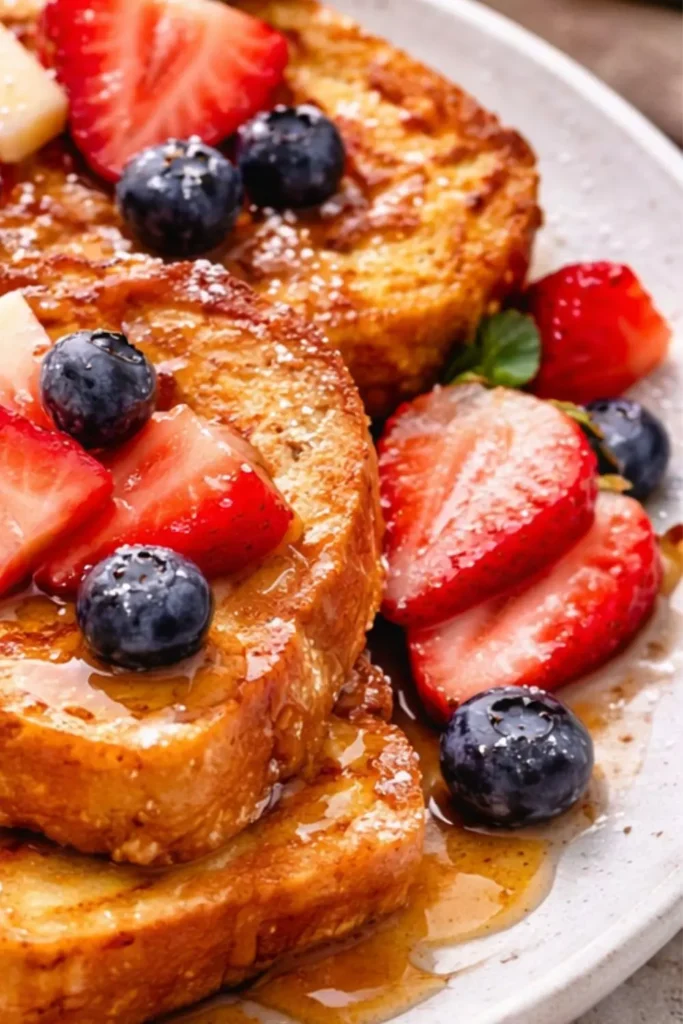
Place each custard-soaked bread slice in the pan. Fry each side for 3–4 minutes until deeply golden and slightly crispy. Don’t move the slices around during cooking leave them undisturbed so the crust develops properly. Flip once when the bottom side is golden.
Fry the second side for another 3–4 minutes until equally golden. The finished French toast should feel slightly firm to the touch and look deeply golden with visible crispiness at the edges.
Step 5 – Serve Immediately
Remove from the pan and serve immediately while hot French toast quality deteriorates quickly as it cools and the crispy edges soften. Top with your chosen toppings and eat while everything is at its best.
The Nut Butter Options Cashew vs. Alternatives
The recipe specifically uses cashew butter but acknowledges substitutions. Here’s how different nut and seed butters perform:
Cashew Butter (Recommended)
Why it’s the best choice- Cashew butter is the mildest, most neutral-flavored of all nut butters. It contributes richness and binding without adding any competing flavor you taste vanilla and cinnamon, not cashew. The result tastes closest to traditional egg-based French toast.
Almond Butter
Works well. Adds a slightly more pronounced nuttiness that some people enjoy and others find distracting. Use a smooth, natural variety rather than sweetened or salted versions. The slightly stronger almond flavor pairs well with cinnamon.
Sunflower Seed Butter (Nut-Free Option)
The best choice for tree nut allergies. Slightly stronger flavor than cashew butter but still works well in this recipe. Use a smooth, unsweetened variety. The result has more of a seed flavor but remains pleasant especially with generous toppings.
Peanut Butter
Works technically but creates a noticeably peanut-forward French toast. If you love peanut-banana flavor combinations, this could be interesting but it diverges significantly from traditional French toast flavor. IMO, cashew butter is worth finding specifically for this recipe.
Gluten-Free Bread and Keto Bread The Key Difference
The recipe lists both gluten-free and keto bread options and these serve different nutritional goals:
Gluten-free bread removes gluten for celiac disease or gluten sensitivity management. It typically uses rice flour, tapioca flour, potato starch, or almond flour. The calorie and carbohydrate content is generally similar to regular bread.
Keto bread focuses on drastically reducing carbohydrates it typically uses almond flour, coconut flour, or other low-carb flours. Keto bread produces French toast that’s higher in fat and protein with minimal carbohydrates. The texture differs from regular bread denser and more eggy even before the custard.
Choose based on your dietary goals:
- Celiac/gluten-sensitive- Any quality gluten-free bread
- Reducing carbohydrates- Keto bread varieties
- Neither dietary restriction- Any bread works regular bread produces excellent vegan French toast with this custard
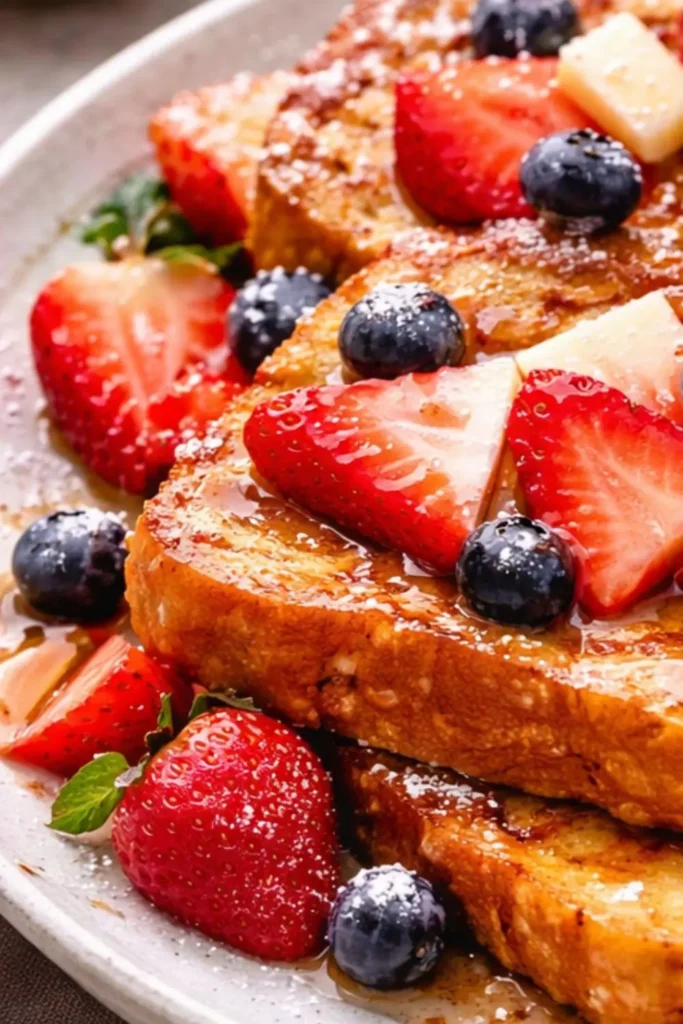
The Best Summer Topping Combinations
Dairy-Free Gluten-Free Vegan French Toast provides a canvas for summer fruit toppings that genuinely shine:
The Classic Summer Version
Fresh sliced peaches + maple syrup + a dust of cinnamon the peach and cinnamon combination is genuinely outstanding
The Berry Explosion
Fresh mixed berries (strawberries, blueberries, raspberries) + coconut cream + a drizzle of maple syrup
The Tropical Version
Sliced mango + toasted coconut flakes + coconut cream unexpected but excellent
The Simple and Perfect Version
Just maple syrup and vegan butter sometimes the classic is the right answer
Try It Next recipe
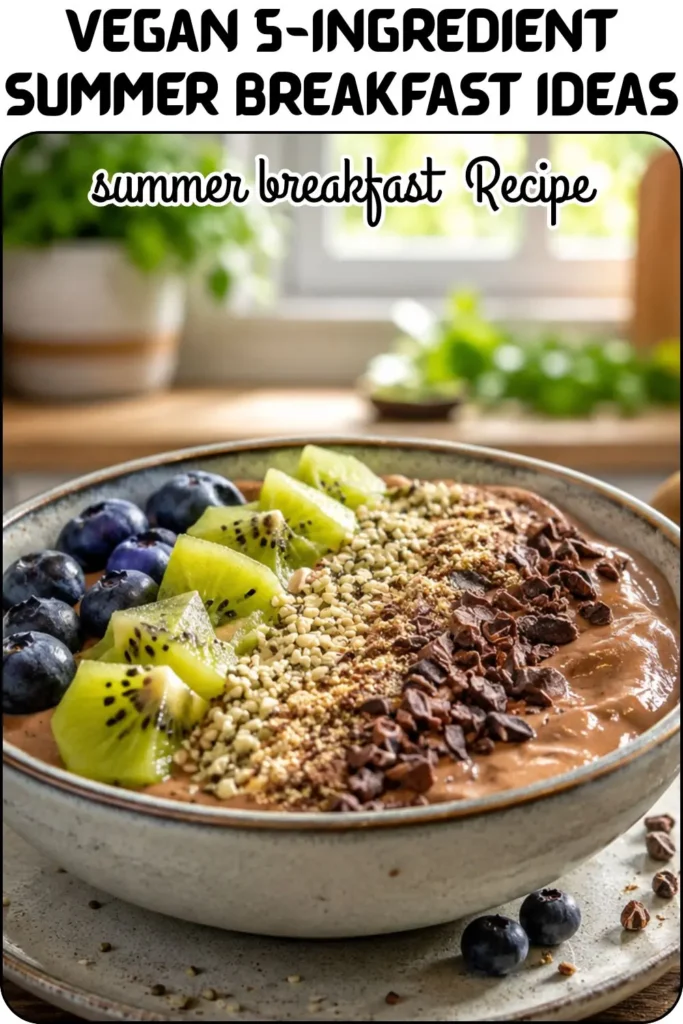
Vegan 5-Ingredient Summer Breakfast Ideas
Nutrition Information Per Slice
At 149 calories per slice, this French toast is remarkably lean for something that tastes this satisfying:
| Nutrient | Per Slice |
| Calories | 149 kcal |
| Carbohydrates | 11g |
| Protein | 8g |
| Fat | 7g |
| Fiber | 2g |
8 grams of protein per slice is exceptional for a breakfast bread item the cashew butter, flax seeds, and optional protein powder together create a protein contribution that keeps you genuinely satisfied. Two slices with fresh berries and coconut cream produces a complete breakfast at approximately 350–380 calories with 16+ grams of protein nutritionally complete without feeling heavy.
Storage and Reheating
- Same day: French toast is genuinely best eaten immediately after cooking. The crispy exterior softens quickly.
- Refrigerator: Store leftover slices in an airtight container for up to 2 days.
- Reheating: Reheat in a dry non-stick pan over medium heat for 2–3 minutes per side to restore the crispy exterior. This works significantly better than microwave reheating, which makes the bread soft throughout.
- Freezer: Freeze individual slices with parchment paper between them for up to 1 month. Reheat directly from frozen in the pan over medium-low heat for 4–5 minutes per side.
My Final Thoughts Make This French Toast and Retire Your Excuses
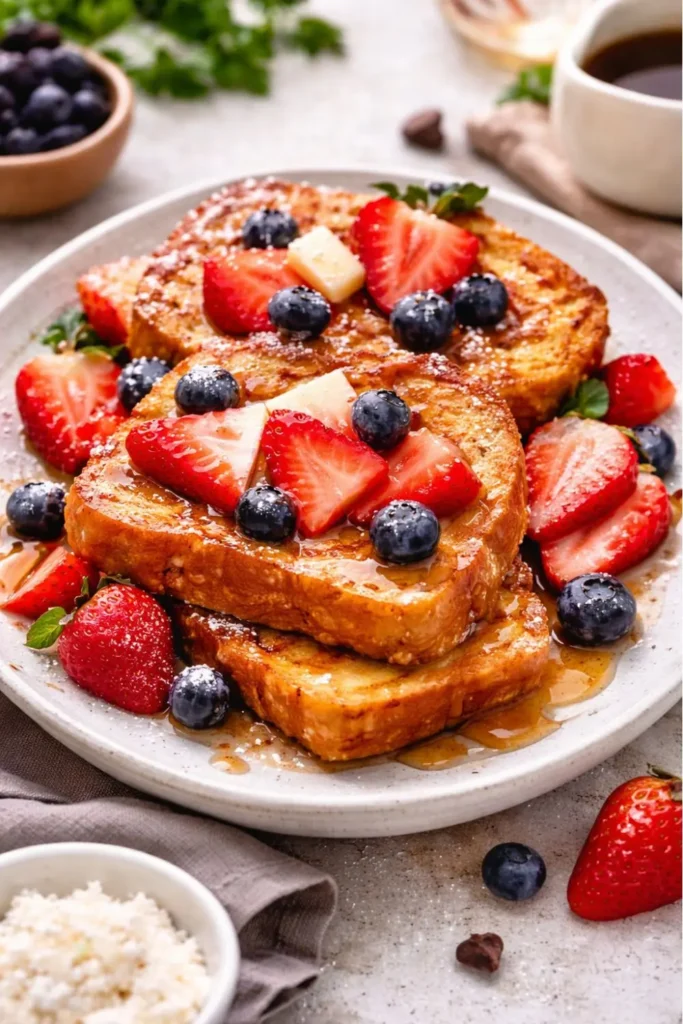
Dairy-Free Gluten-Free Vegan French Toast proves that dietary restrictions don’t require breakfast compromises. Eight grams of protein per slice, genuinely golden and crispy edges, rich vanilla-cinnamon flavor, and complete freedom from eggs, dairy, and gluten all in 18 minutes on a summer morning.
The cashew butter custard is the discovery that changes everything. Once you taste how rich and binding it is, you won’t miss eggs at all you’ll just wonder why you ever thought eggs were necessary.
Toast the bread, whisk the custard, get the pan hot. French toast is 18 minutes away. And it turns out the vegan version might be better.
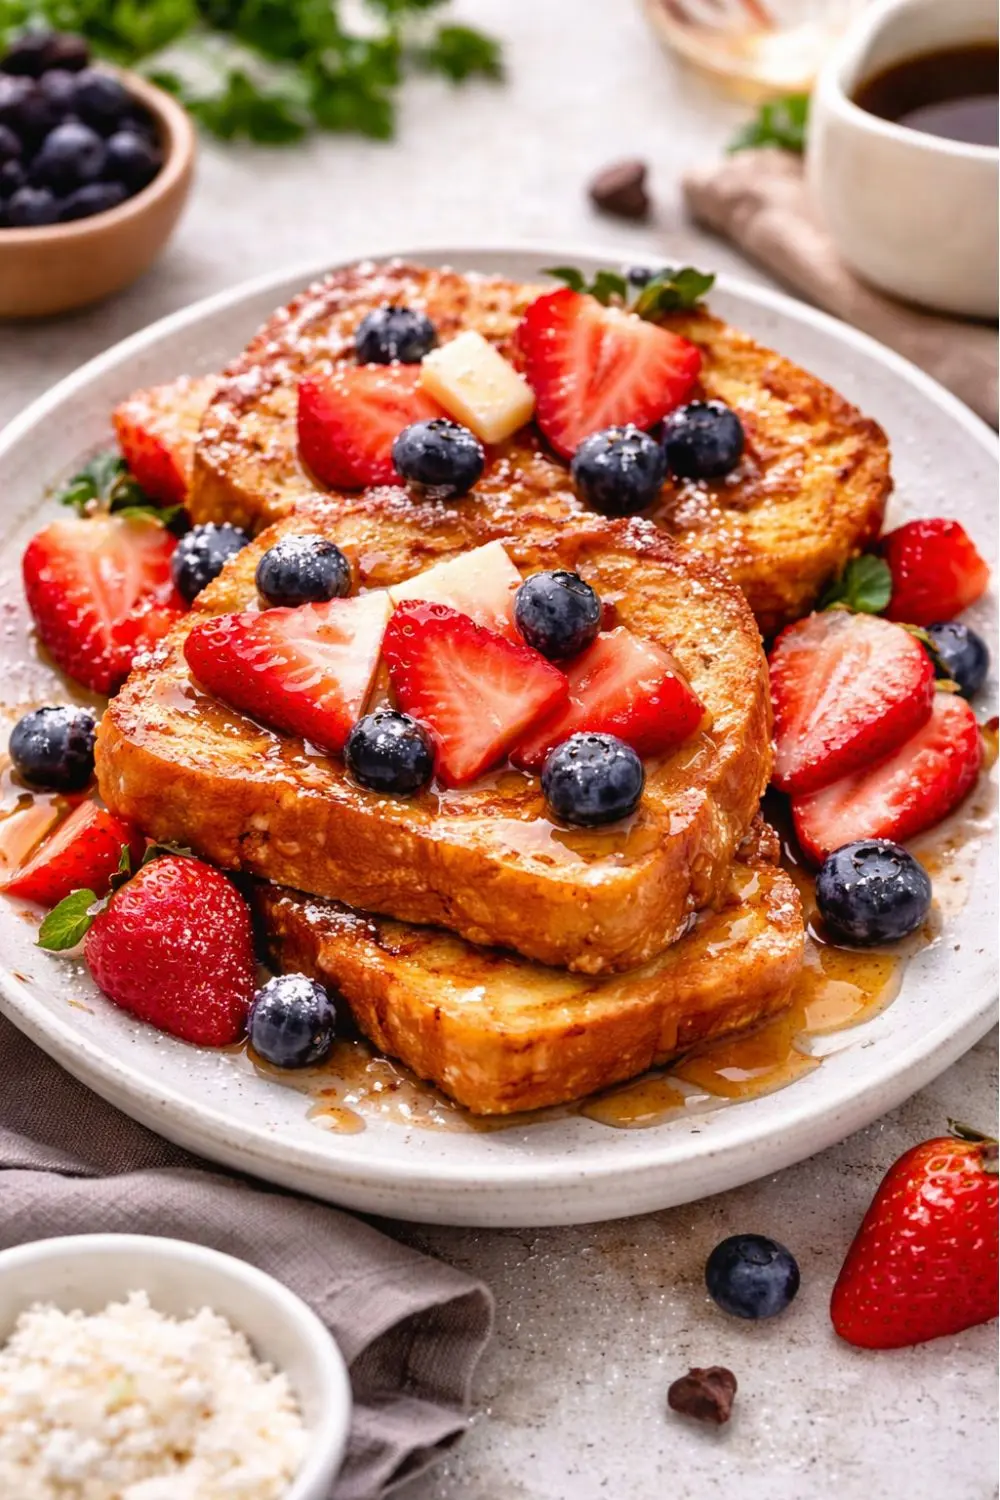
Dairy-Free Gluten-Free Vegan French Toast
Ingredients
Equipment
Method
- Step 1 – Prepare the Custard Batter
- Add the almond milk, cashew butter, flax seeds, protein powder (if using), cinnamon, vanilla extract, and maple syrup to a wide shallow bowl. Beat together with a fork or whisk until the cashew butter fully incorporates into the milk and the mixture becomes smooth and uniform.
- The cashew butter takes a moment to fully combine be patient and whisk until no visible streaks of nut butter remain. If it resists incorporating, warm the almond milk very slightly (15 seconds in the microwave) before adding the cashew butter the warmth helps it emulsify.
- Blender alternative Add all custard ingredients to a blender and blend for 30–45 seconds until completely smooth. This produces the most uniform, creamy custard and is worth the extra appliance if you want maximum results.
- Step 2 – Pre-Toast Fresh Bread (If Needed)
- If your gluten-free bread is fresh, toast each slice briefly in a toaster to remove surface moisture before soaking. A light toast not golden, just slightly dried is all you need. Let the slices cool for 1–2 minutes before soaking so they don’t become too hot to handle.
- If your bread is a day old or slightly stale, skip this step older bread has the right moisture level for soaking without pre-treatment.
- Step 3 – Soak the Bread
- Place one slice of bread flat into the custard bowl. Allow it to sit for at least 10 seconds, turning once to soak both sides. The bread should absorb enough custard to feel slightly weighted and coated throughout not dripping wet, not dry. Gluten-free bread typically soaks faster than regular wheat bread.
- Repeat with remaining slices, working in batches that fit your pan.
- Step 4 – Fry to Golden Perfection
- Heat a drizzle of oil in your large non-stick pan or skillet over medium-high heat. Allow the oil to get genuinely hot a drop of water should sizzle immediately on contact. Cold pan + custard-soaked bread = soggy French toast. Hot pan + custard-soaked bread = golden, slightly crispy French toast.
- Place each custard-soaked bread slice in the pan. Fry each side for 3–4 minutes until deeply golden and slightly crispy. Don’t move the slices around during cooking leave them undisturbed so the crust develops properly. Flip once when the bottom side is golden.
- Fry the second side for another 3–4 minutes until equally golden. The finished French toast should feel slightly firm to the touch and look deeply golden with visible crispiness at the edges.
- Step 5 – Serve Immediately
- Remove from the pan and serve immediately while hot French toast quality deteriorates quickly as it cools and the crispy edges soften. Top with your chosen toppings and eat while everything is at its best.
Notes
Nutrition Information Per Slice
At 149 calories per slice, this French toast is remarkably lean for something that tastes this satisfying:| Nutrient | Per Slice |
| Calories | 149 kcal |
| Carbohydrates | 11g |
| Protein | 8g |
| Fat | 7g |
| Fiber | 2g |

Hi — I’m Rachel. I’m a wife, a mom, and a home cook who believes that food should bring comfort, joy, and compassion to the table. I live with my family — two hungry little foodies who are my most honest recipe testers — and together we’ve built a kitchen culture that’s all about good food that happens to be 100% vegan. I started this blog because I wanted a place to share the recipes that keep our days moving, the dishes that make weeknights feel a little easier, and the meals that become our little family traditions.