
White beans deserve significantly more recognition than they typically get in the summer meal conversation. Creamy Vegan White Bean & Cucumber Salad Wrap proves this point completely two cans of white beans tossed with Persian cucumbers, radish matchsticks, fresh dill, and green onions in a bright lemon-garlic vinaigrette creates something that’s simultaneously light and genuinely filling. The “creamy” in the title comes from the beans themselves cannellini or navy beans have a naturally smooth, almost buttery texture that makes the salad feel rich without any dairy or heavy dressing. Two people, 18 minutes total, 153 calories per serving, and genuinely excellent tucked into a wrap.
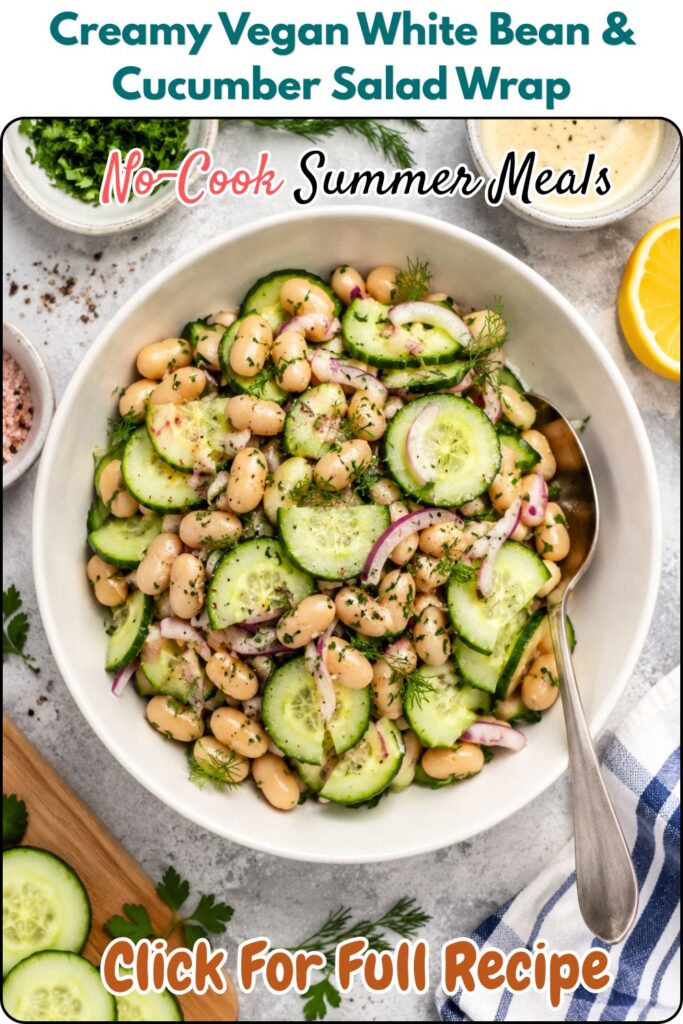
I make this no-cook summer meal specifically when I want something that tastes considered and fresh without involving a stove, multiple pans, or any component that requires watching or timing. The 5-minute vinaigrette rest while you prep the vegetables isn’t just a cooking instruction it’s actually designed to mellow the raw garlic’s sharpness, which is a small technique detail that produces a noticeably better dressing. IMO, this is the salad that proves simple ingredients handled correctly taste genuinely impressive.
My Recipe Timing and Serving Details
| Detail | Info |
| Prep Time | 10 minutes |
| Vinaigrette Rest Time | 5 minutes |
| Optional Chill Time | 15-30 minutes |
| Total Time | 18 minutes |
| Servings | 2 people |
| Calories Per Serving | 153 kcal (salad only) |
| Course | Main / Light Lunch |
| Diet | 100% Vegan |
This Creamy Vegan White Bean & Cucumber Salad Wrap serves 2 people as a complete light meal. At 153 calories per serving for the salad component, the total wrap calorie count depends on your wrap choice adding a standard burrito-size tortilla brings each serving to approximately 270-320 calories, still very appropriate for a light lunch. The recipe notes that leftovers keep for up to 5 days in the refrigerator, making this an excellent weekly meal-prep salad.
Why White Beans Are the Right Bean for This Recipe
Have you ever substituted chickpeas into a white bean recipe and noticed the result was technically correct but missing something? White beans and chickpeas behave differently in dressed salads, and understanding why helps you appreciate why cannellini or navy beans specifically work so well here:
White beans have a smooth, thin skin that doesn’t create any chewiness resistance when bitten they practically dissolve at the edges into the surrounding dressing, which is what creates the “creamy” quality referenced in the recipe’s name. Chickpeas have a thicker outer skin that stays distinct and creates a chewier, more assertive bite.
White bean texture absorbs dressing differently. Their naturally dense, slightly starchy interior absorbs lemon vinaigrette evenly throughout after 15-30 minutes of marinating, the beans taste seasoned all the way through rather than just on the surface.
Their flavor profile is genuinely neutral. White beans taste mildly nutty and slightly buttery they don’t compete with the dill’s freshness, the radish’s bite, or the lemon’s brightness. Chickpeas have a more distinct flavor that makes them protagonists rather than supporting characters.
The specific varieties that work:
Cannellini beans -the largest, creamiest white bean. Italian-origin, buttery texture, excellent in this application. Their larger size holds up well to tossing without breaking down.
Navy beans -smaller, denser, slightly less creamy than cannellini. Hold their shape extremely well. Available everywhere.
Great Northern beans – between cannellini and navy in size. Good option if the other two aren’t available.
Full Ingredient List
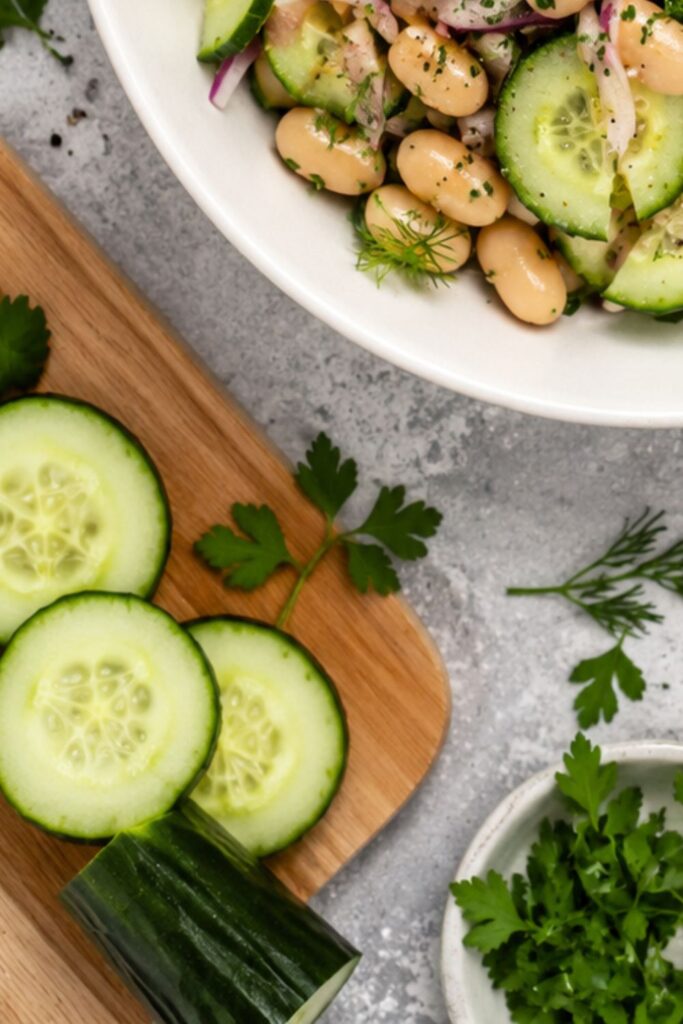
For the Lemon-Garlic Vinaigrette:
- 1 garlic clove, minced
- Juice of 1 small lemon (about 2 tablespoons)
- 2 tablespoons extra virgin olive oil
- 1 teaspoon Dijon mustard
- ½ teaspoon salt
- Black pepper to taste
For the Salad:
- 2 cans (15 oz each) white beans – rinsed and drained
- 2 Persian cucumbers – thinly sliced (or ½ a large cucumber)
- 5-7 radishes – cut into matchsticks
- ¾ oz fresh dill – stems removed, finely chopped
- 2 green onions – green and white parts, thinly sliced
For Wrapping (Optional):
- Large flour tortillas, lavash, or lettuce leaves
The Garlic Technique Why 5 Minutes Changes the Dressing
The recipe includes a specific instruction that most home cooks either don’t notice or ignore: let the minced garlic sit in the lemon juice for 5 minutes before adding the other vinaigrette ingredients and using the dressing.
This 5-minute rest isn’t arbitrary. Garlic’s pungency comes primarily from allicin the compound produced when raw garlic cells are damaged through mincing. Fresh allicin has an aggressive, sharp bite that can overpower delicate flavors like fresh dill and cucumber.
When raw garlic sits in an acidic liquid (lemon juice), a partial conversion occurs some of the allicin’s intensity mellows as the acid reacts with its breakdown products. The result after 5 minutes is garlic that’s still flavorful and present but without the harsh, sometimes unpleasant raw garlic edge that ruins otherwise well-balanced dressings.
Why this matters specifically for this salad- The fresh dill is delicate. The cucumber is mild. The white beans are neutral. If raw garlic dominates the dressing, it overwhelms every other subtle flavor in the bowl. The 5-minute acid rest brings the garlic’s intensity down to a level where it enhances rather than dominates.
FYI this technique applies to any dressing where raw garlic pairs with lemon juice or vinegar. Five minutes of patience produces a noticeably better result every time.
Equipment You’ll Need For
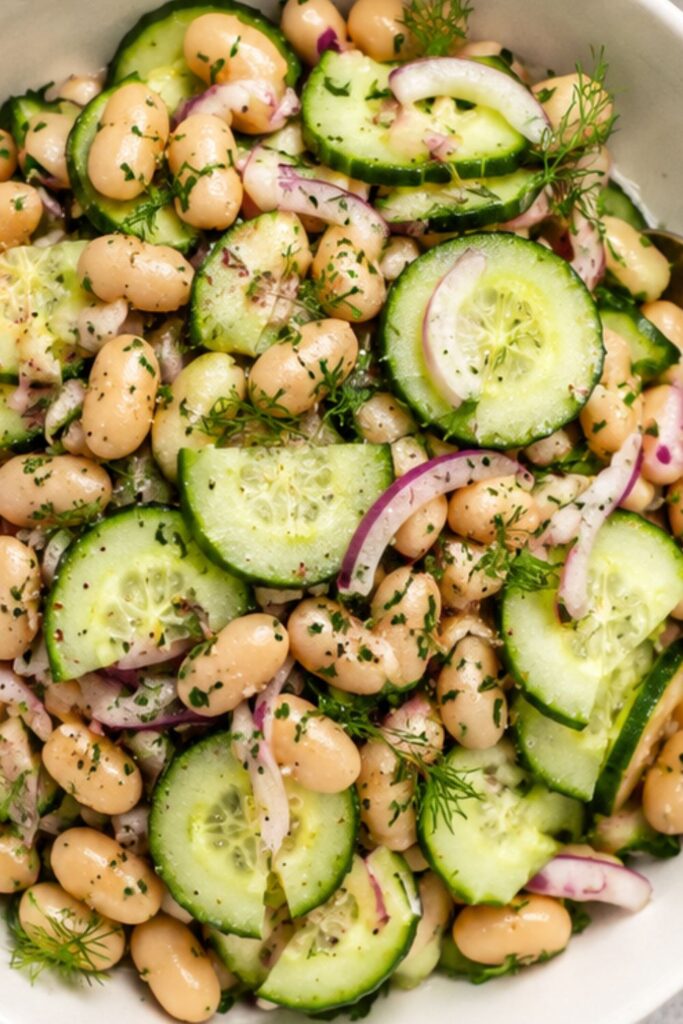
This is genuinely one of the lowest-equipment recipes in any no-cook summer collection:
Primary Equipment
- Small bowl – for the vinaigrette (whisk together and let rest 5 minutes)
- Large mixing bowl – for the full salad (beans, all vegetables, and dressing together)
- Whisk or fork – for the vinaigrette
Prep Tools
- Sharp knife and cutting board -for thinly slicing the cucumbers, cutting radishes into matchsticks, chopping the dill, and slicing the green onions
- Colander – for draining and rinsing the canned beans thoroughly
That’s the complete equipment list. The entire recipe happens in two bowls and takes minimal counter space. For a wrap format, add:
- Cutting board for wrapping – for assembling the wraps
- Aluminum foil or parchment – for wrapping tightly if transporting
The Persian Cucumber Specification
The recipe calls for Persian cucumbers rather than standard American cucumbers or English/hothouse cucumbers, and this specificity matters:
Persian cucumbers- are small (about 5-6 inches long), thin-skinned, nearly seedless, and extremely crisp. They don’t release significant water during prep or storage, which means the dressing stays concentrated rather than becoming diluted. Their thin skin doesn’t require peeling. Their small size means fewer seeds, which maintains the salad’s texture over the 5-day storage window.
English/hothouse cucumbers – acceptable substitute. Thinner skin than American cucumbers, fewer seeds, lower water release. Similar behavior to Persian cucumbers.
Standard American cucumbers – require peeling (the skin is tough and bitter) and ideally seeding (the seed cavity holds significant water that dilutes dressings during storage). If using standard cucumbers, peel and scoop out the seeds before slicing.
The slice thickness matters- Thinly sliced cucumbers (approximately ⅛ inch) maintain crispness while being thin enough to absorb the surrounding lemon-dill flavor. Thick-cut cucumbers remain largely undressed in the interior and create chunky bites that don’t integrate with the beans as elegantly.
The Radish Matchsticks An Underappreciated Technique
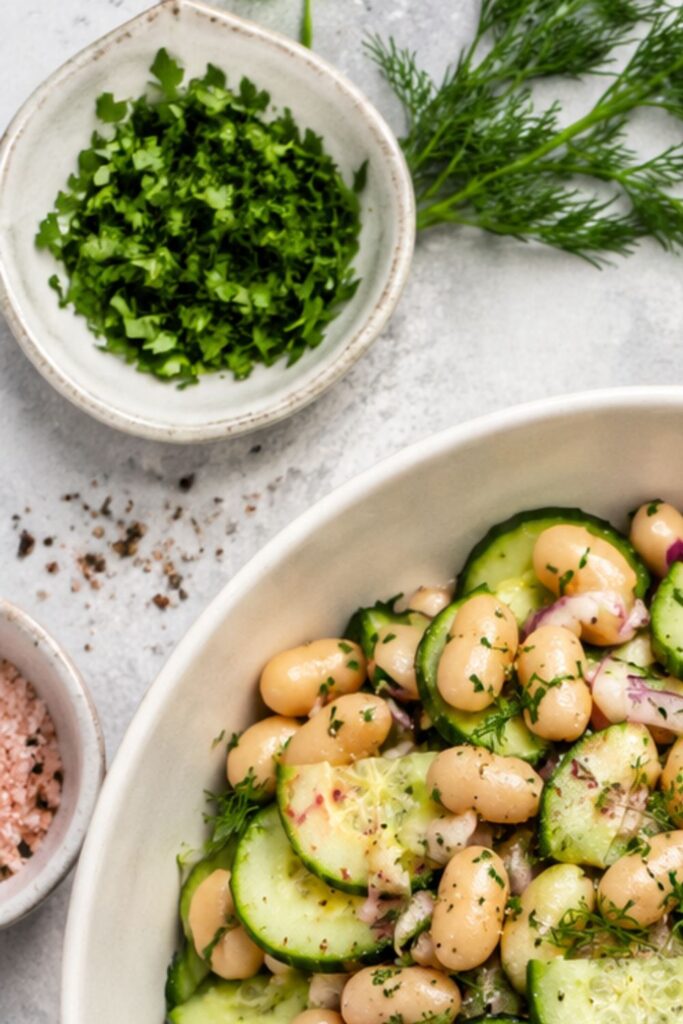
Most people who make bean salads don’t include radishes. This recipe specifically does, and the matchstick cut is specifically what makes them work:
Radishes add a peppery, slightly bitter bite that creates contrast against the creamy white beans and mild cucumber. Without this contrast element, the salad can feel pleasant but one-dimensional.
The matchstick cut specifically produces a different textural and flavor experience than sliced radish rounds. Rounds have more surface area contact with the dressing and can become soft quickly. Matchsticks maintain their peppery character and crunch longer because of their smaller cross-section and the way they nestle within the other ingredients.
How to cut radish matchsticks, Slice each radish into thin planks (approximately ⅛ inch thick), then stack the planks and cut into thin strips. The result looks similar to thin julienne carrot but with the radish’s distinctive pink exterior showing on each piece.
The 5-7 radish quantity produces noticeable radish presence without the salad tasting primarily of radish which would be too aggressive alongside the delicate dill and mild beans.
Fresh Dill The Herb That Makes This Salad Specifically Excellent
Fresh dill is one of those herbs that people either love immediately or haven’t encountered used properly. In this salad, it’s used generously (¾ oz, which is a real handful) and it’s the ingredient that most specifically defines the salad’s character.
Why fresh dill specifically- Dill’s feathery fronds have a delicate, slightly anise-adjacent freshness that pairs with lemon, cucumber, and white beans in a way that feels specifically and recognizably Mediterranean-influenced. It’s the herb that makes this salad taste like something you’d order at a good Mediterranean restaurant.
Fresh vs. dried dill- Dried dill has essentially none of the aromatic, grassy freshness that makes fresh dill so pleasant. For this recipe, dried dill is not a functional substitute the flavor is so different that it produces a noticeably inferior result. Fresh dill is widely available in grocery stores and worth seeking specifically.
The stem removal instruction- Dill stems are fibrous and slightly bitter the fine fronds have all the flavor and none of the texture issues. Remove stems by pinching the frond clusters and stripping them from the thicker stems. Finely chop the remaining fronds.
Step-by-Step Instructions ForCreamy Vegan White Bean & Cucumber Salad Wrap
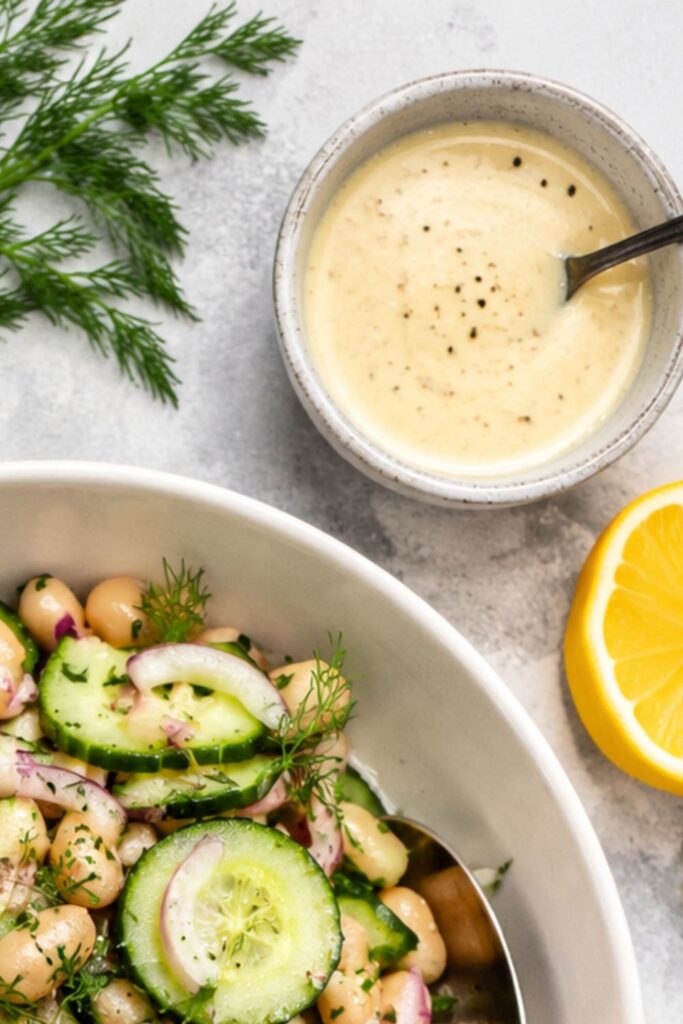
Step 1 – Make the Vinaigrette (and let it rest)
Mince the garlic finely and add it to a small bowl. Pour the lemon juice over the minced garlic and let this mixture sit for exactly 5 minutes while you prep everything else this is the garlic-mellowing step.
After 5 minutes, add the olive oil, Dijon mustard, salt, and black pepper to the garlic-lemon mixture and whisk until combined. The Dijon mustard acts as an emulsifier it helps the oil and acid stay combined as a uniform dressing rather than separating immediately.
Step 2 – Prep the Vegetables
While the garlic mellows in the lemon juice, prep all the vegetables simultaneously:
- Thinly slice the Persian cucumbers into rounds
- Cut the radishes into thin matchsticks
- Remove dill stems and finely chop the fresh dill
- Thinly slice the green onions (both white and green parts)
Drain and rinse the white beans thoroughly in a colander canned beans come in a starchy liquid that can make the dressing taste muddy if the beans aren’t properly rinsed.
Step 3 – Assemble
Add the drained beans, sliced cucumbers, radish matchsticks, chopped dill, and sliced green onions to a large bowl.
Pour the vinaigrette over everything and toss well until evenly incorporated every bean and vegetable piece should be coated.
Taste and season with additional salt and pepper as needed.
Step 4 – Rest or Serve
Serve immediately if you’re hungry and can’t wait the salad is genuinely good right after tossing.
Or refrigerate 15-30 minutes before serving the recommended option. During this brief rest, the beans absorb the lemon-garlic-dill flavor throughout rather than just on the surface, the radishes soften very slightly to a pleasant crunch rather than harsh bite, and all the flavors integrate into a more cohesive whole.
Building the Wrap Format Options
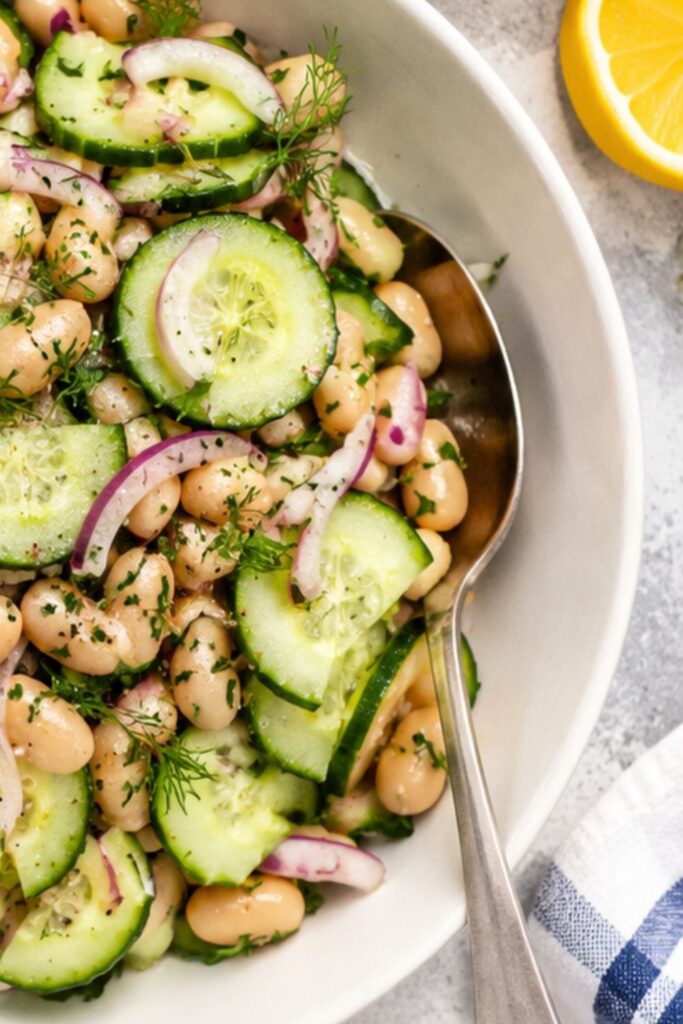
The recipe works both as a standalone salad and as a wrap filling:
Large Flour Tortilla
The most common wrap format. Choose a burrito-sized (10-12 inch) flour tortilla, warm briefly in a dry pan or microwave for 15 seconds, and spoon the salad down the center. Roll tightly, tucking the sides in first.
Calorie addition: Standard 10-inch flour tortilla adds approximately 130-160 calories, bringing each wrap to roughly 280-310 calories total.
Lavash
Thin Armenian flatbread that creates a more delicate wrap than a flour tortilla. Spread the salad across the lavash, roll from one end, and slice crosswise into pinwheels or serve as a full roll.
Lettuce Cups
For a completely grain-free, lighter format large butter lettuce or romaine leaves make natural cups for the salad. Very low additional calories. The crunch of the lettuce adds another textural element to the already-crunchy salad.
Pita Bread
Stuff the salad into halved pita bread for a more substantial, handheld format. Works well for lunch boxes and packed lunches since the pita contains the salad without spilling.
Meal Prep Value This Salad Specifically Holds Well

The 5-day storage promise is real and unusual for a fresh vegetable salad, and it’s specifically because of what’s NOT in this recipe:
No delicate leafy greens that wilt and go slimy. Every vegetable in this bowl beans, cucumber, radishes, green onions holds its structure in a refrigerator environment.
The acid preserves. Lemon juice and Dijon mustard create an acidic environment that slows bacterial growth and helps vegetables maintain their color and texture.
White beans improve with marinating time. Day 3 beans taste more deeply seasoned than Day 1 beans they’ve had time to absorb the lemon-dill character throughout. This is one of the rare salads where Day 3 is genuinely better than Day 1.
Storage tip- Keep the salad in an airtight container and stir before each serving. Add the wrap component (tortilla, pita, lettuce) only at serving time storing pre-wrapped salads leads to soggy wrap material.
Serving Variation Beyond the Wrap
On toast- Spoon the white bean salad over thick slices of sourdough toast. The beans spread slightly, the dill fragrance hits, and you have a genuinely excellent open-faced toast situation.
With pita chips- Serve as a dip alongside baked pita chips the beans provide enough creaminess to cling to chips.
Over greens- Use as a protein-rich salad topping spoon over arugula or mixed greens for a more substantial green salad.
In a grain bowl- Serve over cooked farro, quinoa, or rice alongside roasted vegetables for a more filling dinner format.
Still Hungry, Try It Next recipe
Cold Sesame Peanut Noodles with Crunchy Veggies

Nutrition Information Per Serving
At 153 calories per serving (salad only, not including wrap) for 2 servings:
| Nutrient | Per Serving |
| Calories | 153 kcal |
| Carbohydrates | 6g |
| Protein | 2g |
| Fat | 14g |
| Saturated Fat | 2g |
| Fiber | 1g |
| Sodium | 617mg |
| Potassium | 199mg |
| Vitamin C | 6mg |
The 153 calories per serving for the salad itself is genuinely light the majority of calories come from the 2 tablespoons of olive oil distributed across 2 servings. The fat is predominantly monounsaturated from the olive oil. Adding a wrap component brings total calories to approximately 280-320 per complete serving very appropriate for a lunch meal.
Storage
- Salad (no wrap)- Refrigerate in an airtight container for up to 5 days quality remains excellent throughout
- Daily variation- Tastes better at Day 2-3 as flavors meld; acceptable through Day 5
- Assembled wraps- Best consumed immediately wraps become soggy after 2-3 hours
My Final Thoughts
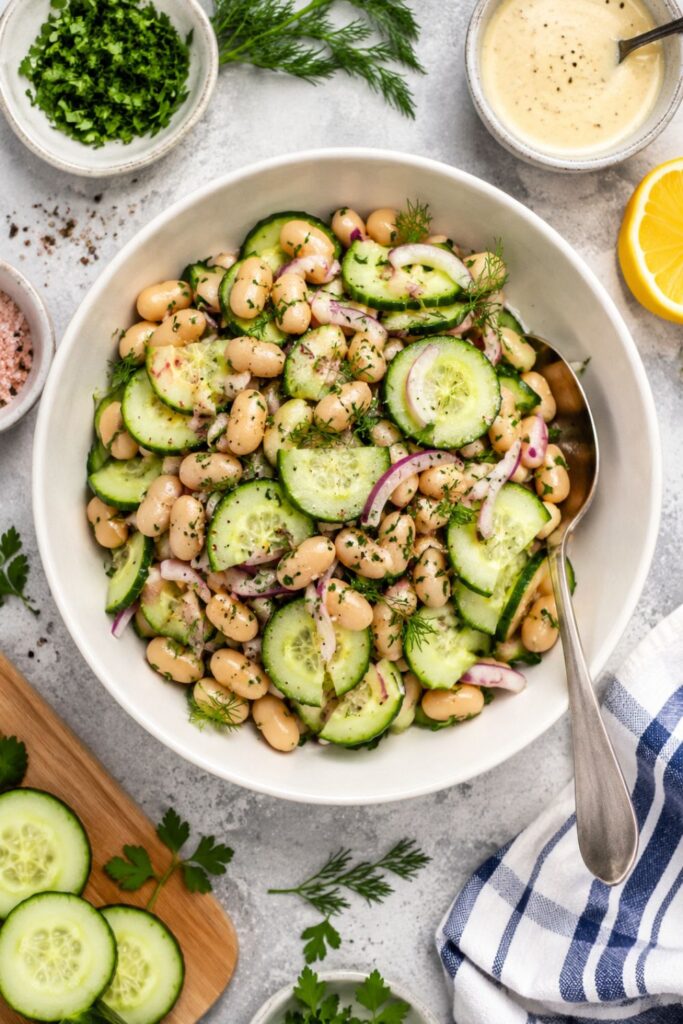
Creamy Vegan White Bean & Cucumber Salad Wrap is the no-cook summer meal that genuinely earns its “creamy” description without any cream white beans’ natural texture does the work, and the lemon-garlic-dill vinaigrette ties everything together into something that tastes much more considered than 18 minutes of prep suggests.
Let the garlic sit in the lemon juice. Use fresh dill. Slice everything thin. Rest for 20 minutes if you can.
Then wrap it, eat it, and wonder why this particular combination of simple ingredients tastes this specifically good.

Creamy Vegan White Bean & Cucumber Salad Wrap No-Cook Summer Meal
Ingredients
Equipment
Method
- Step 1 – Make the Vinaigrette (and let it rest)
- Mince the garlic finely and add it to a small bowl. Pour the lemon juice over the minced garlic and let this mixture sit for exactly 5 minutes while you prep everything else this is the garlic-mellowing step.
- After 5 minutes, add the olive oil, Dijon mustard, salt, and black pepper to the garlic-lemon mixture and whisk until combined. The Dijon mustard acts as an emulsifier it helps the oil and acid stay combined as a uniform dressing rather than separating immediately.
- Step 2 – Prep the Vegetables
- While the garlic mellows in the lemon juice, prep all the vegetables simultaneously:
- Thinly slice the Persian cucumbers into rounds
- Cut the radishes into thin matchsticks
- Remove dill stems and finely chop the fresh dill
- Thinly slice the green onions (both white and green parts)
- Drain and rinse the white beans thoroughly in a colander canned beans come in a starchy liquid that can make the dressing taste muddy if the beans aren’t properly rinsed.
- Step 3 – Assemble
- Add the drained beans, sliced cucumbers, radish matchsticks, chopped dill, and sliced green onions to a large bowl.
- Pour the vinaigrette over everything and toss well until evenly incorporated every bean and vegetable piece should be coated.
- Taste and season with additional salt and pepper as needed.
- Step 4 – Rest or Serve
- Serve immediately if you’re hungry and can’t wait the salad is genuinely good right after tossing.
- Or refrigerate 15-30 minutes before serving the recommended option. During this brief rest, the beans absorb the lemon-garlic-dill flavor throughout rather than just on the surface, the radishes soften very slightly to a pleasant crunch rather than harsh bite, and all the flavors integrate into a more cohesive whole.
Notes
Nutrition Information Per Serving
At 153 calories per serving (salad only, not including wrap) for 2 servings:| Nutrient | Per Serving |
| Calories | 153 kcal |
| Carbohydrates | 6g |
| Protein | 2g |
| Fat | 14g |
| Saturated Fat | 2g |
| Fiber | 1g |
| Sodium | 617mg |
| Potassium | 199mg |
| Vitamin C | 6mg |

Hi — I’m Rachel. I’m a wife, a mom, and a home cook who believes that food should bring comfort, joy, and compassion to the table. I live with my family — two hungry little foodies who are my most honest recipe testers — and together we’ve built a kitchen culture that’s all about good food that happens to be 100% vegan. I started this blog because I wanted a place to share the recipes that keep our days moving, the dishes that make weeknights feel a little easier, and the meals that become our little family traditions.