Step 1- Prep Your Oven and Pan
Move your oven rack to the lowest position this is important for angel food cake specifically, as it bakes from the bottom up and needs maximum distance from the top heating element. Preheat to 350°F (175°C). Do not grease your tube pan the batter needs to grip the ungreased sides to climb and rise properly. Greasing it is the single fastest way to end up with a flat, dense cake.
Step 2- Triple-Sift the Dry Ingredients
In your large mixing bowl, sift together the powdered sugar and cake flour three times. Yes, three times not once, not twice. Each pass through the sifter aerates the mixture more thoroughly, and this aeration is directly responsible for how light the finished cake feels. Use a fine-mesh sieve if you don't have a traditional sifter. Set aside after the third sift.
Step 3- Whip the Aquafaba to Stiff Peaks
Pour your 1½ cups of room-temperature aquafaba into the bowl of your stand mixer. Add the cream of tartar and vanilla extract. Start whipping on medium speed and let it run for about 3–4 minutes until soft, foamy peaks begin to form.
With the mixer running, add the granulated sugar approximately 2 tablespoons at a time, waiting 30–45 seconds between additions. This gradual addition dissolves the sugar into the foam rather than deflating it. Continue whipping until stiff, glossy peaks form the foam should hold its shape when you pull the whisk attachment straight up and the peaks should stand upright without drooping. This takes 8–12 minutes total from when you started. Set a timer and be patient.
Step 4- Fold in the Flour Gently and Deliberately
Sift approximately one-quarter of your flour mixture over the whipped aquafaba foam. Using your rubber spatula, fold it in with slow, wide strokes a motion that sweeps under the foam, lifts it, and folds it over the flour. This motion preserves the air you just spent 10 minutes building into the aquafaba.
Repeat: sift one-quarter of the remaining flour, fold gently. Repeat two more times until all the flour is incorporated. Work slowly and deliberately aggressive stirring at this stage deflates the foam and produces a dense, chewy cake rather than a light, airy one. A few small streaks of flour at the end are fine; overmixing to eliminate them is not.
Step 5- Pour and Bake
Gently pour the batter into your ungreased 10-inch tube pan. Use your rubber spatula to spread it to the edges evenly, then cut through the batter several times with the spatula to release any large air pockets trapped inside. Smooth the top lightly.
Bake on the lowest oven rack for 40–45 minutes, until the top springs back when you press it very lightly with one finger. Avoid opening the oven during the first 35 minutes the temperature fluctuation can cause the foam structure to collapse before it sets.
Step 6- Cool Upside Down This Step Is Not Optional
Remove the cake from the oven immediately when done and invert the pan right away. Most 10-inch tube pans have small legs or feet on the rim specifically for this purpose they hold the inverted pan off the counter so air circulates around the cake as it cools. If your pan lacks feet, invert it over a full wine bottle placed through the center tube.
Leave it inverted for at least 40 minutes until completely cool. This inverted cooling prevents the delicate aquafaba foam structure from collapsing under its own weight while it's still warm. Do not try to speed this up.
Once fully cooled, run a thin knife around the outer and inner edges of the pan, then remove the cake. Use your serrated knife to slice gently into three equal horizontal layers a sawing motion rather than pressing down.
Step 7- Macerate the Berries
Hull and slice your strawberries. Combine them in a bowl with your other berries and the ¼ cup of granulated sugar. Toss gently to coat and let the mixture sit for 15–20 minutes until the sugar draws out the fruit juices and creates a glossy, fragrant berry syrup. This is the maceration process, and it transforms good berries into extraordinary ones.
Step 8- Make the Coconut Whipped Cream
Place your stand mixer bowl and whisk attachment in the freezer for 10 minutes the cold surfaces help the coconut cream whip faster and hold its peaks more firmly. Scoop only the solid coconut cream from your overnight-chilled can into the chilled bowl, leaving any liquid behind. Beat with the vanilla extract (and optional powdered sugar) until soft peaks form about 3–4 minutes. Use immediately or keep refrigerated until needed.
Step 9- Assemble and Serve
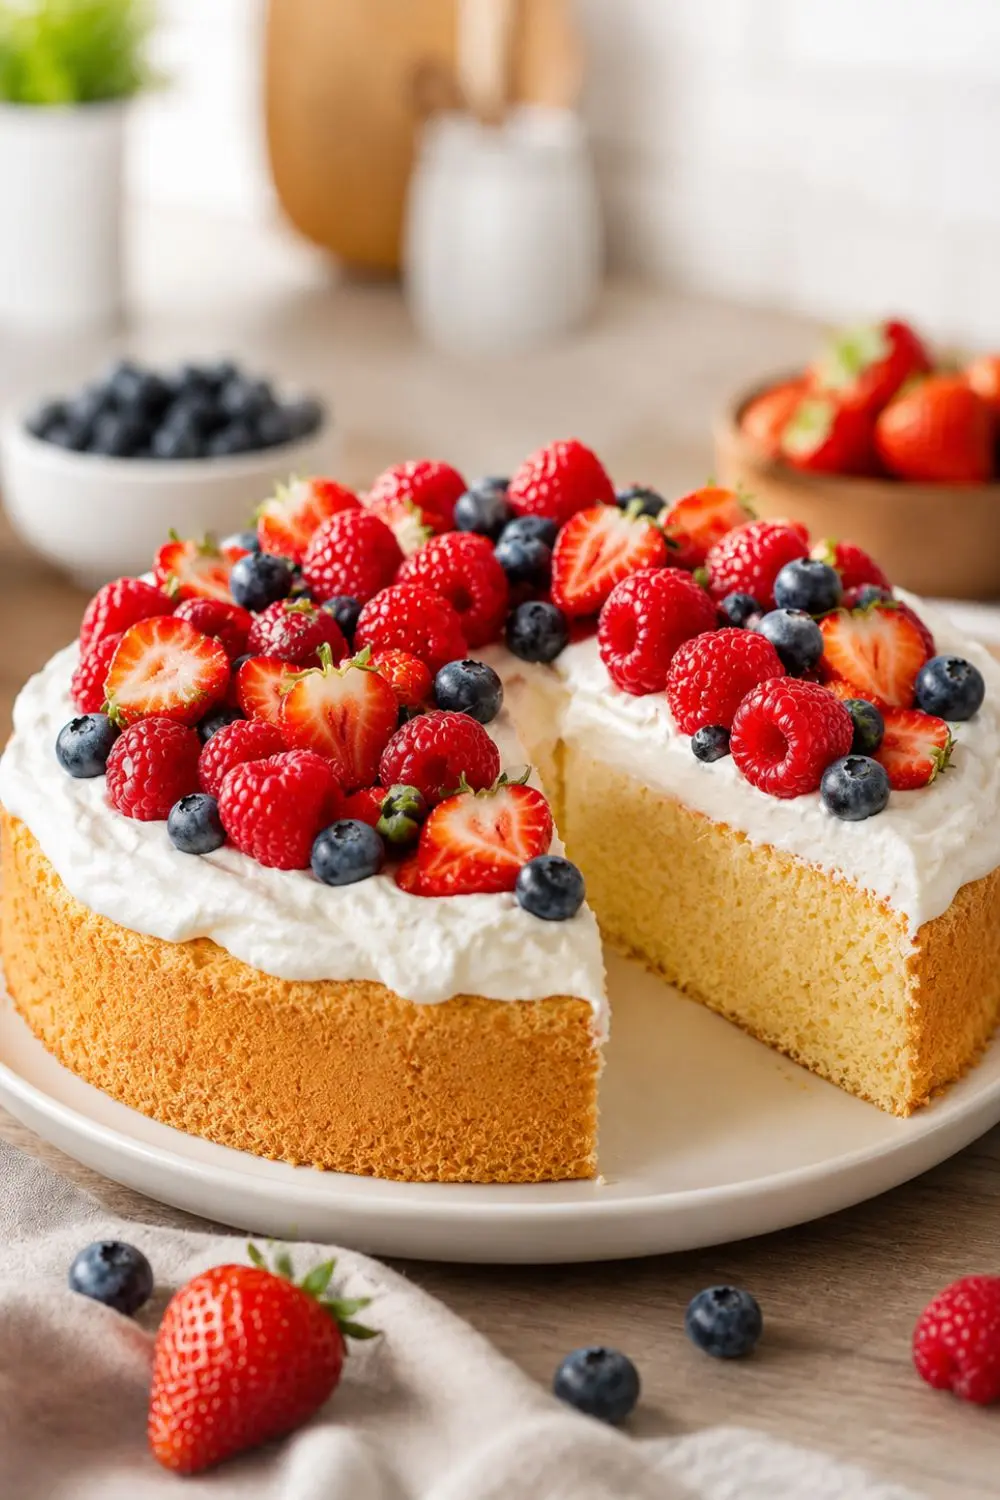
Place the bottom cake layer on your serving plate. Spoon some macerated berries and their juice over the surface, then add a layer of coconut whipped cream. Add the middle layer and repeat. Place the top layer on, cover generously with coconut whipped cream, and spoon the remaining berries across the top. Serve within an hour of assembly for the best presentation.