
Servings: 2
Prep Time: 5 minutes
Cook Time: 0 minutes
Total Time: 5 minutes
Calories: 285 kcal per serving
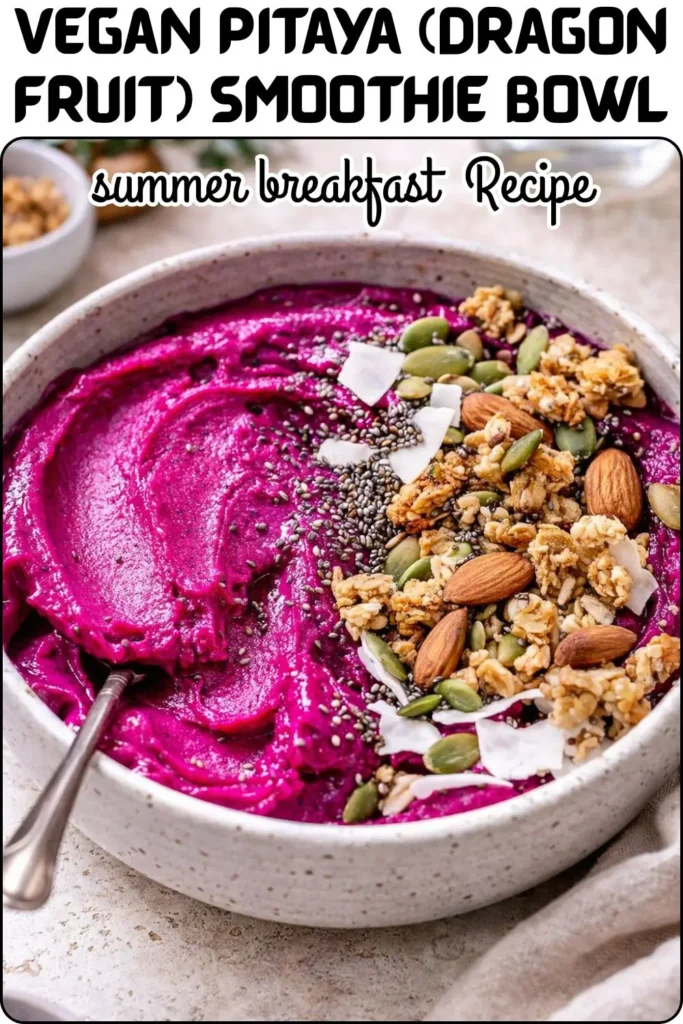
That electric magenta color you keep seeing all over Instagram? That’s pitaya and it tastes even better than it looks. This Vegan Pitaya Dragon Fruit Smoothie Bowl is thick, frosty, naturally sweet, and absolutely stunning in a bowl. Five minutes, one blender, zero cooking, and you’ve got a breakfast that looks like it belongs in a Bali resort. The fact that it’s 100% plant-based and genuinely nutritious is almost beside the point though it absolutely counts.
I made my first pitaya bowl because I wanted something that photographed well for a weekend post. I kept making it because it tastes like frozen dragon fruit sorbet for breakfast and that is simply a lifestyle I want to continue. Let me show you exactly how to nail it.
What Is Pitaya and Why Should You Care?
Pitaya is the Spanish name for dragon fruit the tropical fruit with that dramatic hot-pink or white flesh and those tiny edible black seeds throughout. The variety used in smoothie bowls is almost always the pink or red-fleshed pitaya (Hylocereus costaricensis), which delivers that vivid magenta color that makes the smoothie bowl so visually striking.
Flavor-wise, pitaya is mild and subtly sweet somewhere between a kiwi and a pear, with a refreshing, slightly watery quality that makes it perfect for frozen blending. It doesn’t taste as dramatic as it looks, which is why pairing it with frozen strawberries and banana amplifies the sweetness and gives the bowl genuine flavor depth.
Nutritionally, pitaya brings antioxidants, vitamin C, iron, and fiber to every serving. It’s not magic, but it’s genuinely good for you and it turns your breakfast an outrageous shade of pink. That’s a solid combination.
Ingredients You’ll Need For
Smoothie Bowl Base
- 2 cups frozen dragon fruit cubes – the hero ingredient; frozen is essential for that thick, ice-cream-like consistency
- ½ cup frozen strawberries – amplifies the sweetness and deepens the pink color
- 2 medium ripe bananas, frozen – the creaminess and natural sweetness backbone of this bowl; freeze them when they’re spotty-ripe for the best flavor
- ¼ cup soy milk – just enough liquid to help the blender move without thinning the bowl too much; add cautiously
- ½ tablespoon agave or maple syrup (optional) – only needed if your fruit isn’t sweet enough; taste before adding
Optional Toppings
This is where the bowl becomes genuinely beautiful. Choose what speaks to you:
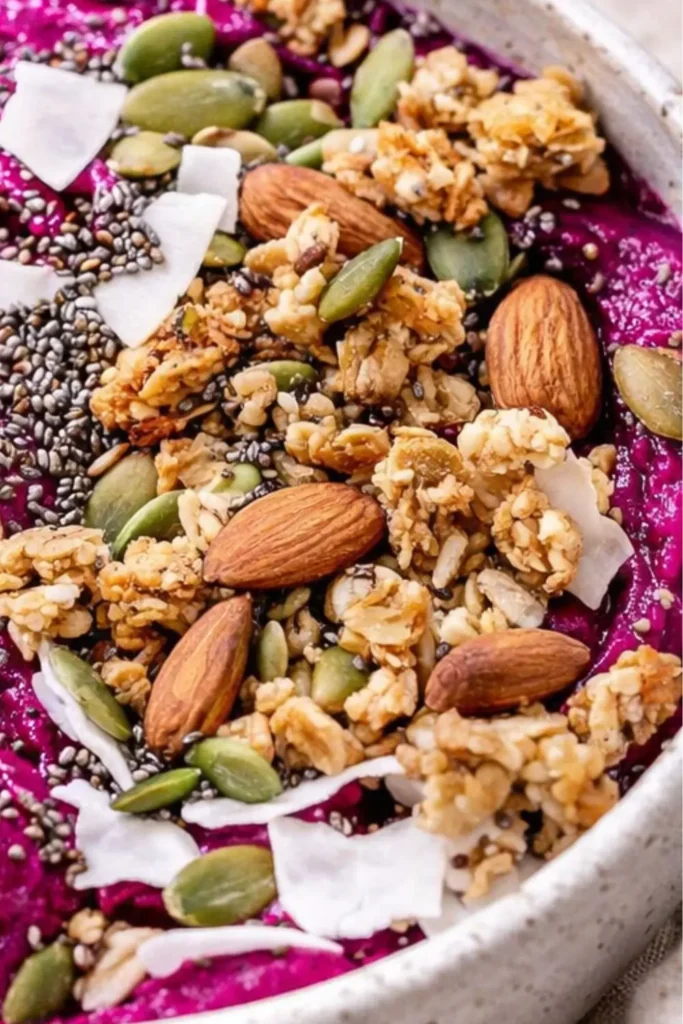
- Chia seeds – tiny nutritional powerhouses that add visual texture
- Coconut flakes – toasted or raw; both work and add a tropical note
- Fresh fruit – kiwi slices, fresh strawberries, mango chunks, or banana coins
- Granola – adds crunch and makes the bowl more filling
- Nuts or seeds– almonds, cashews, hemp seeds, or pumpkin seeds all work
FYI the toppings are genuinely part of the experience here, not an afterthought. A pitaya bowl with beautiful toppings arranged thoughtfully looks incredible and eats with much more satisfying texture variety than a bare bowl. Take the extra 90 seconds to arrange them intentionally.
Equipment You’ll Need For
The right equipment makes a significant difference with smoothie bowls:
- High-speed blender – this is non-negotiable for frozen smoothie bowls; a Vitamix, Blendtec, or NutriBullet Pro all work excellently. A standard low-powered blender will struggle with frozen fruit and overheat before the mixture reaches the right consistency
- Tamper tool – if your blender came with one, use it; it pushes frozen fruit toward the blades without adding extra liquid
- Measuring cups and spoons – for the liquid especially; adding even a tablespoon too much plant milk turns a thick bowl into a drinkable smoothie
- Spatula – for scraping down the sides of the blender jug between pulses
- 2 wide, shallow serving bowls – depth matters less than width for smoothie bowls; a wide bowl gives you more surface area to arrange beautiful toppings
- Spoon – for tasting and for eating (obviously)
No stovetop required. No oven. The freezer does the prep work, the blender does the assembly work, and you do the topping arrangement. A very reasonable division of labor.
Servings & Who This Recipe Is For
This recipe makes 2 generous smoothie bowls, which covers:
- A solo breakfast with a leftover portion – the second bowl keeps in the freezer for a few hours before the texture degrades; eat them close together
- Two people at the same table – make both bowls simultaneously; the whole batch blends in one go
- A solo person who wants a larger bowl – combine both servings into one deep bowl and go all in
- A weekend brunch situation – these look extraordinary on a table and take five minutes to produce; nobody needs to know how easy they were
Smoothie bowls don’t store well once assembled the toppings get soggy and the base melts into a smoothie within about 20–30 minutes. Make them fresh and eat immediately for the best texture experience.

Caloric & Nutritional Info (Per Serving)
| Nutrient | Amount |
| Calories | 285 kcal |
| Carbohydrates | (primarily from fruit and banana) |
| Natural Sugars | from whole fruit sources |
| Fiber | from dragon fruit, strawberries, and banana |
| Vitamin C | from dragon fruit and strawberries |
| Potassium | from banana |
| Antioxidants | from pitaya and strawberries |
At 285 calories per serving, this pitaya smoothie bowl sits at a light but energizing level substantial enough for a solo breakfast, especially once you add granola, nuts, and chia seeds to the toppings. The calorie count rises meaningfully with toppings, so if you want a more filling meal, load up generously on granola and nuts. The base without toppings is naturally low in fat and high in natural fruit sugars that give a clean, sustained energy lift without a crash.
Step-by-Step Instructions
Step 1- Make Sure Your Fruit Is Properly Frozen
This step happens well before breakfast, but it determines everything. Your dragon fruit, strawberries, and bananas must be completely frozen solid not partially frozen, not just cold. A properly frozen base blends into that thick, scoopable, soft-serve texture that makes pitaya bowls so satisfying. Partially frozen fruit produces a thin, pourable smoothie, not a bowl.
To freeze your own dragon fruit. cube it, spread the pieces in a single layer on a tray (not touching), and freeze until completely solid usually 4–6 hours or overnight. Then transfer to a sealed bag for storage up to 3 months. Bananas freeze best when they’re spotty-ripe and sliced into coins; freeze them the same way on a tray first.
Step 2- Blend the Base
Add the frozen dragon fruit, frozen strawberries, and frozen banana coins to your high-speed blender. Add the agave or maple syrup if you’re using it. Start blending on low and increase to high speed. The blender will struggle initially that’s normal and expected with fully frozen fruit. Use a tamper tool to push the mixture toward the blades, or stop and scrape down the sides with a spatula every 15–20 seconds.
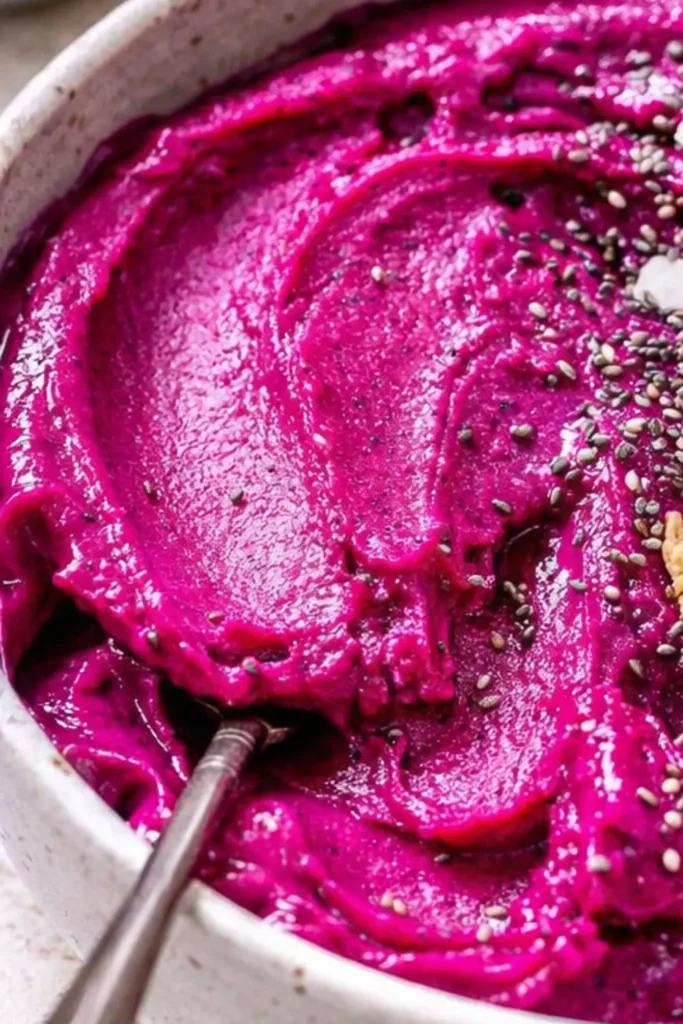
Add the soy milk one tablespoon at a time this is critical. Each tablespoon of liquid loosens the mixture slightly. Add just enough to keep the blender moving without making the bowl pourable. The target consistency is thick enough that it barely moves when you tilt the blender jug like very soft serve ice cream. The moment it starts flowing freely, you’ve added too much liquid.
You may also like Next recipe
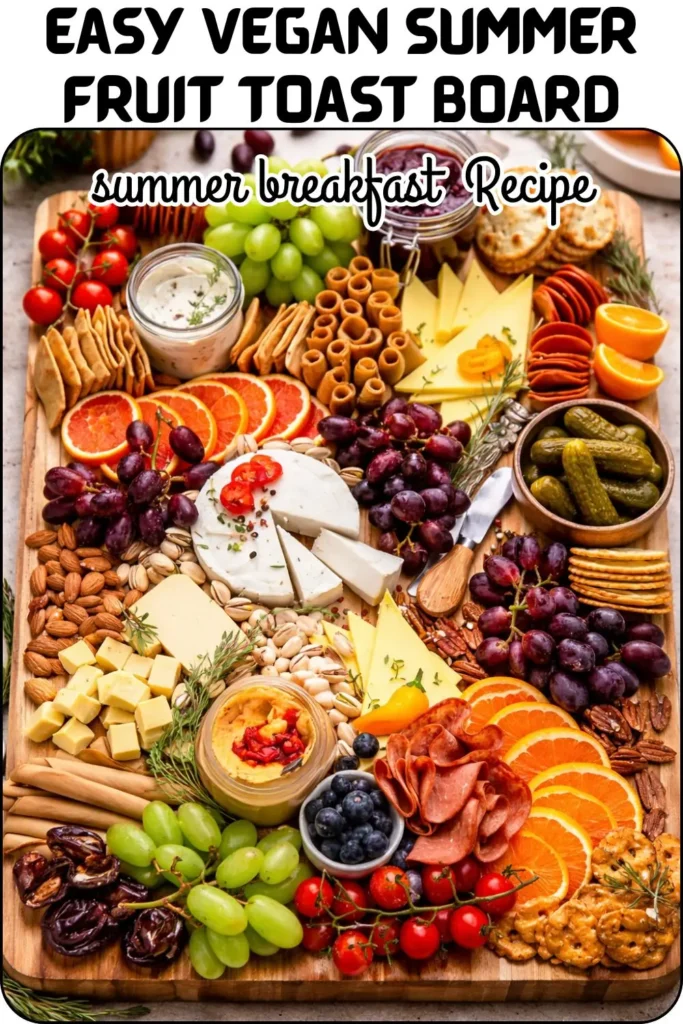
Easy Vegan Summer Fruit Toast Board
Step 3- Blend to a Smooth, Thick Consistency
Keep blending, stopping, scraping, and tamping until the mixture is completely smooth with zero fruit chunks remaining. The color should be a vivid, uniform magenta-pink. The whole blending process takes about 60–90 seconds in a high-speed blender longer in a less powerful machine, with more frequent stops to prevent the motor from overheating.
Pause often to scrape down the sides. Bits of frozen fruit cling to the walls of the jug and don’t incorporate unless you bring them back to the blades. A smooth, lump-free base makes a noticeably better finished bowl.
Step 4- Taste and Adjust
Before pouring, taste a small spoonful. Dragon fruit is mild if the bowl tastes flat or not sweet enough, add more maple syrup or a few extra frozen strawberries and blend again briefly. If you want more tanginess, a small squeeze of lime juice adds brightness. Get the flavor right at this stage because once it’s in the bowl with toppings, there’s no going back.
Step 5- Pour Into Bowls and Top Immediately
Divide the smoothie base between 2 wide, shallow bowls using a spatula to scrape every last bit from the jug. Work quickly the base begins melting the moment it hits a room-temperature bowl. Arrange your toppings immediately while the base is still frozen and firm.
For a beautiful presentation, place toppings in distinct sections rather than scattering randomly: a row of fresh kiwi slices here, a cluster of coconut flakes there, a sprinkle of chia seeds across the center, a line of granola along one edge. The contrast of the vivid pink base against colorful toppings looks genuinely stunning and takes less than two minutes to arrange.
Tips for the Best Pitaya Smoothie Bowl Every Time
The Liquid-to-Fruit Ratio Is Everything
The most common pitaya bowl mistake is adding too much liquid. The moment you cross from “thick and scoopable” to “thin and pourable,” you can’t recover the texture without adding more frozen fruit. Always add liquid one tablespoon at a time and stop the moment the blender starts moving smoothly. Less is always more here.
Blender Power Matters
Here’s an honest blender comparison for smoothie bowls:
- Vitamix or Blendtec – handles frozen fruit effortlessly; perfect results every time
- NutriBullet Pro – works well for smaller batches; needs more liquid than higher-powered models
- Standard countertop blender (under 600W) – struggles significantly; you’ll need to add more liquid and accept a thinner result or partially thaw the fruit first
- Immersion blender – not suitable for this recipe; frozen fruit will win that fight
If you make smoothie bowls regularly and your current blender fights you every morning, IMO a mid-range high-speed blender is genuinely worth the investment. It changes the experience completely.
Watch Out for the Staining
Dragon fruit stains are serious. The deep magenta pigment (betalains, for the curious) clings to everything it touches cutting boards, blender jug walls, countertops, and definitely clothing. Rinse all surfaces, tools, and the blender jug immediately after contact before the pigment has time to set. Cold water works better than hot for initial rinsing. Consider wearing an apron, or just don’t wear anything you’d miss.
Freeze Your Bowls for Better Results
Pop your serving bowls in the freezer for 10 minutes before pouring the smoothie base in. A cold bowl slows the melting dramatically and gives you more time to arrange toppings thoughtfully. This sounds like an unnecessary extra step until the first time you try it after that, it becomes a habit.
Topping Combinations Worth Trying
The base recipe is consistent the toppings are where you make each bowl your own. Some combinations that genuinely work.
Tropical Summer Bowl
Fresh mango chunks, toasted coconut flakes, kiwi slices, macadamia nuts, and a drizzle of agave. Full Bali vacation energy in a bowl.
Berry Crunch Bowl
Fresh strawberries, blueberries, granola, hemp seeds, and chia seeds. Maximum berry flavor, maximum crunch, genuinely satisfying as a complete breakfast.
Nutty Banana Bowl
Sliced fresh banana coins, almond butter drizzle, crushed almonds, coconut flakes, and a sprinkle of cinnamon. The peanut butter-banana-pitaya combination sounds unexpected but tastes brilliant.
Storage & Freezer Prep Tips
- Pre-portion frozen fruit into individual bags – one bag per smoothie bowl, ready to dump straight into the blender; this makes weekday mornings genuinely effortless
- Frozen fruit storage- Up to 3 months in a sealed freezer bag; label with the date so nothing mysterious lurks in the back of your freezer
- Assembled bowl- Eat immediately; texture degrades within 20–30 minutes as the base melts
- Leftover blended base- Pour into a freezer-safe container and freeze; scoop out and re-blend with a splash of liquid when ready to eat again
Frequently Asked Questions
Where do I find frozen dragon fruit? Most large supermarkets now stock frozen pitaya cubes in the frozen fruit section Trader Joe’s, Whole Foods, and most Asian grocery stores carry it reliably. You can also find fresh dragon fruit and freeze it yourself following the method in the tips section above.
Can I use fresh dragon fruit instead of frozen? Yes, but add a generous cup of ice to compensate for the lost chill and thickness. Fresh dragon fruit blends fine but won’t produce the same thick, soft-serve consistency without the frozen component.
My bowl came out too thin. What went wrong? Too much liquid, almost certainly. Next time, start with just 2 tablespoons of plant milk and add more only if the blender completely stalls. Also check that your fruit was fully frozen before blending partially thawed fruit dramatically reduces thickness.
Can I make a single-serve version? Yes halve every ingredient. Use a smaller blender jar if you have one; a full-size blender sometimes struggles to properly blend a half-batch of frozen fruit because there isn’t enough volume for the blades to engage efficiently.
My Final Thoughts
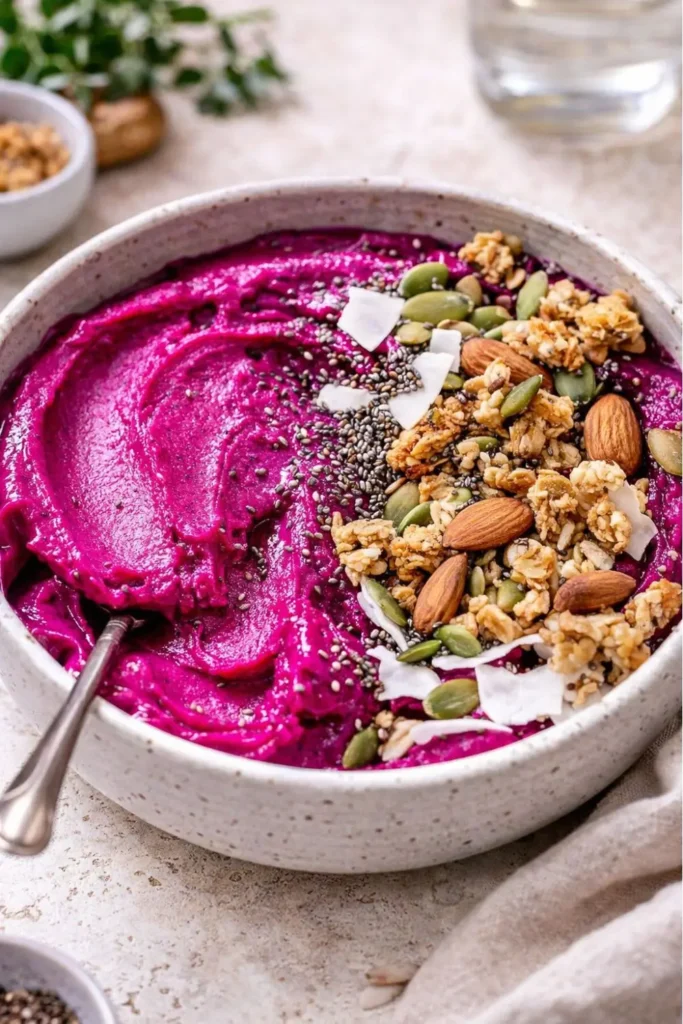
The Vegan Pitaya Dragon Fruit Smoothie Bowl is one of those recipes that overdelivers on every single level. It looks extraordinary. It tastes genuinely delicious. It comes together in five minutes. It’s entirely plant-based and nutritionally solid. And it turns your kitchen counter the most alarming shade of magenta imaginable which, admittedly, is part of the charm.
Make the base, arrange the toppings beautifully, eat it before it melts, and take a photo first if you’re that kind of person. No judgment this bowl absolutely earns it.
Summer breakfast has officially been sorted.
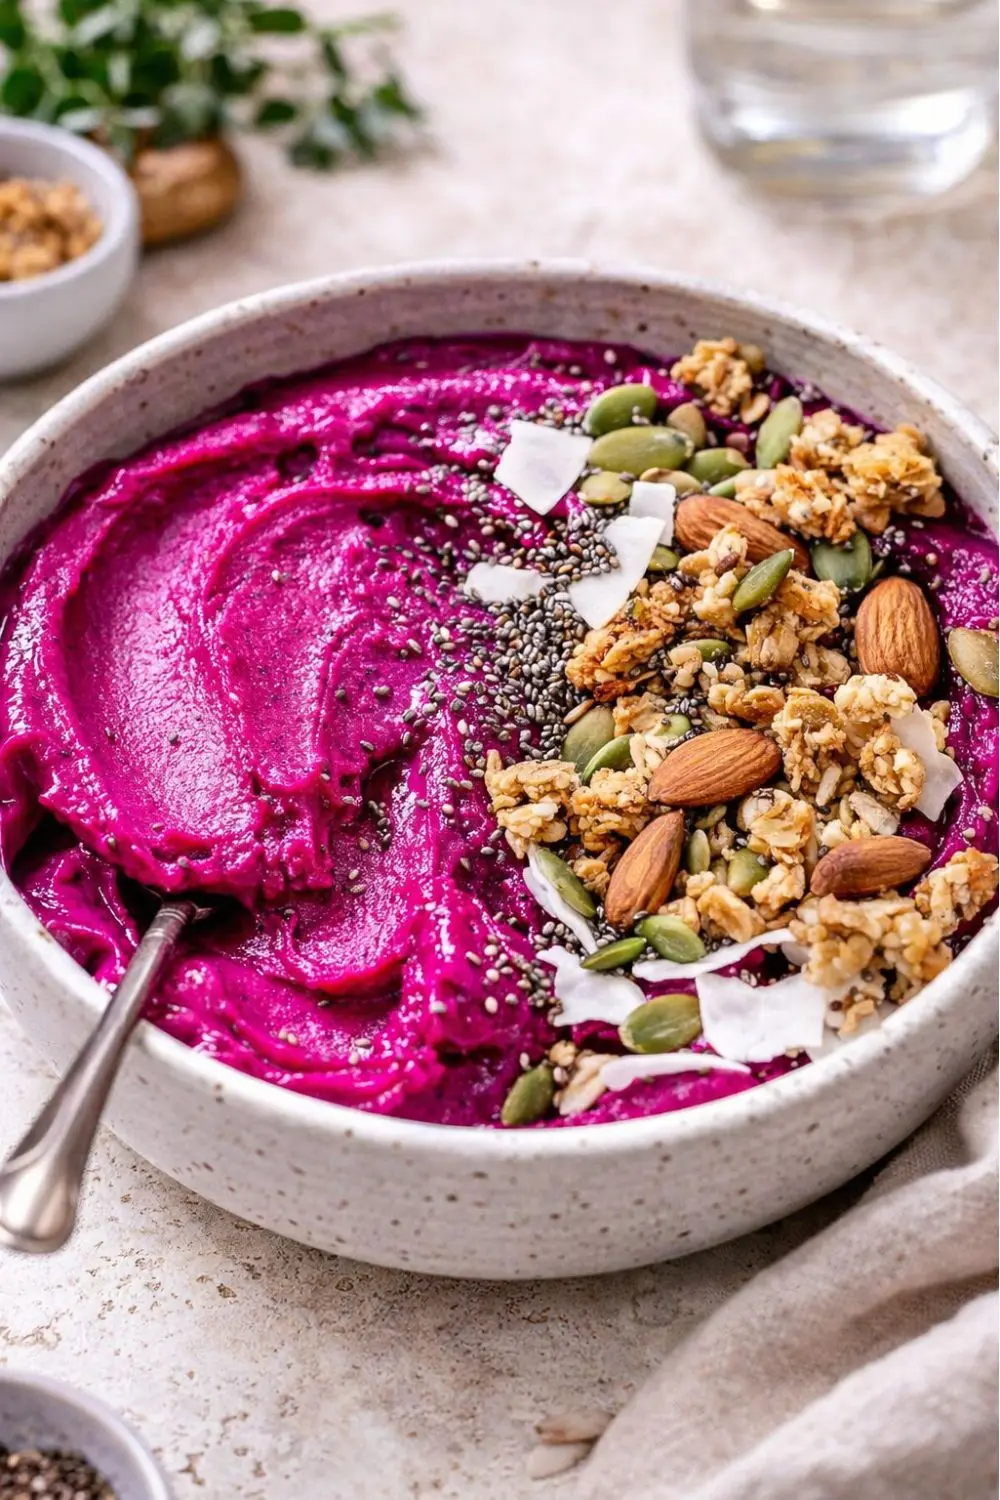
Vegan Pitaya (Dragon Fruit) Smoothie Bowl
Ingredients
Equipment
Method
- Step 1- Make Sure Your Fruit Is Properly Frozen
- This step happens well before breakfast, but it determines everything. Your dragon fruit, strawberries, and bananas must be completely frozen solid not partially frozen, not just cold. A properly frozen base blends into that thick, scoopable, soft-serve texture that makes pitaya bowls so satisfying. Partially frozen fruit produces a thin, pourable smoothie, not a bowl.
- To freeze your own dragon fruit. cube it, spread the pieces in a single layer on a tray (not touching), and freeze until completely solid usually 4–6 hours or overnight. Then transfer to a sealed bag for storage up to 3 months. Bananas freeze best when they’re spotty-ripe and sliced into coins; freeze them the same way on a tray first.
- Step 2- Blend the Base
- Add the frozen dragon fruit, frozen strawberries, and frozen banana coins to your high-speed blender. Add the agave or maple syrup if you’re using it. Start blending on low and increase to high speed. The blender will struggle initially that’s normal and expected with fully frozen fruit. Use a tamper tool to push the mixture toward the blades, or stop and scrape down the sides with a spatula every 15–20 seconds.
- Add the soy milk one tablespoon at a time this is critical. Each tablespoon of liquid loosens the mixture slightly. Add just enough to keep the blender moving without making the bowl pourable. The target consistency is thick enough that it barely moves when you tilt the blender jug like very soft serve ice cream. The moment it starts flowing freely, you’ve added too much liquid.
- Step 3- Blend to a Smooth, Thick Consistency
- Keep blending, stopping, scraping, and tamping until the mixture is completely smooth with zero fruit chunks remaining. The color should be a vivid, uniform magenta-pink. The whole blending process takes about 60–90 seconds in a high-speed blender longer in a less powerful machine, with more frequent stops to prevent the motor from overheating.
- Pause often to scrape down the sides. Bits of frozen fruit cling to the walls of the jug and don’t incorporate unless you bring them back to the blades. A smooth, lump-free base makes a noticeably better finished bowl.
- Step 4- Taste and Adjust
- Before pouring, taste a small spoonful. Dragon fruit is mild if the bowl tastes flat or not sweet enough, add more maple syrup or a few extra frozen strawberries and blend again briefly. If you want more tanginess, a small squeeze of lime juice adds brightness. Get the flavor right at this stage because once it’s in the bowl with toppings, there’s no going back.
- Step 5- Pour Into Bowls and Top Immediately
- Divide the smoothie base between 2 wide, shallow bowls using a spatula to scrape every last bit from the jug. Work quickly the base begins melting the moment it hits a room-temperature bowl. Arrange your toppings immediately while the base is still frozen and firm.
- For a beautiful presentation, place toppings in distinct sections rather than scattering randomly: a row of fresh kiwi slices here, a cluster of coconut flakes there, a sprinkle of chia seeds across the center, a line of granola along one edge. The contrast of the vivid pink base against colorful toppings looks genuinely stunning and takes less than two minutes to arrange.
Notes
Caloric & Nutritional Info (Per Serving)
| Nutrient | Amount |
| Calories | 285 kcal |
| Carbohydrates | (primarily from fruit and banana) |
| Natural Sugars | from whole fruit sources |
| Fiber | from dragon fruit, strawberries, and banana |
| Vitamin C | from dragon fruit and strawberries |
| Potassium | from banana |
| Antioxidants | from pitaya and strawberries |

Hi — I’m Rachel. I’m a wife, a mom, and a home cook who believes that food should bring comfort, joy, and compassion to the table. I live with my family — two hungry little foodies who are my most honest recipe testers — and together we’ve built a kitchen culture that’s all about good food that happens to be 100% vegan. I started this blog because I wanted a place to share the recipes that keep our days moving, the dishes that make weeknights feel a little easier, and the meals that become our little family traditions.