Go Back
Best Vegan Cake Recipe

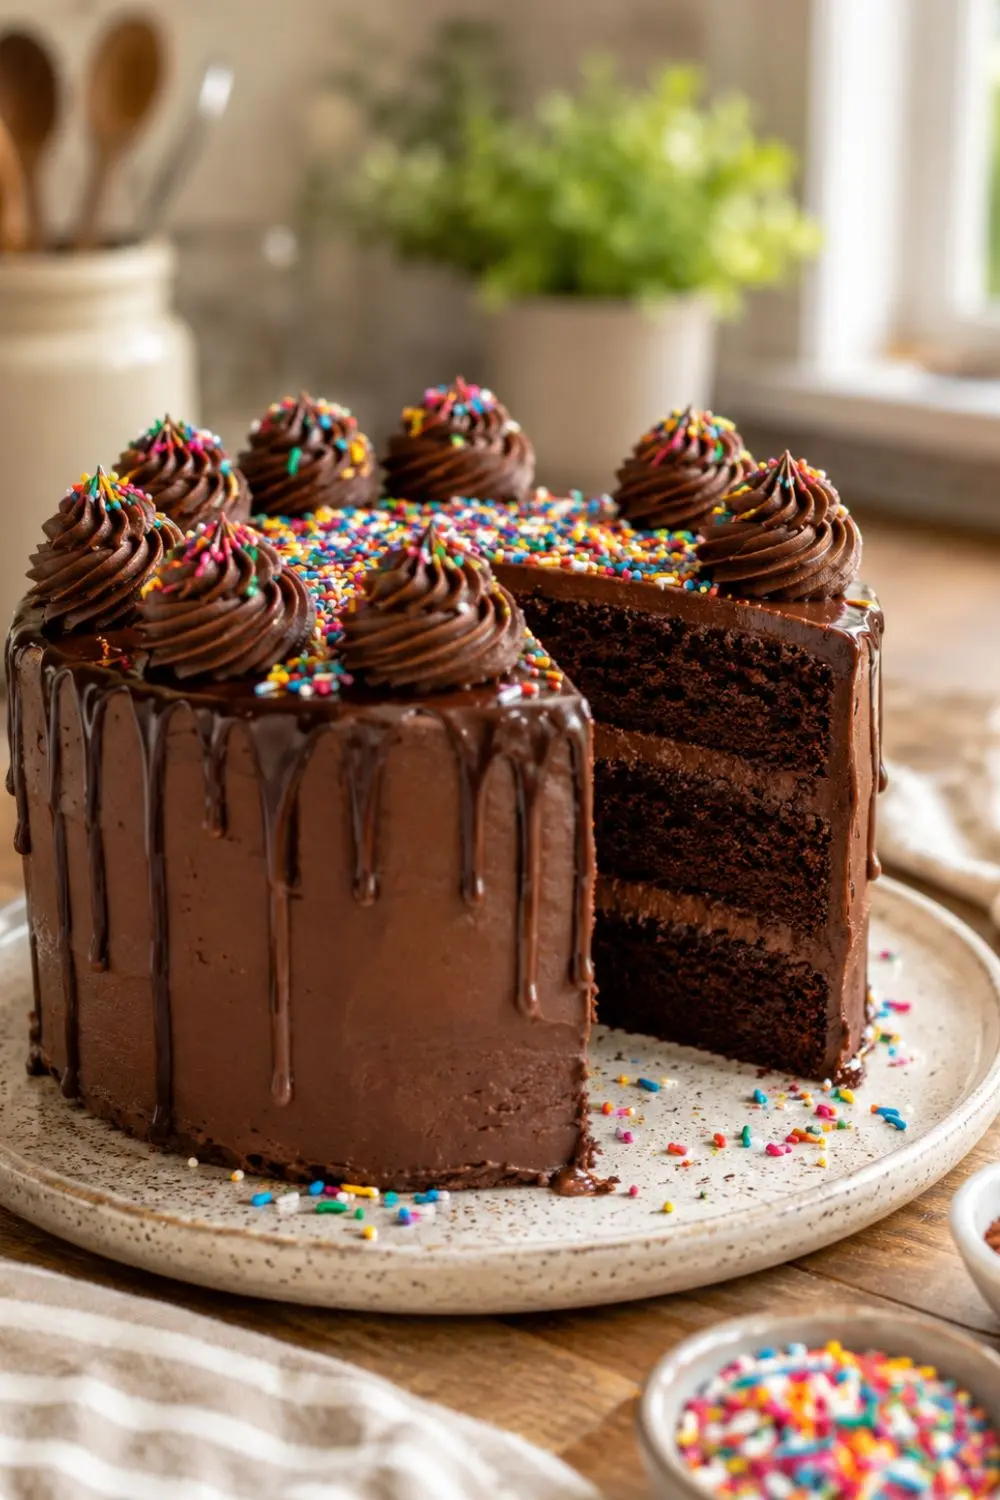
Best Vegan Cake Recipe ,Fudgy Chocolate Layer Cake

You don't need eggs. You don't need butter. You don't even need a mixer. This vegan cake recipe produces a deep, fudgy, intensely chocolatey layer cake that tastes like it came from a proper bakery and the only thing you'll need to explain to anyone is why you didn't make two. Whether you're planning a birthday, hosting a celebration, or just want a great chocolate cake on a Tuesday (completely valid), this recipe delivers every single time.
Prep Time 20 minutes
Cook Time 35 minutes
Total Time 55 minutes
Servings: 16
Course: Dessert, Gluten-free, Vegan Funfetti Cake
Cuisine: American
Calories: 268

Ingredients
  

  • Dry Ingredients
  • 3 cups unbleached white flour - standard all-purpose flour works perfectly here
  • 1½ cups cocoa powder - use a good quality unsweetened cocoa for the deepest chocolate flavor
  • ½ teaspoon salt -balances the sweetness and enhances the chocolate
  • 2 teaspoons baking soda - the chemical partner to the apple cider vinegar
  • Wet Ingredients
  • 2¼ cups water - room temperature
  • 1½ cups cane sugar - provides sweetness without any animal-derived filtering agents unlike some refined white sugars
  • ½ cup vegetable oil - creates a moist tender crumb; neutral-flavored oils like canola or sunflower work best
  • ¼ cup apple sauce - unsweetened; acts as the egg replacement for binding and moisture
  • 2 tablespoons apple cider vinegar - reacts with the baking soda to create lift; this is your leavening magic
  • 2 teaspoons vanilla extract - rounds out the chocolate flavor and adds warmth

Equipment

  • This recipe keeps the equipment list refreshingly minimal:
  • Two 8-inch round cake pans - the standard size for a classic layer cake; make sure both are the same depth for even layers
  • Large mixing bowl - for the dry ingredients; the biggest one you own works best here
  • Medium mixing bowl -for the wet ingredients before combining
  • Whisk - for both mixing the dry ingredients and combining the wet ones
  • Rubber spatula - for folding the batters together and scraping every last bit of batter into the pans
  • Measuring cups and measuring spoons - accuracy matters in baking
  • Cooling rack - to cool the cakes evenly and prevent soggy bottoms
  • Toothpick (for the doneness test)
  • Pastry brush or paper towel - for oiling the cake pans before pouring in the batter
  • No stand mixer, no electric hand mixer, no special attachments. A bowl and a whisk are genuinely all you need for the batter. FYI, that's not a compromise overmixing is actually more likely with a powerful mixer, and undermixing by hand at the right moment produces a better crumb.

Method
 

  1. Step 1- Preheat the Oven Fully
  2. Set your oven to 350°F (175°C) and let it come fully up to temperature before you do anything else with the batter. This step matters more than it might seem see the note on the vinegar-baking soda reaction above. Oil your two 8-inch cake pans while you wait, using a pastry brush or a folded paper towel to coat the bottom and sides thoroughly.
  3. Step 2- Mix the Dry Ingredients
  4. In your large mixing bowl, combine the flour, cocoa powder, salt, and baking soda. Whisk them together until evenly distributed and the cocoa powder has no visible clumps. The salt and baking soda need to be evenly dispersed through the flour a thorough whisk for 30–45 seconds handles this well.
  5. Step 3- Whisk the Wet Ingredients Separately
  6. In your medium bowl, combine the water, cane sugar, vegetable oil, apple sauce, apple cider vinegar, and vanilla extract. Whisk together until the sugar dissolves and everything is well combined. Do this step while waiting for the oven to finish preheating so everything is ready to go the moment the oven hits temperature.
  7. Step 4- Combine Gently and Quickly
  8. Once your oven confirms it has reached 350°F, pour the wet ingredients into the dry ingredients bowl. Fold together using your rubber spatula with slow, deliberate strokes until just combined a few small streaks of flour are fine, but no dry pockets should remain. The moment you stop seeing dry flour, stop mixing.
  9. Overmixing develops gluten in the flour, which produces a tough, dense cake instead of a tender one. This is the single most important technique note in the entire recipe. Mix less than you think you need to, and the cake will be better for it.
  10. Step 5- Pour and Bake
  11. Divide the batter evenly between your two oiled 8-inch cake pans. The batter will be relatively fluid that's correct. Slide both pans into your preheated oven and bake for 35 minutes, or until a toothpick inserted into the center of each cake comes out clean. A few moist crumbs on the toothpick are fine; wet batter means it needs more time.
  12. If your oven runs unevenly, rotate the pans halfway through at the 17-minute mark to ensure both layers brown and cook at the same rate.
  13. Step 6- Cool Completely Before Frosting
  14. This is not optional. Frosting a warm cake is a shortcut to a melted, sliding disaster. Remove the cakes from the oven and let them cool in the pans for 10 minutes, then transfer them to a wire cooling rack to cool completely at least 30–45 minutes at room temperature. If you're in a genuine hurry, 20 minutes in the fridge on the cooling rack will speed things up.
Notes

Caloric & Nutritional Breakdown (Per Slice)

At 268 calories per slice, this cake is a satisfying dessert that doesn't go overboard. Here's the full nutritional picture:
Nutrient
Per Slice
Calories
268 kcal
Carbohydrates
41g
Protein
4g
Fat
11g
Saturated Fat
2g
Fiber
3g
Sugar
19g
Sodium
250mg
Potassium
138mg
Iron
2mg