
You don’t need eggs. You don’t need butter. You don’t even need a mixer. This vegan cake recipe produces a deep, fudgy, intensely chocolatey layer cake that tastes like it came from a proper bakery and the only thing you’ll need to explain to anyone is why you didn’t make two. Whether you’re planning a birthday, hosting a celebration, or just want a great chocolate cake on a Tuesday (completely valid), this recipe delivers every single time.
I’ve made this cake for people who genuinely thought vegan baking meant sad, dry, flavorless results. I’ve watched them take a slice expecting to be polite about it and instead ask for seconds. That reaction is the whole point. This is a vegan cake that doesn’t ask for any lowered expectations it just asks for a bowl, a whisk, and about 55 minutes of your time.
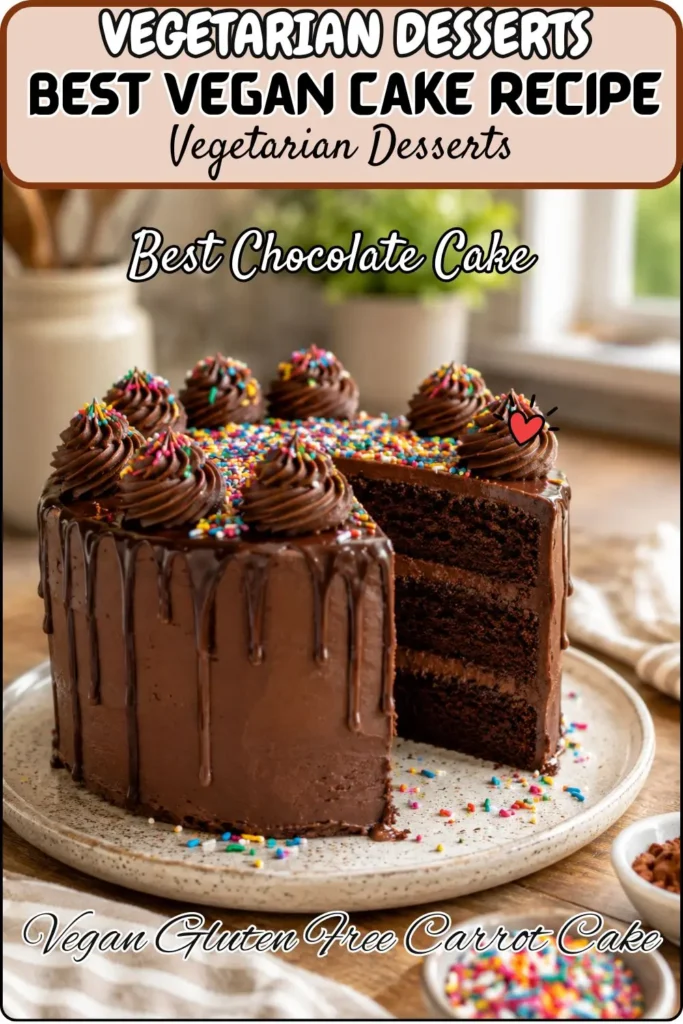
Why This Vegan Chocolate Cake Recipe Works So Well
Most people assume that removing eggs and dairy from a cake recipe means compromising on texture and flavor. This recipe proves that assumption completely wrong. The combination of apple cider vinegar reacting with baking soda creates the lift that eggs would normally provide, while apple sauce adds moisture and binds the batter without weighing it down. The result is a tender, deeply chocolatey crumb that holds together beautifully when sliced.
Here’s what makes this vegan cake recipe genuinely different:
- No eggs, no dairy, no flax eggs, no chia -just clean, simple pantry ingredients
- Apple cider vinegar + baking soda- creates a natural chemical leavening reaction that lifts the cake perfectly
- Apple sauce acts as a moisture-retaining binder with zero eggy flavor
- 1½ cups of cocoa powder- means this cake takes chocolate seriously no weak, pale crumb
- 16 generous slices from two 8-inch layers – ideal for birthdays and gatherings
- 268 calories per slice – satisfying but not overwhelming
This is a vegan cake recipe for birthdays, celebrations, dinner parties, and everything in between. It works for the vegans at the table and converts everyone else without a single conversation about what’s not in it.
My Recipe Timing & Servings
| Detail | Info |
| Prep Time | 20 minutes |
| Cook Time | 35 minutes |
| Cooling Time | 30–45 minutes (before frosting) |
| Total Time | ~55 minutes + cooling |
| Servings | 16 slices |
| Calories per slice | 268 kcal |
This recipe makes two 8-inch round layers, which stack into a classic layer cake that serves 14–16 people with standard-sized slices. Hosting a smaller gathering? Bake one layer and halve the recipe. Making vegan cake ideas for a birthday crowd? Keep the full recipe and frost generously between and on top of both layers.
Caloric & Nutritional Breakdown (Per Slice)
At 268 calories per slice, this cake is a satisfying dessert that doesn’t go overboard. Here’s the full nutritional picture:
| Nutrient | Per Slice |
| Calories | 268 kcal |
| Carbohydrates | 41g |
| Protein | 4g |
| Fat | 11g |
| Saturated Fat | 2g |
| Fiber | 3g |
| Sugar | 19g |
| Sodium | 250mg |
| Potassium | 138mg |
| Iron | 2mg |
The 3g of fiber per slice comes from the cocoa powder, which is genuinely high in dietary fiber a fact that makes eating chocolate cake feel slightly more responsible. The fat content is reasonable for a dessert, especially since it comes from vegetable oil rather than butter. The protein from the flour rounds out a nutritional profile that holds up well for a treat.
Equipment You’ll Need For Best Vegan Cake Recipe
This recipe keeps the equipment list refreshingly minimal:
- Two 8-inch round cake pans – the standard size for a classic layer cake; make sure both are the same depth for even layers
- Large mixing bowl – for the dry ingredients; the biggest one you own works best here
- Medium mixing bowl -for the wet ingredients before combining
- Whisk – for both mixing the dry ingredients and combining the wet ones
- Rubber spatula – for folding the batters together and scraping every last bit of batter into the pans
- Measuring cups and measuring spoons – accuracy matters in baking
- Cooling rack – to cool the cakes evenly and prevent soggy bottoms
- Toothpick – for the doneness test
- Pastry brush or paper towel – for oiling the cake pans before pouring in the batter
No stand mixer, no electric hand mixer, no special attachments. A bowl and a whisk are genuinely all you need for the batter. FYI, that’s not a compromise overmixing is actually more likely with a powerful mixer, and undermixing by hand at the right moment produces a better crumb.
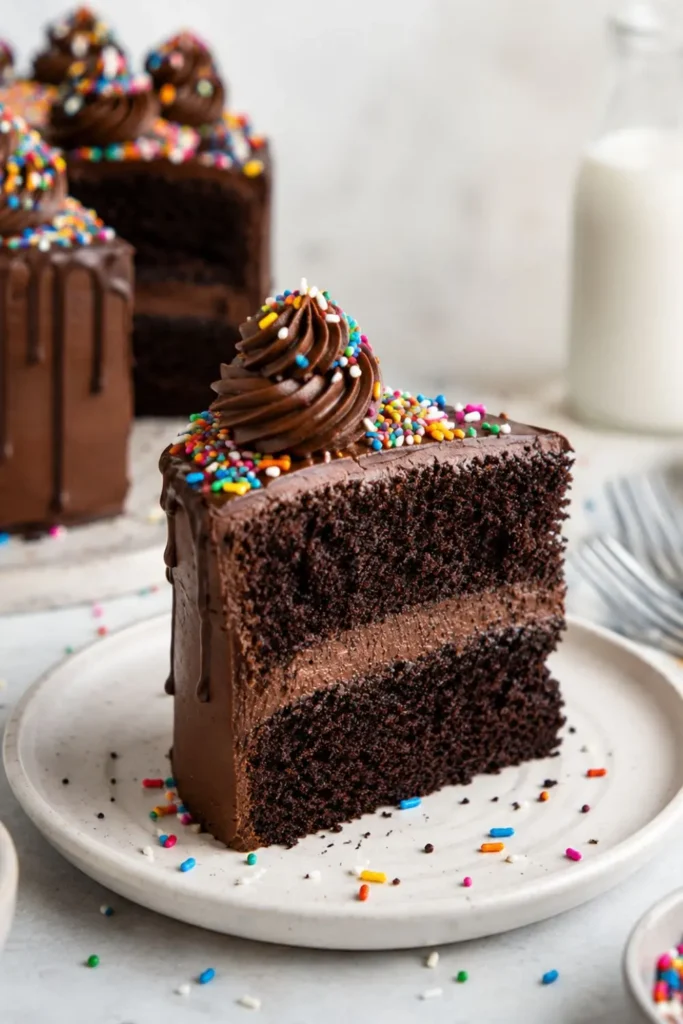
Ingredients
Dry Ingredients
- 3 cups unbleached white flour – standard all-purpose flour works perfectly here
- 1½ cups cocoa powder – use a good quality unsweetened cocoa for the deepest chocolate flavor
- ½ teaspoon salt -balances the sweetness and enhances the chocolate
- 2 teaspoons baking soda – the chemical partner to the apple cider vinegar
Wet Ingredients
- 2¼ cups water – room temperature
- 1½ cups cane sugar – provides sweetness without any animal-derived filtering agents (unlike some refined white sugars)
- ½ cup vegetable oil – creates a moist, tender crumb; neutral-flavored oils like canola or sunflower work best
- ¼ cup apple sauce – unsweetened; acts as the egg replacement for binding and moisture
- 2 tablespoons apple cider vinegar – reacts with the baking soda to create lift; this is your leavening magic
- 2 teaspoons vanilla extract – rounds out the chocolate flavor and adds warmth
Understanding Why This Vegan Cake Recipe Works Without Eggs
The Apple Cider Vinegar and Baking Soda Reaction
This is the chemistry that makes egg-free baking actually work. When acidic apple cider vinegar meets alkaline baking soda, they react and produce carbon dioxide bubbles. Those bubbles get trapped in the batter and expand in the heat of the oven, creating the lift and lightness that eggs would typically provide. It sounds more complicated than it is you just mix the wet and dry ingredients together and let chemistry do the rest.
This is also why the recipe instructs you to wait until the oven is fully preheated before combining wet and dry ingredients. You want the batter to go straight into the oven after mixing so the reaction is still active and working when the heat hits it. Mix too early and let the batter sit, and you lose some of that leavening power before the bake even starts.
Apple Sauce as the Binder
Apple sauce adds moisture, binds the batter, and helps the cake maintain a soft, tender crumb after baking. It has a neutral enough flavor that you taste absolutely none of it in the finished cake just the deep, rich chocolate that the cocoa powder delivers. Unsweetened apple sauce is the right choice here so it doesn’t add unwanted sweetness to a batter that’s already well-balanced.
You may also like Next recipe

Why So Much Cocoa Powder?
A full 1½ cups of cocoa powder might look excessive at first glance. It isn’t. Cocoa powder is what makes this cake genuinely chocolatey rather than just brownish. Using less produces a lighter, less intense cake that reads more like a generic chocolate sponge. This quantity gives you the deep, almost brownie-like chocolate flavor that makes people keep coming back for another slice. Don’t reduce it.
Step-by-Step Instructions For Best Vegan Cake Recipe
Step 1- Preheat the Oven Fully
Set your oven to 350°F (175°C) and let it come fully up to temperature before you do anything else with the batter. This step matters more than it might seem see the note on the vinegar-baking soda reaction above. Oil your two 8-inch cake pans while you wait, using a pastry brush or a folded paper towel to coat the bottom and sides thoroughly.
Step 2- Mix the Dry Ingredients
In your large mixing bowl, combine the flour, cocoa powder, salt, and baking soda. Whisk them together until evenly distributed and the cocoa powder has no visible clumps. The salt and baking soda need to be evenly dispersed through the flour a thorough whisk for 30–45 seconds handles this well.
Step 3- Whisk the Wet Ingredients Separately
In your medium bowl, combine the water, cane sugar, vegetable oil, apple sauce, apple cider vinegar, and vanilla extract. Whisk together until the sugar dissolves and everything is well combined. Do this step while waiting for the oven to finish preheating so everything is ready to go the moment the oven hits temperature.
Step 4- Combine Gently and Quickly
Once your oven confirms it has reached 350°F, pour the wet ingredients into the dry ingredients bowl. Fold together using your rubber spatula with slow, deliberate strokes until just combined a few small streaks of flour are fine, but no dry pockets should remain. The moment you stop seeing dry flour, stop mixing.
Overmixing develops gluten in the flour, which produces a tough, dense cake instead of a tender one. This is the single most important technique note in the entire recipe. Mix less than you think you need to, and the cake will be better for it.
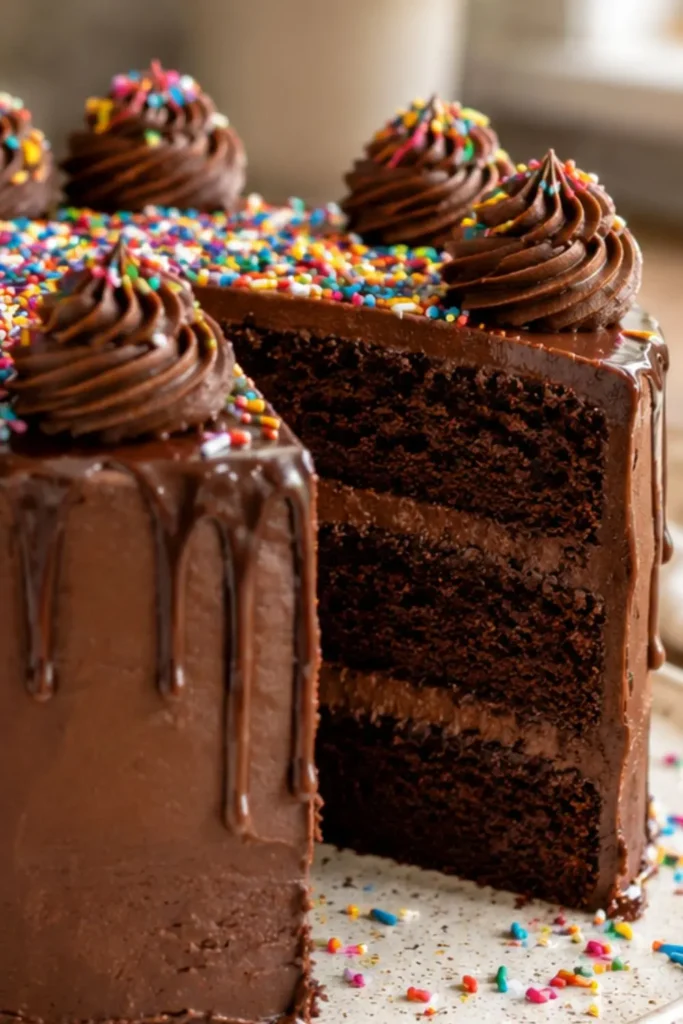
Step 5- Pour and Bake
Divide the batter evenly between your two oiled 8-inch cake pans. The batter will be relatively fluid that’s correct. Slide both pans into your preheated oven and bake for 35 minutes, or until a toothpick inserted into the center of each cake comes out clean. A few moist crumbs on the toothpick are fine; wet batter means it needs more time.
If your oven runs unevenly, rotate the pans halfway through at the 17-minute mark to ensure both layers brown and cook at the same rate.
Step 6- Cool Completely Before Frosting
This is not optional. Frosting a warm cake is a shortcut to a melted, sliding disaster. Remove the cakes from the oven and let them cool in the pans for 10 minutes, then transfer them to a wire cooling rack to cool completely at least 30–45 minutes at room temperature. If you’re in a genuine hurry, 20 minutes in the fridge on the cooling rack will speed things up.
Once completely cool, frost and assemble your layer cake to your preference.
Frosting Options for Your Vegan Cake
The cake itself is 100% vegan here are frosting choices that keep it that way:
- Vegan chocolate buttercream – vegan butter + powdered sugar + cocoa powder + plant milk; rich, classic, crowd-pleasing
- Coconut whipped cream – light and airy, perfect for summer occasions
- Cashew cream frosting – blend soaked cashews with powdered sugar and vanilla for a dense, creamy alternative
- Simple chocolate ganache – full-fat coconut cream heated with vegan chocolate chips, poured over the cooled cake for a sleek, glossy finish
- Dusted powdered sugar – the minimalist move; works beautifully for birthdays and parties
For vegan cake ideas for birthdays specifically, the vegan chocolate buttercream with a ganache drip is genuinely stunning and takes about 15 minutes to put together.
Tips for Baking the Best Vegan Chocolate Layer Cake
Measure Cocoa Powder Correctly
Spoon cocoa powder into your measuring cup and level it off -don’t scoop directly from the bag, which packs the powder down and gives you significantly more than the recipe intends. Packed cocoa powder makes the batter too dry and the final cake dense. Spoon, level, done.
Room Temperature Ingredients
Make sure your water and apple sauce are at room temperature before mixing. Cold ingredients can cause the batter to tighten and make the dry ingredients harder to incorporate evenly. This is easy to overlook and worth the 5 minutes it takes to bring everything to room temp.
Use Quality Cocoa
All cocoa powders are not created equal. Dutch-process cocoa produces a darker, more intensely flavored cake than natural cocoa, and for a recipe that leans this hard on cocoa as its primary flavor, the quality of the cocoa makes a genuine, noticeable difference. Use the best unsweetened cocoa powder you can find.
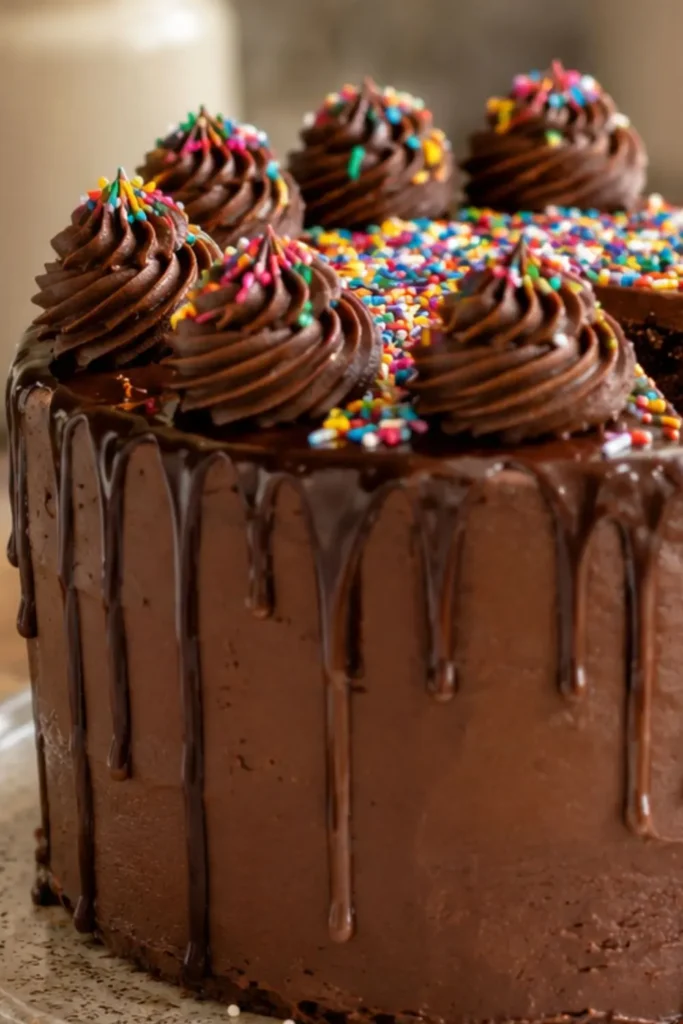
Storage Guide
| Storage Method | Duration | Notes |
| Room temperature (airtight, unfrosted) | 2 days | Keep covered to prevent drying |
| Refrigerator (frosted, airtight) | 4–5 days | Bring to room temp before serving |
| Freezer (unfrosted layers, wrapped) | Up to 3 months | Thaw overnight in fridge before frosting |
Unfrosted cake layers freeze beautifully wrap each layer tightly in plastic wrap, then foil, and freeze flat. When you need a cake on short notice, pull a layer from the freezer, thaw overnight, frost the next day, and you’re done. It’s one of the best time-saving moves in vegan baking.
My Final Thoughts
This vegan cake recipe stands up to any conventional chocolate layer cake you’ve ever eaten not “for a vegan cake,” but just as a cake, full stop. The deep cocoa flavor, the tender crumb, the clean slice it has everything. At 268 calories per slice serving 16 people, it’s the kind of recipe you bring to a birthday party, a potluck, or a family gathering and walk away with zero leftovers.
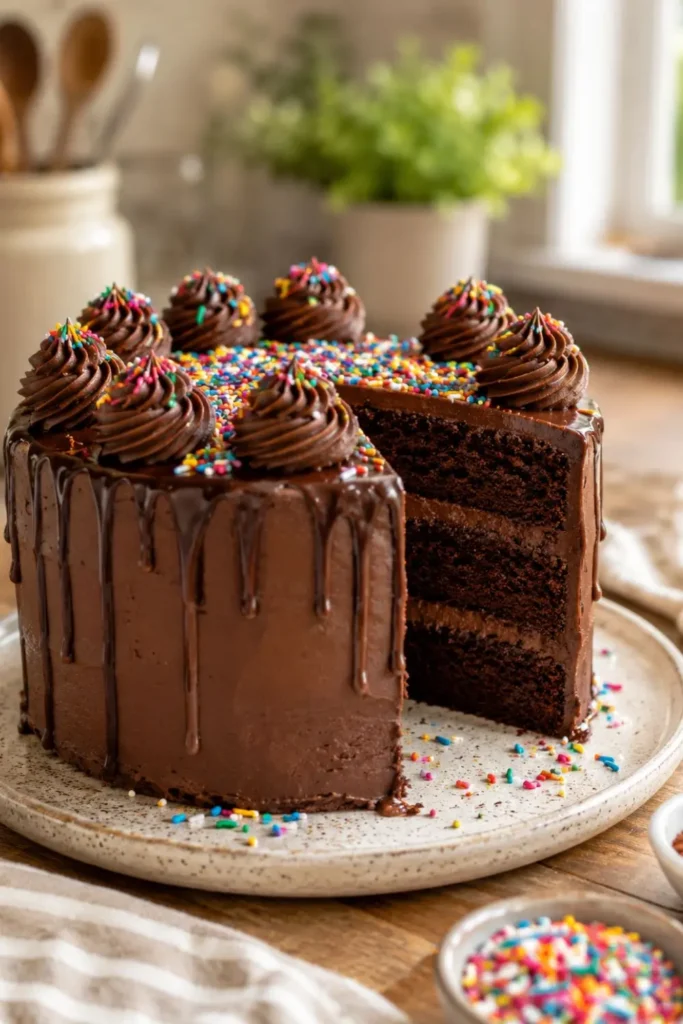
Make it once and it earns a permanent spot in your recipe rotation. Make it twice and you start wondering why you ever thought you needed eggs and butter for a great cake in the first place. Preheat your oven, grab your whisk, and let’s get to it.
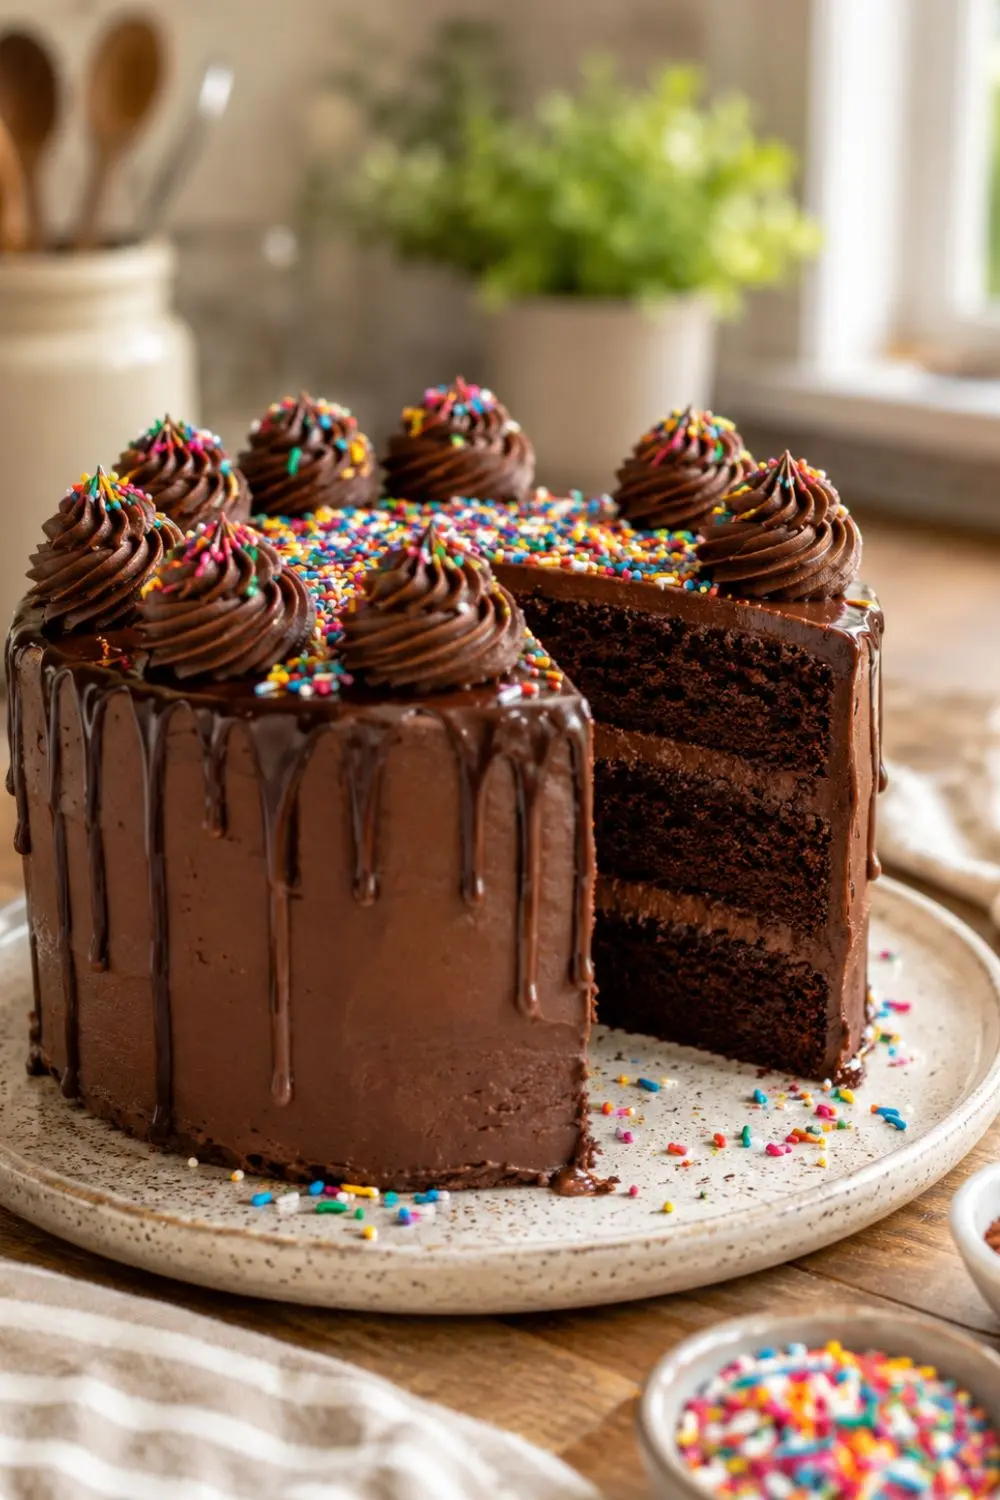
Best Vegan Cake Recipe ,Fudgy Chocolate Layer Cake
Ingredients
Equipment
Method
- Step 1- Preheat the Oven Fully
- Set your oven to 350°F (175°C) and let it come fully up to temperature before you do anything else with the batter. This step matters more than it might seem see the note on the vinegar-baking soda reaction above. Oil your two 8-inch cake pans while you wait, using a pastry brush or a folded paper towel to coat the bottom and sides thoroughly.
- Step 2- Mix the Dry Ingredients
- In your large mixing bowl, combine the flour, cocoa powder, salt, and baking soda. Whisk them together until evenly distributed and the cocoa powder has no visible clumps. The salt and baking soda need to be evenly dispersed through the flour a thorough whisk for 30–45 seconds handles this well.
- Step 3- Whisk the Wet Ingredients Separately
- In your medium bowl, combine the water, cane sugar, vegetable oil, apple sauce, apple cider vinegar, and vanilla extract. Whisk together until the sugar dissolves and everything is well combined. Do this step while waiting for the oven to finish preheating so everything is ready to go the moment the oven hits temperature.
- Step 4- Combine Gently and Quickly
- Once your oven confirms it has reached 350°F, pour the wet ingredients into the dry ingredients bowl. Fold together using your rubber spatula with slow, deliberate strokes until just combined a few small streaks of flour are fine, but no dry pockets should remain. The moment you stop seeing dry flour, stop mixing.
- Overmixing develops gluten in the flour, which produces a tough, dense cake instead of a tender one. This is the single most important technique note in the entire recipe. Mix less than you think you need to, and the cake will be better for it.
- Step 5- Pour and Bake
- Divide the batter evenly between your two oiled 8-inch cake pans. The batter will be relatively fluid that’s correct. Slide both pans into your preheated oven and bake for 35 minutes, or until a toothpick inserted into the center of each cake comes out clean. A few moist crumbs on the toothpick are fine; wet batter means it needs more time.
- If your oven runs unevenly, rotate the pans halfway through at the 17-minute mark to ensure both layers brown and cook at the same rate.
- Step 6- Cool Completely Before Frosting
- This is not optional. Frosting a warm cake is a shortcut to a melted, sliding disaster. Remove the cakes from the oven and let them cool in the pans for 10 minutes, then transfer them to a wire cooling rack to cool completely at least 30–45 minutes at room temperature. If you’re in a genuine hurry, 20 minutes in the fridge on the cooling rack will speed things up.
Notes
Caloric & Nutritional Breakdown (Per Slice)
At 268 calories per slice, this cake is a satisfying dessert that doesn’t go overboard. Here’s the full nutritional picture:| Nutrient | Per Slice |
| Calories | 268 kcal |
| Carbohydrates | 41g |
| Protein | 4g |
| Fat | 11g |
| Saturated Fat | 2g |
| Fiber | 3g |
| Sugar | 19g |
| Sodium | 250mg |
| Potassium | 138mg |
| Iron | 2mg |

Hi — I’m Rachel. I’m a wife, a mom, and a home cook who believes that food should bring comfort, joy, and compassion to the table. I live with my family — two hungry little foodies who are my most honest recipe testers — and together we’ve built a kitchen culture that’s all about good food that happens to be 100% vegan. I started this blog because I wanted a place to share the recipes that keep our days moving, the dishes that make weeknights feel a little easier, and the meals that become our little family traditions.