Go Back
Dump-and-Go Vegan Chickpea Marsala

Dump-and-Go Vegan Chickpea Marsala

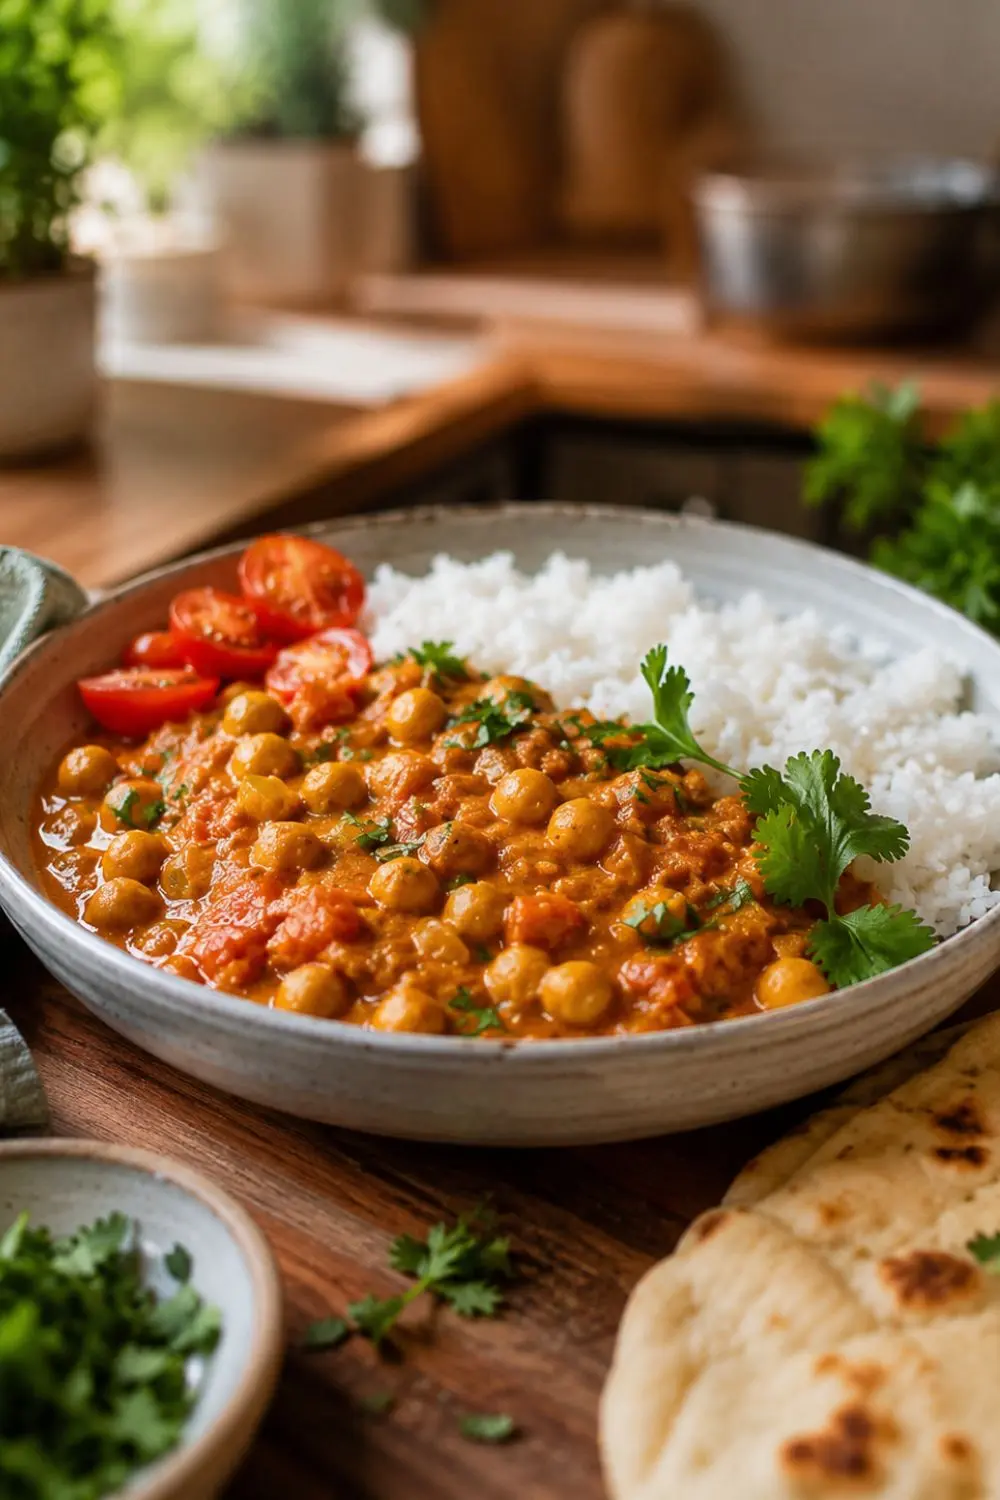
Chana masala chickpeas in a rich, spiced tomato-coconut sauce is one of the most beloved dishes in Indian cooking, and for good reason. It's bold, deeply aromatic, satisfying, and completely plant-based by tradition. Dump-and-Go Vegan Chickpea Marsala brings that same experience to your summer kitchen in 50 minutes with a streamlined technique that doesn't require any prior experience with Indian cooking. The spice blend does all the complex work. Your job is mostly stirring and waiting.
Prep Time 10 minutes
Cook Time 40 minutes
Total Time 50 minutes
Servings: 6
Course: crockpot, DINNER, healthy dinner, Main Course
Cuisine: American
Calories: 350

Ingredients
  

  • The Aromatic Base:
  • 2 tablespoons olive oil — or ¼ cup water/broth for oil-free
  • 1 large onion diced
  • 1 teaspoon cumin seeds
  • 3 –4 garlic cloves minced
  • 2- inch piece of fresh ginger minced or grated
  • The Spice Blend:
  • 1 tablespoon ground coriander optional but recommended
  • 1½ teaspoons turmeric
  • 1 heaping teaspoon garam masala
  • ½ –1 teaspoon cayenne — adjust to heat preference
  • ½ teaspoon mineral salt
  • The Sauce:
  • 2 cans 14 oz each diced tomatoes with their juices or 4 fresh tomatoes, chopped
  • 2 tablespoons tomato paste
  • 2 cans 14 oz each chickpeas, drained and rinsed
  • 1 can 15 oz full-fat coconut milk
  • For Serving:
  • ½ cup fresh cilantro chopped
  • Cooked rice quinoa, or couscous
  • Vegan naan — highly recommended

Equipment

  • Large deep-sided skillet or wide sauté pan — a 12-inch, deep-sided skillet works perfectly. You need depth to accommodate two cans of chickpeas, two cans of diced tomatoes, and a full can of coconut milk without the sauce bubbling over during the simmer stage. A 5–6 quart Dutch oven also works excellently and makes the simmering stage even more manageable.
  • Lid — for covering the pan during the 25–30 minute simmer stage. A tight-fitting lid retains moisture and prevents the sauce from reducing too aggressively during the long cook.
  • Microplane or fine grater — for grating the fresh ginger. Fresh ginger grated finely integrates more seamlessly into the sauce than minced pieces. If you only have a knife, mince as finely as possible. Ground ginger works as a last resort but produces a noticeable flavor difference — fresh ginger has a brightness that the dried version lacks.
  • Sharp knife and cutting board — for dicing the onion, mincing the garlic, and preparing the ginger
  • Wooden spoon or silicone spatula — for stirring throughout all the cooking stages
  • Can opener — for the diced tomatoes, chickpeas, and coconut milk
  • Measuring spoons
  • Ladle for serving
  • The pan choice matters more than most people realize for this recipe. A thin-bottomed pan creates hot spots that make the onion caramelization uneven and can scorch the spices during the blooming stage. A heavy-bottomed pan distributes heat evenly every piece of onion caramelizes at the same rate, and no spices burn in a hotter corner of the pan. IMO, this is the recipe that finally convinced me a good heavy-bottomed pan is worth the investment.

Method
 

  1. Step-by-Step Instructions
  2. Step 1 — Caramelize the Onion with Cumin Seeds
  3. Heat the 2 tablespoons of olive oil in your large skillet over medium heat. Add the diced onion and the 1 teaspoon of cumin seeds together. Cook for 8–12 minutes, stirring occasionally, until the onions turn deeply golden and develop browned edges and the cumin seeds become fragrant and slightly darker.
  4. This step takes patience. The temptation to turn up the heat and rush the onions is real and you should resist it completely. Medium heat over sufficient time is what produces that deep golden color and concentrated sweetness. High heat burns the outside while leaving the inside raw and sharp-tasting. Give the onions their full time and the sauce rewards you for it.
  5. Step 2 — Add Garlic and Ginger
  6. Add the minced garlic and grated ginger to the pan. Stir constantly and cook for 1–2 minutes until the mixture becomes intensely fragrant. The garlic and ginger hit the hot oil and start releasing their aromatic compounds immediately your kitchen will smell extraordinary at this moment.
  7. Don't walk away during this step. Garlic burns in the same time it takes to answer a quick text, and burned garlic creates a bitter note that carries through the entire finished dish. Keep stirring and keep the heat at medium.
  8. Step 3 — Bloom the Spices
  9. Add the garam masala, turmeric, cayenne, coriander (if using), and salt to the pan all at once. Stir constantly for 1–2 minutes until the spices coat the onion and garlic mixture and become intensely fragrant. The pan will look very dry during this step that's expected. The spices are toasting in the residual oil and drawing flavor out of every granule.
  10. Blooming spices directly in oil with aromatics is the single technique that distinguishes good Indian-style cooking from mediocre Indian-style cooking. The difference in final flavor between bloomed spices and spices added directly to liquid is significant and immediately noticeable. This step takes 2 minutes. It's worth every second.
  11. Step 4 — Build the Tomato Sauce
  12. Pour in both cans of diced tomatoes with all their juices. Stir well to incorporate the spiced onion base throughout the tomatoes. Cook for 4–5 minutes, stirring occasionally, until the tomatoes soften, break down partially, and start becoming saucy. The mixture should begin to smell like an actual curry sauce rather than individual components at this point.
  13. Step 5 — Add the Chickpeas and Coconut Milk, Then Simmer
  14. Stir in the tomato paste, both cans of drained and rinsed chickpeas, and the can of coconut milk. Stir everything together thoroughly until the coconut milk incorporates evenly and the sauce becomes uniformly creamy and rich-looking.
  15. Bring the pot to a gentle simmer not a rolling boil, just small, lazy bubbles breaking the surface. Cover and cook for 25–30 minutes, stirring occasionally, until the chickpeas have absorbed some of the surrounding sauce and become deeply flavored throughout. The sauce should thicken noticeably during this time.
  16. Keep the heat genuinely low during this simmering stage. Coconut milk at a rolling boil can separate and become grainy. A gentle simmer keeps it creamy and smooth throughout the long cook.
  17. Step 6 — Taste, Adjust, and Serve
  18. Remove the lid and taste the marsala. Adjust seasoning more salt, more cayenne for heat, a pinch more garam masala if the flavor needs more warmth and complexity. Stir in any adjustments and cook uncovered for 2–3 more minutes.
  19. Serve over your grain of choice and scatter fresh cilantro generously over each bowl.
Notes

Estimated Nutrition Per Serving

Based on 6 servings with full-fat coconut milk, without grain base:
Nutrient
Per Serving (approx.)
Calories
~320–360 kcal
Carbohydrates
~38g
Protein
~12g
Fat
~15g
Saturated Fat
~9g (from coconut milk)
Fiber
~10g
Iron
~4mg