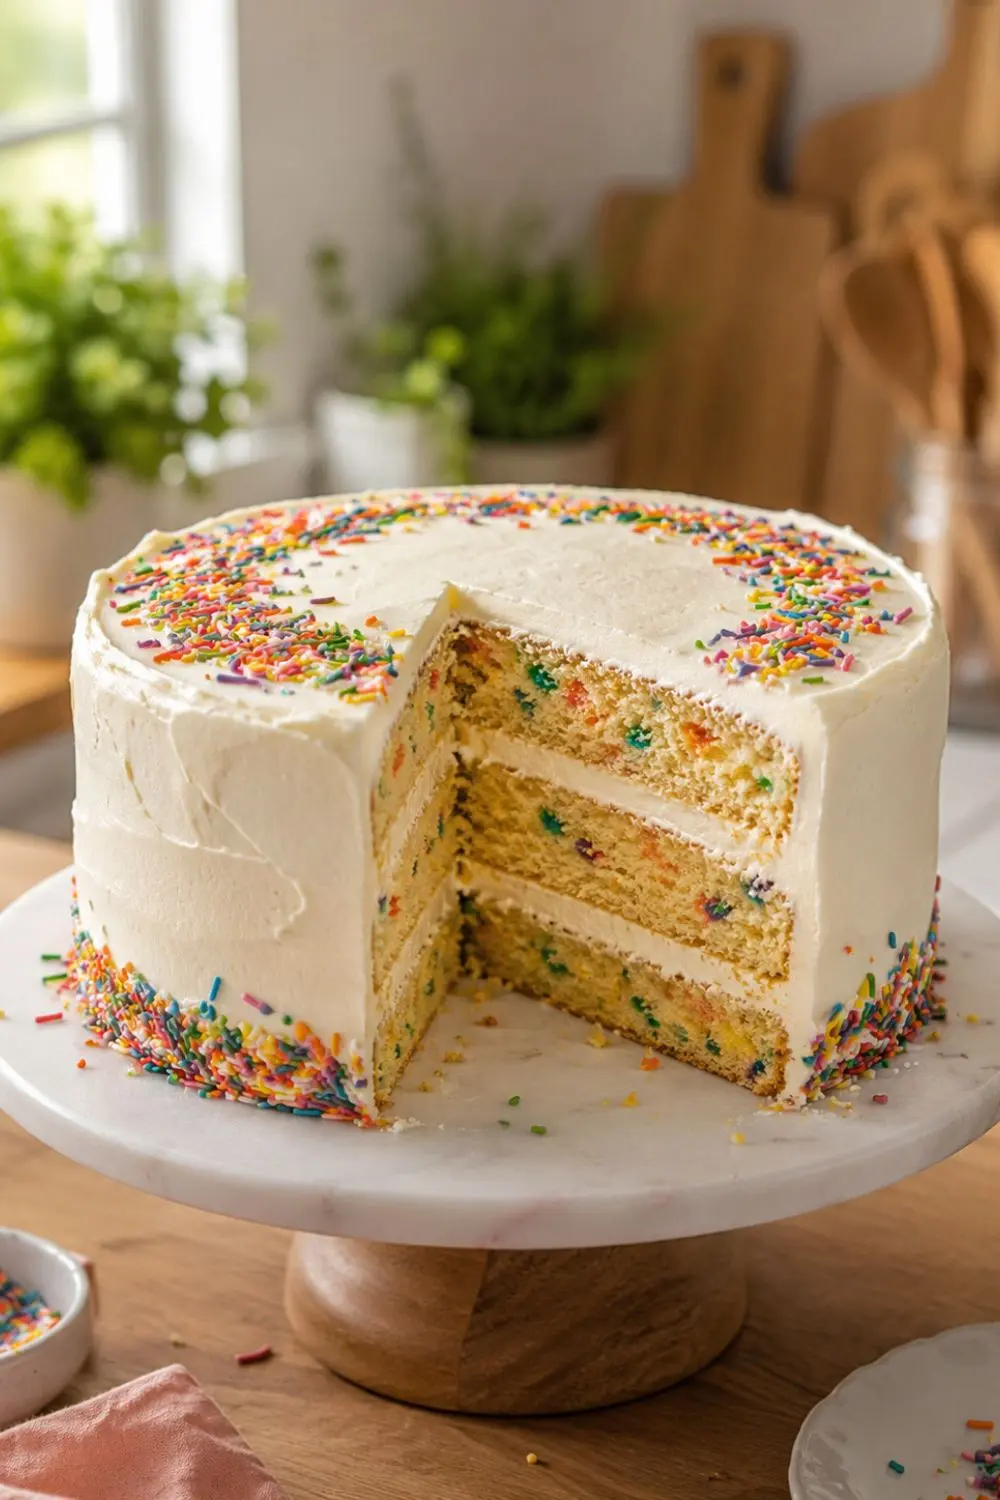
Step 1 - Preheat and Prepare Pans
Preheat the oven to 350°F. Line the bottoms of your 9-inch pans with parchment paper circles. Grease the sides with oil or vegan butter. Set aside.
Step 2 - Cream Butter and Sugar
Add the softened dairy-free butter and vegan cane sugar to your stand mixer bowl or large mixing bowl. Beat on medium-high speed for 2–3 minutes until pale and fluffy. Scrape down the sides and bottom of the bowl with a spatula to ensure even mixing.
The creaming stage incorporates air into the butter-sugar mixture this air is what creates the cake's light texture. Insufficient creaming produces a denser, less even crumb.
Step 3 - Add Wet Ingredients
Add the room temperature dairy-free milk, apple cider vinegar, melted coconut oil, vanilla extract, and almond extract to the creamed butter mixture. Beat together until combined. Scrape down the sides again.
The apple cider vinegar combines with the baking soda during baking to create additional leavening and a slightly tangy character that prevents the cake from tasting excessively sweet despite the 2 cups of sugar.
Step 4 - Sift and Combine Dry Ingredients
In a separate bowl, sift together the flour, salt, baking powder, and baking soda. Whisk to combine.
For the gluten-free version- Sift your GF flour blend with the other dry ingredients. Different GF blends absorb liquid differently the batter may look slightly thicker or thinner than the regular version. This is normal.
Step 5 - Combine Wet and Dry (Critical Technique)
Pour the dry ingredients into the wet ingredients in 3–4 additions, mixing on low speed just until combined after each addition. Do not overmix the recipe emphasizes this for good reason. Overmixing develops gluten (in regular flour) and produces a tough, dense cake. Mix only until no visible dry flour streaks remain.
Step 6 - Fold in Sprinkles
Remove the bowl from the mixer. Use a silicone spatula to gently fold the 1 cup of vegan sprinkles into the batter. Fold rather than stir gentler folding keeps the sprinkles from crumbling and bleeding their colors into the surrounding batter.
Sprinkle bleeding- Some vegan sprinkles bleed color into the batter when mixed this turns the batter pastel-colored rather than keeping sprinkles as distinct colored dots. To minimize bleeding, fold the sprinkles in gently and immediately transfer the batter to pans rather than allowing the batter to sit.
Step 7 - Fill Pans and Bake
Pour the batter into the prepared pans until each pan is approximately half full this allows adequate room for the cake to rise without overflowing.
Bake times by configuration:
2 pans (9-inch): 45–55 minutes at 350°F
3 pans (9-inch): 33–35 minutes at 350°F ,check at 33 minutes
Test for doneness by inserting a toothpick into the center it should come out clean or with a few moist crumbs. No wet batter should appear.
Step 8 - Make Frosting While Cake Bakes
Choose and prepare your frosting. Store it in the refrigerator until the cake layers cool completely frosting a warm cake causes it to melt and slide off rather than adhering properly.
Step 9 - Cool Completely Before Frosting
This is the instruction that requires the most patience. Allow each cake layer to cool in the pan for 10–15 minutes, then transfer to wire racks to cool completely approximately 45–60 minutes. The cake must be fully at room temperature (or cooled in the refrigerator) before frosting.
If you're in a rush, refrigerate the layers for 20–30 minutes once they reach room temperature. Never frost a warm cake.
Step 10 - Frost and Decorate
Layer, crumb coat, and frost according to your preferred technique. The recipe notes they tripled the frosting for a crumb layer plus decorative piping if you want the full bakery appearance with piped borders, plan your frosting quantity accordingly.