
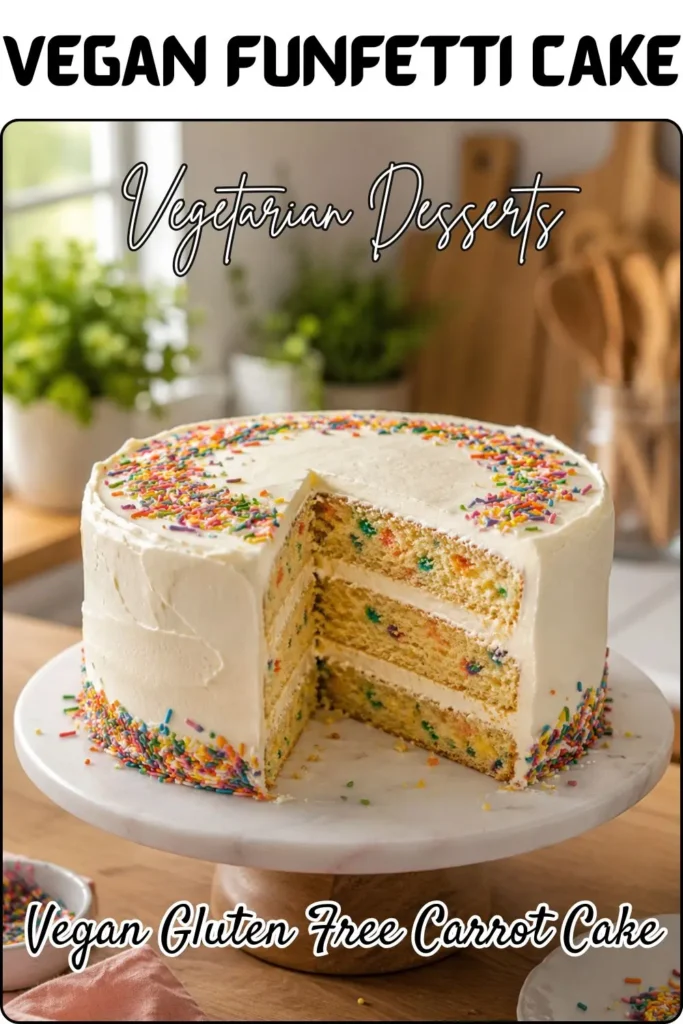
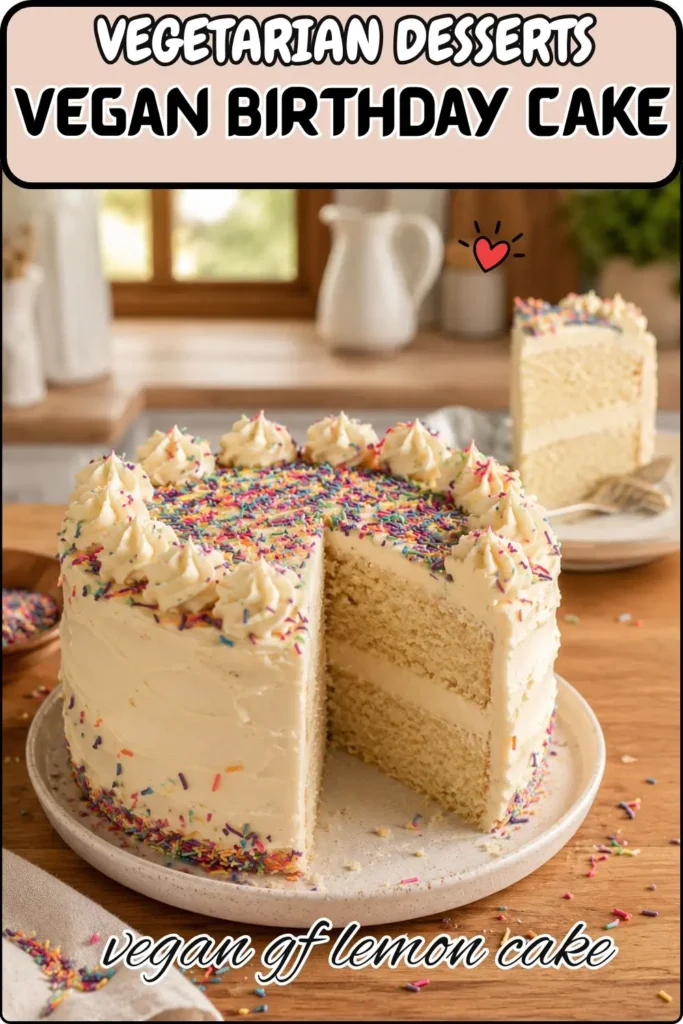
Funfetti cake exists at the intersection of pure joy and unapologetic celebration and there’s genuinely no reason that joy should be limited to non-vegan versions. Vegan funfetti cake with rainbow sprinkles folded through a vanilla-scented batter, topped with your choice of frosting, is the cake that makes any occasion feel instantly more festive. This recipe serves 16 slices at 327 calories each (before frosting), works with gluten-free flour substitution, and produces a cake that looks and tastes exactly like the nostalgic, colorful funfetti experience everyone remembers without a single animal product.
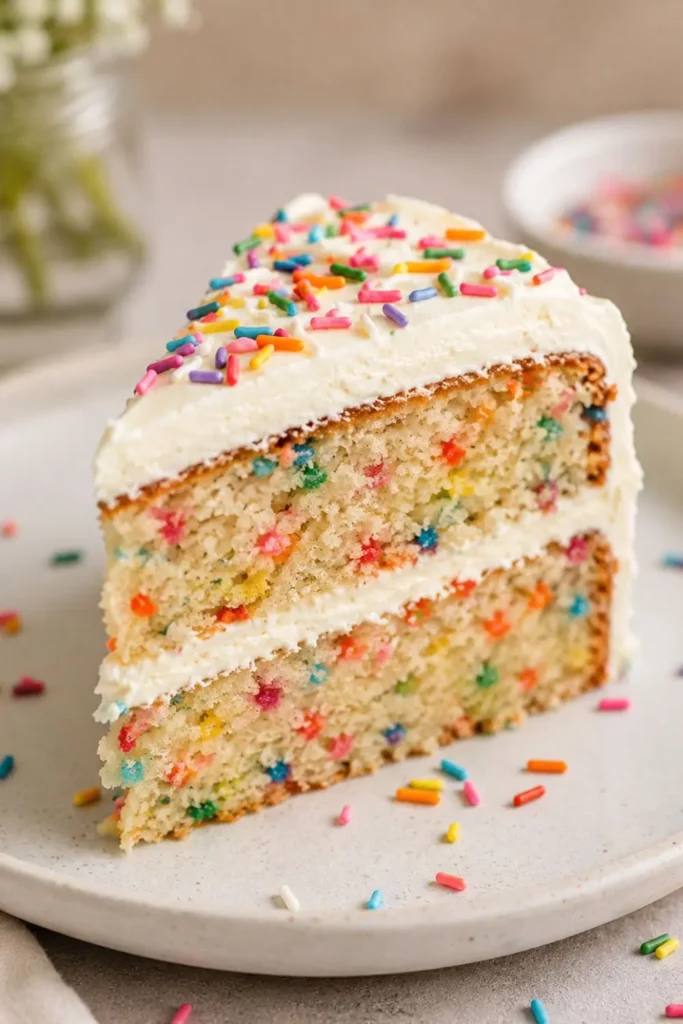
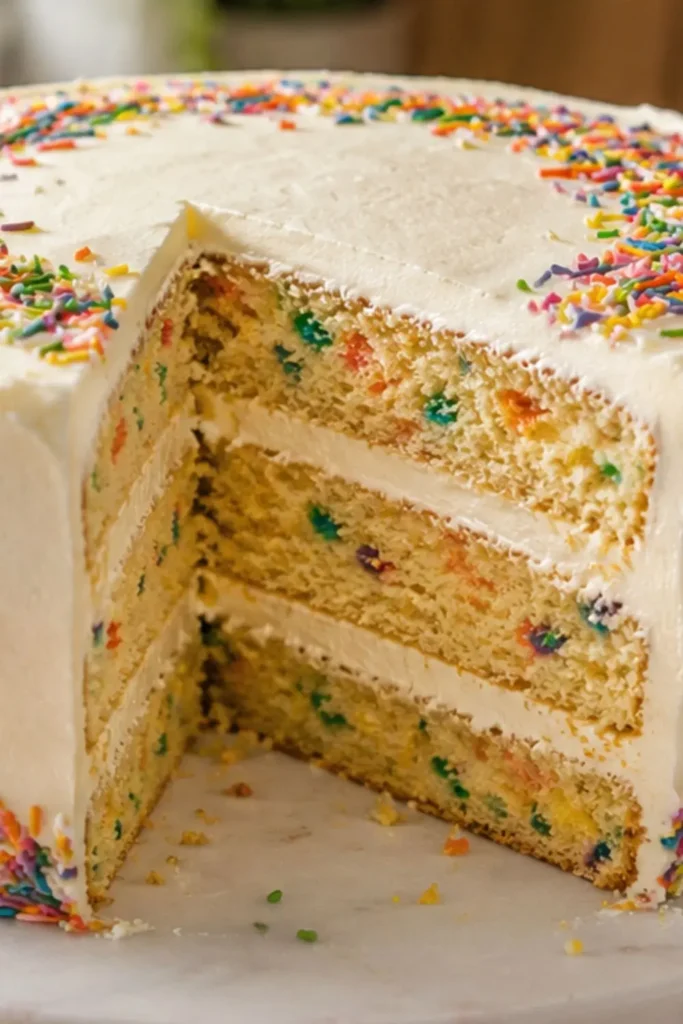
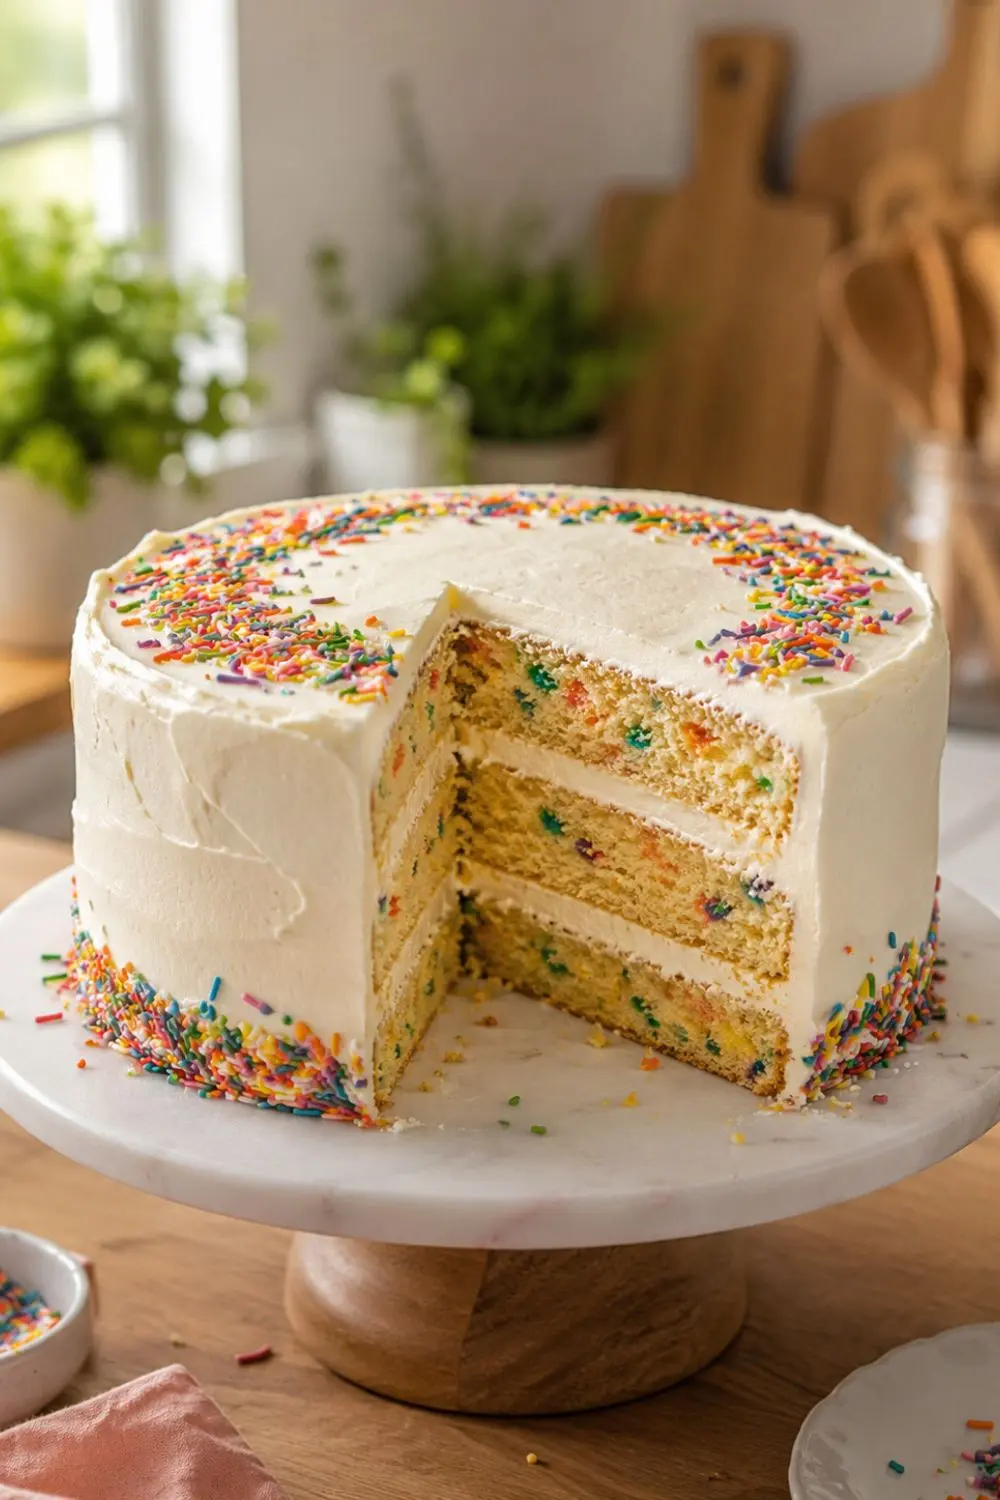
I make this for every celebration that calls for something visually joyful birthdays, summer parties, “it’s Friday and I want cake” occasions. The sprinkles throughout the batter don’t just add color; they add tiny pockets of sweetness and visual delight in every cross-section when the cake is sliced. People genuinely stop and smile at the inside of a funfetti cake when it’s cut. That reaction is worth every step of this recipe.
My Recipe Timing and Serving Details
Here’s your complete planning overview:
| Detail | Info |
| Prep Time | 5 minutes |
| Bake Time | 45–55 minutes (2 pans) / 33–35 minutes (3 pans) |
| Total Time | ~45–60 minutes + cooling |
| Yield | 16 slices |
| Servings | 16 people |
| Serving Size | 1 slice |
| Calories Per Slice | 327 kcal (without frosting) |
| Course | Dessert / Celebration Cake |
| Diet | 100% Vegan (GF option available) |
This vegan funfetti cake serves 16 people generously. At 327 calories per slice before frosting add approximately 100–150 calories per slice depending on your frosting choice and application thickness this is a proper celebration cake at an appropriate celebration-sized calorie count.
The Vegan Sprinkle Question Why This Is the First Thing to Sort Out
Before anything else, let’s address the sprinkles because standard rainbow sprinkles are not vegan, and discovering this after you’ve already made the batter is a very bad day.
Why conventional sprinkles aren’t vegan- Most standard rainbow sprinkles contain confectioner’s glaze (shellac, derived from lac beetles) as a coating to create their shiny appearance. Many also contain carmine (red color derived from cochineal insects) and bone char-processed white sugar. This matters specifically for vegan sprinkle cake because sprinkles are the defining ingredient.
Finding Vegan Sprinkles
Whole Foods 365 Brand – the recipe specifically names these and they’re genuinely excellent vegan sprinkles. Bright colors, don’t bleed excessively into the batter, and widely available.
Supernatural Kitchen – vegan sprinkles in multiple colors and shapes. Available online and at some specialty grocery stores.
India Tree – their Nature’s Colors sprinkles use plant-based coloring and vegan-friendly formulations.
Sweetapolita – clear vegan labeling, excellent color range.
Amazon – search specifically “vegan sprinkles” and check product descriptions carefully. Brands including Color Kitchen and Let’s Do Organic produce reliable vegan options.
FYI the sprinkle color matters for the funfetti visual effect. Rainbow mix (multiple colors) produces the classic funfetti cross-section. Single-color sprinkles create a more monochromatic effect. For the full nostalgic funfetti experience, rainbow mix is the right choice.
Full Ingredient List
A generous recipe that produces a large, celebration-worthy cake:
The Cake Batter:
- 6 tablespoons dairy-free butter, softened
- 2 cups vegan cane sugar
- 3 cups unsweetened dairy-free milk , room temperature or warm (never cold)
- ⅓ cup coconut oil, melted (or any neutral oil)
- 3 tablespoons apple cider vinegar
- 1 tablespoon vanilla extract
- ¼ teaspoon almond extract (optional)
- 4 cups flour , all-purpose or GF flour blend
- 1½ teaspoons salt
- 4 teaspoons baking powder
- 1 teaspoon baking soda
- 1 cup vegan sprinkles
Frosting Options (choose one):
- Vanilla frosting
- Chocolate frosting
- Vanilla buttercream
- Strawberry frosting
The temperature requirement for dairy-free milk appears throughout vegan cake recipes for a consistent reason: cold liquid added to a batter with creamed butter causes the butter to seize and solidify, breaking the emulsion and producing a lumpy, uneven batter. Room temperature or slightly warm milk maintains the smooth emulsion that produces even, consistent cake texture. Take the milk out of the refrigerator at least 30 minutes before baking or warm it briefly in the microwave to approximately 70–75°F.
The almond extract is optional but IMO genuinely worth including. A small amount of almond extract amplifies the vanilla and adds a warm, slightly nutty-floral quality that makes funfetti cake taste more complex and interesting. Start with ¼ teaspoon almond extract is potent.
Equipment You’ll Need For
For the Cake:
- Two 9-inch round cake pans (for 2-layer) or three 9-inch round cake pans (for 3-layer, preferred)
- Parchment paper – for lining the pan bottoms. Cut circles to fit, then grease the sides.
- Oven preheated to 350°F
- Wire cooling racks – one per cake layer for complete cooling before frosting
For Mixing:
- Stand mixer with paddle attachment – for creaming butter and sugar and combining the full batter. The recipe’s butter and sugar quantities (6 tablespoons butter, 2 cups sugar, 3 cups liquid) require a large bowl capacity.
- Electric hand mixer – works adequately if you don’t have a stand mixer
- Two large mixing bowls – one for wet ingredients (and the initial butter-sugar cream), one for sifting and holding dry ingredients
- Silicone spatula – for scraping down the bowl sides and for folding in the sprinkles at the final step
For Assembly:
- Icing spatula (offset spatula) , for spreading frosting between layers and across the exterior
- Rotating cake stand / turntable (optional but helpful)
- Piping bags and star tips , for decorative frosting piping if you want the full bakery appearance
One important note on pan size- The recipe uses 9-inch pans specifically. Using 8-inch pans produces layers that are taller but may need longer bake times and run overflow risk given the batter quantity. Using 10-inch pans produces thinner layers with shorter bake times. Stick to 9-inch for the recipe’s stated timing.
Step-by-Step Instructions For Vegan Funfetti Cake
Step 1 – Preheat and Prepare Pans
Preheat the oven to 350°F. Line the bottoms of your 9-inch pans with parchment paper circles. Grease the sides with oil or vegan butter. Set aside.
Step 2 – Cream Butter and Sugar
Add the softened dairy-free butter and vegan cane sugar to your stand mixer bowl or large mixing bowl. Beat on medium-high speed for 2–3 minutes until pale and fluffy. Scrape down the sides and bottom of the bowl with a spatula to ensure even mixing.
The creaming stage incorporates air into the butter-sugar mixture this air is what creates the cake’s light texture. Insufficient creaming produces a denser, less even crumb.
Step 3 – Add Wet Ingredients
Add the room temperature dairy-free milk, apple cider vinegar, melted coconut oil, vanilla extract, and almond extract to the creamed butter mixture. Beat together until combined. Scrape down the sides again.
The apple cider vinegar combines with the baking soda during baking to create additional leavening and a slightly tangy character that prevents the cake from tasting excessively sweet despite the 2 cups of sugar.
Step 4 – Sift and Combine Dry Ingredients
In a separate bowl, sift together the flour, salt, baking powder, and baking soda. Whisk to combine.
For the gluten-free version- Sift your GF flour blend with the other dry ingredients. Different GF blends absorb liquid differently the batter may look slightly thicker or thinner than the regular version. This is normal.
Step 5 – Combine Wet and Dry (Critical Technique)
Pour the dry ingredients into the wet ingredients in 3–4 additions, mixing on low speed just until combined after each addition. Do not overmix the recipe emphasizes this for good reason. Overmixing develops gluten (in regular flour) and produces a tough, dense cake. Mix only until no visible dry flour streaks remain.
Step 6 – Fold in Sprinkles
Remove the bowl from the mixer. Use a silicone spatula to gently fold the 1 cup of vegan sprinkles into the batter. Fold rather than stir gentler folding keeps the sprinkles from crumbling and bleeding their colors into the surrounding batter.
Sprinkle bleeding- Some vegan sprinkles bleed color into the batter when mixed this turns the batter pastel-colored rather than keeping sprinkles as distinct colored dots. To minimize bleeding, fold the sprinkles in gently and immediately transfer the batter to pans rather than allowing the batter to sit.
Step 7 – Fill Pans and Bake
Pour the batter into the prepared pans until each pan is approximately half full this allows adequate room for the cake to rise without overflowing.
Bake times by configuration:
- 2 pans (9-inch): 45–55 minutes at 350°F
- 3 pans (9-inch): 33–35 minutes at 350°F ,check at 33 minutes
Test for doneness by inserting a toothpick into the center it should come out clean or with a few moist crumbs. No wet batter should appear.
Step 8 – Make Frosting While Cake Bakes
Choose and prepare your frosting. Store it in the refrigerator until the cake layers cool completely frosting a warm cake causes it to melt and slide off rather than adhering properly.
Step 9 – Cool Completely Before Frosting
This is the instruction that requires the most patience. Allow each cake layer to cool in the pan for 10–15 minutes, then transfer to wire racks to cool completely approximately 45–60 minutes. The cake must be fully at room temperature (or cooled in the refrigerator) before frosting.
If you’re in a rush, refrigerate the layers for 20–30 minutes once they reach room temperature. Never frost a warm cake.
Step 10 – Frost and Decorate
Layer, crumb coat, and frost according to your preferred technique. The recipe notes they tripled the frosting for a crumb layer plus decorative piping if you want the full bakery appearance with piped borders, plan your frosting quantity accordingly.
The Gluten-Free Funfetti Version
Gluten free funfetti cake from this recipe requires one substitution:
Replace the 4 cups of all-purpose flour with 4 cups of a tested GF flour blend. King Arthur Measure for Measure flour works as a direct 1:1 replacement. Bob’s Red Mill 1:1 Baking Flour also produces good results with this recipe.
GF-specific adjustments:
- The batter may appear slightly different in texture slightly thicker or more grainy-looking than the wheat flour version. This is normal.
- Bake time may increase by 5–10 minutes depending on your GF flour blend
- Allow the GF layers to cool completely in the pans before attempting to remove GF cake layers are more fragile than wheat-flour versions when warm
Avoid: Coconut flour or almond flour as direct replacements absorb liquid at completely different rates and won’t produce the correct result without significant recipe modification.
Frosting Options Choosing What Works Best
The recipe offers four frosting options. Here’s the honest guide to each for a vegan sprinkle cake:
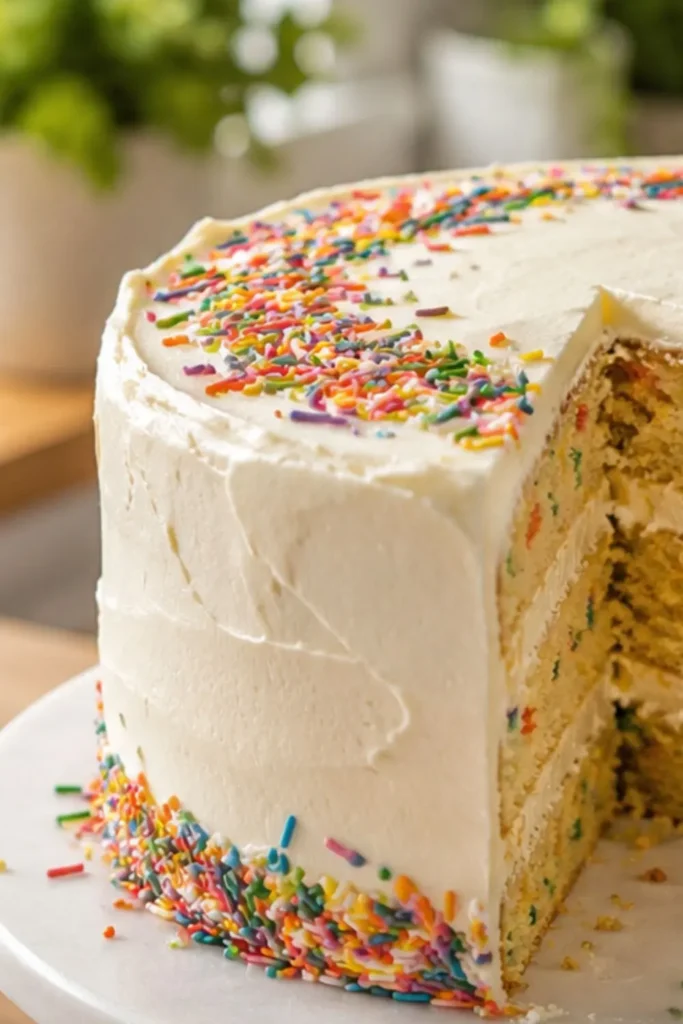
Vanilla Frosting (Best All-Around)
Classic vanilla buttercream made with vegan butter and powdered sugar is the most authentic funfetti pairing. The white exterior makes the colored sprinkles inside even more visually dramatic when the cake is cut. Use Earth Balance or Miyoko’s for best texture.
Chocolate Frosting (Best Flavor Contrast)
Chocolate and funfetti create an interesting flavor contrast the chocolate’s bitterness against the sweet, sprinkle-dotted vanilla cake is genuinely delicious. Visually dramatic because the dark frosting highlights the colorful interior when sliced.
Strawberry Frosting (Best Summer Version)
Fresh strawberry buttercream made with freeze-dried strawberry powder or cooked strawberry reduction adds a fruity brightness that feels specifically summer-appropriate. Pink-colored exterior with colorful sprinkle interior creates a beautiful presentation.
Buttercream Frosting (Most Pipeable)
A firmer, higher-vegan-butter-ratio buttercream holds piped decorations more reliably than standard frosting. Choose this if you plan elaborate piped decoration like rosettes, borders, or writing.
Preventing Common Vegan Funfetti Cake Problems
Sprinkles bleeding- Use high-quality vegan sprinkles, fold gently, and bake immediately after mixing in. Don’t let the batter sit.
Cake falling in the center- Usually caused by underbaking or opening the oven too early. Don’t open the oven before the minimum bake time, and test doneness with a toothpick rather than by appearance alone.
Dense, gummy texture- Usually caused by overmixing after adding flour. Mix only until combined visible flour streaks should be absent but the batter shouldn’t be worked past that point.
Frosting sliding off- Almost always caused by frosting a still-warm cake. The cake must be completely at room temperature or chilled before any frosting is applied.
You may also like Next recipe
Nutrition Information Per Slice (Without Frosting)
At 327 calories per slice for 16 slices:
| Nutrient | Per Slice |
| Calories | 327 kcal |
| Carbohydrates | 59g |
| Protein | 3g |
| Fat | 10g |
| Fiber | 1g |
| Sugar | 34g |
| Sodium | 383mg |
| Calcium | 105mg |
| Iron | 2mg |
At 327 calories per slice before frosting, adding a generous frosting layer brings each slice to approximately 450–500 calories appropriate for a celebration cake serving. The nutrition facts specifically exclude frosting, so adjust based on your chosen frosting and application quantity.
Storage
- Unfrosted layers- Wrap tightly and store at room temperature for up to 2 days or refrigerate for up to 5 days
- Frosted assembled cake- Store covered at room temperature for 1–2 days or refrigerated for up to 5 days. Bring to room temperature before serving refrigerator-cold buttercream tastes muted and feels dense.
- Freezer- Freeze unfrosted layers individually for up to 2 months. Thaw at room temperature before frosting.
My Final Thoughts
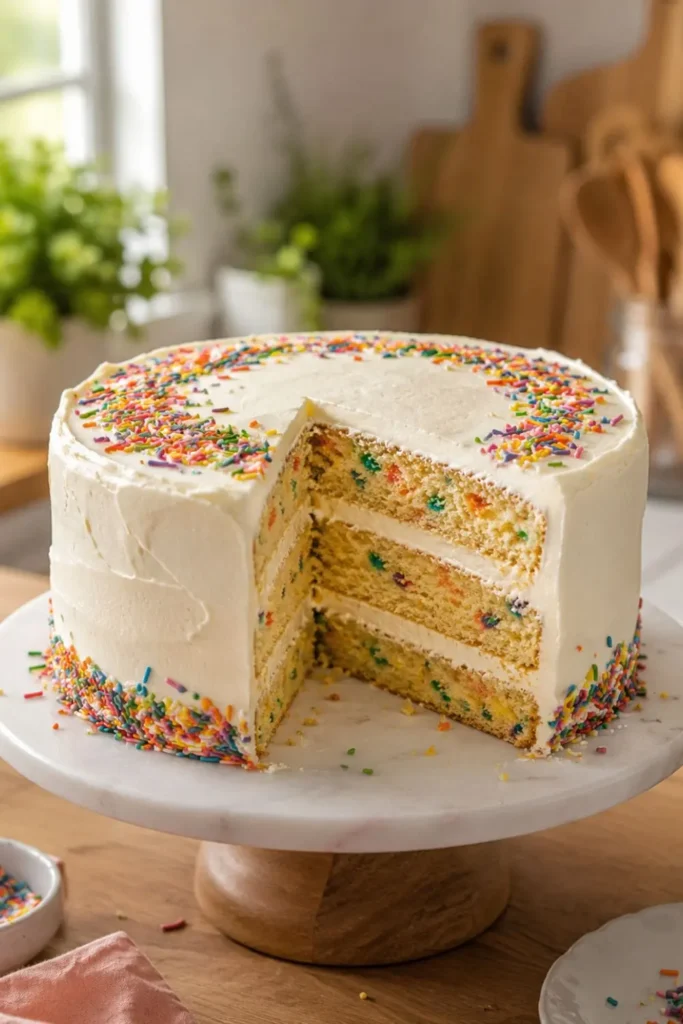
Vegan funfetti cake is the dessert that announces a celebration before the first bite the colorful sprinkles throughout the batter, the bright frosted exterior, the cross-section of color when the first slice is cut. This recipe delivers all of it in 45 minutes of baking, serves 16 people at 327 calories before frosting, and works with gluten-free flour for anyone who needs it.
Find the vegan sprinkles. Cream the butter and sugar properly. Don’t overmix. Frost only when completely cool.
Then cut that first slice and watch everyone in the room reach for their fork simultaneously. That’s the funfetti effect and this vegan version delivers it completely.
Vegan Funfetti Cake The Colorful, Joyful Celebration Cake
Ingredients
Equipment
Method
- Step 1 – Preheat and Prepare Pans
- Preheat the oven to 350°F. Line the bottoms of your 9-inch pans with parchment paper circles. Grease the sides with oil or vegan butter. Set aside.
- Step 2 – Cream Butter and Sugar
- Add the softened dairy-free butter and vegan cane sugar to your stand mixer bowl or large mixing bowl. Beat on medium-high speed for 2–3 minutes until pale and fluffy. Scrape down the sides and bottom of the bowl with a spatula to ensure even mixing.
- The creaming stage incorporates air into the butter-sugar mixture this air is what creates the cake’s light texture. Insufficient creaming produces a denser, less even crumb.
- Step 3 – Add Wet Ingredients
- Add the room temperature dairy-free milk, apple cider vinegar, melted coconut oil, vanilla extract, and almond extract to the creamed butter mixture. Beat together until combined. Scrape down the sides again.
- The apple cider vinegar combines with the baking soda during baking to create additional leavening and a slightly tangy character that prevents the cake from tasting excessively sweet despite the 2 cups of sugar.
- Step 4 – Sift and Combine Dry Ingredients
- In a separate bowl, sift together the flour, salt, baking powder, and baking soda. Whisk to combine.
- For the gluten-free version- Sift your GF flour blend with the other dry ingredients. Different GF blends absorb liquid differently the batter may look slightly thicker or thinner than the regular version. This is normal.
- Step 5 – Combine Wet and Dry (Critical Technique)
- Pour the dry ingredients into the wet ingredients in 3–4 additions, mixing on low speed just until combined after each addition. Do not overmix the recipe emphasizes this for good reason. Overmixing develops gluten (in regular flour) and produces a tough, dense cake. Mix only until no visible dry flour streaks remain.
- Step 6 – Fold in Sprinkles
- Remove the bowl from the mixer. Use a silicone spatula to gently fold the 1 cup of vegan sprinkles into the batter. Fold rather than stir gentler folding keeps the sprinkles from crumbling and bleeding their colors into the surrounding batter.
- Sprinkle bleeding- Some vegan sprinkles bleed color into the batter when mixed this turns the batter pastel-colored rather than keeping sprinkles as distinct colored dots. To minimize bleeding, fold the sprinkles in gently and immediately transfer the batter to pans rather than allowing the batter to sit.
- Step 7 – Fill Pans and Bake
- Pour the batter into the prepared pans until each pan is approximately half full this allows adequate room for the cake to rise without overflowing.
- Bake times by configuration:
- 2 pans (9-inch): 45–55 minutes at 350°F
- 3 pans (9-inch): 33–35 minutes at 350°F ,check at 33 minutes
- Test for doneness by inserting a toothpick into the center it should come out clean or with a few moist crumbs. No wet batter should appear.
- Step 8 – Make Frosting While Cake Bakes
- Choose and prepare your frosting. Store it in the refrigerator until the cake layers cool completely frosting a warm cake causes it to melt and slide off rather than adhering properly.
- Step 9 – Cool Completely Before Frosting
- This is the instruction that requires the most patience. Allow each cake layer to cool in the pan for 10–15 minutes, then transfer to wire racks to cool completely approximately 45–60 minutes. The cake must be fully at room temperature (or cooled in the refrigerator) before frosting.
- If you’re in a rush, refrigerate the layers for 20–30 minutes once they reach room temperature. Never frost a warm cake.
- Step 10 – Frost and Decorate
- Layer, crumb coat, and frost according to your preferred technique. The recipe notes they tripled the frosting for a crumb layer plus decorative piping if you want the full bakery appearance with piped borders, plan your frosting quantity accordingly.
Notes
Nutrition Information Per Slice (Without Frosting)
At 327 calories per slice for 16 slices:| Nutrient | Per Slice |
| Calories | 327 kcal |
| Carbohydrates | 59g |
| Protein | 3g |
| Fat | 10g |
| Fiber | 1g |
| Sugar | 34g |
| Sodium | 383mg |
| Calcium | 105mg |
| Iron | 2mg |

Hi — I’m Rachel. I’m a wife, a mom, and a home cook who believes that food should bring comfort, joy, and compassion to the table. I live with my family — two hungry little foodies who are my most honest recipe testers — and together we’ve built a kitchen culture that’s all about good food that happens to be 100% vegan. I started this blog because I wanted a place to share the recipes that keep our days moving, the dishes that make weeknights feel a little easier, and the meals that become our little family traditions.