Step 1: Preheat Your Oven
Preheat your oven to 375°F (190°C). Line your large baking sheet with parchment paper. This step takes 30 seconds and saves you from a sticky, mushroom-juice-soaked pan later. Don't skip it.
Step 2: Pre-Bake Large Caps (If Needed)
If your portobello caps are particularly large or thick, place them upside down on the parchment-lined baking sheet and pre-bake for 3–5 minutes. You're not cooking them all the way through — just softening them slightly so the final bake time stays short.
You'll know they're ready when they feel slightly pliable and have just started to release a little moisture. Pull them out promptly. You don't want waterlogged mushrooms going into the oven a second time.
⚠️ Important: Not all caps need pre-baking. Medium-sized caps go straight to filling and final baking. Only pre-bake if they're notably thick or very large.
Step 3: Sauté Onion and Pepper
Heat 2 tablespoons of olive oil in your large skillet over medium heat. Add the diced onion and red bell pepper. Sauté for 5–10 minutes, stirring occasionally, until both are soft and the onion turns translucent and slightly golden at the edges.
Don't rush this step. Properly softened onion and pepper build the flavor foundation of the entire filling. Add your minced garlic and sauté for another 2 minutes until fragrant — your kitchen should smell amazing right about now.
Step 4: Add Zucchini, Corn, and Spinach
Add your diced zucchini (and mushroom stems if you're using them — more on that below) and sauté until just soft, about 3 minutes. Then add the corn and fresh baby spinach.
Cook for another 2 minutes, stirring gently, until the spinach wilts completely. It loses about 80% of its volume when it wilts — that's totally normal and expected. Remove the skillet from heat.
Step 5: Add Quinoa and Spices
Stir in your cooked quinoa, smoked paprika, dried oregano, and salt. Mix everything together until fully combined. Now taste it — seriously, taste it. This is your only chance to adjust the salt before everything goes into the mushroom caps.
IMO this is the step most people rush and then wonder why their filling tastes flat. Season it properly now and the finished dish will be noticeably better.
Step 6: Fill and Bake
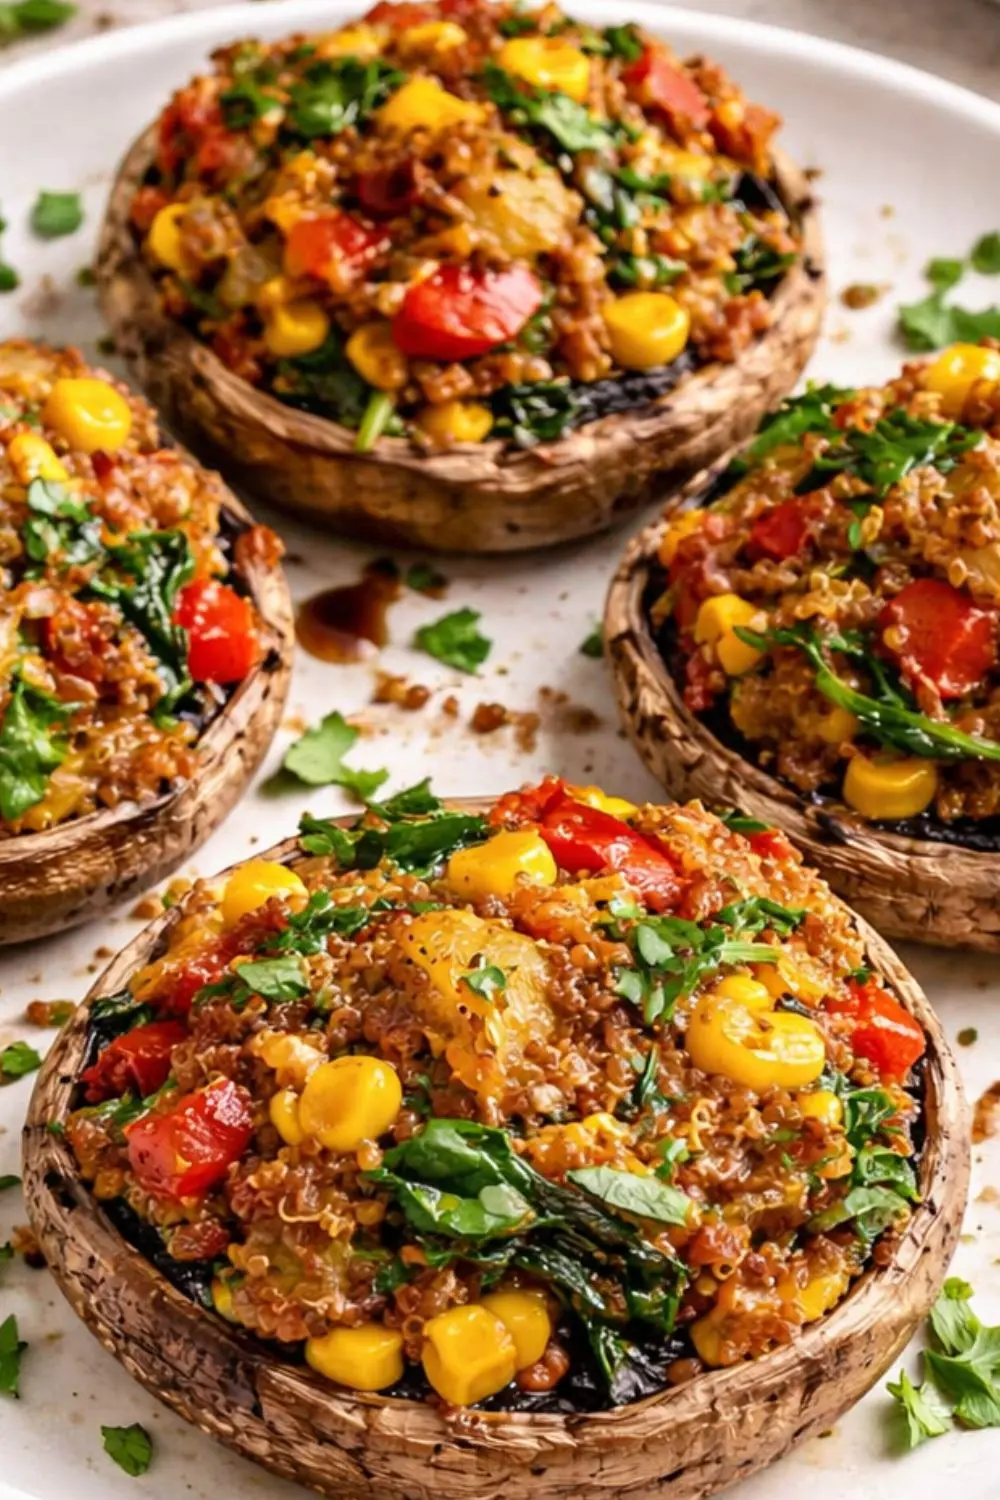
Turn your pre-baked mushroom caps right-side up on the parchment-lined baking sheet. Divide the filling evenly between all 8 caps. Don't be shy — heap it generously. The filling holds together well and a full, overflowing cap looks (and tastes) far better than a skimpy one.
Bake for 5 minutes, or until the mushrooms are releasing their natural juices and the caps are cooked to your liking. The filling is already fully cooked, so this final bake is purely about finishing the mushrooms themselves.
Pull them out when the juices start pooling around the base of each cap on the baking sheet. That's your visual cue that they're perfectly done.