
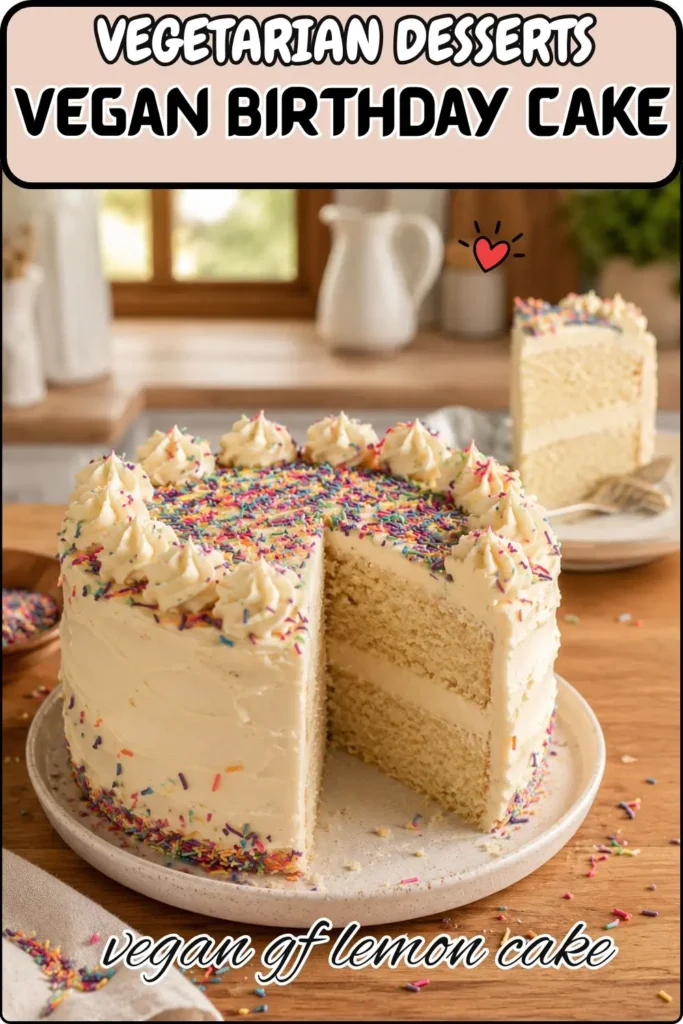
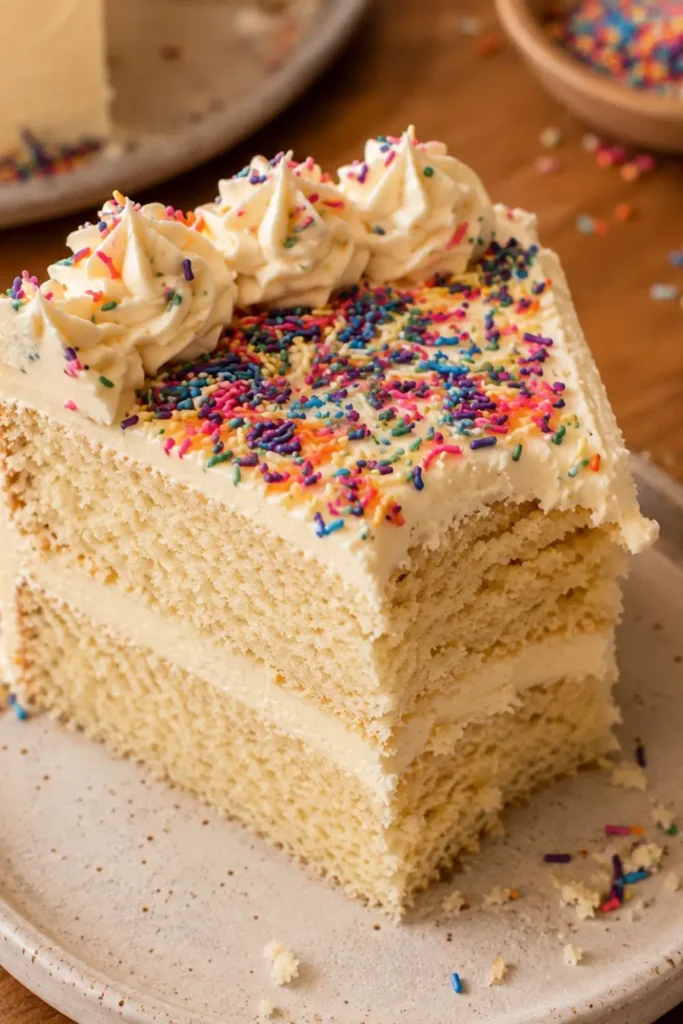
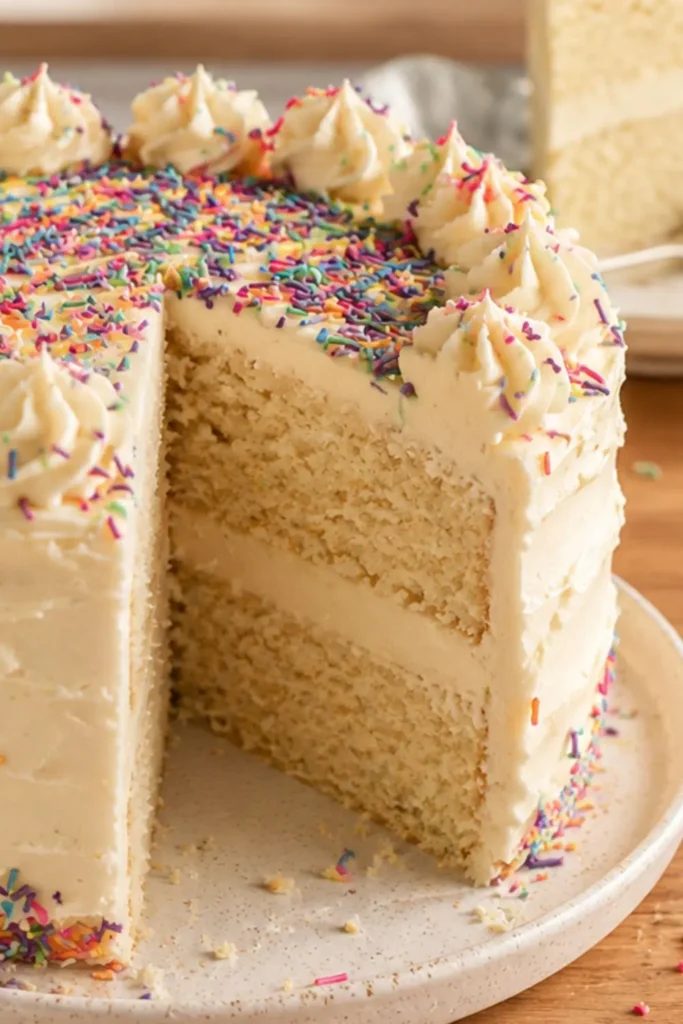
A birthday without proper cake isn’t really a birthday. And a proper birthday cake the tall, frosted, celebration-worthy kind shouldn’t be off the table just because you’re vegan. Vegan birthday cake with three layers, vegan vanilla buttercream frosting between each layer and covering the exterior, and genuine classic birthday cake flavor is exactly what this recipe delivers. 12 people, 500 calories per slice, completely plant-based from batter to decoration.
This is the vegan birthday cake recipe I make for anyone who says “I can’t have a real birthday cake because I’m vegan” a statement that genuinely deserves to be retired permanently. The soured soy milk technique creates the tenderness you expect from a real birthday cake. The properly creamed vegan butter and sugar creates the right crumb structure. The vanilla buttercream is thick, smooth, and pipeable. When you put this on the table with candles on top, nobody in the room thinks about what’s missing. They just see birthday cake.
My Recipe Timing and Serving Details
Here’s your complete planning overview:
| Detail | Info |
| Prep Time | 30 minutes |
| Bake Time | 27–30 minutes |
| Cooling Time | ~45–60 minutes (complete cool before frosting) |
| Total Time | ~1 hour 30 minutes |
| Servings | 12 slices |
| Serving Size | 1 slice (3-layer cake) |
| Calories Per Slice | 500 kcal |
| Course | Dessert / Celebration Cake |
| Diet | 100% Vegan |
This vegan birthday cake serves 12 people as generous slices from a 3-layer 8-inch round cake. At 500 calories per slice which includes the substantial vanilla buttercream frosting between and around the layers this is a genuine celebration cake calibrated for actual birthday portions. The frosting recipe makes enough for a 3-layer cake; halve it for a 2-layer version.
The Soured Soy Milk Technique Why It Makes This Vegan Cake Different
The most important technique in this vegan birthday cake recipe is also the most easily overlooked combining soy milk with apple cider vinegar and letting it sit for 10 minutes before using. This creates vegan buttermilk, and it transforms the cake’s final texture in genuinely significant ways.
When lemon juice or vinegar meets soy milk proteins, they partially curdle the proteins coagulate slightly, creating a thicker, tangier liquid similar to traditional buttermilk. This curdled soy milk does several things in the batter:
It activates the baking soda. Baking soda requires an acid to activate without acid, it doesn’t produce the carbon dioxide that creates rise. The apple cider vinegar provides that acid, ensuring the full leavening power of both the baking powder and baking soda works as intended.
It creates a tender crumb. The acid breaks down gluten strands slightly, producing a more tender, finer crumb than non-acid batters. Traditional birthday cake’s characteristic tender, soft texture comes partly from the acid content of conventional buttermilk the vegan version replicates this through the same chemistry.
The temperature requirement is critical. The recipe specifically states: “soymilk at room temperature this is important.” Cold soy milk curdling with vinegar produces a different, less stable result than room-temperature soy milk. Start this step at least 30 minutes before baking take the soy milk out of the refrigerator when you start your prep.
Full Ingredient List The Complete Vegan Birthday Cake Recipe
The Cake Batter:
- 2 cups soy milk , at room temperature (this is non-negotiable)
- 1 tablespoon apple cider vinegar
- 2 cups all-purpose flour
- 1 tablespoon baking powder
- 1 teaspoon baking soda
- ½ teaspoon salt
- 1⅓ cup granulated sugar
- ¾ cup vegan butter , at room temperature
- 1 tablespoon pure vanilla extract
The Vanilla Buttercream Frosting (for 3-layer cake):
- 2 cups Earth Balance vegan butter at room temperature, do not melt
- 5½ cups powdered sugar
- 2 teaspoons vanilla extract
The Earth Balance vegan butter is specifically called out in the frosting recipe, and this specificity matters. Earth Balance produces a vegan buttercream that pipes smoothly, holds its structure at room temperature for serving, and doesn’t weep oily liquid the way some other vegan butter brands do when worked with an electric mixer. The stick variety (not the tub) works best for frosting applications.
Other vegan butter brands that work well for frosting- Miyoko’s Creamery European Style Cultured Vegan Butter produces an exceptional, slightly tangier buttercream that many people prefer. Violife and Country Crock Plant Butter also work well. The tub varieties of any brand are less reliable for frosting they contain more water than stick varieties and produce a softer, less stable frosting.
For the cake batter- Any vegan butter works well. The main batter requires less structural precision than the frosting, so brand variation matters less here.
Equipment You’ll Need For
This 3-layer vegan birthday cake requires specific equipment to execute properly:
Primary Baking Equipment
- Three 8-inch round cake pans – the recipe distributes batter among 3 pans. Having all 3 pans allows simultaneous baking (if your oven accommodates them) or sequential baking. Using the same pan size ensures equal layer heights for a visually balanced finished cake.
- Oven at 350°F – standard baking temperature for layer cakes
- Wire cooling racks -for cooling each cake layer completely before frosting. Multiple racks allow all three layers to cool simultaneously.
Mixing Equipment
- Stand mixer with paddle attachment – the ideal equipment for both creaming the cake batter and whipping the frosting. A stand mixer handles the extended creaming time and frosting whipping without requiring you to hold anything.
- Electric hand mixer – works well for both batter and frosting if you don’t own a stand mixer. Plan for longer active working time hand mixers require you to hold the machine throughout.
- Large bowl – for the cake batter if using a hand mixer
- Medium bowl – for sifting and combining dry ingredients
- Small bowl – for making the vegan buttermilk (soy milk + apple cider vinegar)
Decorating Equipment
- Icing spatula (offset spatula) – the essential tool for spreading frosting between cake layers and covering the exterior smoothly. An offset spatula’s angled blade gives you control over frosting thickness and helps create smooth exterior surfaces. FYI this single tool makes the difference between a home-looking cake and a genuinely polished one.
- Cake leveler or long serrated knife – for trimming rounded cake tops to create flat surfaces that stack evenly. Rounded tops create unstable, leaning layers.
- Cake turntable (optional but helpful) – rotating the cake while frosting creates smoother, more even results and significantly reduces the time needed for a professional finish.
- aPiping bags and tips (optional) – for decorative border piping, rosettes, or writing. Star tip #1M creates the most recognizable birthday cake border decoration.
Step-by-Step Instructions For Vegan Birthday Cake
Advance Prep – Room Temperature Ingredients
Set out the vegan butter (both for cake batter and frosting) and the soy milk at least 30–60 minutes before starting. Room temperature butter creams properly; cold butter produces a lumpy, incompletely creamed batter. Room temperature soy milk curdles with vinegar more effectively than cold.
Step 1 – Make the Vegan Buttermilk
Combine 2 cups of room temperature soy milk and 1 tablespoon of apple cider vinegar in a small bowl. Whisk together briefly and allow to sit for at least 10 minutes. The mixture will look slightly curdled by the end of the resting period this is correct.
Step 2 – Sift and Combine Dry Ingredients
In a medium bowl, sift together the flour, baking powder, baking soda, and salt. Whisk to combine evenly. Sifting removes lumps and ensures the baking powder and soda distribute evenly rather than sitting in concentrated pockets.
Step 3 – Cream Butter, Sugar, and Vanilla
In your stand mixer or large bowl with a hand mixer, cream together the room temperature vegan butter, granulated sugar, and vanilla extract on medium-high speed for 3–5 full minutes. The mixture should turn pale, fluffy, and significantly increased in volume.
Why does this extended creaming matter? Creaming incorporates air into the fat-sugar mixture this aerated mixture is what creates the light, tender, fine-crumbed texture of classic birthday cake. Insufficient creaming produces a denser, heavier cake that reads more like a coffee cake than a celebration cake.
Step 4 – Add Vegan Buttermilk
With the mixer running, slowly drizzle the soured soy milk into the creamed butter mixture. The gradual addition prevents the mixture from breaking adding all the liquid at once can cause the emulsion to collapse.
Step 5 – Add Flour Mixture Gradually
Add the sifted flour mixture a little bit at a time with the mixer running on low. Mix until just combined after each addition over-mixing at this stage develops gluten and produces a tough, chewy cake rather than the tender crumb you want.
The finished batter should be smooth, uniform, and pourable.
Step 6 – Bake the Layers
Divide the batter evenly among three greased and floured 8-inch cake pans. For genuine uniformity, weigh the batter using a kitchen scale even distribution produces layers that stack perfectly and bake in the same time.
Bake on the center rack at 350°F for 27–30 minutes until golden and a toothpick comes out clean. If your oven can’t accommodate all three pans simultaneously, bake in batches.
Step 7 – Make the Frosting While Cakes Bake
Use an electric mixer to whip the room temperature Earth Balance vegan butter for 2 full minutes until completely smooth and lighter in color. Add the powdered sugar half a cup at a time, mixing on low after each addition until incorporated. Increase to medium-high and mix until the frosting comes together.
Add the 2 teaspoons of vanilla extract and whip on high for another 2 minutes until the frosting is fluffy and smooth.
Frosting consistency troubleshooting:
- Too stiff- Add 1 tablespoon of plant-based milk at a time until spreadable
- Too soft- Add powdered sugar ¼ cup at a time until it holds shape
- Grainy texture- Continue whipping vegan butter-based frosting sometimes needs 5+ minutes of whipping to fully smooth
For colored frosting- Add gel food coloring (liquid coloring produces less vibrant colors and can affect frosting consistency) after the frosting reaches full development. Start with a small amount gel coloring is concentrated.
Step 8 – Level the Cakes
Once the cakes are completely cool (warm cake melts frosting and causes layers to slide), use a cake leveler or long serrated knife to trim any domed tops. Place each cake on a flat surface and cut horizontally at the lowest point of the dome, creating a flat top surface.
Leveling is IMO the step that separates home cakes from bakery-quality cakes. Even ½ inch of dome creates visible tilt in a 3-layer stack.
Step 9 – Stack and Frost
Place the first cake layer on your serving plate or cake board. Spread approximately ⅓ of the between-layer frosting (approximately 1 cup) evenly across the surface with your offset spatula. Place the second layer on top, press gently to adhere, and repeat. Add the third layer.
Try It Next recipe
Apply a thin crumb coat a thin layer of frosting across the entire exterior and refrigerate for 20 minutes. The crumb coat traps any loose cake crumbs so your final frosting coat looks clean.
Apply the final exterior frosting coat, smoothing with the offset spatula. Decorate as desired.
The Room Temperature Rule Both Butter and Milk
This recipe emphasizes room temperature twice for the soy milk and for the vegan butter. Both matter for different reasons:
Room temperature butter creams properly. Cold butter (below 65°F) doesn’t incorporate air when beaten — it remains firm and lumpy rather than becoming light and airy. Room temperature butter (65–70°F) incorporates air efficiently during the creaming stage, creating the light, tender crumb structure that makes birthday cake what it is.
Room temperature soy milk curdles more effectively. The proteins in cold soy milk are less reactive with the apple cider vinegar the curdling that creates vegan buttermilk happens more completely and more consistently at room temperature.
The test for proper butter temperature- Press your finger gently into the butter. It should leave a clear indentation without the butter being soft enough to spread easily. If your finger sinks in immediately without resistance, the butter is too soft.
Frosting Quantity – 3 Layer vs. 2 Layer
The frosting recipe makes enough for a 3-layer cake, a generous quantity. If you’re making a 2-layer cake, halve the frosting recipe to avoid significant leftover frosting.
Frosting quantity reference:
- Between layer 1 and 2: ~1 cup frosting
- Between layer 2 and 3: ~1 cup frosting
- Exterior (crumb coat + final coat): ~2 cups frosting
- Decoration: remaining frosting
Decoration Ideas for a Perfect Vegan Birthday Cake
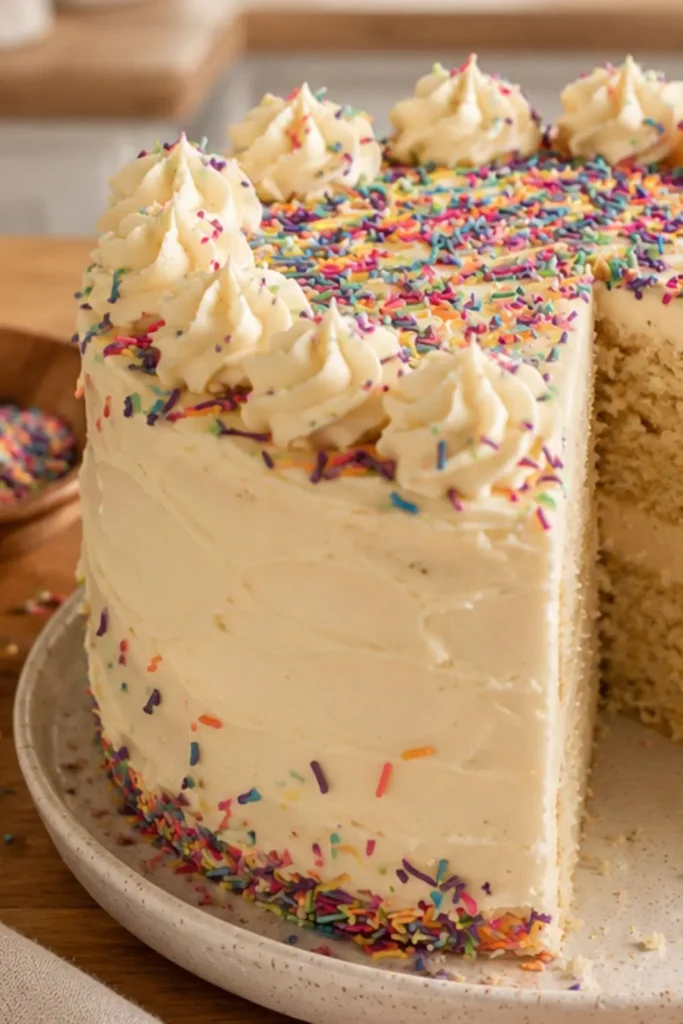
Classic style:
- Smooth white exterior with piped rosettes along the top edge
- Sprinkles pressed into the lower exterior before the frosting sets
- “Happy Birthday” written with piped frosting or gel icing
Summer celebration style:
- Fresh berries (strawberries, blueberries, raspberries) piled on top
- Edible flowers between the berry clusters
- Light powdered sugar dusting over the fruit
Layered color style:
- Divide the frosting and color in 2–3 colors
- Apply in sections on the exterior for an ombré or color block effect
Nutrition Information Per Slice
At 500 calories per slice for 12 slices:
| Nutrient | Per Slice |
| Calories | 500 kcal |
| Carbohydrates | 97g |
| Protein | 3g |
| Fat | 36g |
| Fiber | 1g |
| Sugar | 23g |
| Sodium | 645mg |
| Calcium | 118mg |
| Vitamin A | 1,593 IU |
The 500 calories per slice reflects generous frosting application across a 3-layer cake this is genuinely birthday cake territory, appropriately rich for a celebration. The 1,593 IU of Vitamin A comes from the vegan butter (which is typically fortified) and the vanilla-based frosting components.
Storage
- Room temperature- Up to 2 days covered at room temperature if not too warm (above 75°F, refrigerate)
- Refrigerator- Up to 5 days bring to room temperature before serving for the best frosting texture and flavor
- Freezer- Freeze unfrosted layers individually for up to 2 months. Thaw at room temperature and frost fresh.
- Frosted cake freezing- Freeze finished slices individually, freeze unwrapped until solid, then wrap tightly. Thaw at room temperature for 1–2 hours.
My Final Thoughts
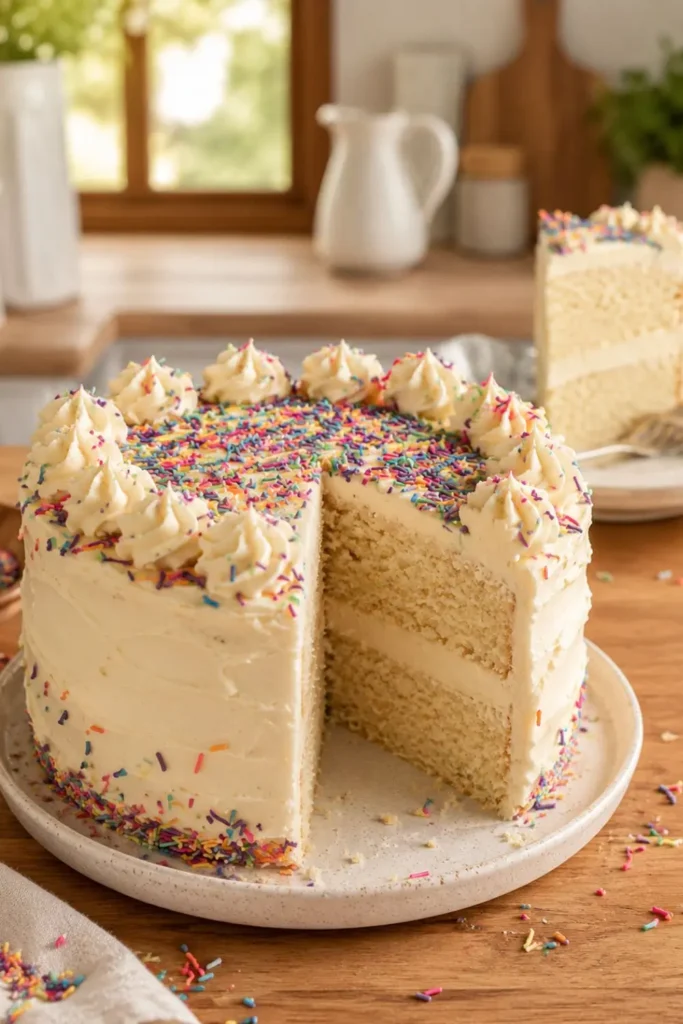
Vegan birthday cake, this good three layers, vanilla buttercream, proper celebration height, 12 people fed is the recipe that eliminates the need to apologize, explain, or offer alternatives. You put this on the table with candles, and it’s a birthday cake. Full stop.
500 calories per slice, 12 slices per cake, one hour of baking, room temperature ingredients, and the soured soy milk technique that makes every bite taste exactly the way a birthday should.
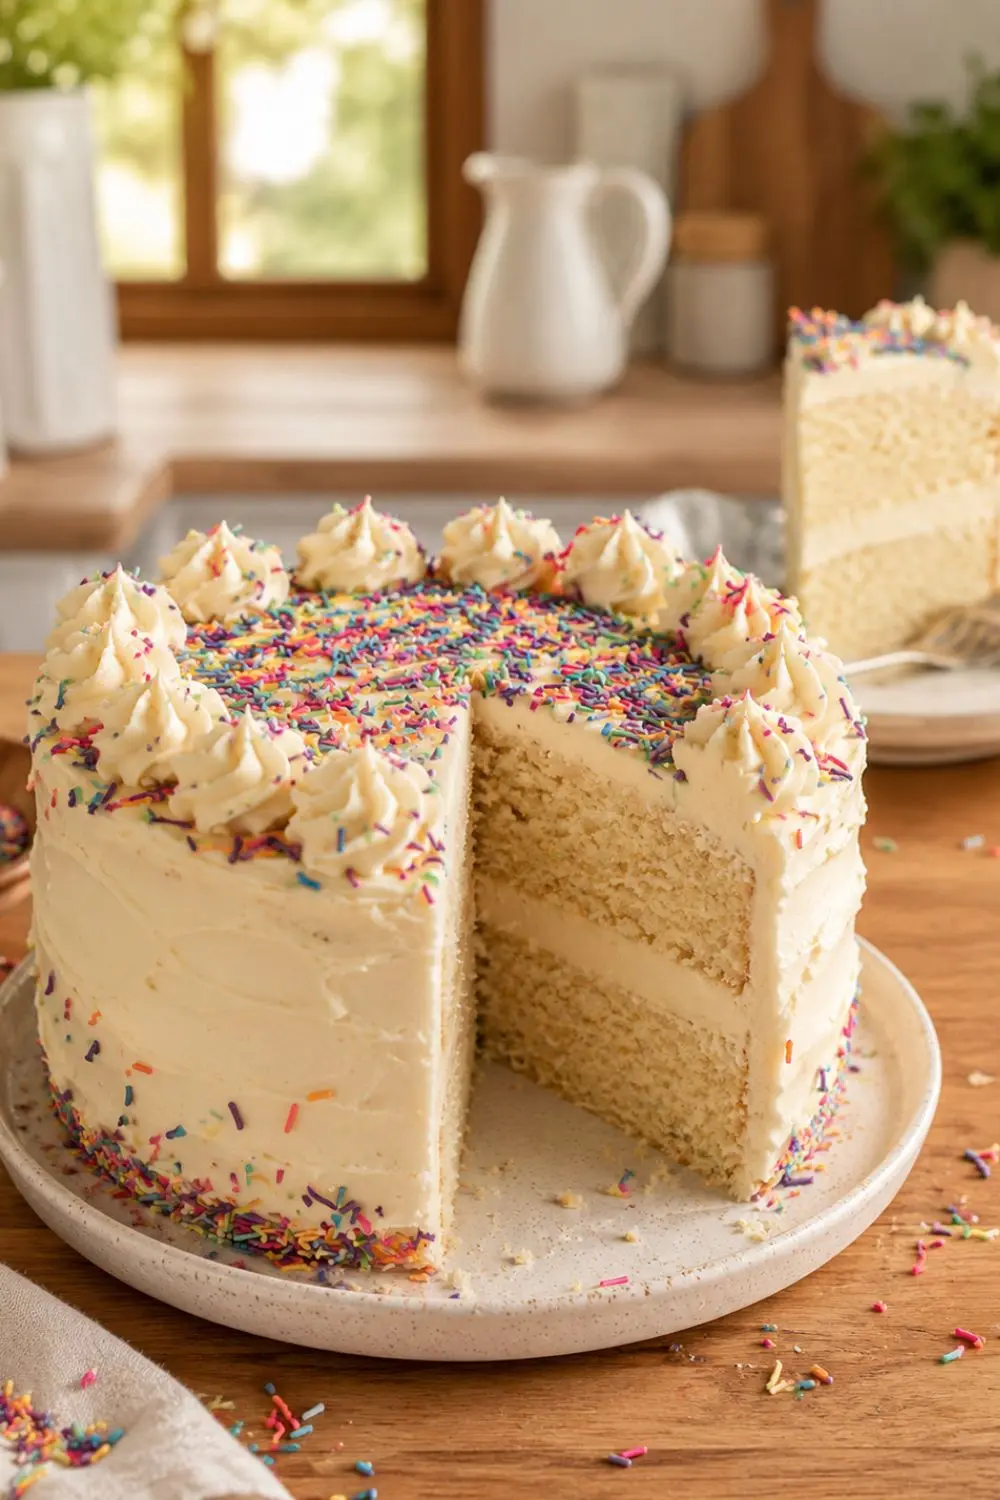
Vegan Birthday Cake Classic Layer Cake
Ingredients
Equipment
Method
- Step 1 – Make the Vegan Buttermilk
- Combine 2 cups of room temperature soy milk and 1 tablespoon of apple cider vinegar in a small bowl. Whisk together briefly and allow to sit for at least 10 minutes. The mixture will look slightly curdled by the end of the resting period this is correct.
- Step 2 – Sift and Combine Dry Ingredients
- In a medium bowl, sift together the flour, baking powder, baking soda, and salt. Whisk to combine evenly. Sifting removes lumps and ensures the baking powder and soda distribute evenly rather than sitting in concentrated pockets.
- Step 3 – Cream Butter, Sugar, and Vanilla
- In your stand mixer or large bowl with a hand mixer, cream together the room temperature vegan butter, granulated sugar, and vanilla extract on medium-high speed for 3–5 full minutes. The mixture should turn pale, fluffy, and significantly increased in volume.
- Why does this extended creaming matter? Creaming incorporates air into the fat-sugar mixture this aerated mixture is what creates the light, tender, fine-crumbed texture of classic birthday cake. Insufficient creaming produces a denser, heavier cake that reads more like a coffee cake than a celebration cake.
- Step 4 – Add Vegan Buttermilk
- With the mixer running, slowly drizzle the soured soy milk into the creamed butter mixture. The gradual addition prevents the mixture from breaking adding all the liquid at once can cause the emulsion to collapse.
- Step 5 – Add Flour Mixture Gradually
- Add the sifted flour mixture a little bit at a time with the mixer running on low. Mix until just combined after each addition over-mixing at this stage develops gluten and produces a tough, chewy cake rather than the tender crumb you want.
- The finished batter should be smooth, uniform, and pourable.
- Step 6 – Bake the Layers
- Divide the batter evenly among three greased and floured 8-inch cake pans. For genuine uniformity, weigh the batter using a kitchen scale even distribution produces layers that stack perfectly and bake in the same time.
- Bake on the center rack at 350°F for 27–30 minutes until golden and a toothpick comes out clean. If your oven can’t accommodate all three pans simultaneously, bake in batches.
- Step 7 – Make the Frosting While Cakes Bake
- Use an electric mixer to whip the room temperature Earth Balance vegan butter for 2 full minutes until completely smooth and lighter in color. Add the powdered sugar half a cup at a time, mixing on low after each addition until incorporated. Increase to medium-high and mix until the frosting comes together.
- Add the 2 teaspoons of vanilla extract and whip on high for another 2 minutes until the frosting is fluffy and smooth.
- Frosting consistency troubleshooting:
- Too stiff- Add 1 tablespoon of plant-based milk at a time until spreadable
- Too soft- Add powdered sugar ¼ cup at a time until it holds shape
- Grainy texture- Continue whipping vegan butter-based frosting sometimes needs 5+ minutes of whipping to fully smooth
- For colored frosting- Add gel food coloring (liquid coloring produces less vibrant colors and can affect frosting consistency) after the frosting reaches full development. Start with a small amount gel coloring is concentrated.
- Step 8 – Level the Cakes
- Once the cakes are completely cool (warm cake melts frosting and causes layers to slide), use a cake leveler or long serrated knife to trim any domed tops. Place each cake on a flat surface and cut horizontally at the lowest point of the dome, creating a flat top surface.
- Leveling is IMO the step that separates home cakes from bakery-quality cakes. Even ½ inch of dome creates visible tilt in a 3-layer stack.
- Step 9 – Stack and Frost
- Place the first cake layer on your serving plate or cake board. Spread approximately ⅓ of the between-layer frosting (approximately 1 cup) evenly across the surface with your offset spatula. Place the second layer on top, press gently to adhere, and repeat. Add the third layer.
- Apply a thin crumb coat a thin layer of frosting across the entire exterior and refrigerate for 20 minutes. The crumb coat traps any loose cake crumbs so your final frosting coat looks clean.
- Apply the final exterior frosting coat, smoothing with the offset spatula. Decorate as desired.
Notes
Nutrition Information Per Slice
At 500 calories per slice for 12 slices:| Nutrient | Per Slice |
| Calories | 500 kcal |
| Carbohydrates | 97g |
| Protein | 3g |
| Fat | 36g |
| Fiber | 1g |
| Sugar | 23g |
| Sodium | 645mg |
| Calcium | 118mg |
| Vitamin A | 1,593 IU |

Hi — I’m Rachel. I’m a wife, a mom, and a home cook who believes that food should bring comfort, joy, and compassion to the table. I live with my family — two hungry little foodies who are my most honest recipe testers — and together we’ve built a kitchen culture that’s all about good food that happens to be 100% vegan. I started this blog because I wanted a place to share the recipes that keep our days moving, the dishes that make weeknights feel a little easier, and the meals that become our little family traditions.