

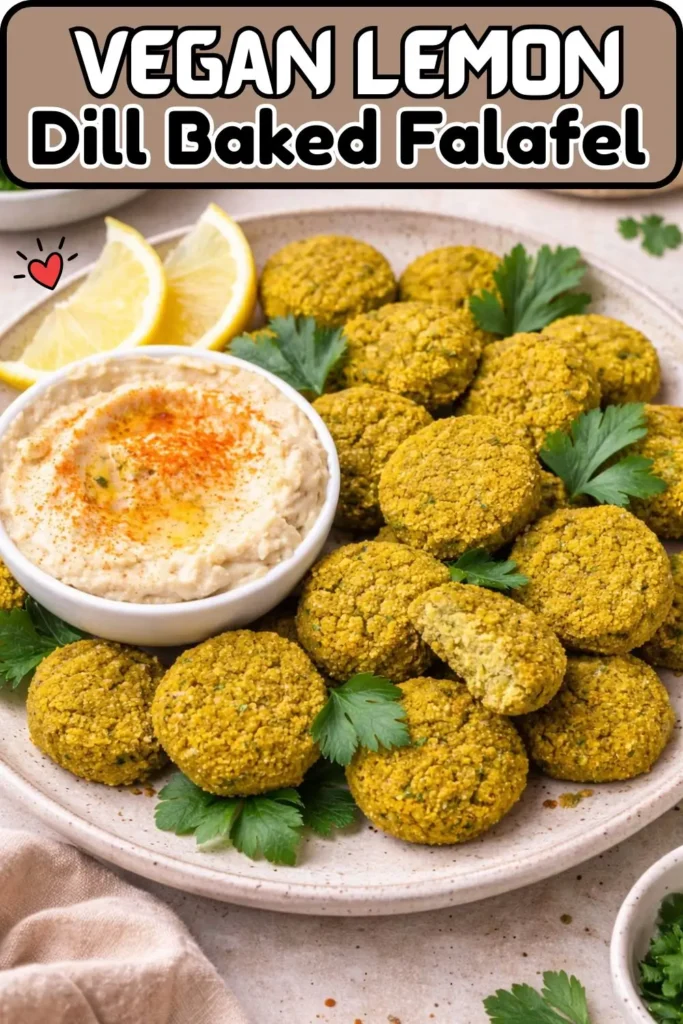
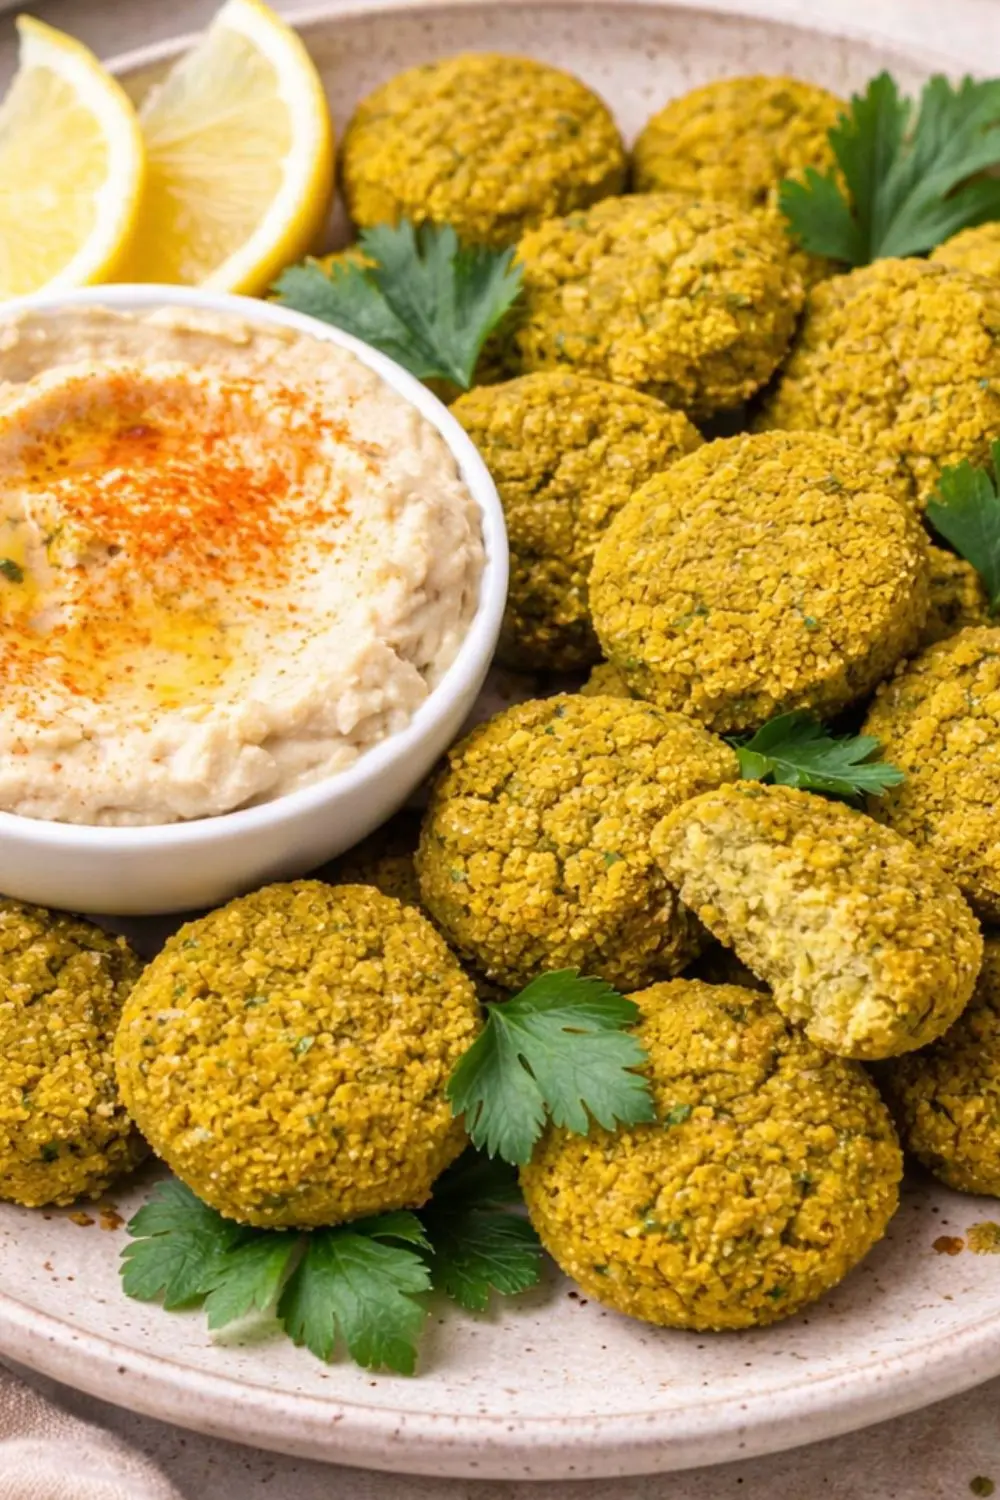
Eighteen falafels at 53 calories each, baked not fried, and genuinely better than most restaurant versions you’ve tried. That’s the promise of Vegan Lemon-Dill Baked Falafel with Spring Slaw — and it fully delivers. Crispy on the outside, fluffy and herb-packed on the inside, with a bright spring slaw alongside that makes this a complete, stunning dinner.
I started making baked falafel when I realized the deep-fried version was keeping me from making it as often as I wanted. Baking cuts the oil dramatically without sacrificing that golden exterior — and once you nail the dried chickpea base, there’s no going back to the canned shortcut. This recipe earns its extra prep time with every single bite.
What Are Vegan Lemon-Dill Baked Falafel?
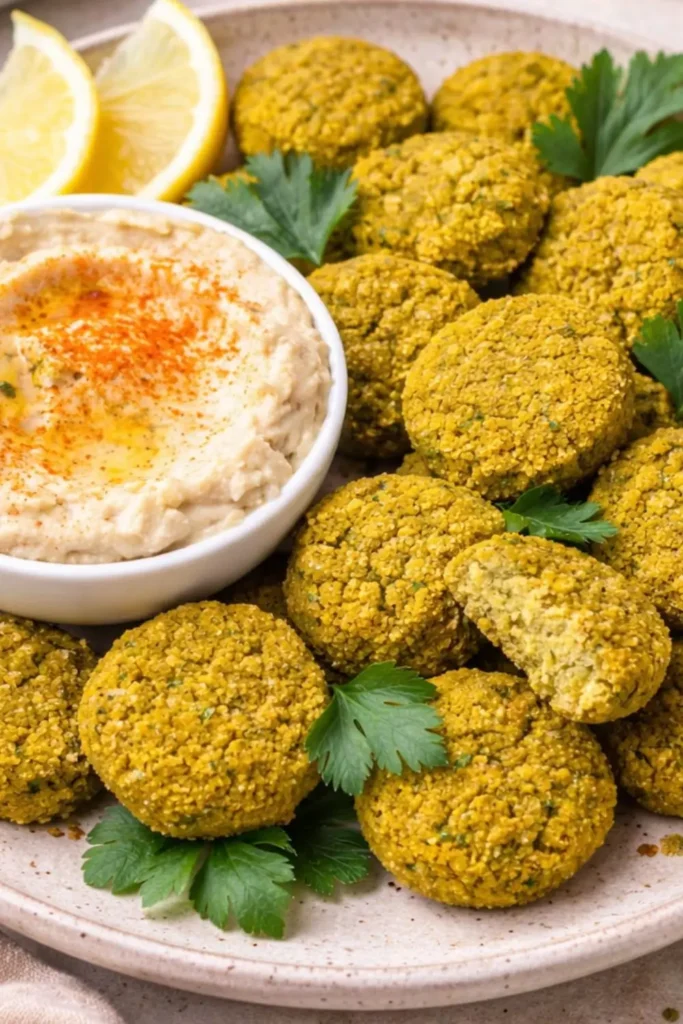
Vegan Lemon-Dill Baked Falafel are herb-loaded chickpea patties made from soaked dried chickpeas blended with garlic, green onion, fresh cilantro, parsley, cumin, chili powder, and baking powder — then baked at high heat until golden and crisp. Paired with a fresh, crunchy spring slaw dressed in lemon and dill, this dish delivers Lebanese-inspired flavors in a lighter, oven-baked format.
It’s:
- 100% vegan with zero compromise
- Just 53 kcal per falafel — one of the most nutrient-dense low-calorie foods you can make
- 18 falafels per batch — generous servings for 4 to 6 people
- Freezer-friendly for up to 3 months
- Naturally nut-free and dairy-free
IMO, baked falafel is one of the most underrated meal-prep wins in plant-based cooking. Make one batch and you eat well for days.
Why Baked Falafel Belongs in Your Spring Rotation
Lighter Than Fried, Better Than You’d Expect
Traditional falafel gets deep-fried in a significant amount of oil. Delicious? Absolutely. Something you want to make on a Tuesday night? Less so. Baked falafel keeps all the texture and flavor at a fraction of the oil, and at 53 calories per piece you can eat four of them with your spring slaw and still be well under 400 calories for the meal.
The key to getting that satisfying crust without the fryer is a hot oven — 200°C — and a good flip halfway through. Don’t skip the flip. It’s the difference between golden-all-over falafel and pale-on-top disappointment.
Dried Chickpeas Make All the Difference
Here’s the thing about falafel that a lot of recipes gloss over: you must use dried chickpeas, not canned. Canned chickpeas are too wet and too soft — they turn falafel into a dense, gummy disc that doesn’t hold together properly and certainly doesn’t crisp up in the oven.
Dried chickpeas soaked overnight are raw and starchy inside — they blend into a crumbly, textured mixture that binds when pressed and bakes up with the right falafel structure. Yes, it requires planning ahead. Yes, it’s completely worth it.
The Lemon-Dill Angle Is a Spring Game Changer
Classic falafel leans heavily on cumin and parsley. This version adds fresh dill and lemon to the mix — and that combination is perfectly calibrated for spring eating. Bright, herby, slightly tangy. The lemon-dill spring slaw alongside echoes those same flavors in a completely different texture, making every plate feel cohesive and intentional.
Recipe Details
| Detail | Info |
| Soak Time | 6–12 hours (overnight) |
| Prep Time | 30 minutes |
| Cook Time | 20–25 minutes |
| Total Active Time | 50 minutes |
| Yield | 18 falafels |
| Servings | 4–6 people |
| Calories per Falafel | 53 kcal |
| Cuisine | Lebanese |
| Course | Main, Appetizer, Side |
| Diet | Vegan, Vegetarian |
Kitchen Equipment You’ll Need
This recipe keeps the tool list tight:
- Food processor — The essential piece of equipment. A food processor pulses the dried chickpeas and herbs into the right crumbly texture without over-blending into a paste. A blender works in a pinch but you’ll need to work in small batches and stop frequently to avoid over-processing.
- Large bowl — For soaking the dried chickpeas overnight.
- Kitchen towel — For patting the soaked chickpeas dry before processing. Drier chickpeas = better texture.
- Large baking tray — Lined with parchment paper or lightly greased. You may need two depending on tray size — the falafels need space to crisp up, not steam.
- Tablespoon measure or cookie scoop — For portioning even falafels. Consistency in size means they all cook at the same time.
- Airtight container — For refrigerating the mixture for 15–20 minutes before shaping. This step firms up the mixture and makes it much easier to shape.
- Sharp knife and chopping board — For prepping the spring slaw components.
That’s the full list. No fryer, no specialist tools, no gadgets. Just a food processor and an oven doing the heavy lifting.
Ingredients
For the Baked Falafel:
- 1 cup dried chickpeas (not canned — see notes)
- 2 cloves garlic
- 1 stalk green onion
- ½ cup fresh cilantro leaves, loosely packed
- ½ cup fresh parsley leaves, loosely packed
- 2 tablespoons chickpea flour (or all-purpose flour)
- 1 tablespoon olive oil (or 2 tbsp tahini for oil-free)
- 1 teaspoon cumin
- 1 teaspoon chili powder (omit if you’re heat-sensitive)
- 1 teaspoon baking powder
- ½–1 teaspoon salt, to taste
For the Lemon-Dill Spring Slaw:
- 2 cups shredded green or red cabbage
- 1 cup shredded carrots
- ½ cup thinly sliced cucumber
- 3 tablespoons fresh dill, finely chopped
- 2 tablespoons extra-virgin olive oil
- 2 tablespoons fresh lemon juice
- 1 teaspoon lemon zest
- 1 teaspoon maple syrup
- Salt and pepper to taste
How to Make Vegan Lemon-Dill Baked Falafel
Step 1: Soak the Dried Chickpeas
The night before, place 1 cup of dried chickpeas in a large bowl and cover with plenty of cold water — at least 2 inches above the chickpeas. Soak for a minimum of 6 hours, or up to 12 hours overnight. The chickpeas will roughly double in size as they absorb water.
When ready to use, drain the chickpeas completely and pat them dry with a clean kitchen towel. Removing excess surface moisture here makes a real difference to the final falafel texture — wet chickpeas lead to a wetter mixture that’s harder to shape and slower to crisp.
Step 2: Process the Falafel Mixture
Add all the falafel ingredients — soaked and dried chickpeas, garlic, green onion, cilantro, parsley, chickpea flour, olive oil, cumin, chili powder, baking powder, and salt — directly into the food processor.
Pulse until finely ground but still crumbly. You want a mixture that looks like coarse breadcrumbs and holds together when you press a pinch between your fingers — not a smooth paste. If it goes too far and becomes paste-like, the falafel will be dense rather than light and fluffy.
If the mixture looks too wet to hold shape, add chickpea flour one teaspoon at a time until it firms up enough to press into patties.
Step 3: Chill the Mixture
Transfer the processed mixture to an airtight container and refrigerate for 15–20 minutes. This chilling step is short but important — it firms the mixture, makes it significantly easier to shape, and helps the falafels hold together during baking.
While the mixture chills, preheat your oven to 200°C (400°F) and line a baking tray with parchment paper.
Step 4: Shape the Falafels
Scoop about 2 tablespoons of mixture and press firmly together with your hands to form a small, flat patty. Pack it tightly so it holds its shape. Place on the prepared baking tray and repeat until all the mixture is used. You should get approximately 18 falafels.
Give each one a light press to flatten slightly — flatter patties crisp up better than tall round balls in the oven. Space them a couple of centimetres apart so they bake rather than steam.
Step 5: Bake Until Golden
Bake for 20–25 minutes, flipping gently halfway through at the 10–12 minute mark. Use a thin spatula and flip carefully — they’re more delicate before they’ve fully set. After flipping, they’ll finish developing a golden crust on the other side.
They’re ready when both sides are lightly browned and the exterior feels set and firm. They’ll crisp up a little more as they cool.
Step 6: Make the Lemon-Dill Spring Slaw
While the falafels bake, combine the shredded cabbage, carrots, cucumber, and fresh dill in a large bowl. Whisk together the olive oil, lemon juice, lemon zest, maple syrup, salt and pepper in a small bowl, then pour over the slaw and toss well to coat everything evenly.
Let it sit for 5–10 minutes before serving — the cabbage softens slightly and absorbs the lemon-dill dressing beautifully.
Full Nutritional Breakdown
Per Falafel (falafel only)
| Nutrient | Amount |
| Calories | 53 kcal |
| Carbohydrates | 8g |
| Protein | 2g |
| Fat | 2g |
| Fiber | 2g |
| Sugar | 1g |
| Sodium | 95mg |
| Potassium | 123mg |
| Iron | 1mg |
| Calcium | 30mg |
Full Meal Estimate (4 falafels + spring slaw)
| Component | Approx. Calories |
| 4 falafels | ~212 kcal |
| Lemon-dill spring slaw | ~90 kcal |
| Total per serving | ~300 kcal |
At around 300 calories for a full plate, this is genuinely one of the most satisfying low-calorie spring dinners you can put together. Add a warm pitta or a scoop of hummus and you’re still well under 500 calories for a meal that tastes indulgent.
Tips for Perfect Baked Falafel Every Time
Never Use Canned Chickpeas
This point deserves repeating because it’s the number one mistake people make. Canned chickpeas are already cooked and too moist — they don’t have the starchy, raw quality that gives falafel its structure. The mixture will be wet, hard to shape, and will fall apart in the oven. Dried chickpeas soaked overnight are non-negotiable here.
Don’t Over-Process the Mixture
Pulse, don’t blend. The goal is a crumbly, coarse texture — not hummus. Pulse in short bursts and stop frequently to check the consistency. Once it looks like damp, fine breadcrumbs that hold together under pressure, you’re done. Over-processing creates a dense, pasty falafel that doesn’t get light in the oven.
Baking Powder Makes Them Fluffy
The baking powder in this recipe is a small addition that makes a meaningful difference. It creates a slightly lighter, fluffier interior compared to falafel made without it. If you don’t have any, skip it — the falafel will still taste great, just slightly denser.
Chill Before Shaping
Don’t skip the 15–20 minute refrigeration step. It’s not just about firming the mixture — it also allows the flavors to meld and the chickpea flour to absorb moisture, which makes the final falafel more cohesive and easier to work with.
Spring Slaw Variations
The lemon-dill slaw is designed to complement the herby falafel, but here are some great ways to switch it up:
- Add thinly sliced fennel for an anise note that works brilliantly with dill
- Swap dill for fresh mint if that’s what you have — equally spring-appropriate
- Add pomegranate seeds for a pop of sweetness and visual drama
- Use apple cider vinegar instead of lemon juice for a slightly different acidity
- Toss in thin-sliced radishes for crunch and a peppery bite
- Add shredded beetroot for color, earthiness, and extra nutrition
FYI — this slaw also works brilliantly alongside the smashed potato bowl from earlier in the week. The lemon-dill dressing is genuinely versatile.
Ways to Serve Lemon-Dill Baked Falafel
These falafels are flexible enough to anchor multiple different meals:
- Falafel bowl — Serve over quinoa or brown rice with slaw, hummus, and pickled red onion
- Falafel wrap — Stuff into warm pitta or flatbread with spring slaw, tahini sauce, and cucumber
- Falafel platter — Arrange on a board with hummus, olives, cherry tomatoes, and warm bread for sharing
- Falafel salad — Place 4–5 falafels over a big green salad with lemon-tahini dressing
- Falafel appetizer — Serve with a bowl of hummus or vegan tzatziki for dipping at gatherings
The spring slaw works equally well tucked into a wrap as it does served alongside in a bowl. Both formats are excellent — it just depends on how much washing up you’re willing to do.
How to Store and Freeze
Refrigerating:
Store cooked falafels in a sealed container in the fridge for 4–5 days. They lose a bit of crunch overnight but retain all their flavor. Reheat in the oven at 180°C for 8–10 minutes to bring the exterior back to life.
Freezing:
Baked falafel freezes brilliantly for up to 3 months. Transfer to zip-top freezer bags or airtight containers. To reheat from frozen, thaw completely in the fridge overnight or at room temperature for a few hours, then bake at 180°C for 10–12 minutes until heated through and re-crisped.
You can also freeze the uncooked shaped falafels on a tray, then transfer to a bag once solid. Bake from frozen at 200°C adding 8–10 minutes to the cook time.
Storing the Slaw:
Keep the slaw in a sealed container in the fridge for up to 2 days. It softens slightly over time as the cabbage releases moisture, but stays fresh and flavorful. Add a fresh squeeze of lemon before serving leftovers to brighten it back up.
The Case for Making Your Own Falafel
Store-bought falafel is fine. Restaurant falafel is sometimes great. But homemade baked falafel from dried chickpeas is genuinely on another level — and once you make it yourself, you understand why. The texture is different. The flavor is fresher. And you control exactly what goes in it.
Still Hungry, Try It Next recipe :-
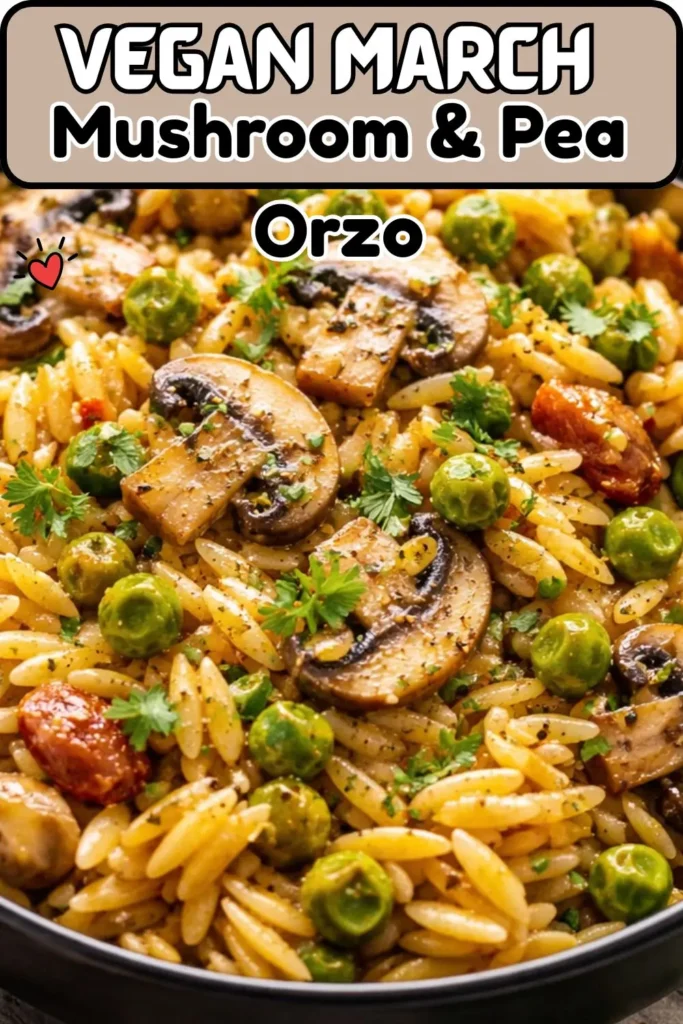
Vegan Spring Mushroom & Pea Orzo
At 53 calories per falafel with 2g of protein and 2g of fiber, this is one of the most efficient plant-based foods you can make. A batch of 18 costs a few dollars in ingredients, takes about 30 active minutes, and keeps you eating well for days.
If you’ve only ever had falafel from a restaurant or a packet, this recipe will reset your expectations entirely.
Frequently Asked Questions
Can I make the falafel mixture ahead?
Yes — the uncooked mixture is kept in the fridge in an airtight container for up to 24 hours before shaping and baking. This makes it a great candidate for meal prep: make the mixture the night before, shape and bake when needed.
What if I don’t have a food processor?
A high-powered blender works, but processes in smaller batches and pulse carefully to avoid over-blending. A box grater can also work for the chickpeas — grate them manually and finely chop the herbs and garlic by hand. It’s more work, but the result is still very good.
Can I make these oil-free?
Yes — substitute the 1 tablespoon of olive oil with 2 tablespoons of tahini. The tahini adds binding and richness without any added oil.
Why did my falafels fall apart?
Most likely the mixture was too wet. Add chickpea flour one teaspoon at a time until the mixture holds together when pressed. Also make sure you refrigerate the mixture before shaping — this step significantly improves cohesion.
My Final Thoughts
Vegan Lemon-Dill Baked Falafel with Spring Slaw is the kind of recipe that earns a permanent place in your cooking rotation — not just for spring, but all year. It’s low in calories, high in flavor, completely plant-based, and genuinely satisfying in a way that 53 calories per piece has no business being.
Still Hungry, Try It Next recipe :-
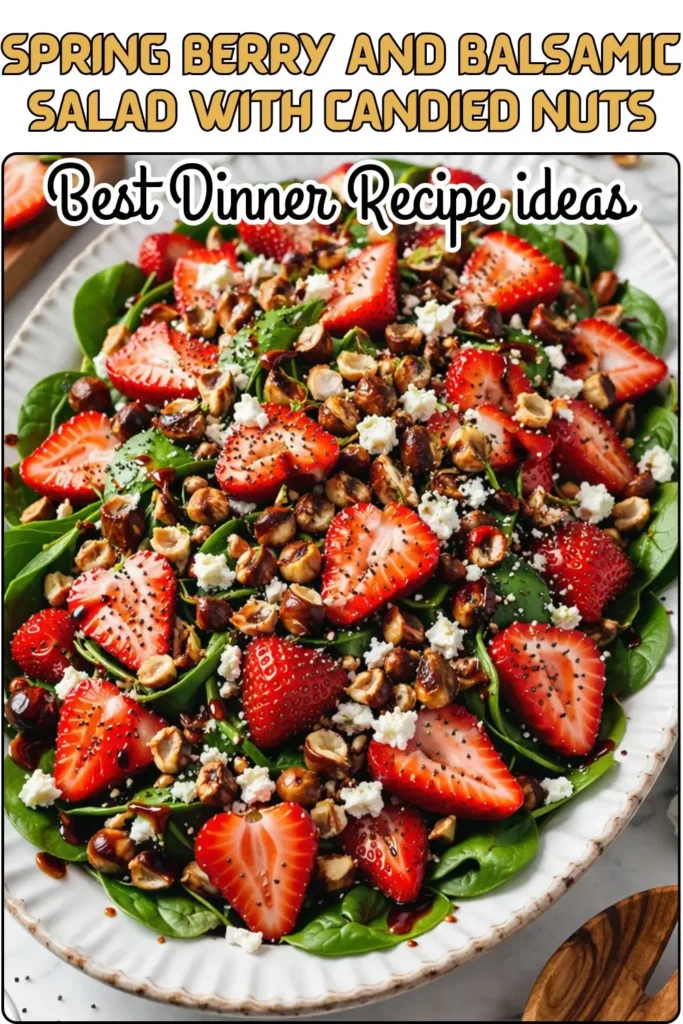
Vegan Spring Berry and Balsamic Salad with Candied Nuts
Plan the soak the night before. Pulse the mixture in the morning. Bake in 20 minutes. Eat extremely well.
Make a full batch, freeze half, and thank yourself later on the weeknight when you need dinner in 15 minutes. The spring slaw takes 5 minutes to throw together and makes the whole plate sing.
Vegan Lemon-Dill Baked Falafel with Spring Slaw Spring Dinner
Ingredients
Equipment
Method
- Step 1: Soak the Dried Chickpeas
- The night before, place 1 cup of dried chickpeas in a large bowl and cover with plenty of cold water — at least 2 inches above the chickpeas. Soak for a minimum of 6 hours, or up to 12 hours overnight. The chickpeas will roughly double in size as they absorb water.
- When ready to use, drain the chickpeas completely and pat them dry with a clean kitchen towel. Removing excess surface moisture here makes a real difference to the final falafel texture — wet chickpeas lead to a wetter mixture that’s harder to shape and slower to crisp.
- Step 2: Process the Falafel Mixture
- Add all the falafel ingredients — soaked and dried chickpeas, garlic, green onion, cilantro, parsley, chickpea flour, olive oil, cumin, chili powder, baking powder, and salt — directly into the food processor.
- Pulse until finely ground but still crumbly. You want a mixture that looks like coarse breadcrumbs and holds together when you press a pinch between your fingers — not a smooth paste. If it goes too far and becomes paste-like, the falafel will be dense rather than light and fluffy.
- If the mixture looks too wet to hold shape, add chickpea flour one teaspoon at a time until it firms up enough to press into patties.
- Step 3: Chill the Mixture
- Transfer the processed mixture to an airtight container and refrigerate for 15–20 minutes. This chilling step is short but important — it firms the mixture, makes it significantly easier to shape, and helps the falafels hold together during baking.
- While the mixture chills, preheat your oven to 200°C (400°F) and line a baking tray with parchment paper.
- Step 4: Shape the Falafels
- Scoop about 2 tablespoons of mixture and press firmly together with your hands to form a small, flat patty. Pack it tightly so it holds its shape. Place on the prepared baking tray and repeat until all the mixture is used. You should get approximately 18 falafels.
- Give each one a light press to flatten slightly — flatter patties crisp up better than tall round balls in the oven. Space them a couple of centimetres apart so they bake rather than steam.
- Step 5: Bake Until Golden
- Bake for 20–25 minutes, flipping gently halfway through at the 10–12 minute mark. Use a thin spatula and flip carefully — they’re more delicate before they’ve fully set. After flipping, they’ll finish developing a golden crust on the other side.
- They’re ready when both sides are lightly browned and the exterior feels set and firm. They’ll crisp up a little more as they cool.
- Step 6: Make the Lemon-Dill Spring Slaw
- While the falafels bake, combine the shredded cabbage, carrots, cucumber, and fresh dill in a large bowl. Whisk together the olive oil, lemon juice, lemon zest, maple syrup, salt and pepper in a small bowl, then pour over the slaw and toss well to coat everything evenly.
- Let it sit for 5–10 minutes before serving — the cabbage softens slightly and absorbs the lemon-dill dressing beautifully.
Notes
Full Nutritional Breakdown
Per Falafel (falafel only)
| Nutrient | Amount |
| Calories | 53 kcal |
| Carbohydrates | 8g |
| Protein | 2g |
| Fat | 2g |
| Fiber | 2g |
| Sugar | 1g |
| Sodium | 95mg |
| Potassium | 123mg |
| Iron | 1mg |
| Calcium | 30mg |
Full Meal Estimate (4 falafels + spring slaw):
| Component | Approx. Calories |
| 4 falafels | ~212 kcal |
| Lemon-dill spring slaw | ~90 kcal |
| Total per serving | ~300 kcal |

Hi — I’m Rachel. I’m a wife, a mom, and a home cook who believes that food should bring comfort, joy, and compassion to the table. I live with my family — two hungry little foodies who are my most honest recipe testers — and together we’ve built a kitchen culture that’s all about good food that happens to be 100% vegan. I started this blog because I wanted a place to share the recipes that keep our days moving, the dishes that make weeknights feel a little easier, and the meals that become our little family traditions.