
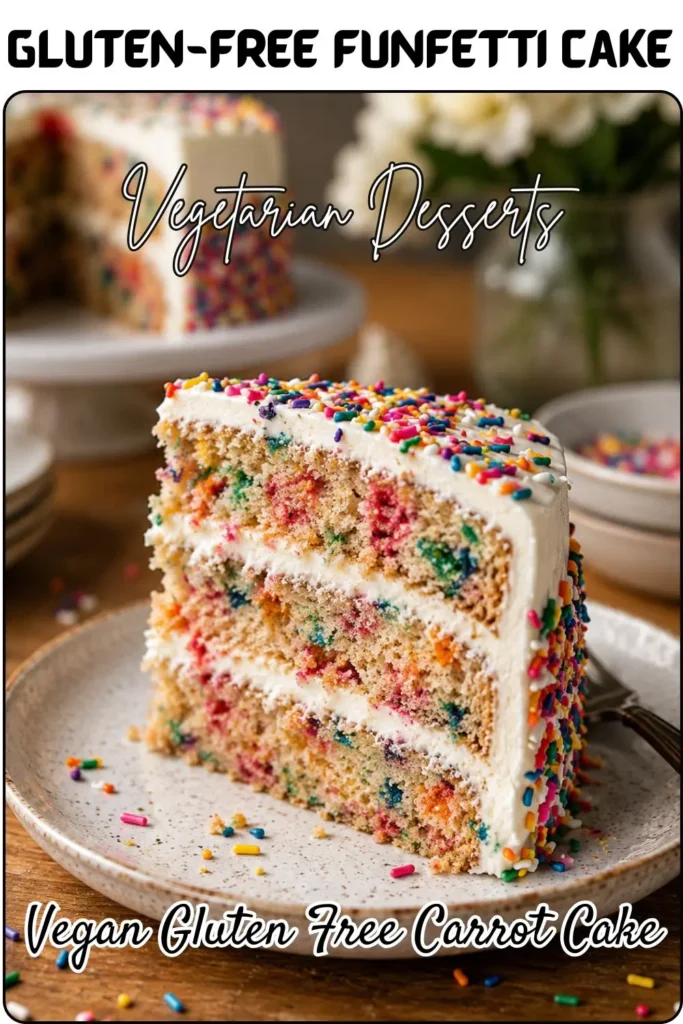
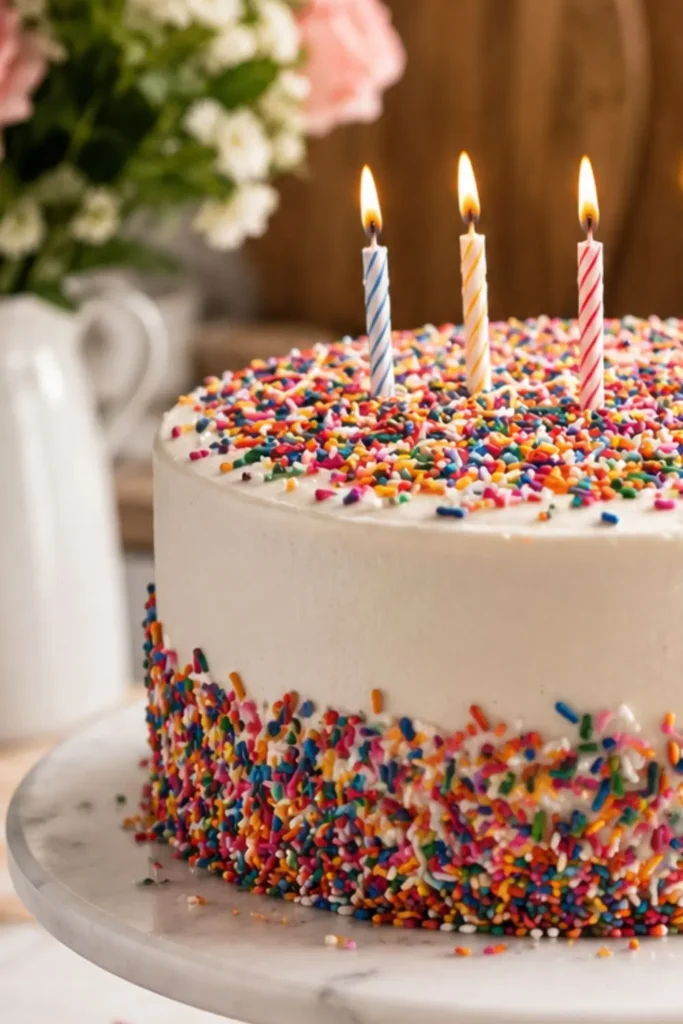
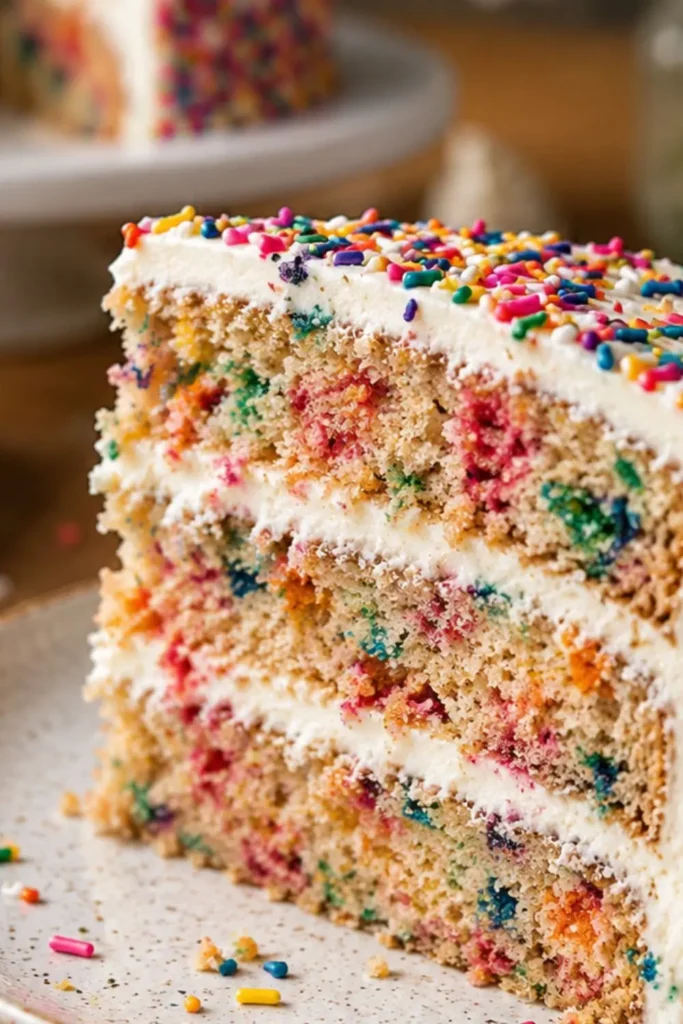
Funfetti cake and gluten-free dietary needs don’t typically appear in the same sentence, and yet here we are a gluten-free funfetti cake that’s vegan, three layers tall, studded with rainbow sprinkles throughout, and topped with a vanilla buttercream made with vegan cream cheese that makes the frosting taste genuinely exceptional. This funfetti cake recipe uses a combination of gluten-free all-purpose flour and oat flour that produces a tender crumb with good structure not the crumbly, gummy experience that bad GF baking produces. It serves 10–12 people and genuinely earns its place as the centerpiece of any celebration table.
I started developing gluten-free funfetti because I kept showing up to gatherings where the GF guests were quietly not eating dessert while everyone else had cake. That situation is fixable, and this recipe fixes it completely. The applesauce egg replacement, lemon juice and baking soda reaction, and the vegan creamer liquid base all work together to create a cake that non-GF guests choose over standard funfetti when both are available. That’s the bar this recipe clears and it clears it without question.
My Recipe Timing and Serving Details
Here’s your complete planning overview:
| Detail | Info |
| Room Temperature Rest | 30 minutes (ingredients) |
| Prep Time | 15 minutes |
| Bake Time | 35–40 minutes |
| Cooling Time | 1–2 hours minimum |
| Total Active Time | ~1 hour |
| Total Time with Cooling | ~2.5–3 hours |
| Servings | 10–12 slices |
| Calories Per Slice | ~1,014 kcal (with frosting) |
| Course | Dessert / Celebration Cake |
| Diet | Vegan, Gluten-Free |
This gluten free funfetti cake serves 10–12 people as substantial celebration slices. The calorie count of approximately 1,014 calories per slice includes the generous vanilla buttercream frosting this is a fully frosted 3-layer cake serving, calibrated for celebration rather than everyday dessert. Without frosting, each cake slice comes in at approximately 400–450 calories.
The Dual Flour Strategy Why This GF Funfetti Cake Actually Works
Most gluten-free cake failures happen because of poor flour selection. Single GF flours don’t replicate wheat flour’s multiple functions structure, binding, moisture retention, and neutral flavor simultaneously. This recipe’s dual flour combination addresses each function:
Gluten-free all-purpose flour (3 cups) provides the primary structure. A quality GF all-purpose blend (typically rice flour, tapioca starch, and potato starch) mimics wheat flour’s bulk and starch structure closely enough to produce a proper cake crumb. King Arthur Measure for Measure and Bob’s Red Mill 1:1 Baking Flour both work well here.
Oat flour (1½ cups) is the supporting flour that makes this funfetti cake recipe genuinely exceptional for a GF version. Oat flour adds a slightly nutty sweetness, binds moisture well, and creates a tender, fine crumb that pure GF all-purpose flour doesn’t achieve alone. It also adds 6.1 grams of fiber per serving genuinely impressive for a celebration cake.
Important for celiac/serious gluten sensitivity- Use certified gluten-free oat flour specifically oats are naturally gluten-free but frequently cross-contaminated during processing. Brands including Bob’s Red Mill, Anthony’s, and Quaker (their certified GF line) produce reliably safe oat flour.
FYI the specific 3-cup GF flour to 1.5-cup oat flour ratio is what produces the right texture. Don’t adjust this ratio without testing, as it’s the structural backbone of the entire recipe.
The Lemon Juice and Baking Soda The GF Baking Secret
The recipe includes an important baking note: “lemon juice and baking soda create a chemical reaction that helps vegan baked goods rise. Since it happens pretty quickly, it’s best to get your cakes baking right away so the reaction happens in the oven!”
This is genuinely useful information that affects how you organize your prep. Here’s the chemistry:
Baking soda (a base) reacts with lemon juice (an acid) -to produce carbon dioxide the gas that creates rise and lightness in baked goods. This reaction starts immediately when the acid and base contact each other and continues as the batter heats in the oven.
In regular (non-GF) baking- This reaction has some margin for delay because gluten creates a structure that traps gas even as the batter sits. GF baking has less structural trapping ability, which means the CO2 can escape before the cake sets if you wait too long after mixing.
The practical implication- Add the lemon juice in the final steps of batter mixing, combine the batter promptly, and get the pans into the preheated oven within 5–10 minutes of adding the lemon juice. Don’t mix everything and then stop to answer emails for 20 minutes.
Full Ingredient List
A comprehensive, celebration-worthy ingredient list:
The Cake:
- ¾ cup vegan butter, softened at room temperature
- 1½ cups cane sugar
- 3 tablespoons vanilla extract , a generous, deliberate quantity
- 1 cup unsweetened applesauce , the egg replacement
- 1½ cups vegan creamer (or nut milk) , at room temperature
- 1½ tablespoons freshly squeezed lemon juice
- 3 cups gluten-free all-purpose flour
- 1½ cups oat flour , certified GF if needed
- 2 teaspoons baking powder
- 1½ teaspoons baking soda
- ¾ teaspoon salt
- ¾ cup rainbow vegan sprinkles
The Vanilla Buttercream:
- 2 cups vegan butter, softened
- 1 cup vegan cream cheese (optional; can substitute with additional butter)
- 6 cups powdered sugar, sifted
- 2 teaspoons vanilla extract
- Optional: 2 tablespoons almond milk , for consistency adjustment
The 3 tablespoons of vanilla extract is notably generous nearly three times what most cake recipes use. This quantity is deliberate for a GF funfetti cake because gluten-free flours can taste slightly starchy or neutral compared to wheat flour. Extra vanilla creates an aromatic, warm flavor foundation that compensates for what the flour can’t provide and makes the cake taste genuinely flavorful throughout.
The unsweetened applesauce replaces eggs in this recipe. It provides moisture, slight sweetness, and pectin a natural binding agent that helps hold the GF batter together without eggs. 1 cup of applesauce replaces approximately 2–3 eggs in this application. The applesauce flavor is imperceptible in the finished cake it’s simply too subtle against the vanilla, lemon, and sprinkle sweetness.
The vegan creamer (rather than standard plant milk) provides a richer, higher-fat liquid base that contributes to the cake’s moist, tender texture. Silk Dairy-Free Creamer, Califia Farms Oat Barista Blend, or any vegan coffee creamer with a neutral or vanilla flavor works well. If using nut milk instead, choose oat milk or soy milk for the highest fat content and best texture results.
Equipment You’ll Need For
Baking Equipment:
- Three 8-inch round cake pans – the recipe specifically uses 8-inch pans. Using 9-inch pans produces thinner layers that bake faster and have less visual height impact. Stick to 8-inch for the intended result.
- Round parchment paper – cut to fit the bottom of each pan. The recipe specifically mentions using round 8-inch parchment paper, which is available pre-cut from baking supply stores and makes removal significantly easier than cutting your own circles.
- Oven at 335°F – a slightly lower temperature than most cake recipes. The lower temperature allows the GF cake to cook through more evenly without the exterior browning before the center sets. Rotating once halfway through the bake time ensures even browning.
- Wire cooling racks – one per layer for complete independent cooling
Mixing Equipment:
- Stand mixer with paddle attachment – handles the full recipe’s volume and produces the correct butter and sugar cream without overworking the batter.
- Electric hand mixer – adequate alternative, just requires more active participation
- Large mixing bowl – for combining the dry ingredients separately before adding to wet
- Silicone spatula – for scraping bowl sides and for the final gentle fold of sprinkles
Assembly Equipment:
- Offset icing spatula – for spreading buttercream between layers and across the exterior
- Cake turntable- (optional but genuinely helpful for smooth exterior frosting)
- Fine-mesh sieve – for sifting the powdered sugar before adding to the frosting. The recipe’s baking tip specifically recommends this: sifted powdered sugar produces noticeably smoother frosting than unsifted.
Step-by-Step Instructions For Gluten-Free Funfetti Cake
Advance Prep 30 Minutes Before Starting
Set out the vegan butter (both for cake and frosting), applesauce, vegan creamer, and lemon at least 30 minutes before beginning. Everything should reach room temperature before mixing starts.
Cold ingredients prevent the batter from emulsifying properly and produce a lumpy, uneven batter that bakes inconsistently.
Step 1 – Preheat and Prepare Pans
Preheat the oven to 335°F. Grease each of the three 8-inch pans, line with a parchment circle, then flour the sides (use GF flour for coating). Set aside.
Step 2 – Combine Dry Ingredients
In a large bowl, stir together the GF all-purpose flour, oat flour, baking powder, baking soda, and salt until evenly combined. Whisk thoroughly to distribute the leavening agents completely clumped baking soda or baking powder creates dense spots in the finished cake.
Step 3 – Cream Butter, Sugar, and Vanilla
In your stand mixer bowl, cream the softened vegan butter on medium-high speed until light and fluffy. Add the cane sugar and 3 tablespoons of vanilla extract and mix until well incorporated approximately 3 minutes. The mixture should look pale and slightly fluffy.
Step 4 – Add Flour and Applesauce in Alternating Stages
This stage uses a specific alternating addition technique:
- Add one quarter of the flour mixture and mix until well incorporated
- Add another quarter of the flour and mix
- Add the 1 cup of applesauce and mix until well combined
- Add the remaining flour in two batches, mixing between each
This alternating approach prevents the batter from becoming too wet or too dry at any stage and ensures the applesauce incorporates smoothly rather than sitting as a separate wet pocket in the batter.
Step 5 – Add Lemon Juice and Creamer (Work Quickly Now)
Add the 1½ tablespoons of lemon juice and 1½ cups of room temperature vegan creamer to the batter. Mix just until the batter comes together. Do not overmix at this stage.
From this point, work with purpose. The lemon juice and baking soda reaction has begun. Get the sprinkles folded in and the batter into the pans quickly.
Step 6 – Fold in Sprinkles
Remove the bowl from the mixer. Use a silicone spatula to gently fold the ¾ cup of vegan rainbow sprinkles into the batter. Fold rather than stir this preserves sprinkle structure and minimizes color bleeding into the surrounding batter.
Minimize folding, 8–10 gentle folds to distribute the sprinkles evenly. Stop as soon as they’re distributed. More folding = more color bleeding and slightly tougher texture from overworked GF batter.
Step 7 – Divide and Bake Immediately
Divide the batter evenly among the three prepared 8-inch pans. Work quickly you want all three pans in the oven within 5–10 minutes of adding the lemon juice. The lemon-baking soda reaction should happen in the oven, not on the counter.
Bake at 335°F for 35–40 minutes, rotating each pan once at the halfway point (approximately 17–18 minutes). The cake is done when a toothpick inserted into the center comes out clean.
Step 8 – Cool Genuinely, Completely
Remove from the oven and allow to cool in the pans for 15 minutes. Turn out onto wire racks and cool completely at least 1 hour, preferably 1.5–2 hours. GF cake layers are more fragile than wheat-flour layers when warm. Attempting to frost or handle them before they’re completely cool produces crumbling and layer shifting.
If you’re in a time crunch, refrigerate the layers for 30–45 minutes after they reach room temperature to speed the process.
Step 9 – Make the Vanilla Buttercream
Add the softened vegan butter and vegan cream cheese to your stand mixer. Cream on medium-high until light and smooth approximately 2–3 minutes.
Sift the powdered sugar before adding. Adding unsifted powdered sugar produces gritty, slightly lumpy frosting that doesn’t smooth out fully regardless of how long you beat it. The sifting takes 2 minutes and makes the frosting significantly smoother.
Add the sifted powdered sugar gradually ½ cup at a time mixing on low after each addition until incorporated. Increase to medium speed and beat for several minutes until light and fluffy. Add 2 teaspoons of vanilla and the optional 2 tablespoons of almond milk if the frosting is too stiff to spread easily.
Step 10 – Assemble
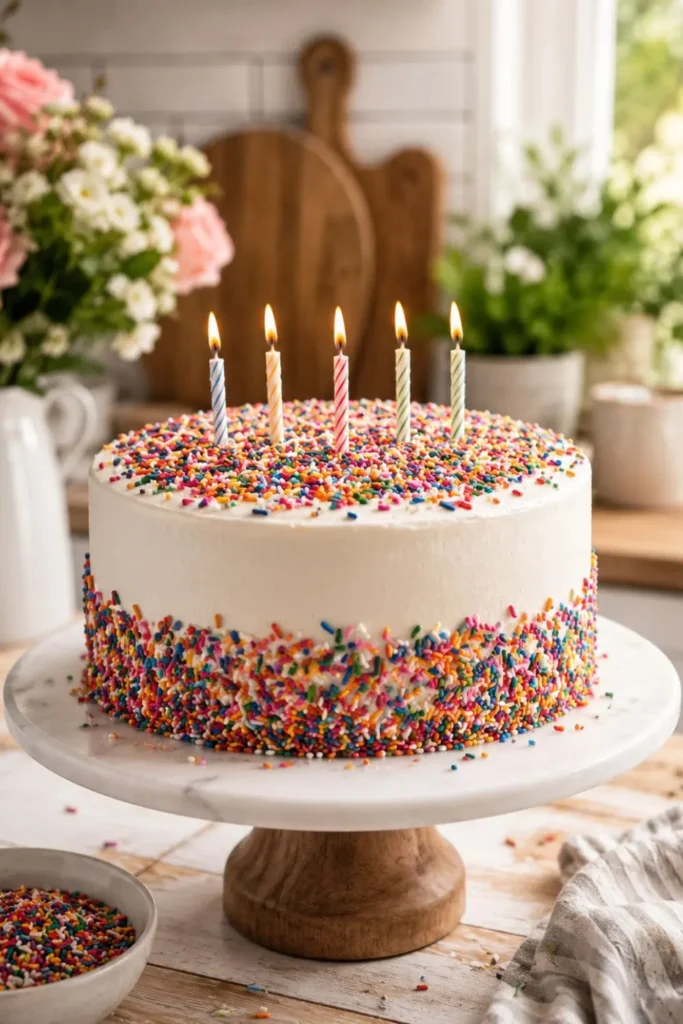
Apply a crumb coat (thin frosting layer across all surfaces), refrigerate 20 minutes, then apply the final frosting layer. Decorate with additional sprinkles on the exterior for the full funfetti visual impact.
Vegan Cream Cheese in the Frosting Worth It?
The vegan cream cheese in the buttercream is optional but IMO completely worth including. It contributes:
Subtle tang that prevents the frosting from tasting purely sweet the slight acidity of cream cheese makes the frosting taste more complex and interesting.
Structural firmness – vegan cream cheese in frosting helps it hold its shape at room temperature better than pure vegan butter frosting, which can become soft in warm summer conditions.
Best brands for frosting, Violife Cream Cheese and Kite Hill work well. Avoid very soft, runny varieties they produce overly soft frosting that doesn’t hold structure well.
Finding the Right Vegan Sprinkles for GF Funfetti Cake
As covered in the previous funfetti article, standard sprinkles typically contain shellac and bone char-processed sugar. For this vegan funfetti cake mix approach:
Whole Foods 365 Brand – widely available, consistently vegan, good color saturation
Supernatural Kitchen – clean ingredient list, plant-based colors, available online
Colour Kitchen – small company, plant-based coloring, reliable vegan formulation
Color bleeding prevention, High-quality vegan sprinkles bleed less than budget options. Fold them in at the very last moment before the batter enters the pans, and move immediately to baking.
Try It Next recipe
Nutrition Information Per Slice (With Frosting)
| Nutrient | Per Slice (with frosting) |
| Calories | ~1,014 kcal |
| Carbohydrates | 169g |
| Protein | 7.8g |
| Fat | 35.7g |
| Fiber | 6.1g |
| Sugar | 122.7g |
| Sodium | 869.7mg |
| Cholesterol | 0mg |
The generous calorie count reflects the 6-cup powdered sugar frosting distributed across 10–12 slices this is a celebration cake in every sense. 7.8 grams of protein per slice from the oat flour and GF flour combination, 6.1 grams of fiber from the oat flour specifically, and 0mg cholesterol every bite completely plant-based.
Storage
- Assembled frosted cake- Room temperature for 1–2 days covered; refrigerator for up to 4 days
- Unfrosted layers-Refrigerate for up to 3 days or freeze for up to 2 months wrapped tightly
- Frosting- Refrigerate for up to 5 days in an airtight container; re-whip before using from refrigerator
My Final Thoughts
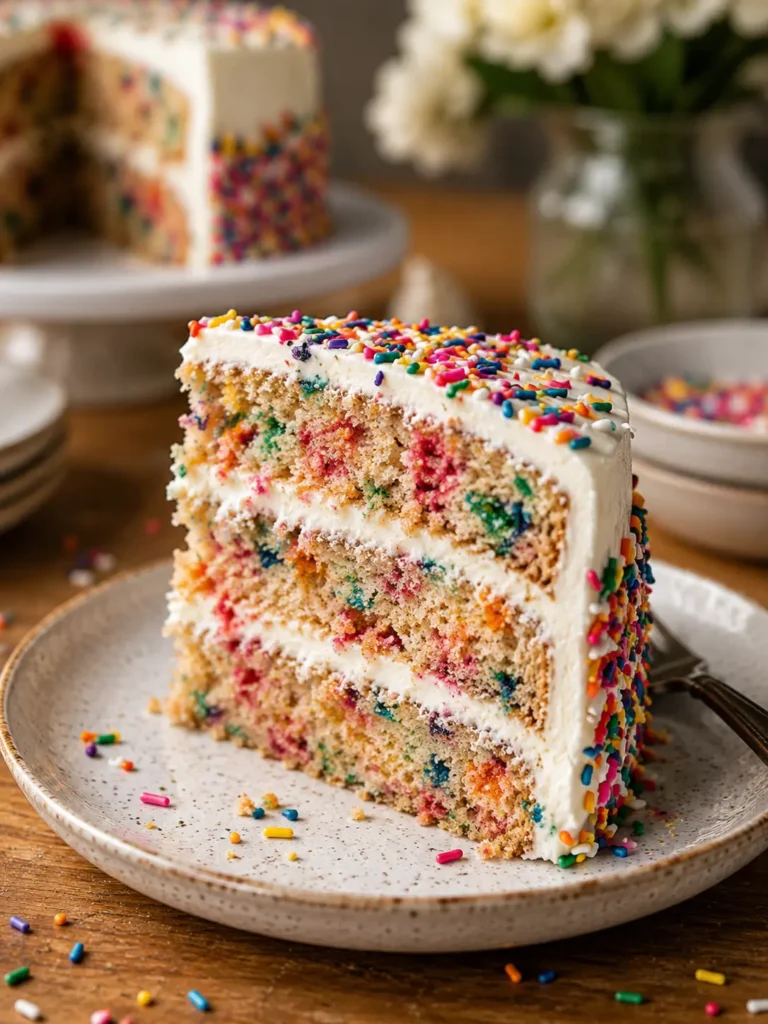
Gluten-free funfetti cake at this quality level eliminates the “sorry, you can’t have the good dessert” moment that GF guests experience far too often at celebrations. Dual flour structure, applesauce egg replacement, lemon juice leavening chemistry, vegan cream cheese frosting, certified GF oat flour every decision in this recipe is deliberate and every one serves the finished result.
Serves 10–12 people, takes about an hour of active work, and produces the three-layer, rainbow sprinkle-studded, vanilla-scented celebration cake that everyone at the table GF or not genuinely wants a second slice of.
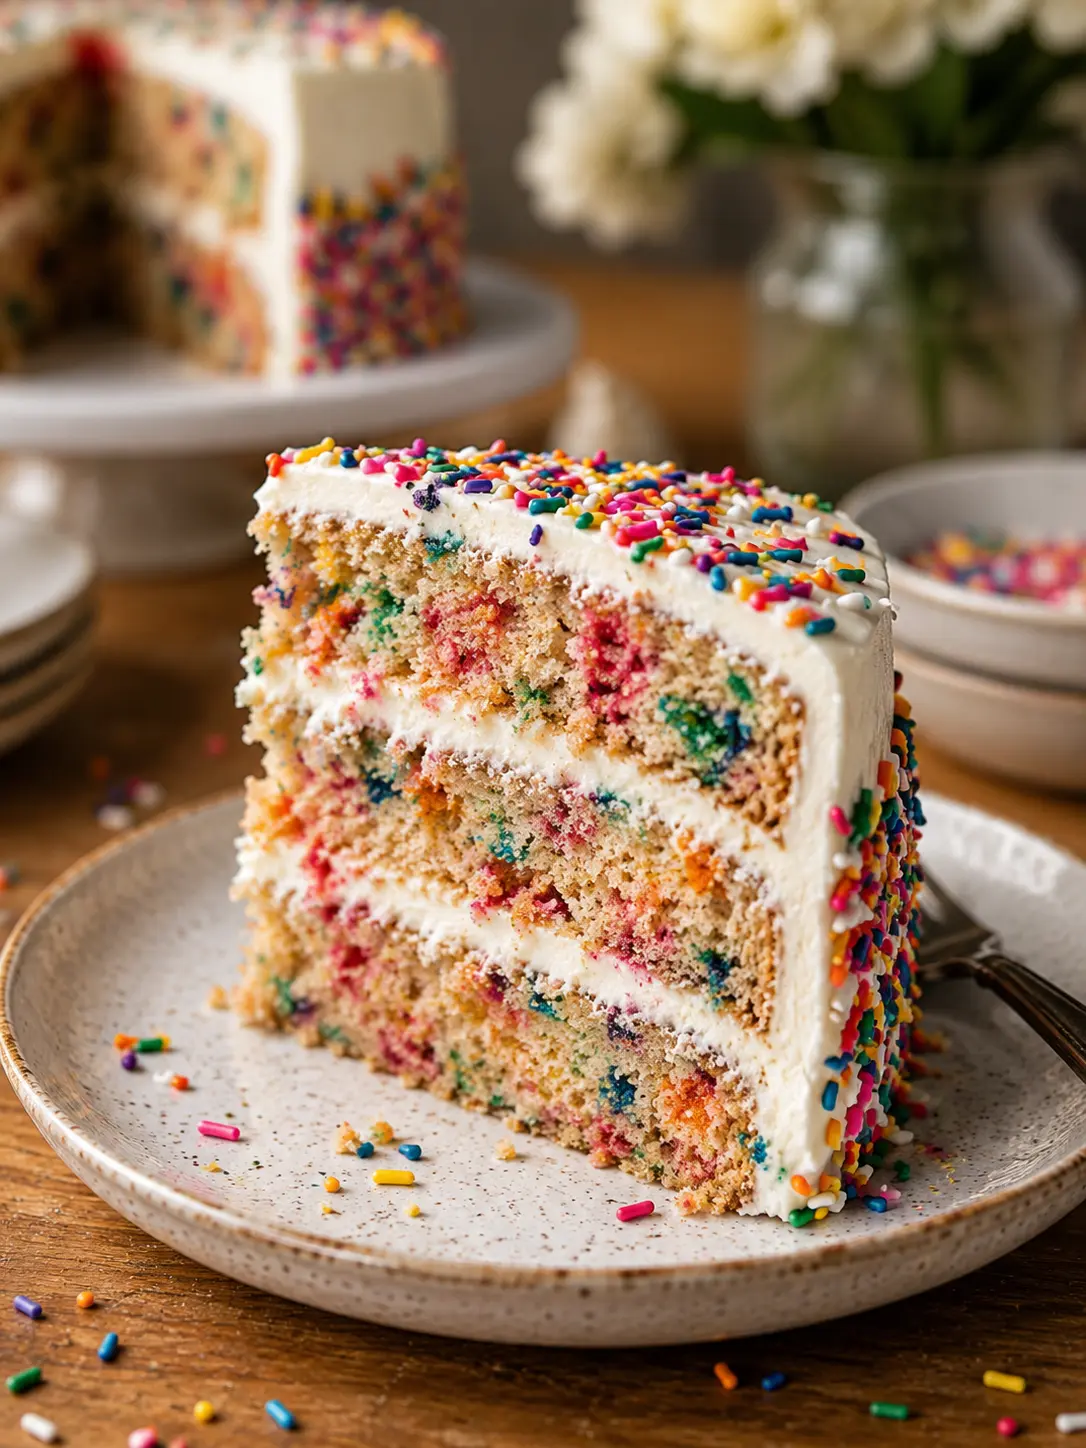
Gluten-Free Funfetti Cake
Ingredients
Equipment
Method
- Step 1 – Preheat and Prepare Pans
- Preheat the oven to 335°F. Grease each of the three 8-inch pans, line with a parchment circle, then flour the sides (use GF flour for coating). Set aside.
- Step 2 – Combine Dry Ingredients
- In a large bowl, stir together the GF all-purpose flour, oat flour, baking powder, baking soda, and salt until evenly combined. Whisk thoroughly to distribute the leavening agents completely clumped baking soda or baking powder creates dense spots in the finished cake.
- Step 3 – Cream Butter, Sugar, and Vanilla
- In your stand mixer bowl, cream the softened vegan butter on medium-high speed until light and fluffy. Add the cane sugar and 3 tablespoons of vanilla extract and mix until well incorporated approximately 3 minutes. The mixture should look pale and slightly fluffy.
- Step 4 – Add Flour and Applesauce in Alternating Stages
- This stage uses a specific alternating addition technique:
- Add one quarter of the flour mixture and mix until well incorporated
- Add another quarter of the flour and mix
- Add the 1 cup of applesauce and mix until well combined
- Add the remaining flour in two batches, mixing between each
- This alternating approach prevents the batter from becoming too wet or too dry at any stage and ensures the applesauce incorporates smoothly rather than sitting as a separate wet pocket in the batter.
- Step 5 – Add Lemon Juice and Creamer (Work Quickly Now)
- Add the 1½ tablespoons of lemon juice and 1½ cups of room temperature vegan creamer to the batter. Mix just until the batter comes together. Do not overmix at this stage.
- From this point, work with purpose. The lemon juice and baking soda reaction has begun. Get the sprinkles folded in and the batter into the pans quickly.
- Step 6 – Fold in Sprinkles
- Remove the bowl from the mixer. Use a silicone spatula to gently fold the ¾ cup of vegan rainbow sprinkles into the batter. Fold rather than stir this preserves sprinkle structure and minimizes color bleeding into the surrounding batter.
- Minimize folding, 8–10 gentle folds to distribute the sprinkles evenly. Stop as soon as they’re distributed. More folding = more color bleeding and slightly tougher texture from overworked GF batter.
- Step 7 – Divide and Bake Immediately
- Divide the batter evenly among the three prepared 8-inch pans. Work quickly you want all three pans in the oven within 5–10 minutes of adding the lemon juice. The lemon-baking soda reaction should happen in the oven, not on the counter.
- Bake at 335°F for 35–40 minutes, rotating each pan once at the halfway point (approximately 17–18 minutes). The cake is done when a toothpick inserted into the center comes out clean.
- Step 8 – Cool Genuinely, Completely
- Remove from the oven and allow to cool in the pans for 15 minutes. Turn out onto wire racks and cool completely at least 1 hour, preferably 1.5–2 hours. GF cake layers are more fragile than wheat-flour layers when warm. Attempting to frost or handle them before they’re completely cool produces crumbling and layer shifting.
- If you’re in a time crunch, refrigerate the layers for 30–45 minutes after they reach room temperature to speed the process.
- Step 9 – Make the Vanilla Buttercream
- Add the softened vegan butter and vegan cream cheese to your stand mixer. Cream on medium-high until light and smooth approximately 2–3 minutes.
- Sift the powdered sugar before adding. Adding unsifted powdered sugar produces gritty, slightly lumpy frosting that doesn’t smooth out fully regardless of how long you beat it. The sifting takes 2 minutes and makes the frosting significantly smoother.
- Add the sifted powdered sugar gradually ½ cup at a time mixing on low after each addition until incorporated. Increase to medium speed and beat for several minutes until light and fluffy. Add 2 teaspoons of vanilla and the optional 2 tablespoons of almond milk if the frosting is too stiff to spread easily.
- Step 10 – Assemble
- Apply a crumb coat (thin frosting layer across all surfaces), refrigerate 20 minutes, then apply the final frosting layer. Decorate with additional sprinkles on the exterior for the full funfetti visual impact.
Notes
Nutrition Information Per Slice (With Frosting)
| Nutrient | Per Slice (with frosting) |
| Calories | ~1,014 kcal |
| Carbohydrates | 169g |
| Protein | 7.8g |
| Fat | 35.7g |
| Fiber | 6.1g |
| Sugar | 122.7g |
| Sodium | 869.7mg |
| Cholesterol | 0mg |

Hi — I’m Rachel. I’m a wife, a mom, and a home cook who believes that food should bring comfort, joy, and compassion to the table. I live with my family — two hungry little foodies who are my most honest recipe testers — and together we’ve built a kitchen culture that’s all about good food that happens to be 100% vegan. I started this blog because I wanted a place to share the recipes that keep our days moving, the dishes that make weeknights feel a little easier, and the meals that become our little family traditions.